The riv nitto “lugged” seatpost has 40mm setback - a lot more than the commonly available 20/25mm setback options. It is heavier though.
2 Likes
Yeah I really like the look of that one, but fancy lugged post on a fat tubed aluminum 90s mtb frame?
I think the 23mm will get me where I want as well. Just blows that I already installed the Thomson. Maybe someone will buy it for 50 bucks… I’ll have to put up a surplus sale thread soon.
Yeah, I know you said you wanted something nice, but honest a kalloy is most correct for an old aluminum rock hopper.
2 Likes
Haha I can’t argue with that at all. I just want it ![]()
I ran a Kalloy post on my Pista for probably 15 years and it was fine .. it’s a seatpost.
I also fully acknowledge that having some nicer parts, but also still using the OEM brakes, drivetrain parts and wheelset is absurd.
There are a few of these ritcheys on eBay. Kinda cool, has the R on the back.
1 Like
I do enjoy an old Ritchey!
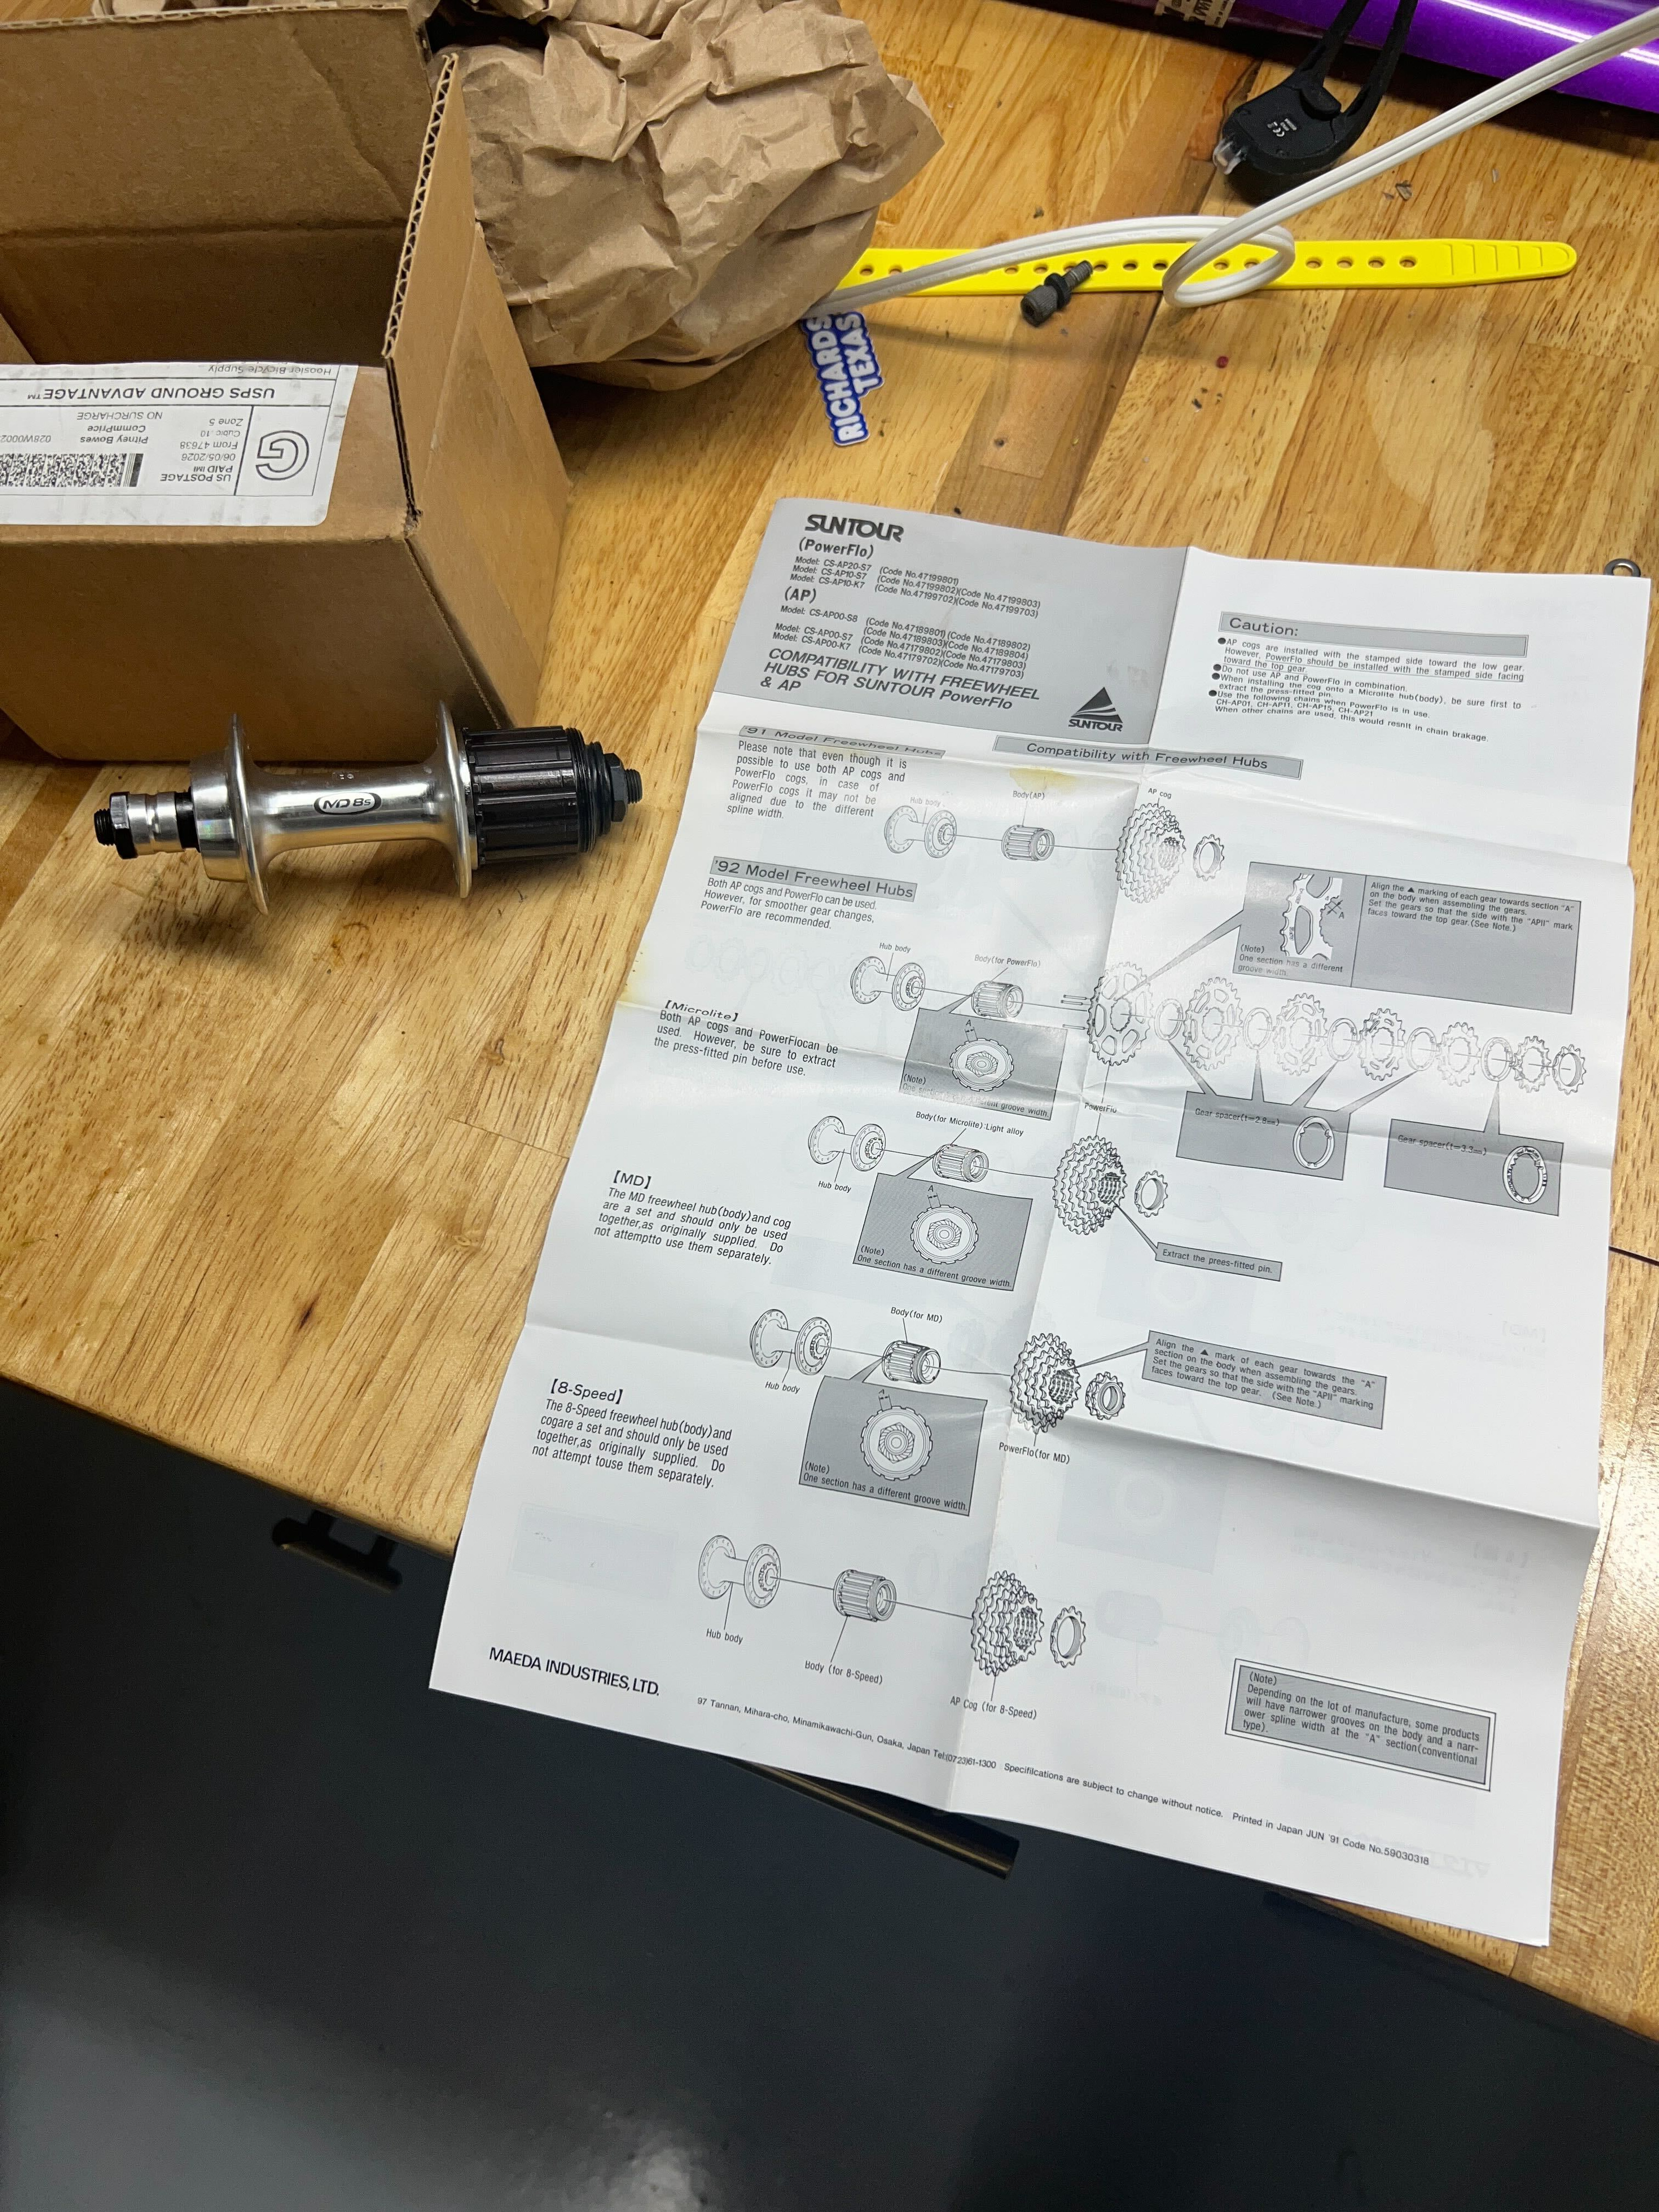
Unrelated, during my brief freehub woes, I panic-bought another Suntour MD8 hub on eBay for $40. NOS even!
I don’t need it, but I don’t regret it - good to have another one around for parts. If I ever part ways with the wheelset, it would be a nice bonus to include for the new owner as well.
It even came with this awesome reference sheet!


5 Likes
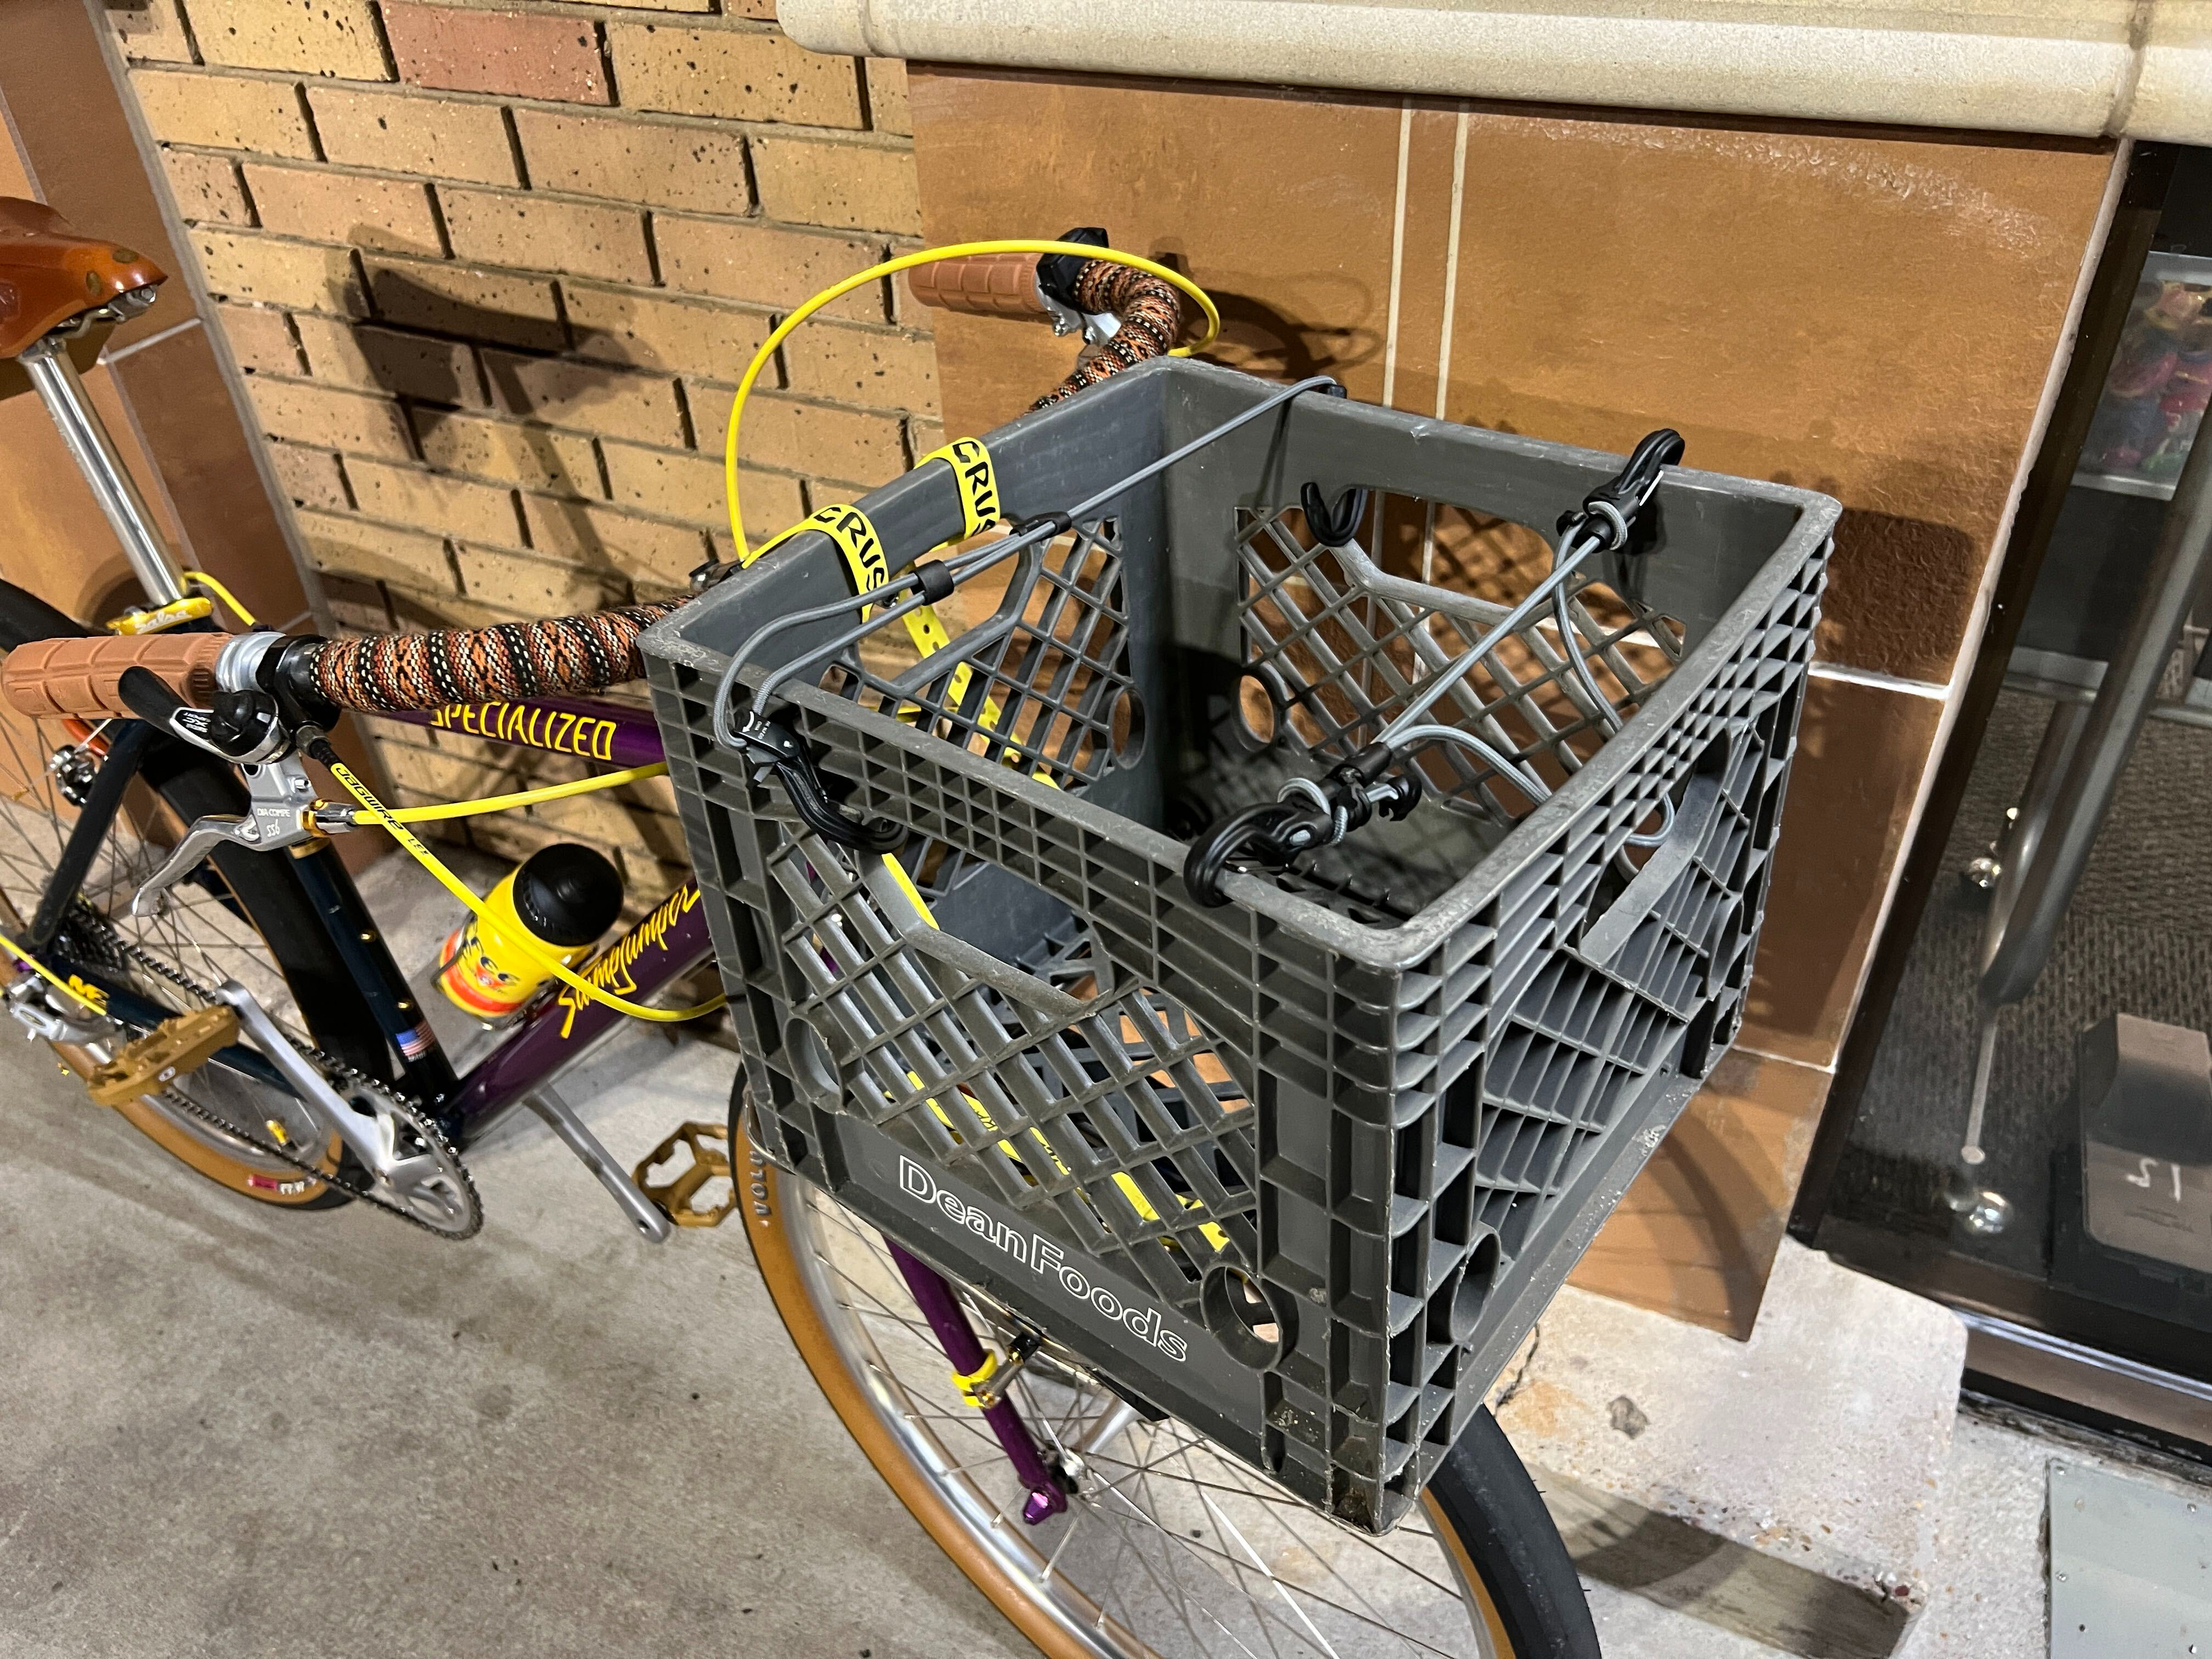
First actual mission last night:

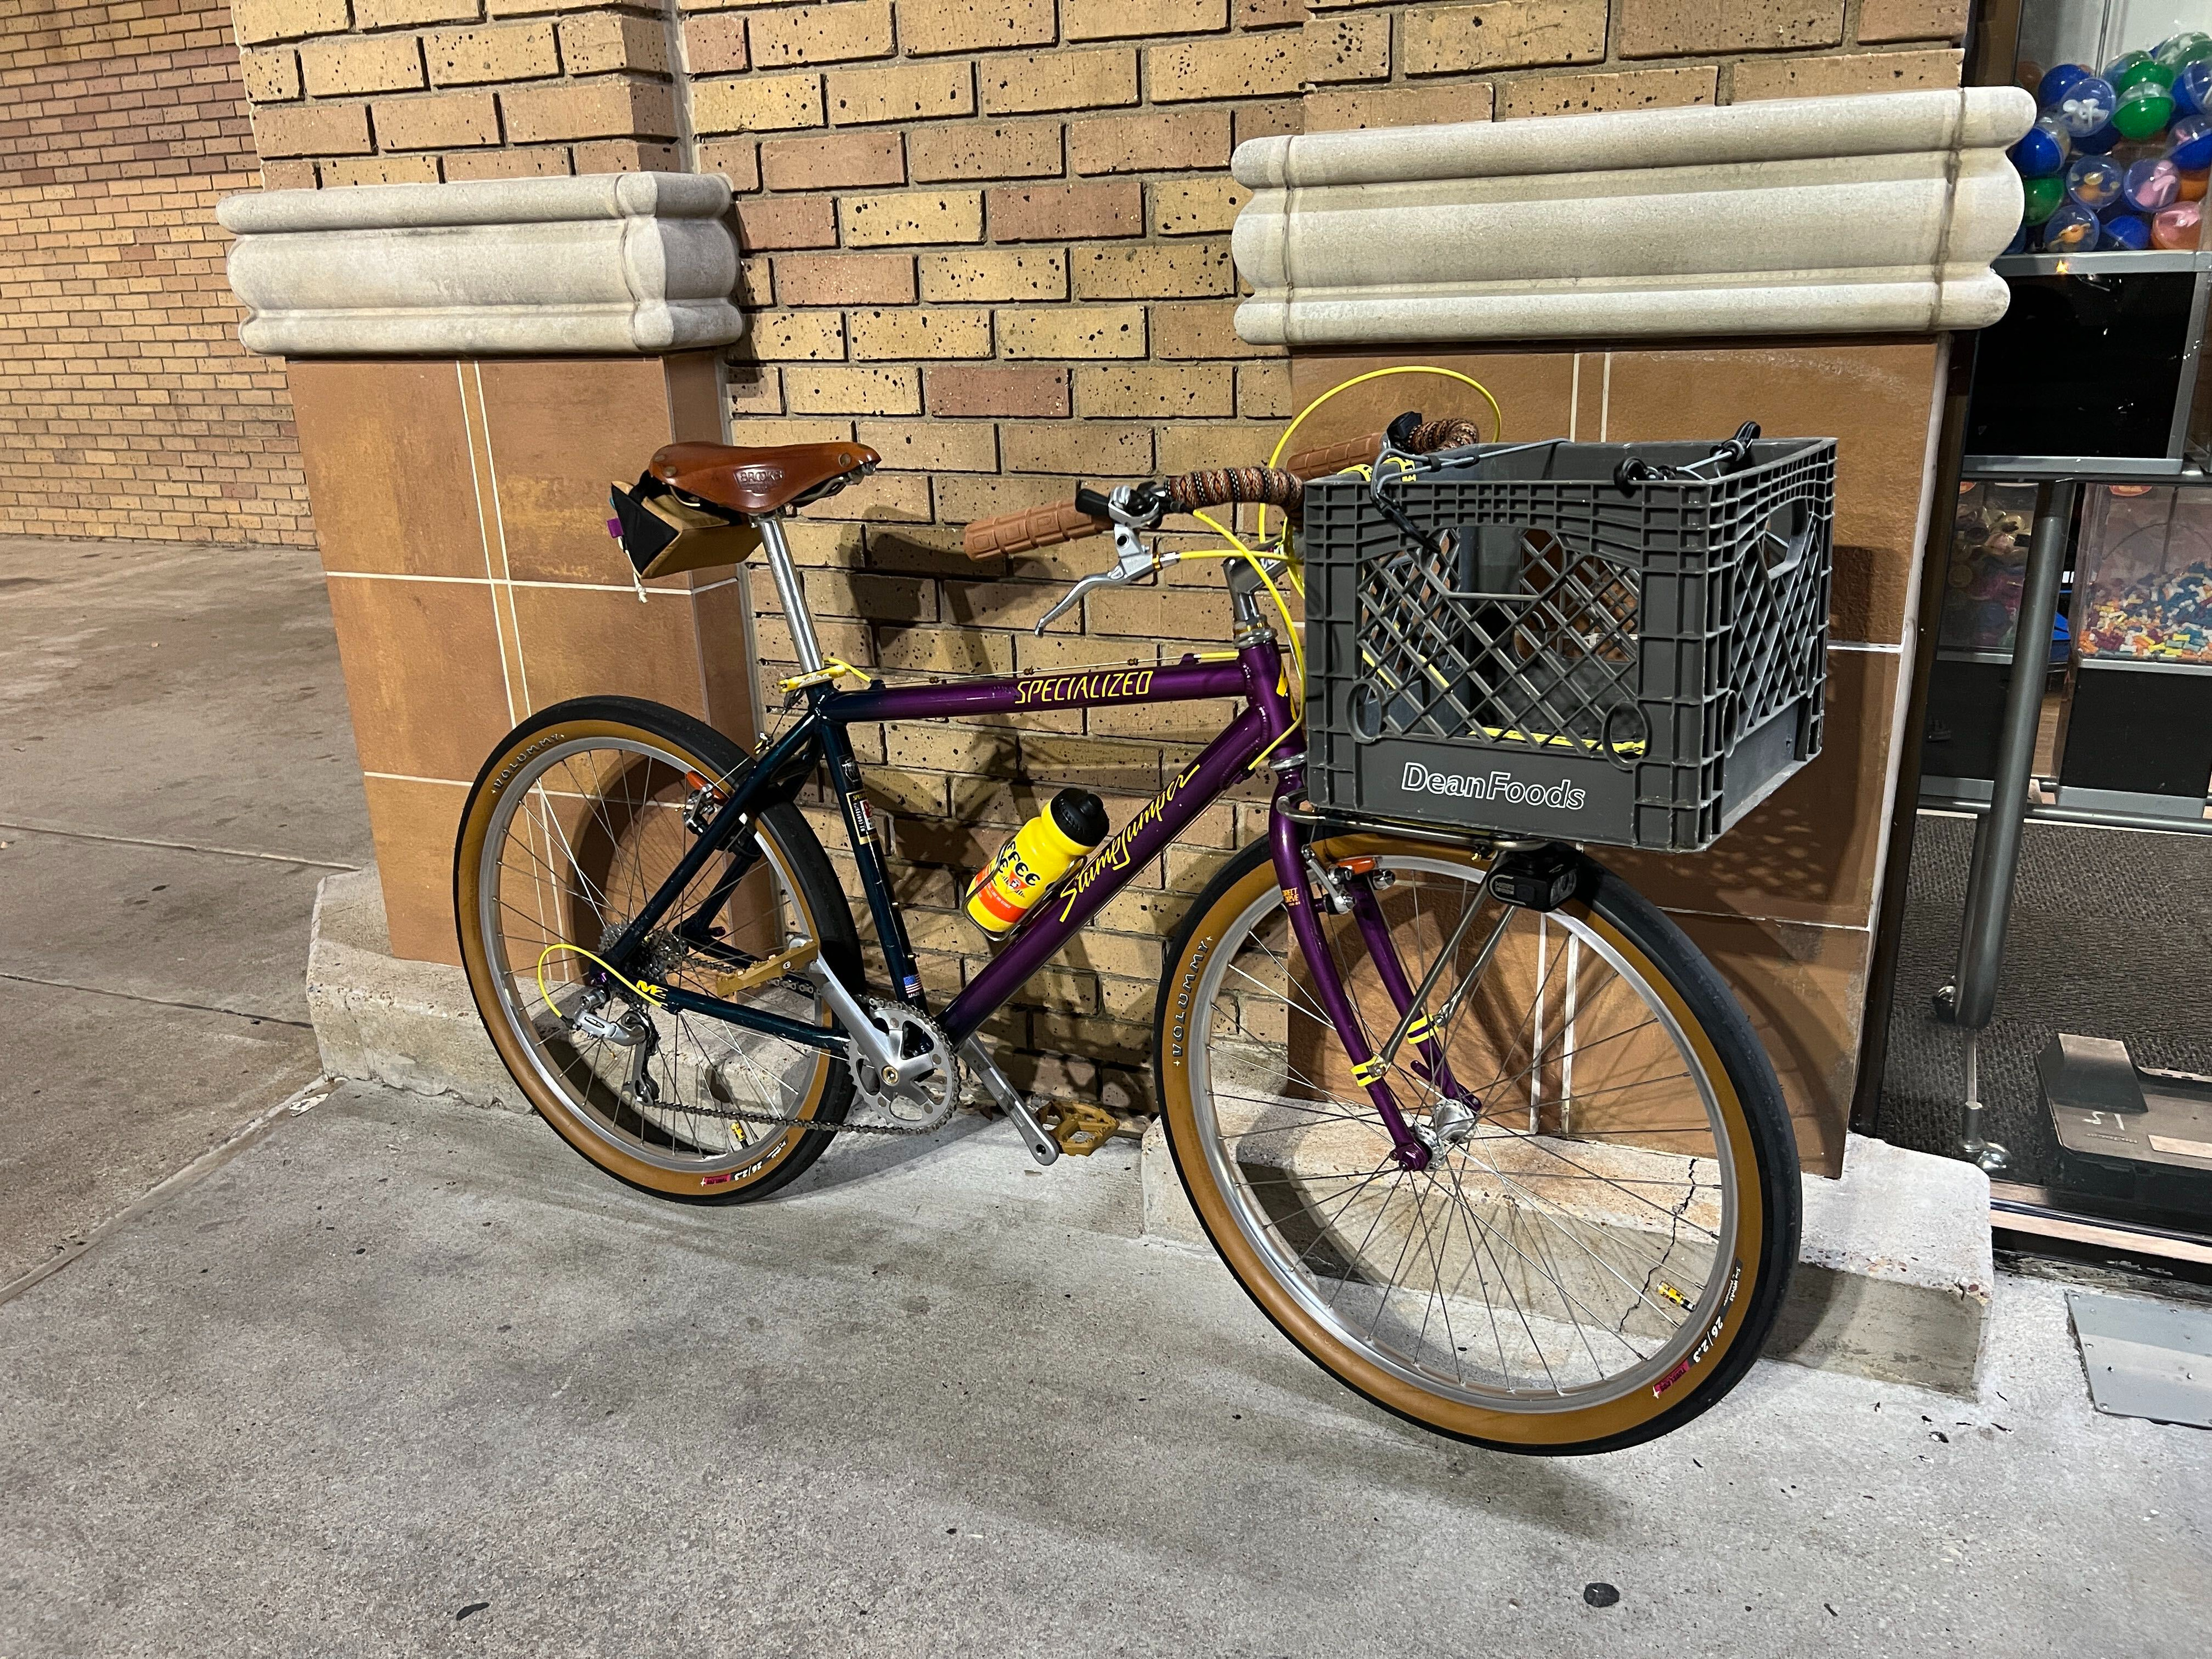
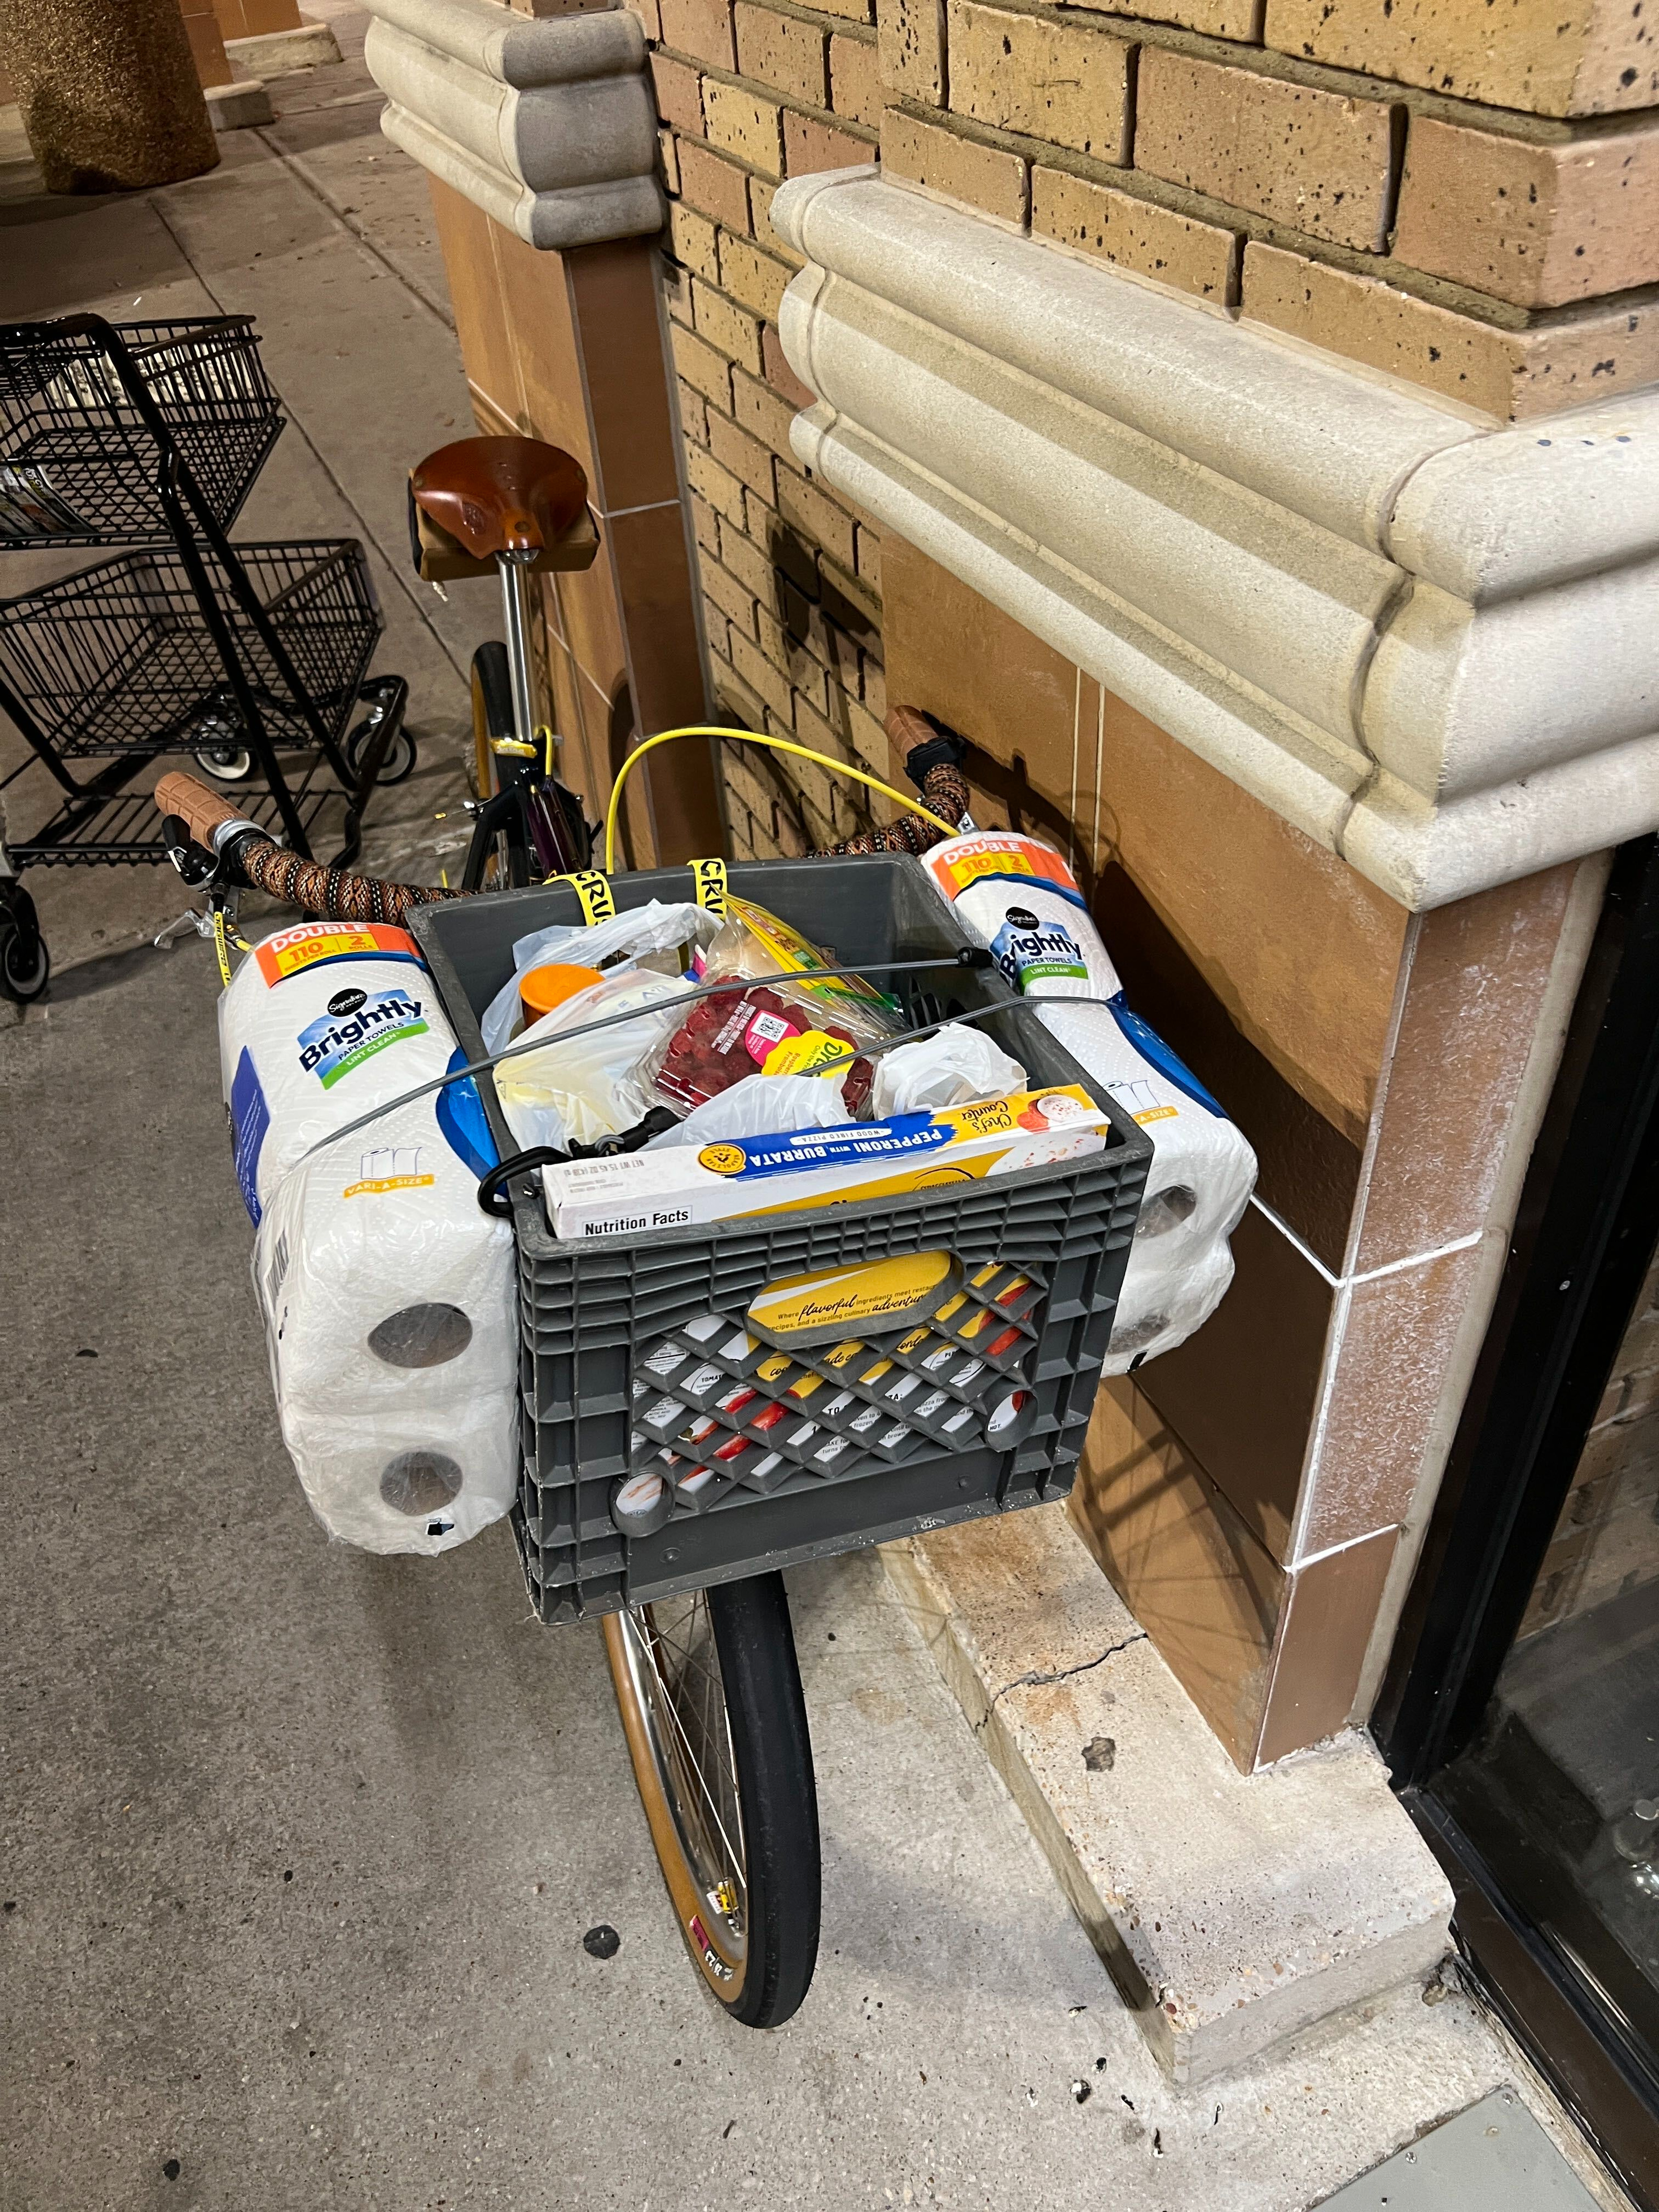
“iS tHiS xBikInG?”
Gotta say, it felt pretty nice to be able to bring that much stuff home on a bike. I had my messenger bag on too just in case, and I’m glad I did - I put the bag of flour in there. Would have been a little squirrely with the milk and orange juice already in the crate.
15 Likes
Bags.
I was originally going to get a rear rack and was looking for some kind of dry bag setup. Ortlieb was the obvious answer, but I wanted to see what else was out there too, maybe something that wasn’t even a “bicycle pannier” but could be used like one.
That got me looking at Sea to Summit bags and other random dry bag options, and then I remembered SealLine.
Back when I worked for a live event lighting company, we used to use SealLine dry bags as sandbags. Just fill them with sand and throw them on truss bases or whatever. They held up pretty well, so I looked into their products.
That’s when I stumbled upon their kayak deck bag and thought it would be pretty cool on a front rack.
It was basically a 1 ft x 1 ft bag, and it looked like it would sit pretty well on some kind of pizza rack. So then the whole thing pivoted from “rear rack dry bag/pannier setup” to “weird front rack deck bag situation.”
That sent me looking for a front rack, and eventually I came across the EdSen Coffee Rack. It had the right kind of platform, and the cup holder thing sealed the deal. Pretty much instant buy.
The first SealLine deck bag I was watching on eBay had sold by the time I was ready to go back and buy it, of course. Another one miraculously popped up not too long after, so I bought that one. Only issue is that the one I got is an older version than the one I originally saw. Neither version is made anymore, so it’s not like I can just go buy one from the store.
The newer version had these two velcro strips on the bottom that looked perfect for rack use. You’d peel them back, weave them around the rack bars, then stick them back to themselves. Perfect.
The one I actually bought did not have that.
So naturally, instead of just using the bungees that were already on the bag, I went down a whole rabbit hole trying to reproduce the velcro setup.
I sourced some Shelter-Rite vinyl from sailrite.com, figured I’d sew velcro to that, then glue the whole thing to the bottom of the bag. Bought HH-66 vinyl cement, did a test, and it peeled right off. So I ordered some 3M 5200 since that was recommended as a marine adhesive for when you don’t ever want the thing to come off.
All of this is happening while I’m still building the bike too, so this was like a side quest running in parallel.
I even consulted @blickblocks, and she was like, why don’t you just use side-release Delrin clips? Which was actually a pretty good idea, so then I started going down that path. The plan became sewing side-release buckles and nylon webbing to the Shelter-Rite, gluing that to the bag, weaving the straps through the rack, clipping everything together.
The stupid part is that the bag already has bungees on it. It has little D-rings and loops because it’s meant to attach to the deck of a kayak. I just didn’t want to use them because they compressed the bag a little and the hooks are kind of annoying. They’re these little plastic hook things with a tab/cage/whatever that closes around the anchor point. You depress the tab to release it, but they’re plastic and not super easy to deal with.
Eventually I put some small S-biners on there instead, and that made it way easier to get on and off.
The whole idea was to keep it modular. I also didn’t really want to permanently modify the bag if I didn’t have to.
The other problem was that the bag needs some kind of base. It has this arced plastic piece inside that gives it the dome shape, so it’s not just a floppy sack sitting on your stuff. But the two plastic edges need something to sit on, otherwise the whole shape kind of collapses and it doesn’t do what it’s supposed to do.
At first I thought about putting a flexible plastic floor inside the bag. Something I could bend to get in there, then let it spring back flat. Couldn’t just use a rigid sheet of metal or wood because it needs to go through the opening. Thought about two pieces of thin wood, or some kind of thin metal rack inside the bag, like an oven rack.
More on that in a second.
I didn’t really want to buy a polypropylene sheet, cut it down and maybe have it still be dumb. So then I thought, ok, what if the base goes under the bag instead of inside it?
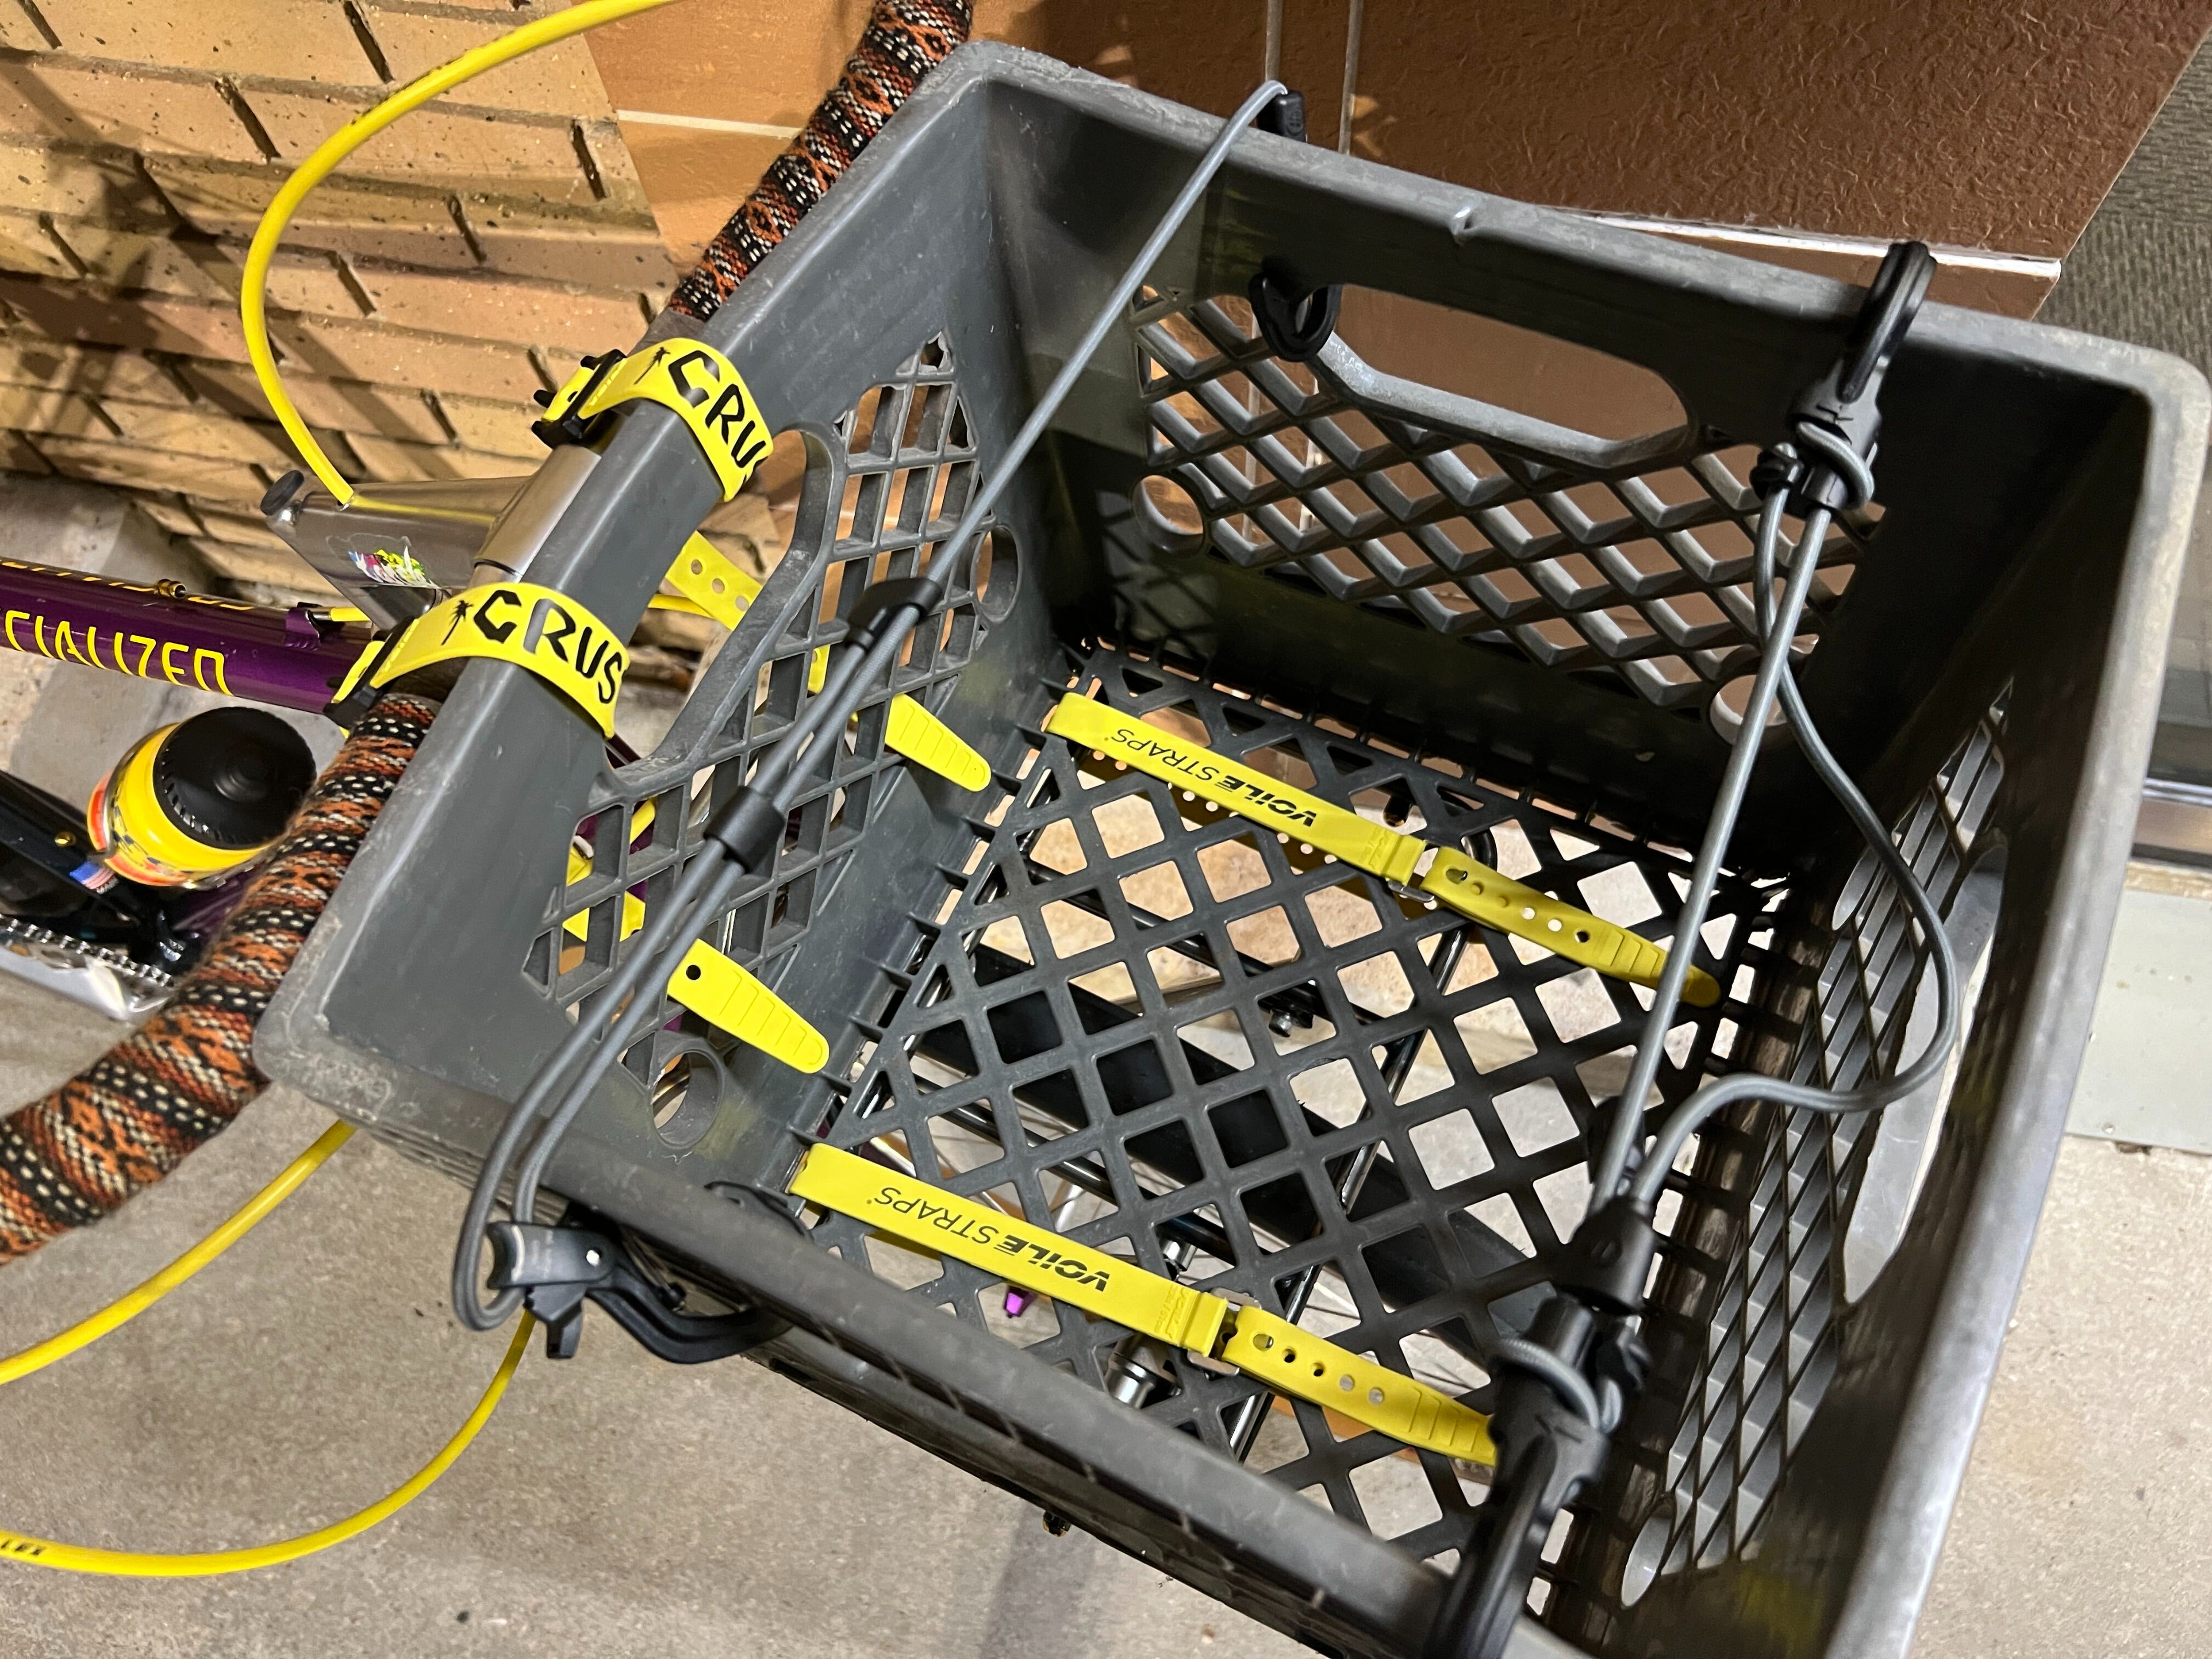
Started looking around and found a replacement rack for a Ninja Foodi air fryer that was exactly the right size. Put that on top of the Edsen rack and attached it with two Voile straps.
Then I put the SealLine bag on top of that and used its own bungees, crisscrossed underneath the air fryer rack, with S-biners connecting the ends. It works.
So after all that, the actual solution was:
Old kayak deck bag
Air fryer rack
Two Voile straps
A couple S-biners
The bungees the bag already came with
I also had a shoulder strap from another old bag, and I can clip that onto the SealLine D-rings so it becomes a little crossbody satchel. Then I can just throw it back on the rack and clip the bungees back together.
Pretty happy with it, and I got to make an air fryer rack into a bike part, which feels correct for this build.
Here’s a sucky video of the thing:

5 Likes
Couldn’t stand it anymore (pun?).
Rode up to the LBS got the ol’ reliable Greenfield KS2.
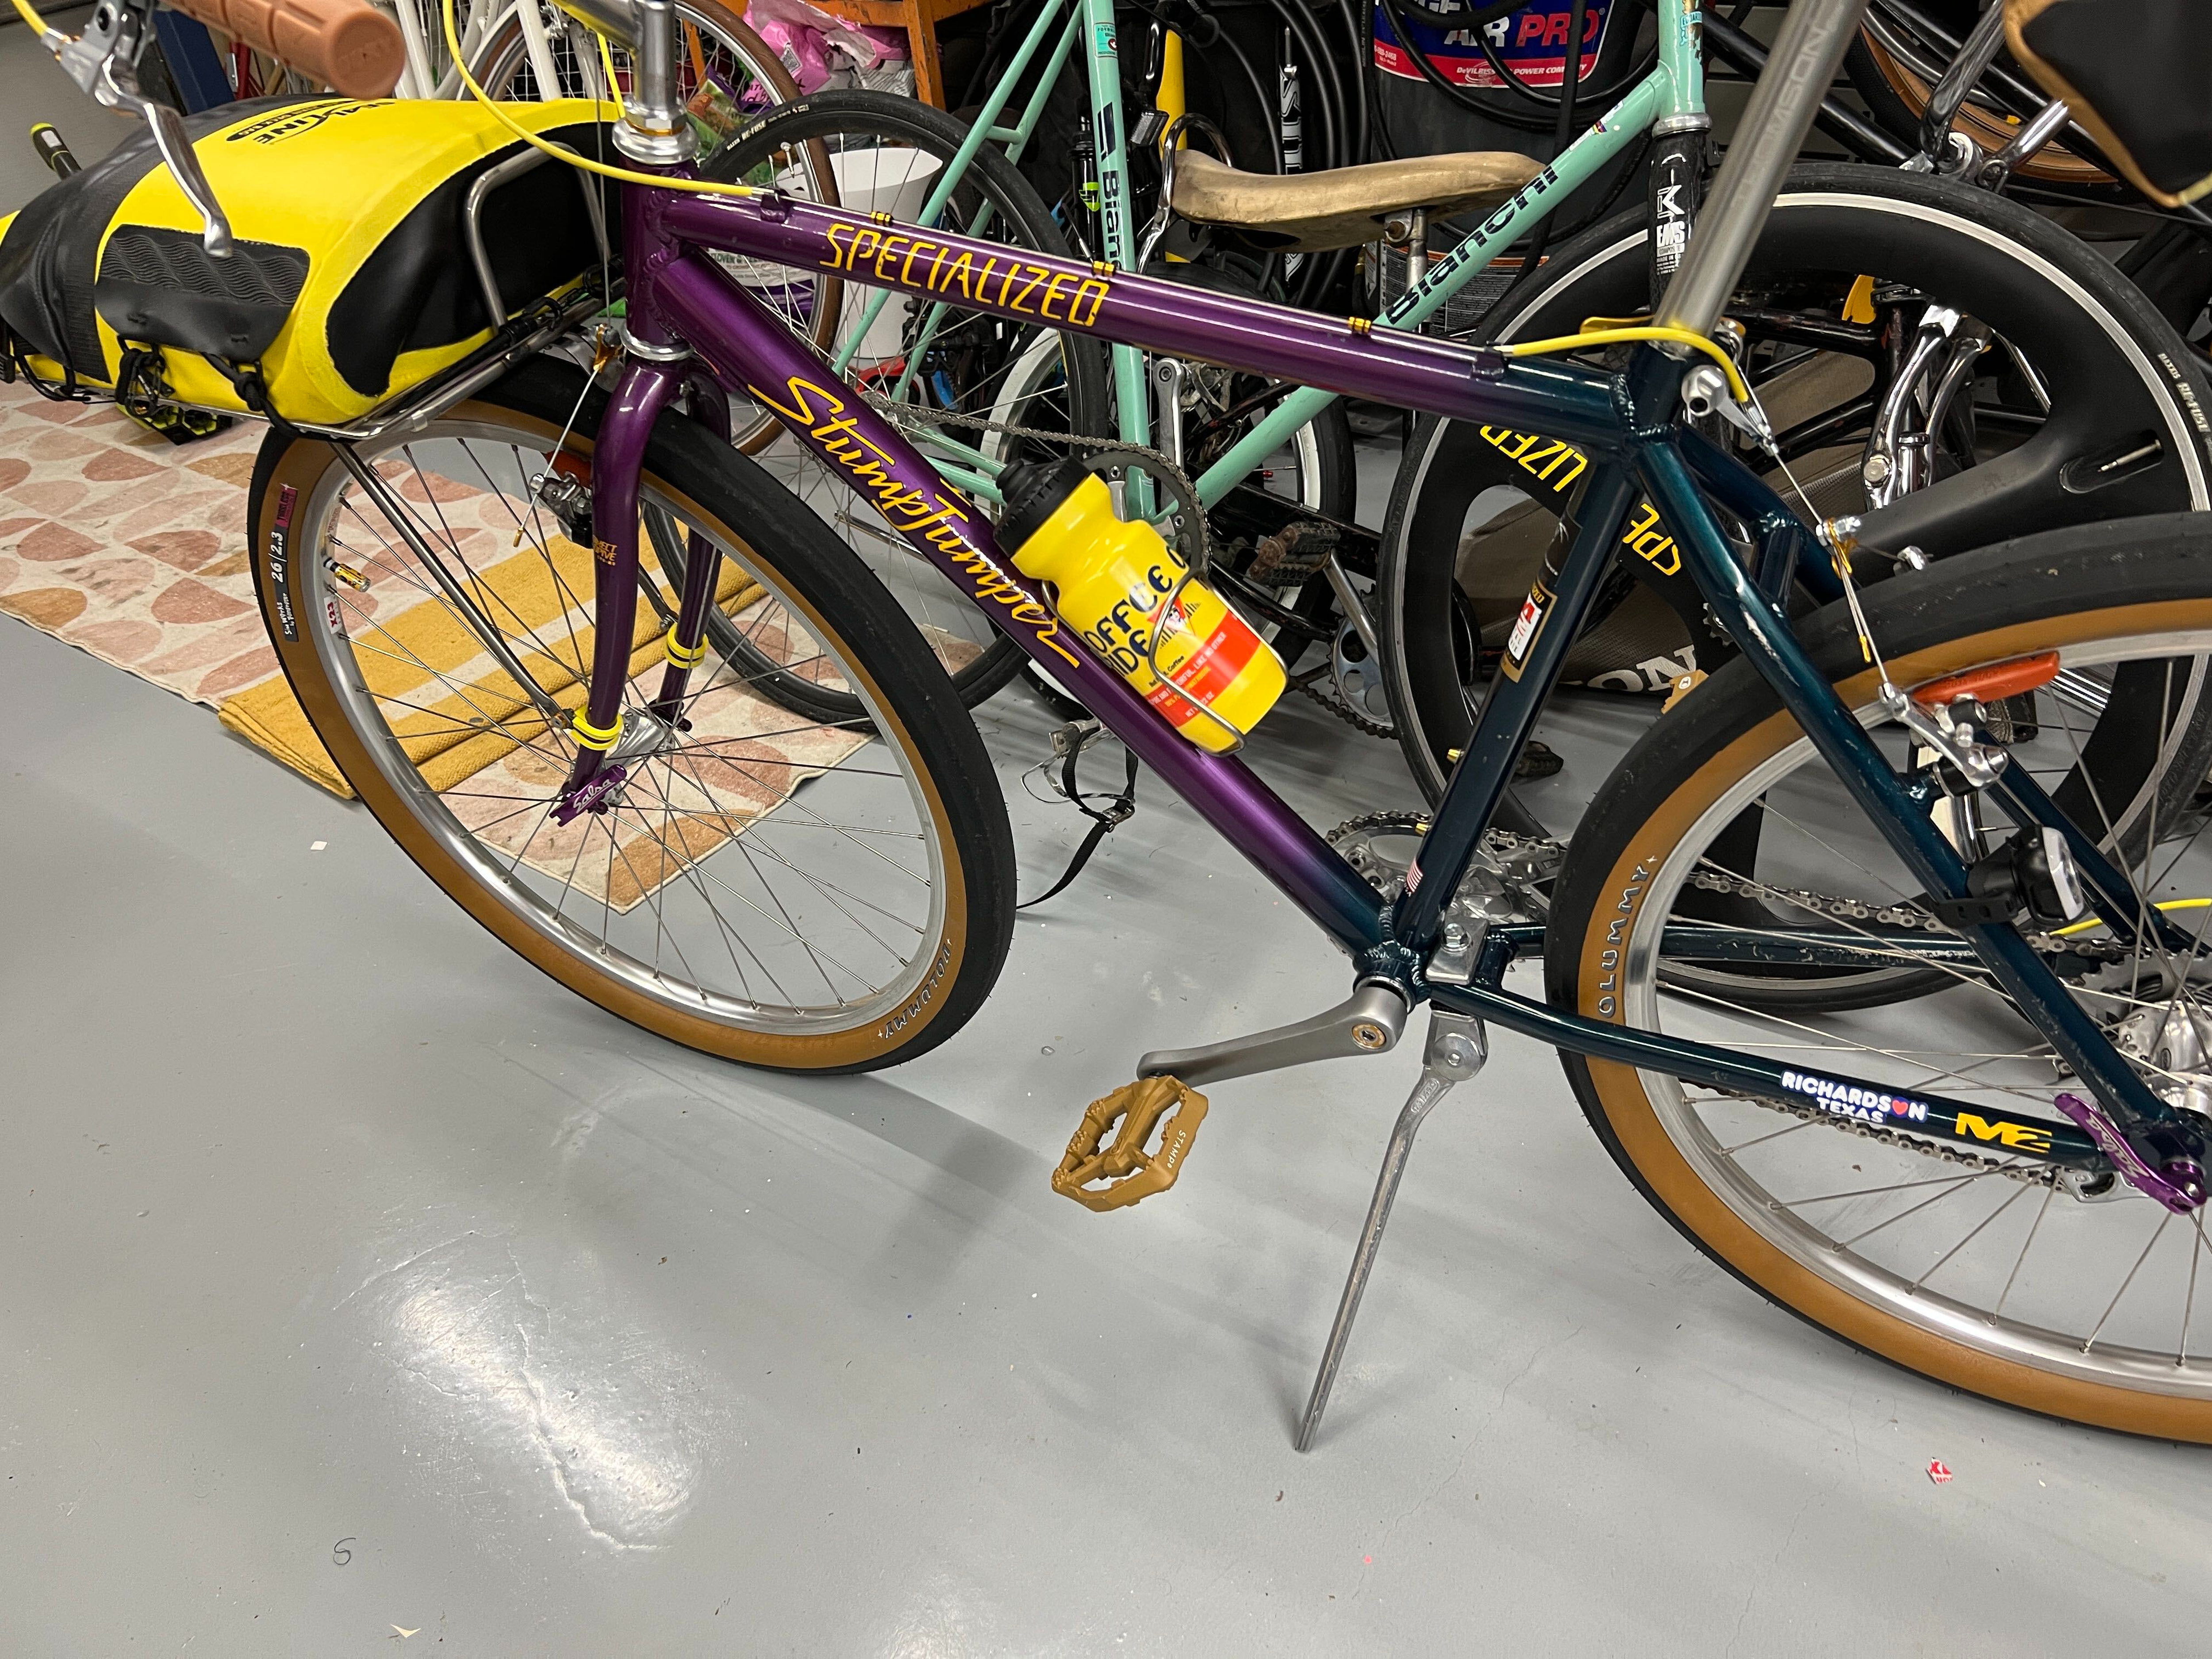
It’s so nice to have.
Objectively I guess it’s kinda wild to put this on a StumpJumper, but this whole thing is probably pretty blasphemous anyway so in that way it fits. Kinda along the same lines as putting a Wald 137 on some otherwise boutique build (not that that’s what mine is), but people do it all the time.
Unrelated, the Nitto S83 should be here tomorrow, and I have never been so impatient to receive a part.
3 Likes
Behold
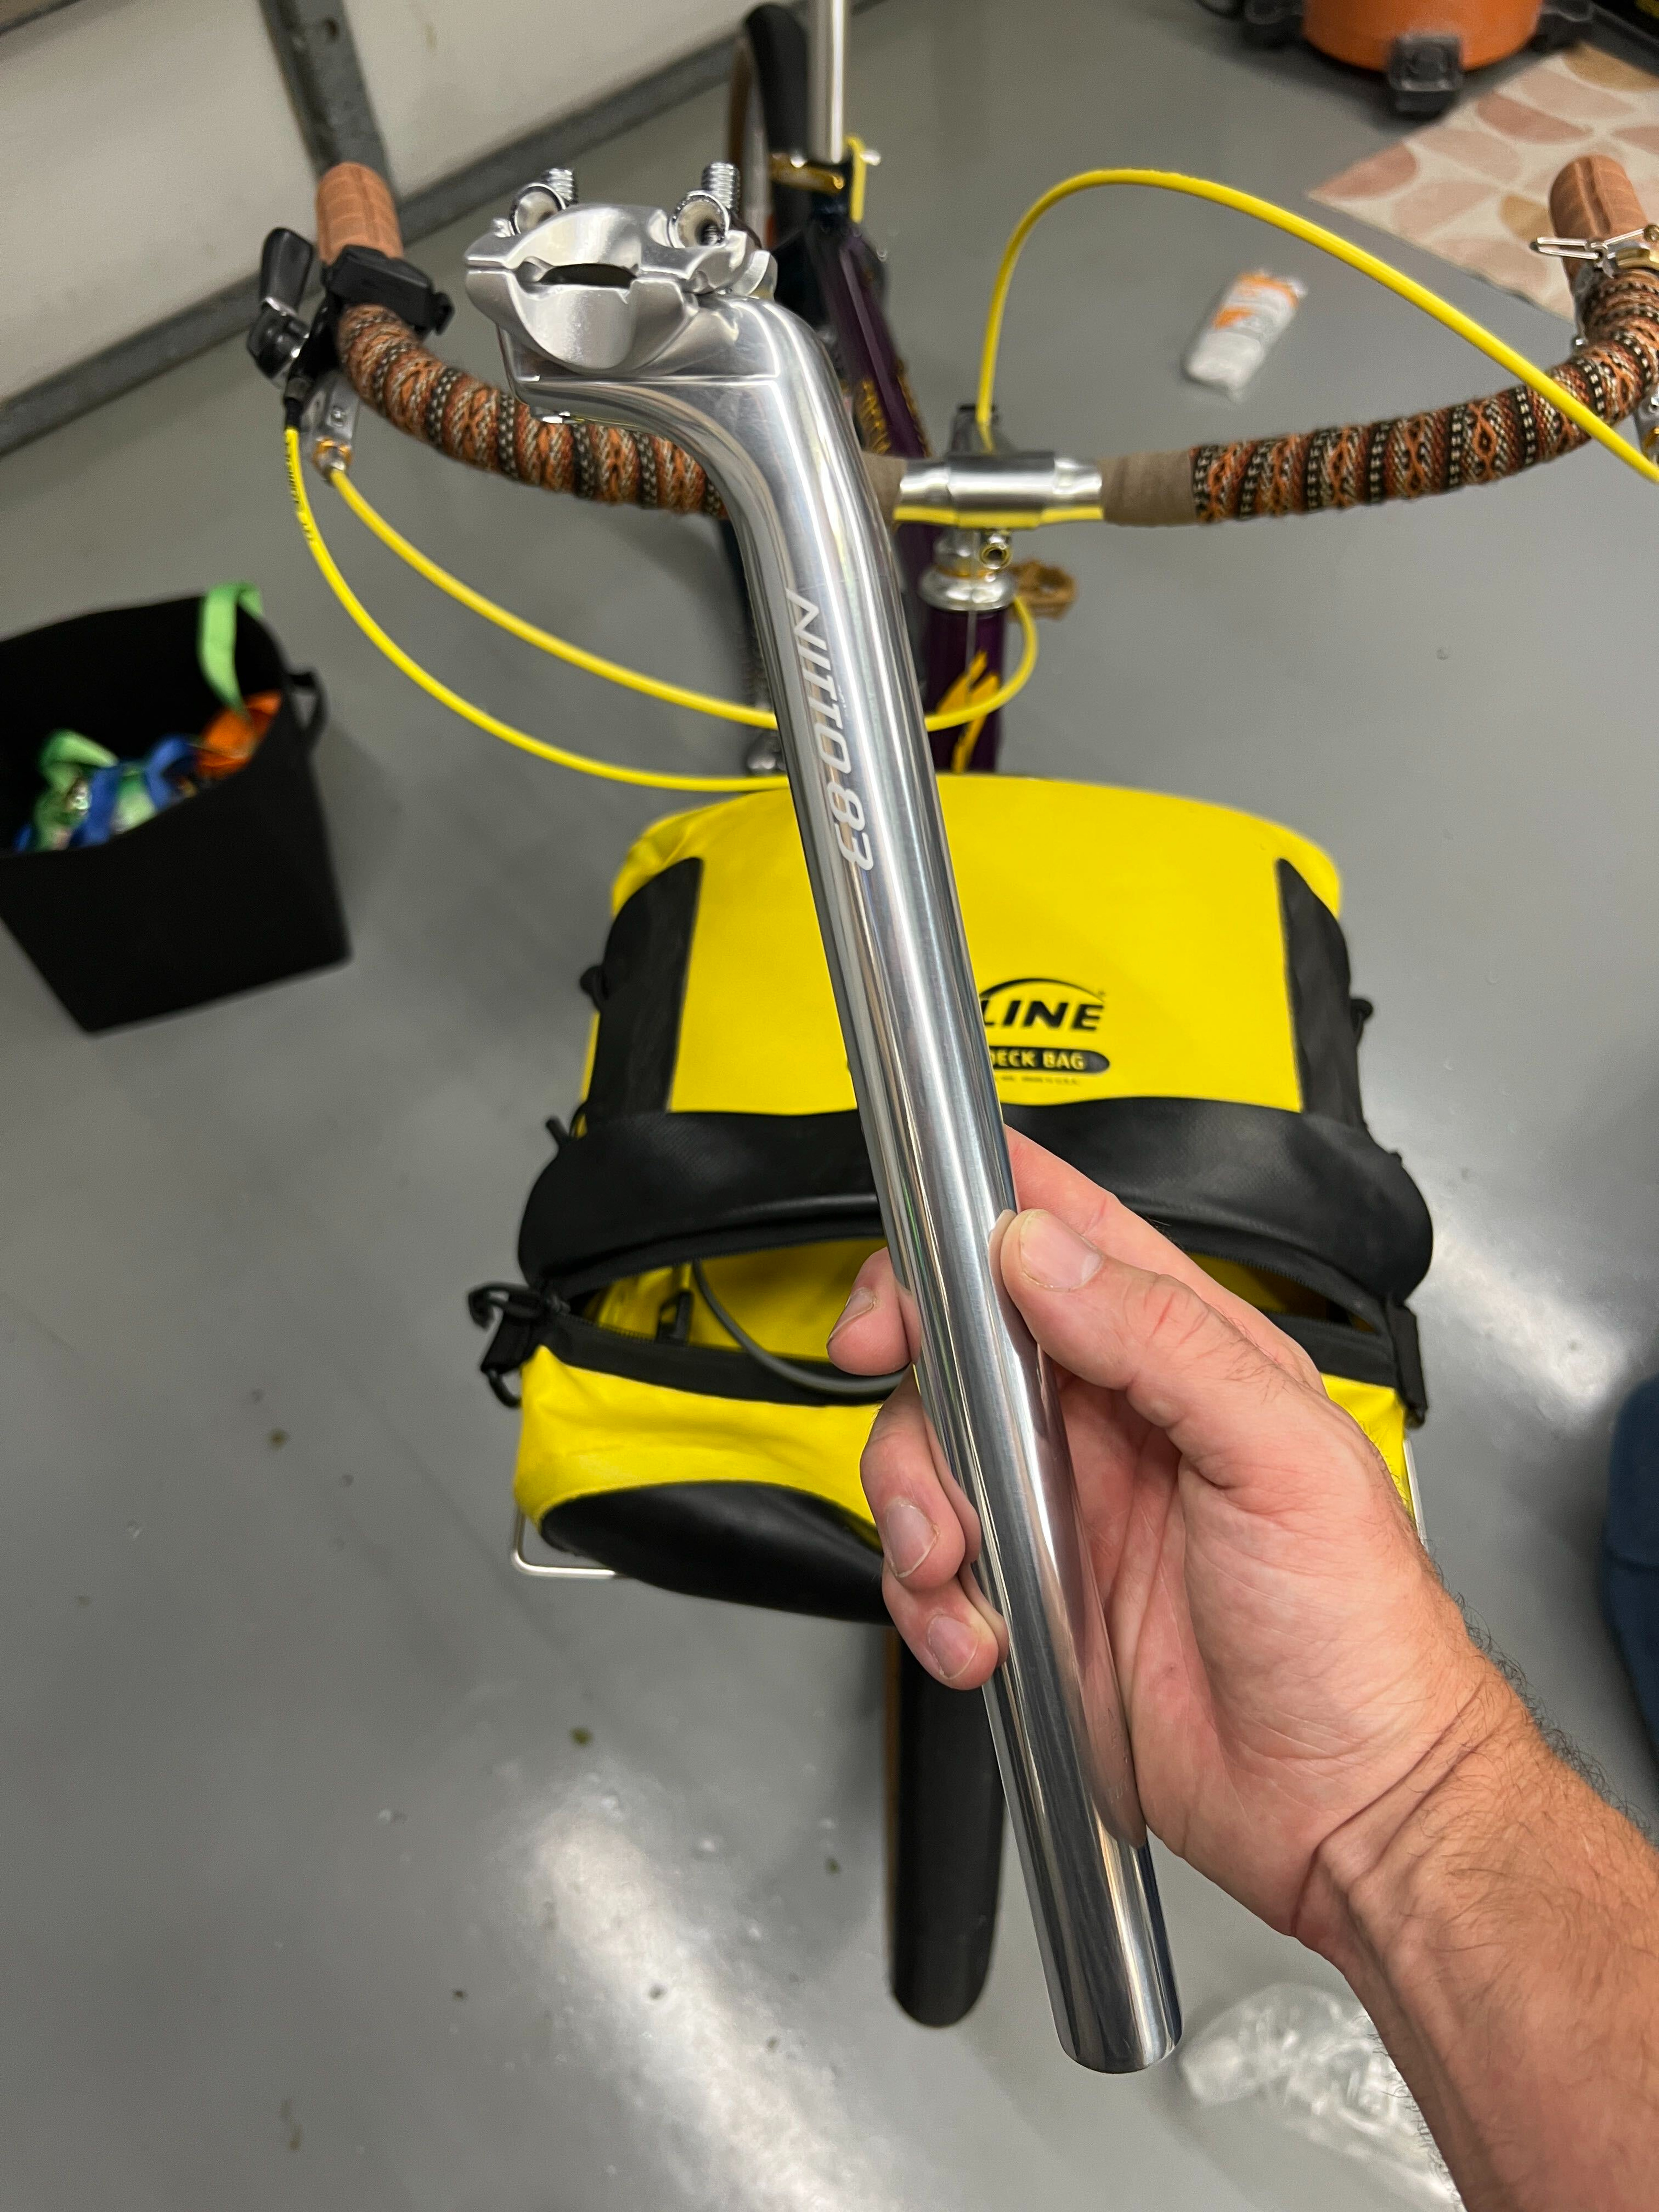
Pretty proud that this is all the damage I did to the Ththhbhbhomson
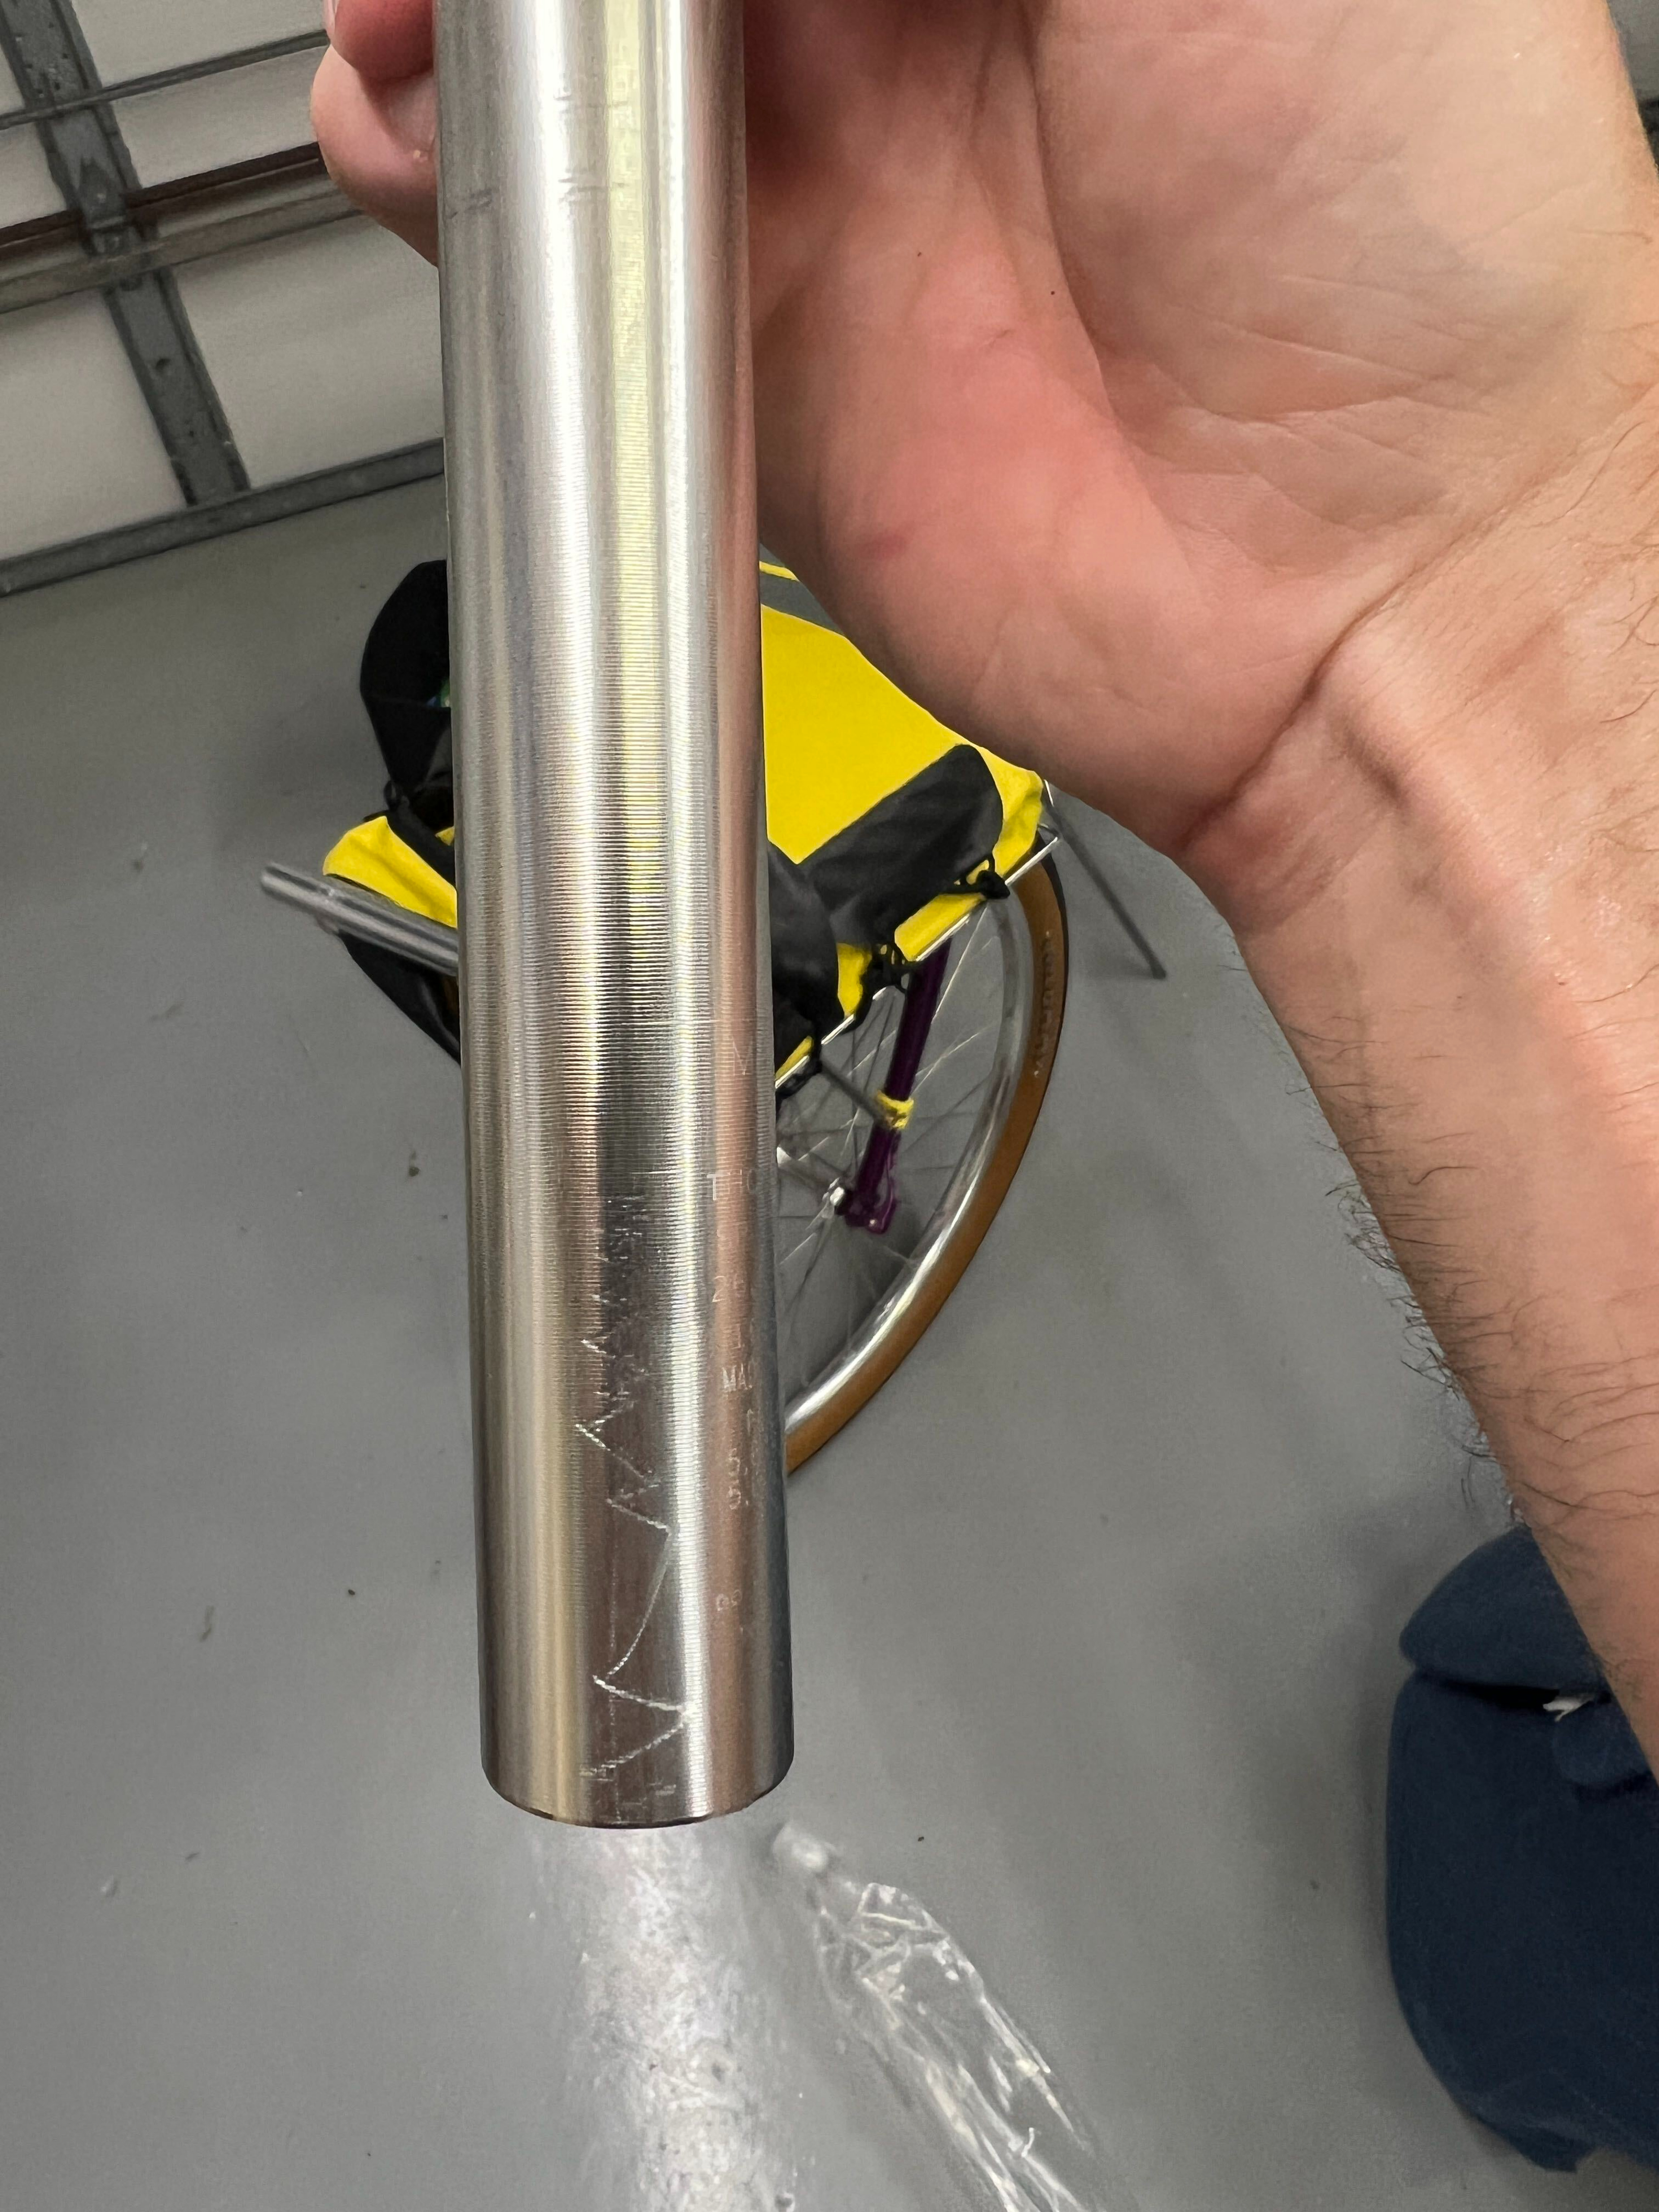

It is quite cute
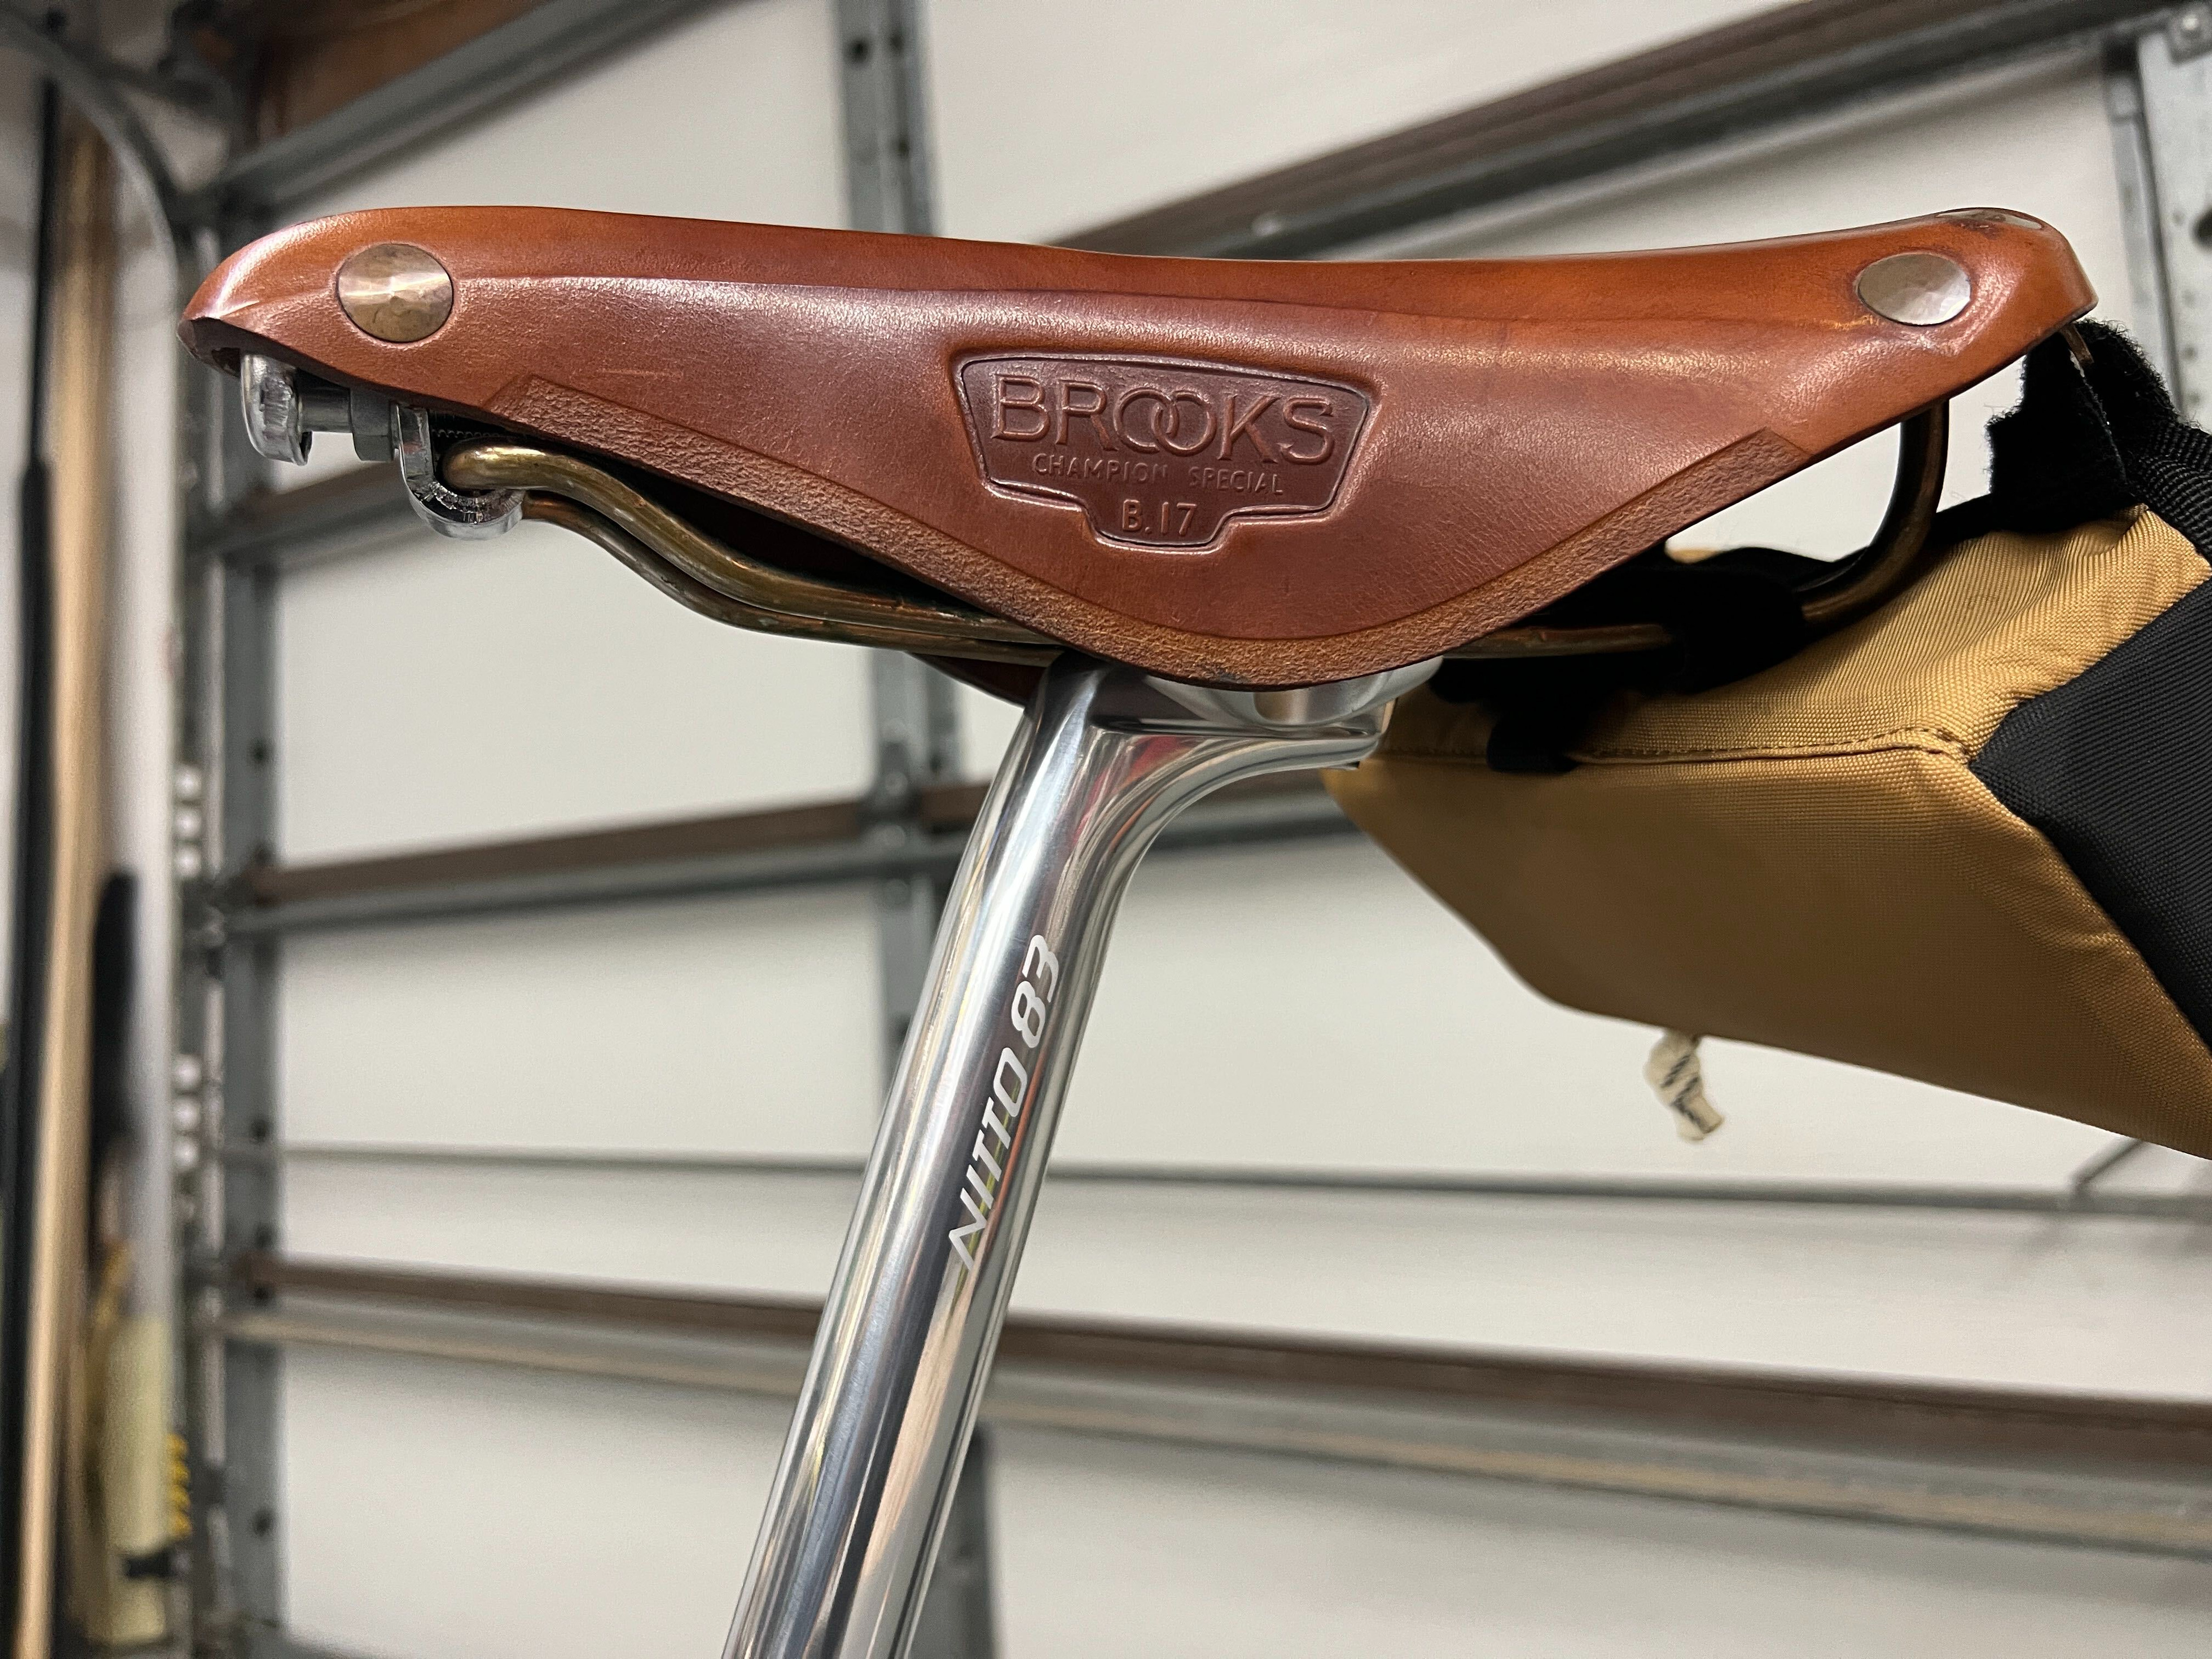
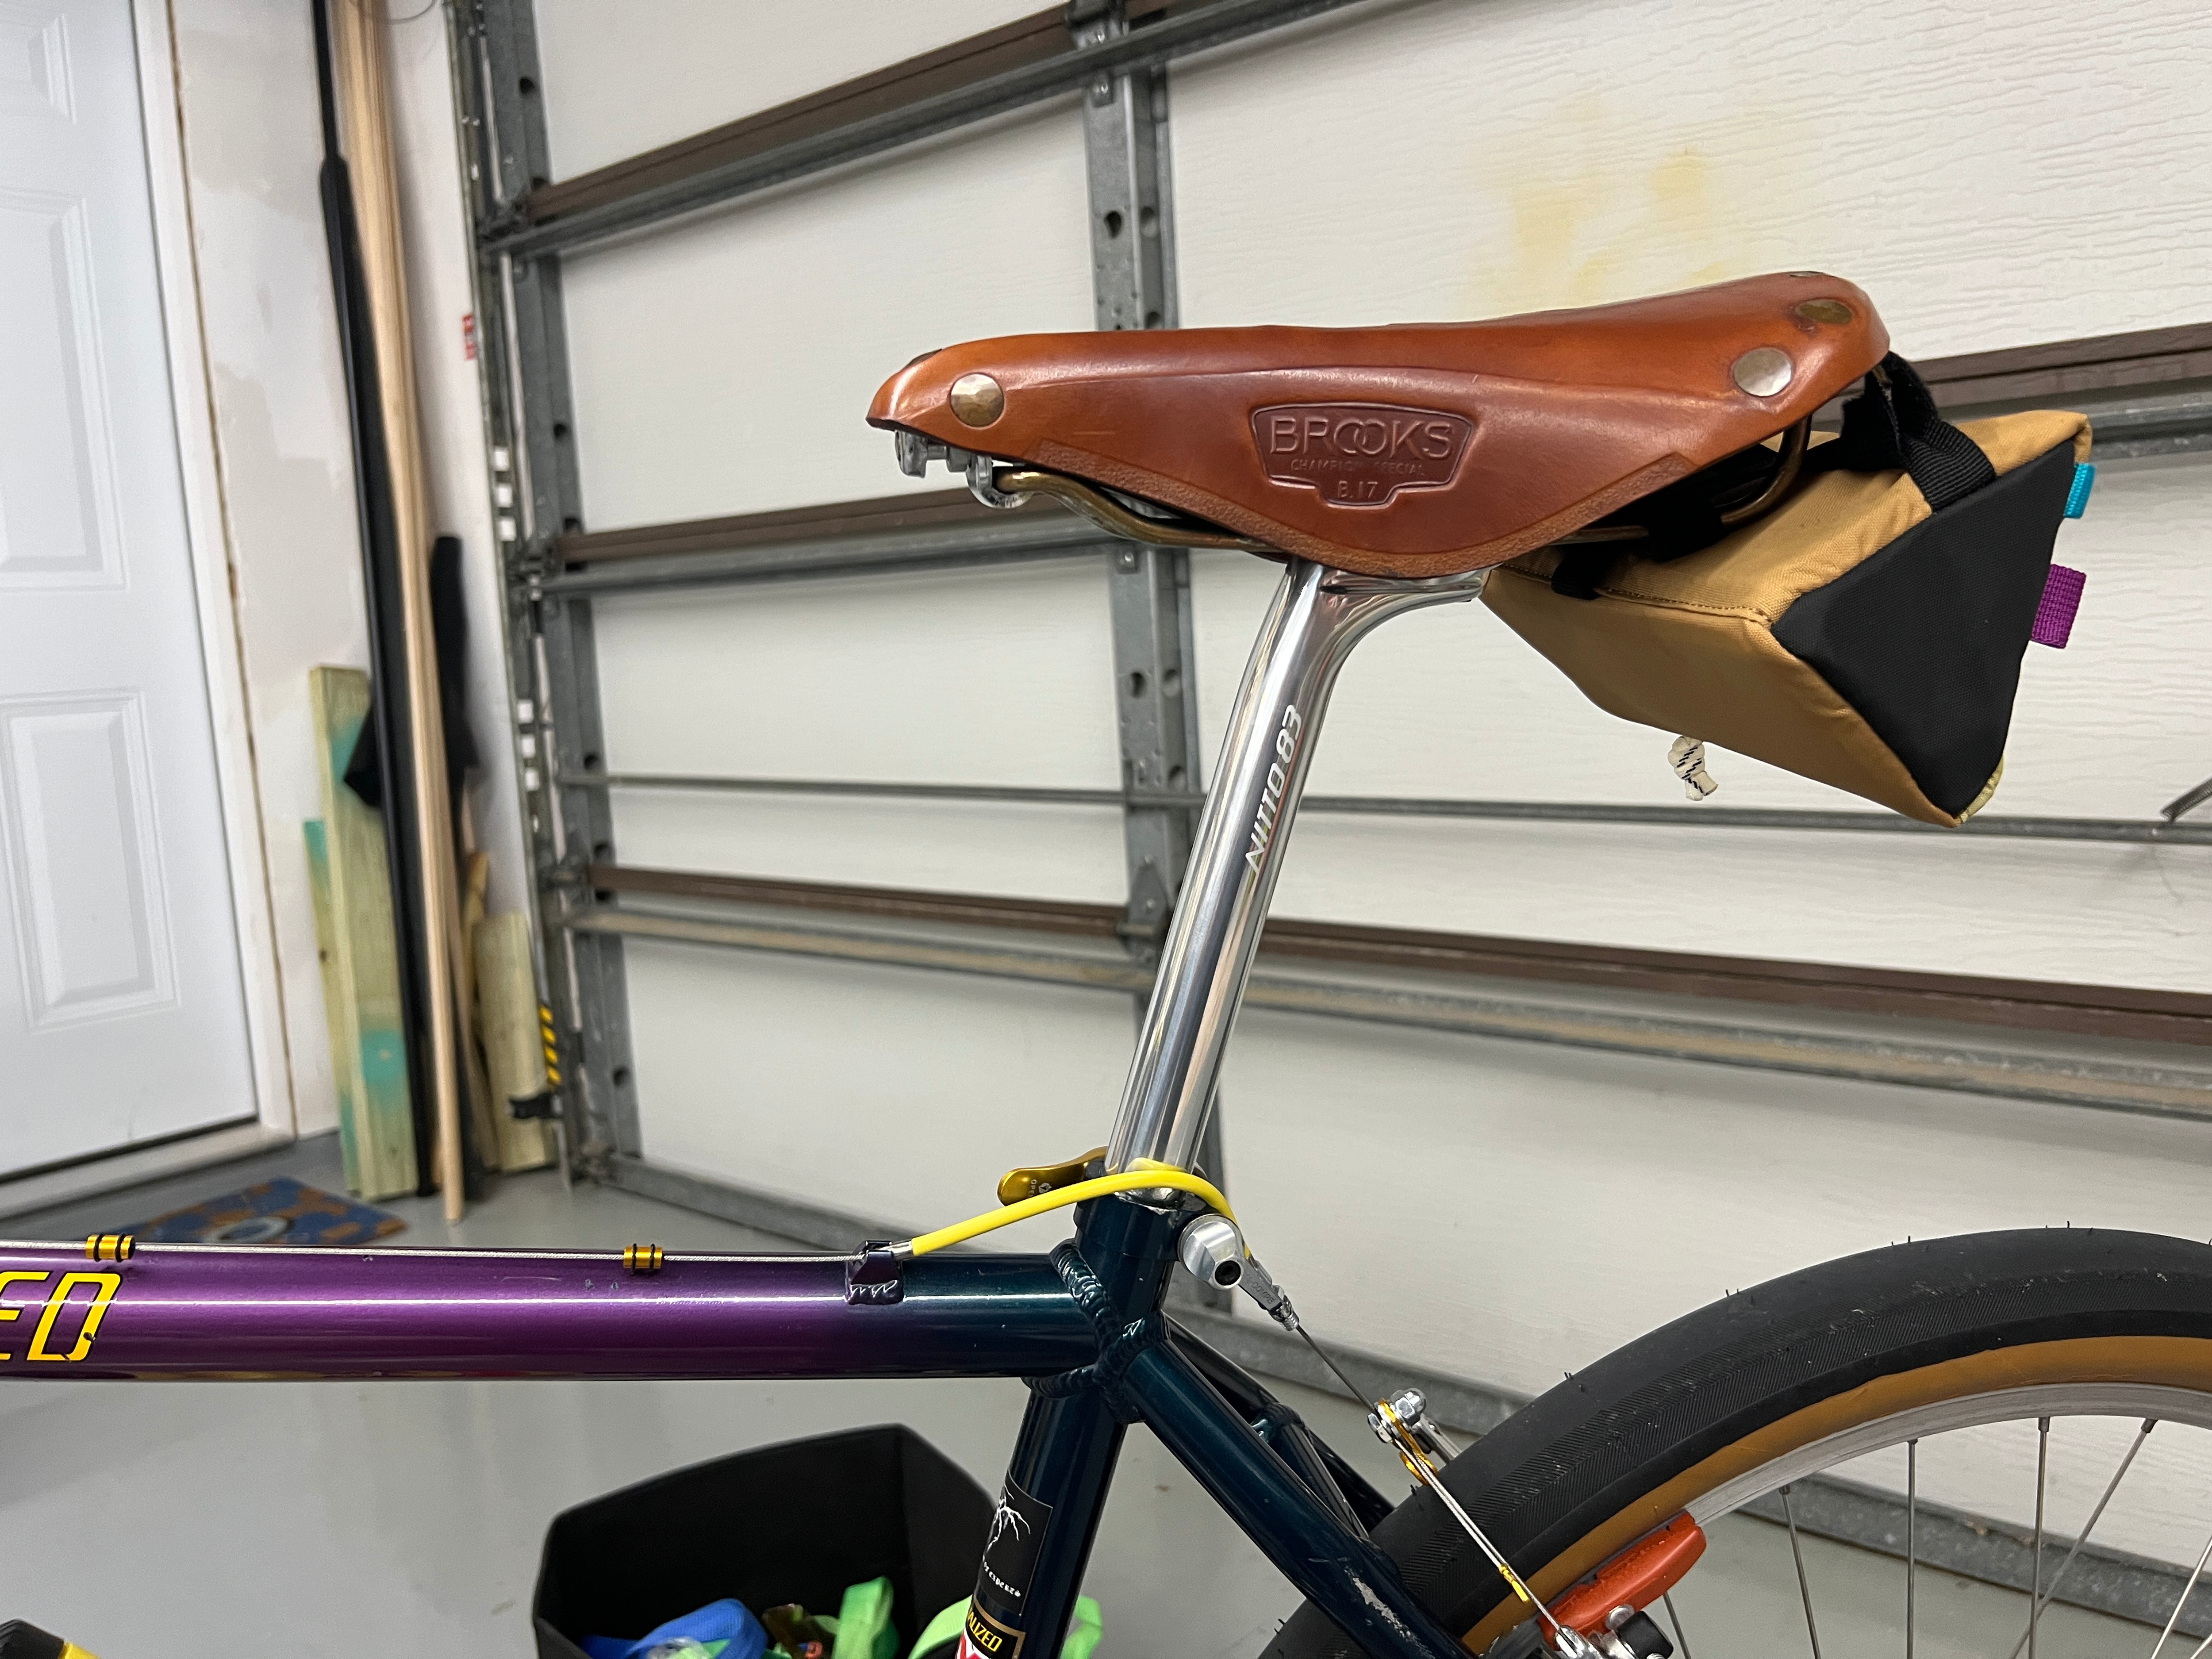
Fit is amazing now. Crazy what a difference this made.
12 Likes
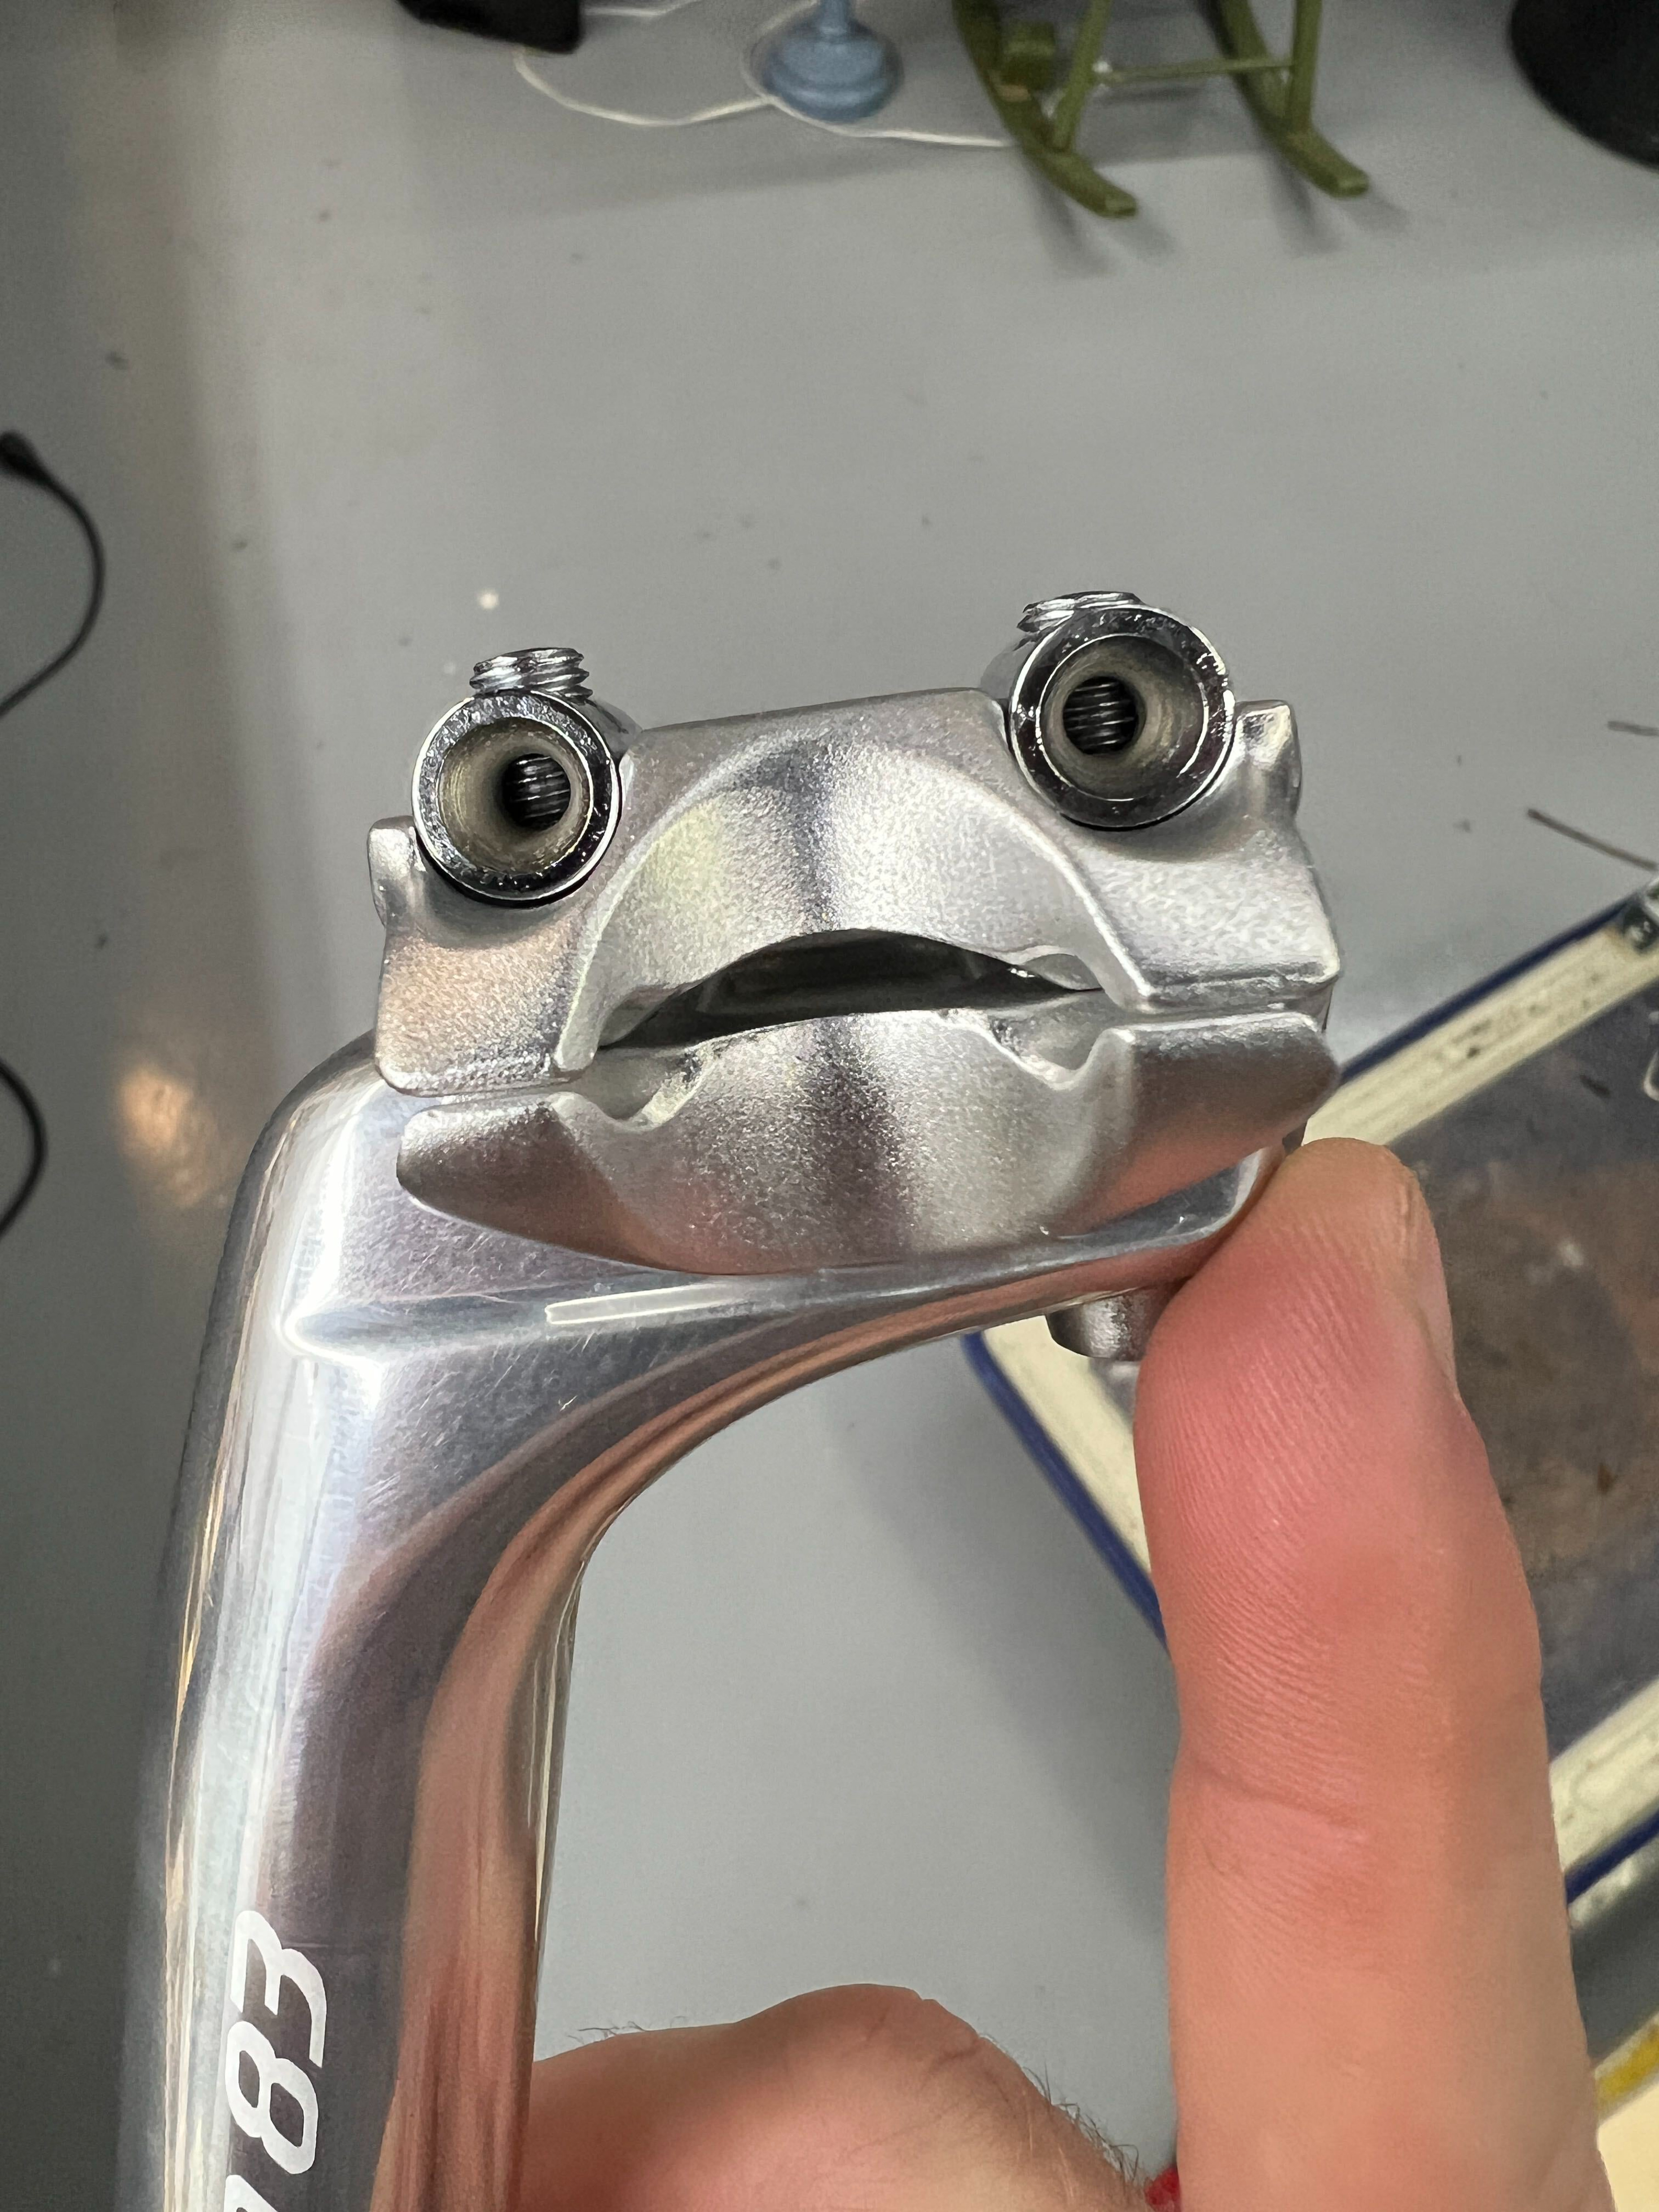
I noticed the frog face too!
Looks soooo much better. The s83 is the most beautiful seatpost ever produced atmo
2 Likes
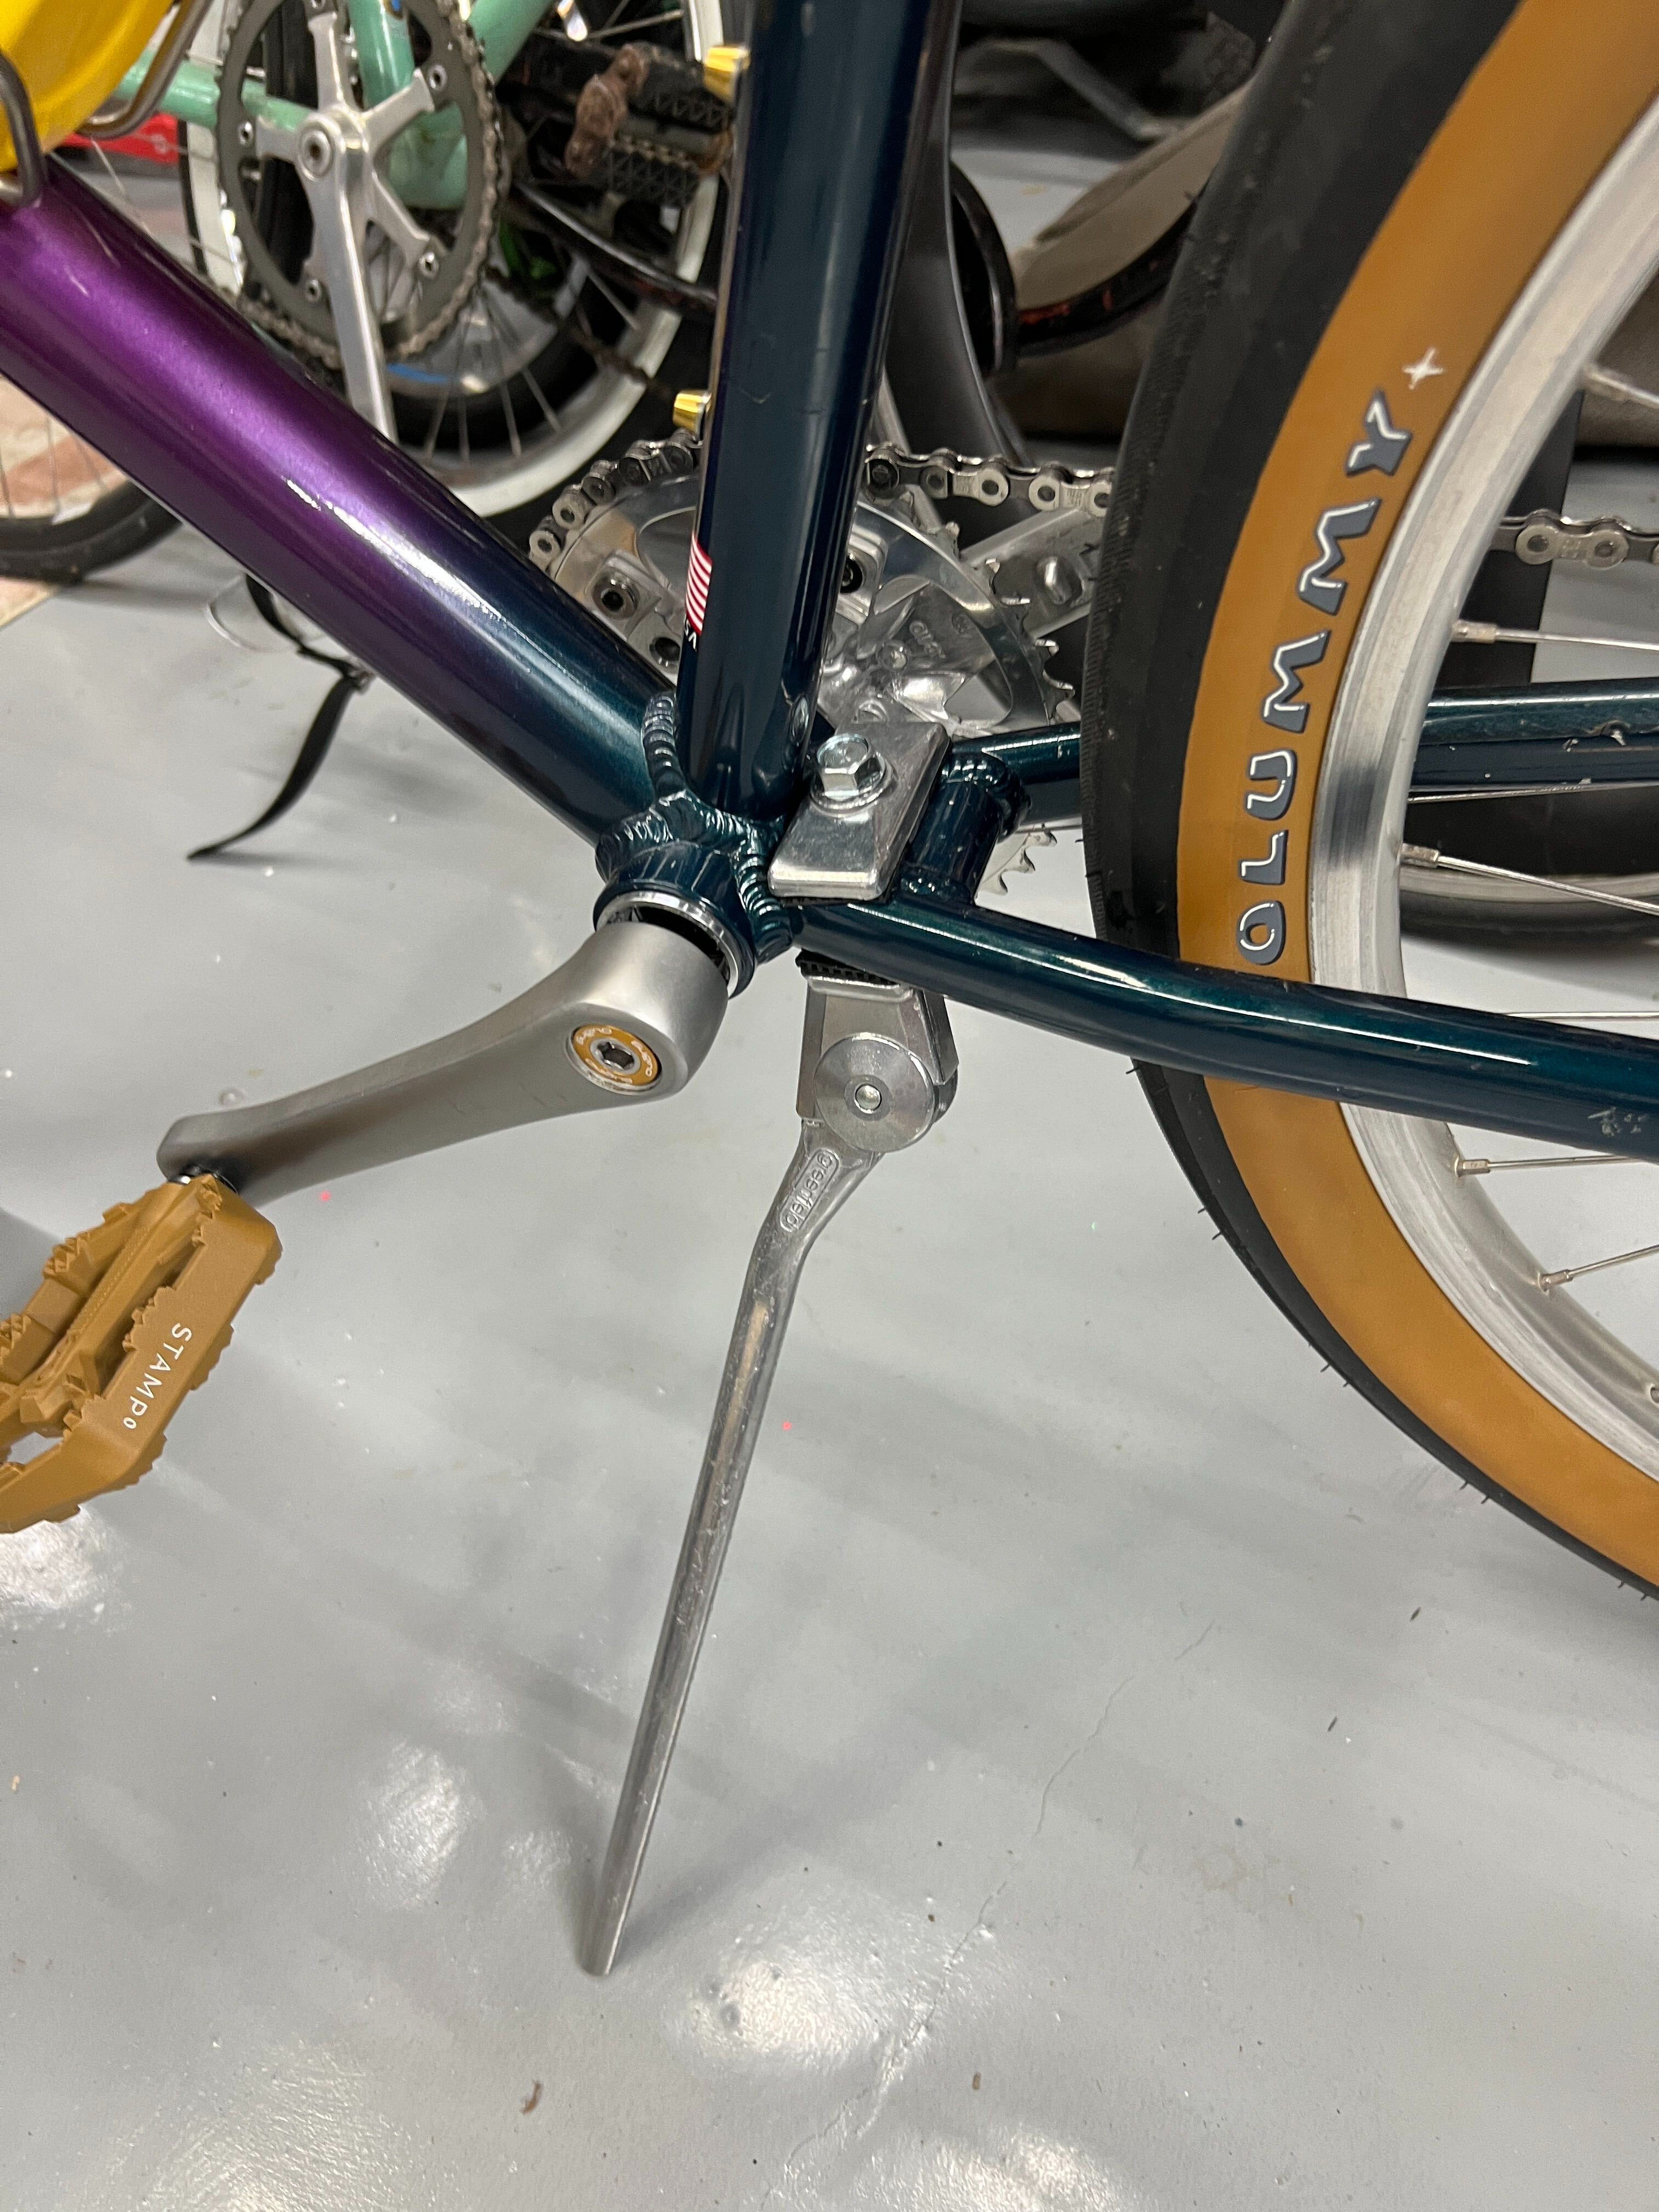
And because I can’t leave well enough alone…
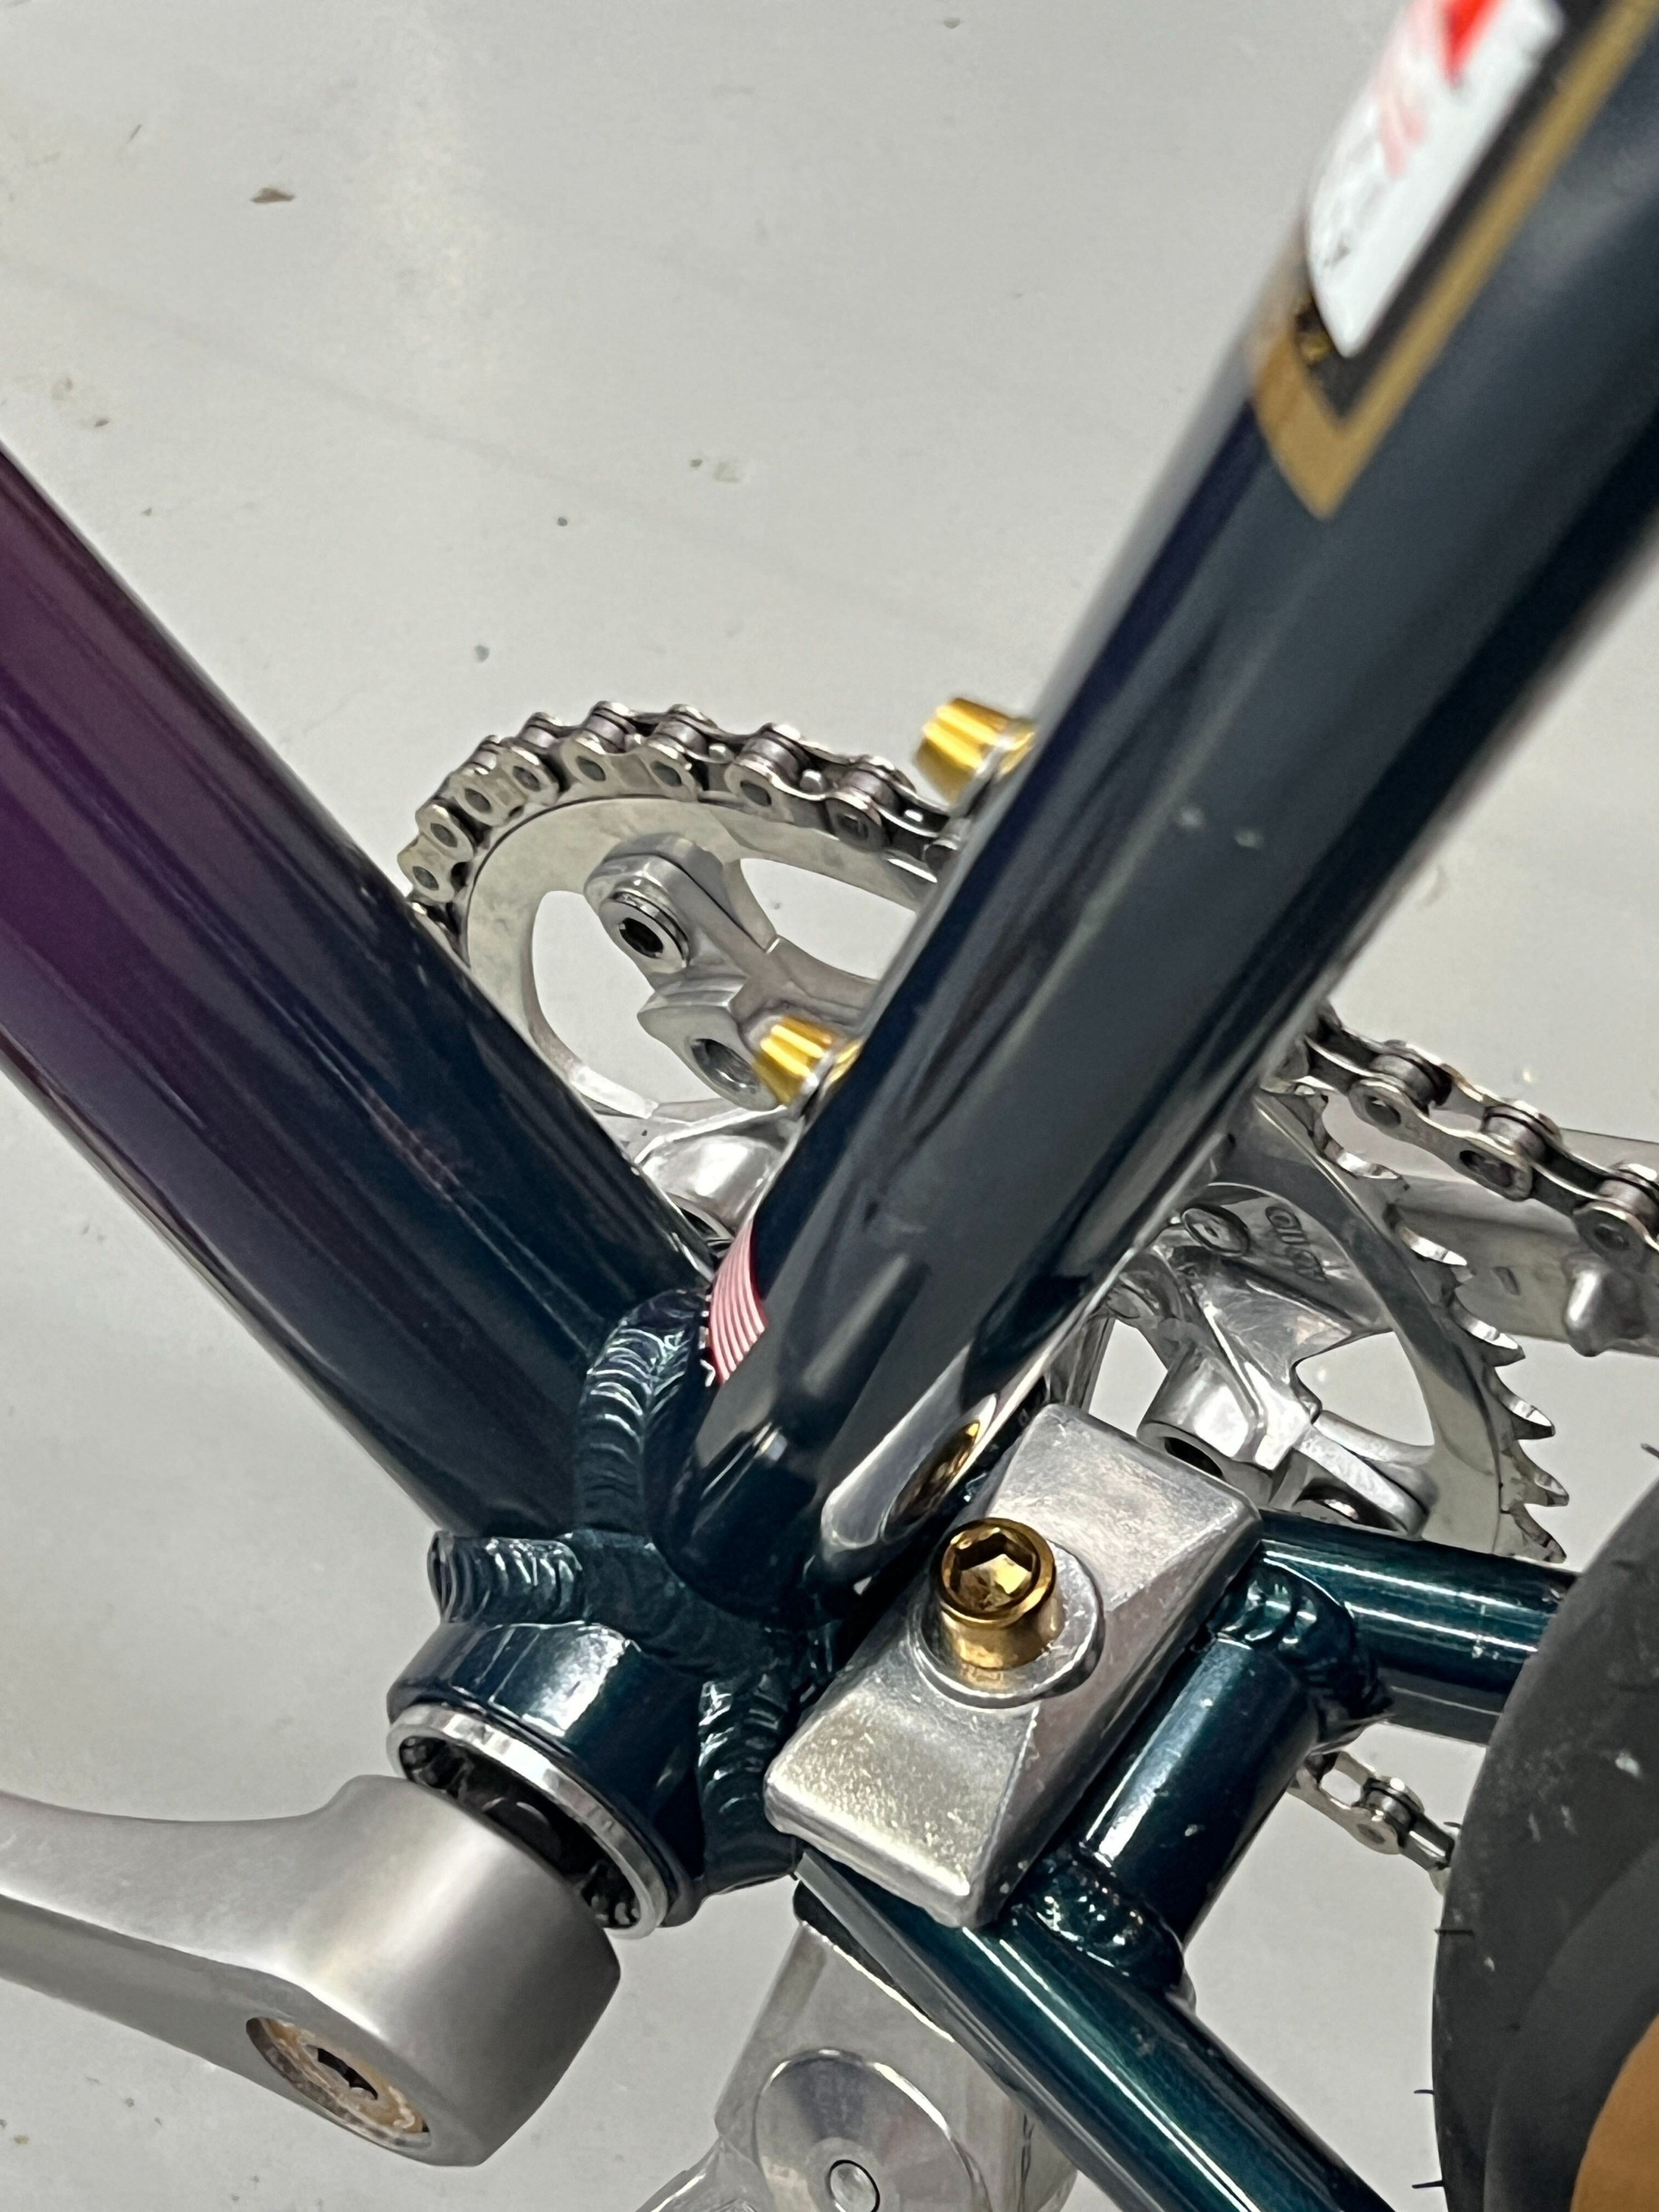
Swapped out the normal M10 bolt on the kickstand for a gold anodized socket cap one.
The regular hex-head was not the easiest to tighten down with the tight clearance in this area, and in addition to it being an opportunity for another little accent, I thought this would be easier to deal with as well, which it is … marginally. Luckily I had a long 5/16" hex key with the rounded end on it, but it’s not like that was a breeze either.
I think I’m done now.
3 Likes
Noooo!
1 Like
I love the dropper on my Marino but it’d deffo fit better with a setback post.
I just gave my old sailrite machine to a workmate. I had no idea they were still a thing. She builds her own packs so at least it will get used.
1 Like