How 'bout a build thread? 1993 StumpJumper M2 Dadbike

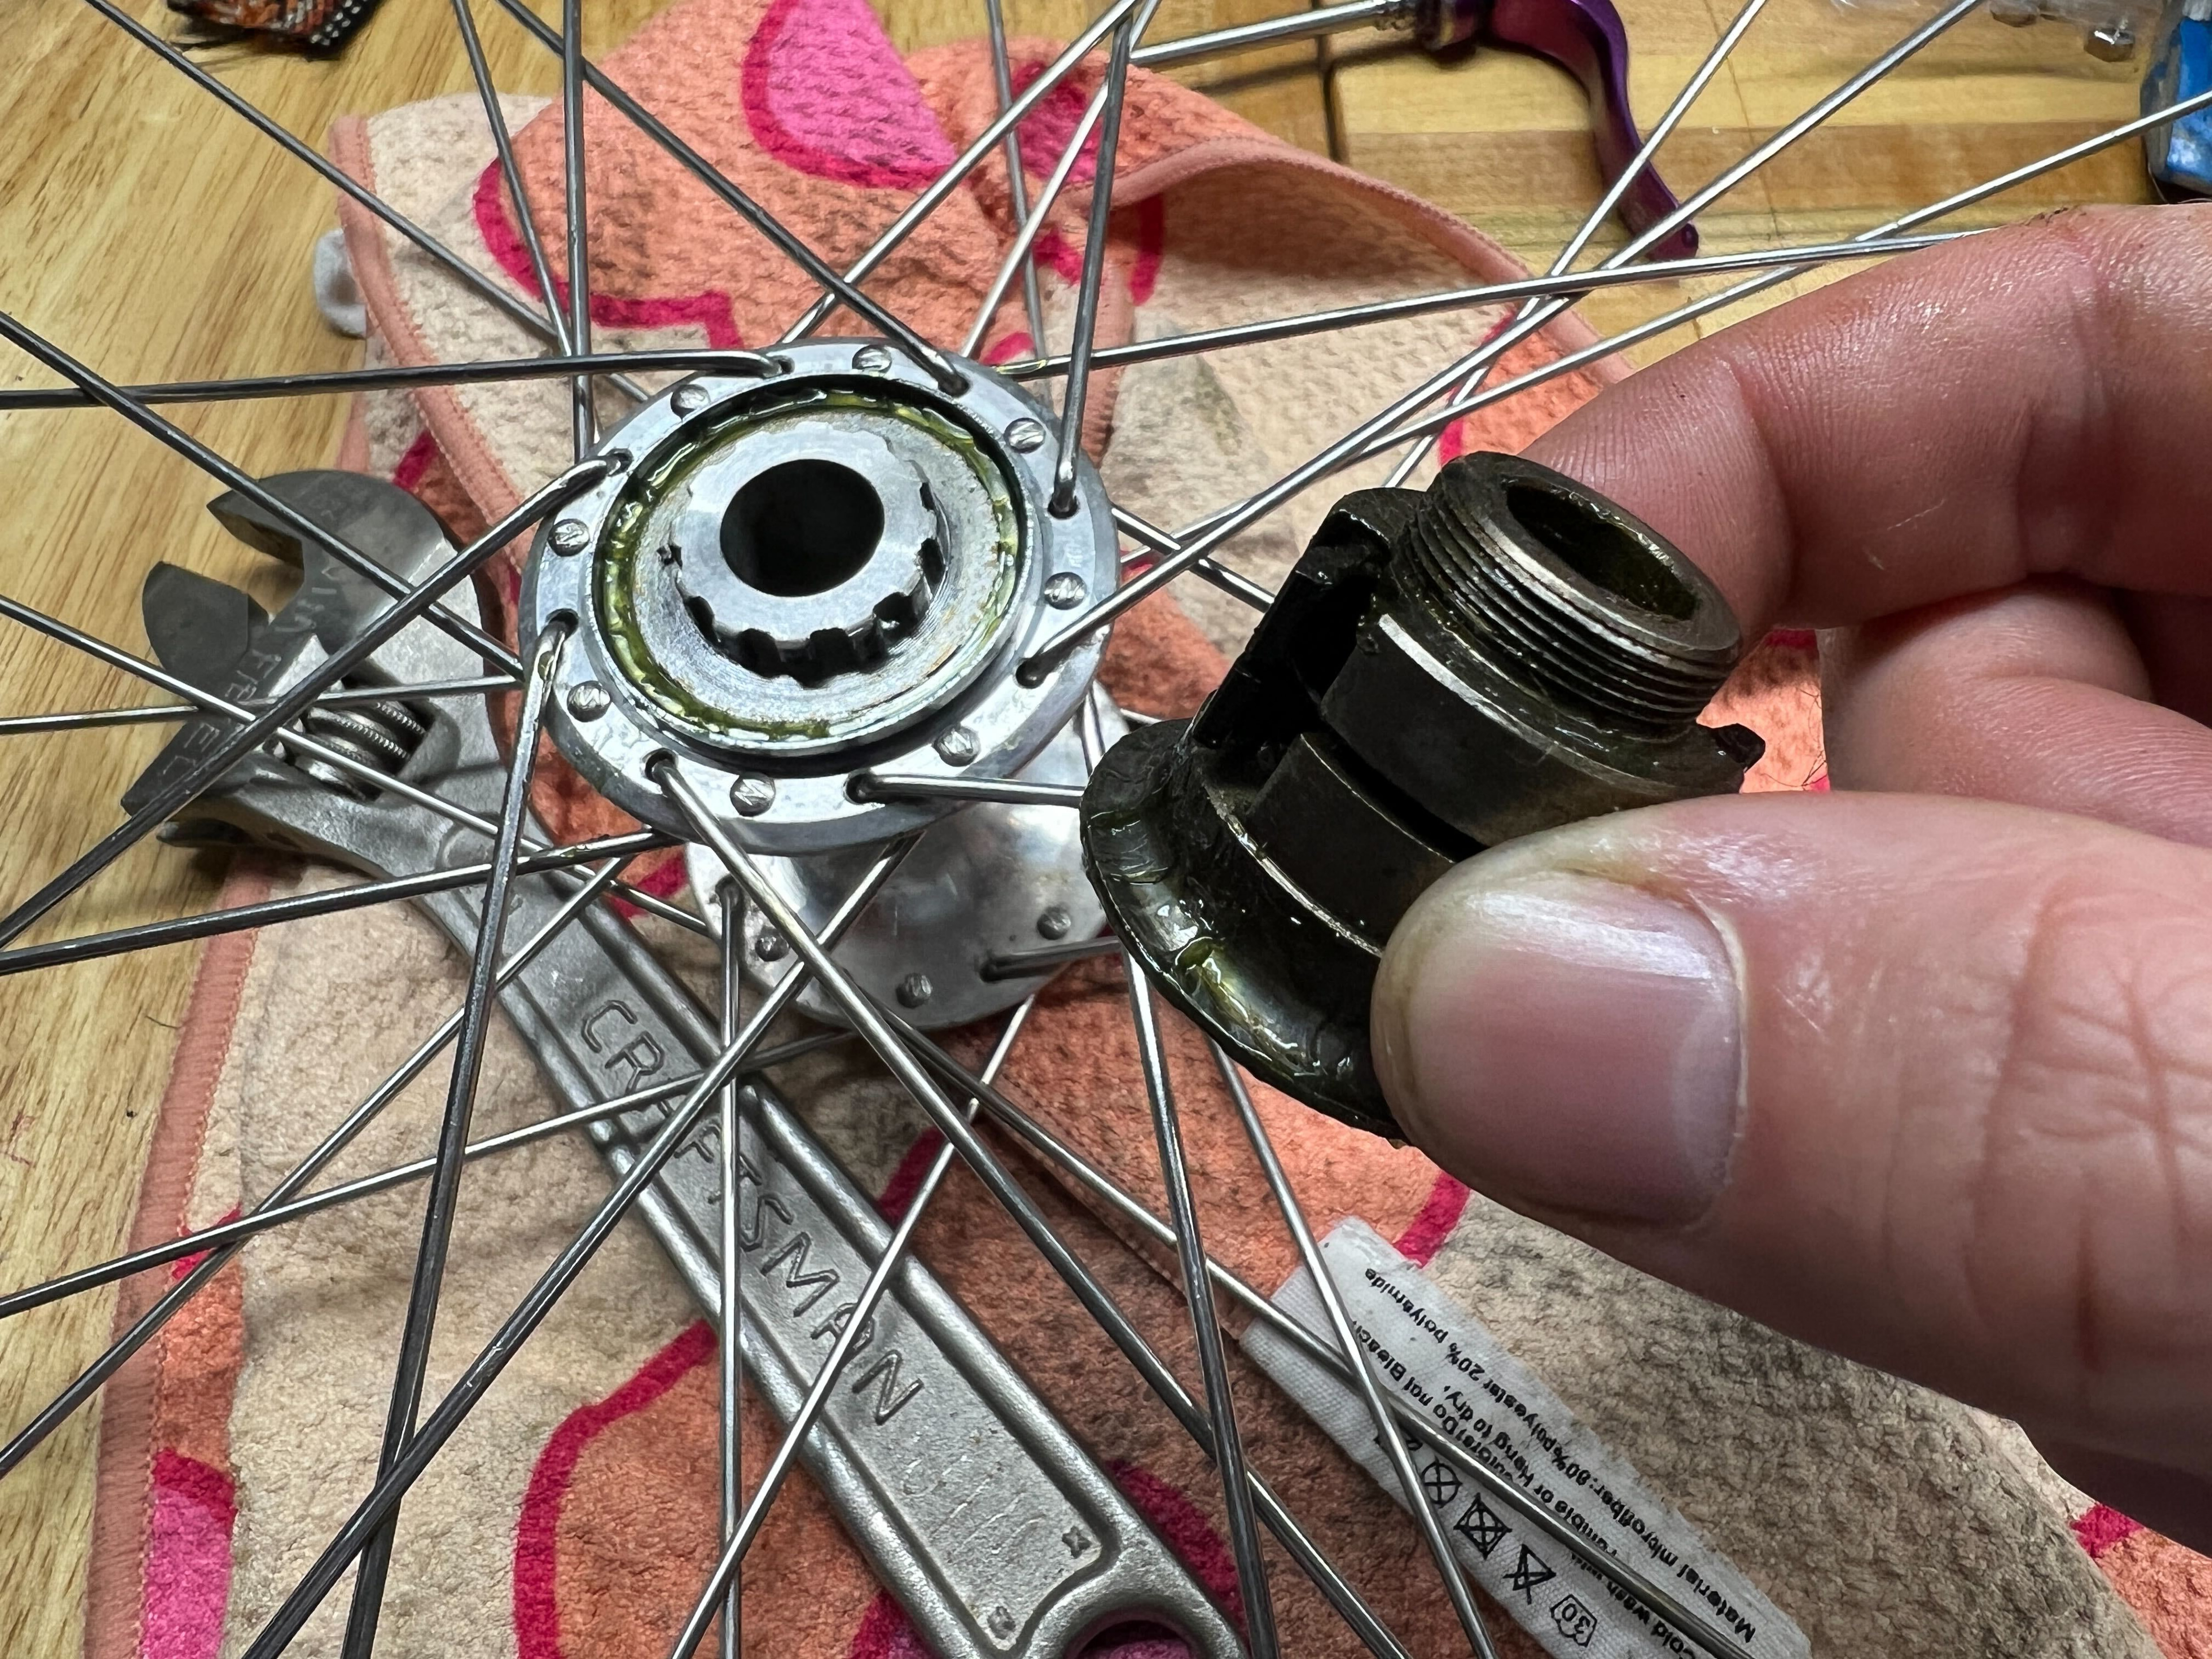
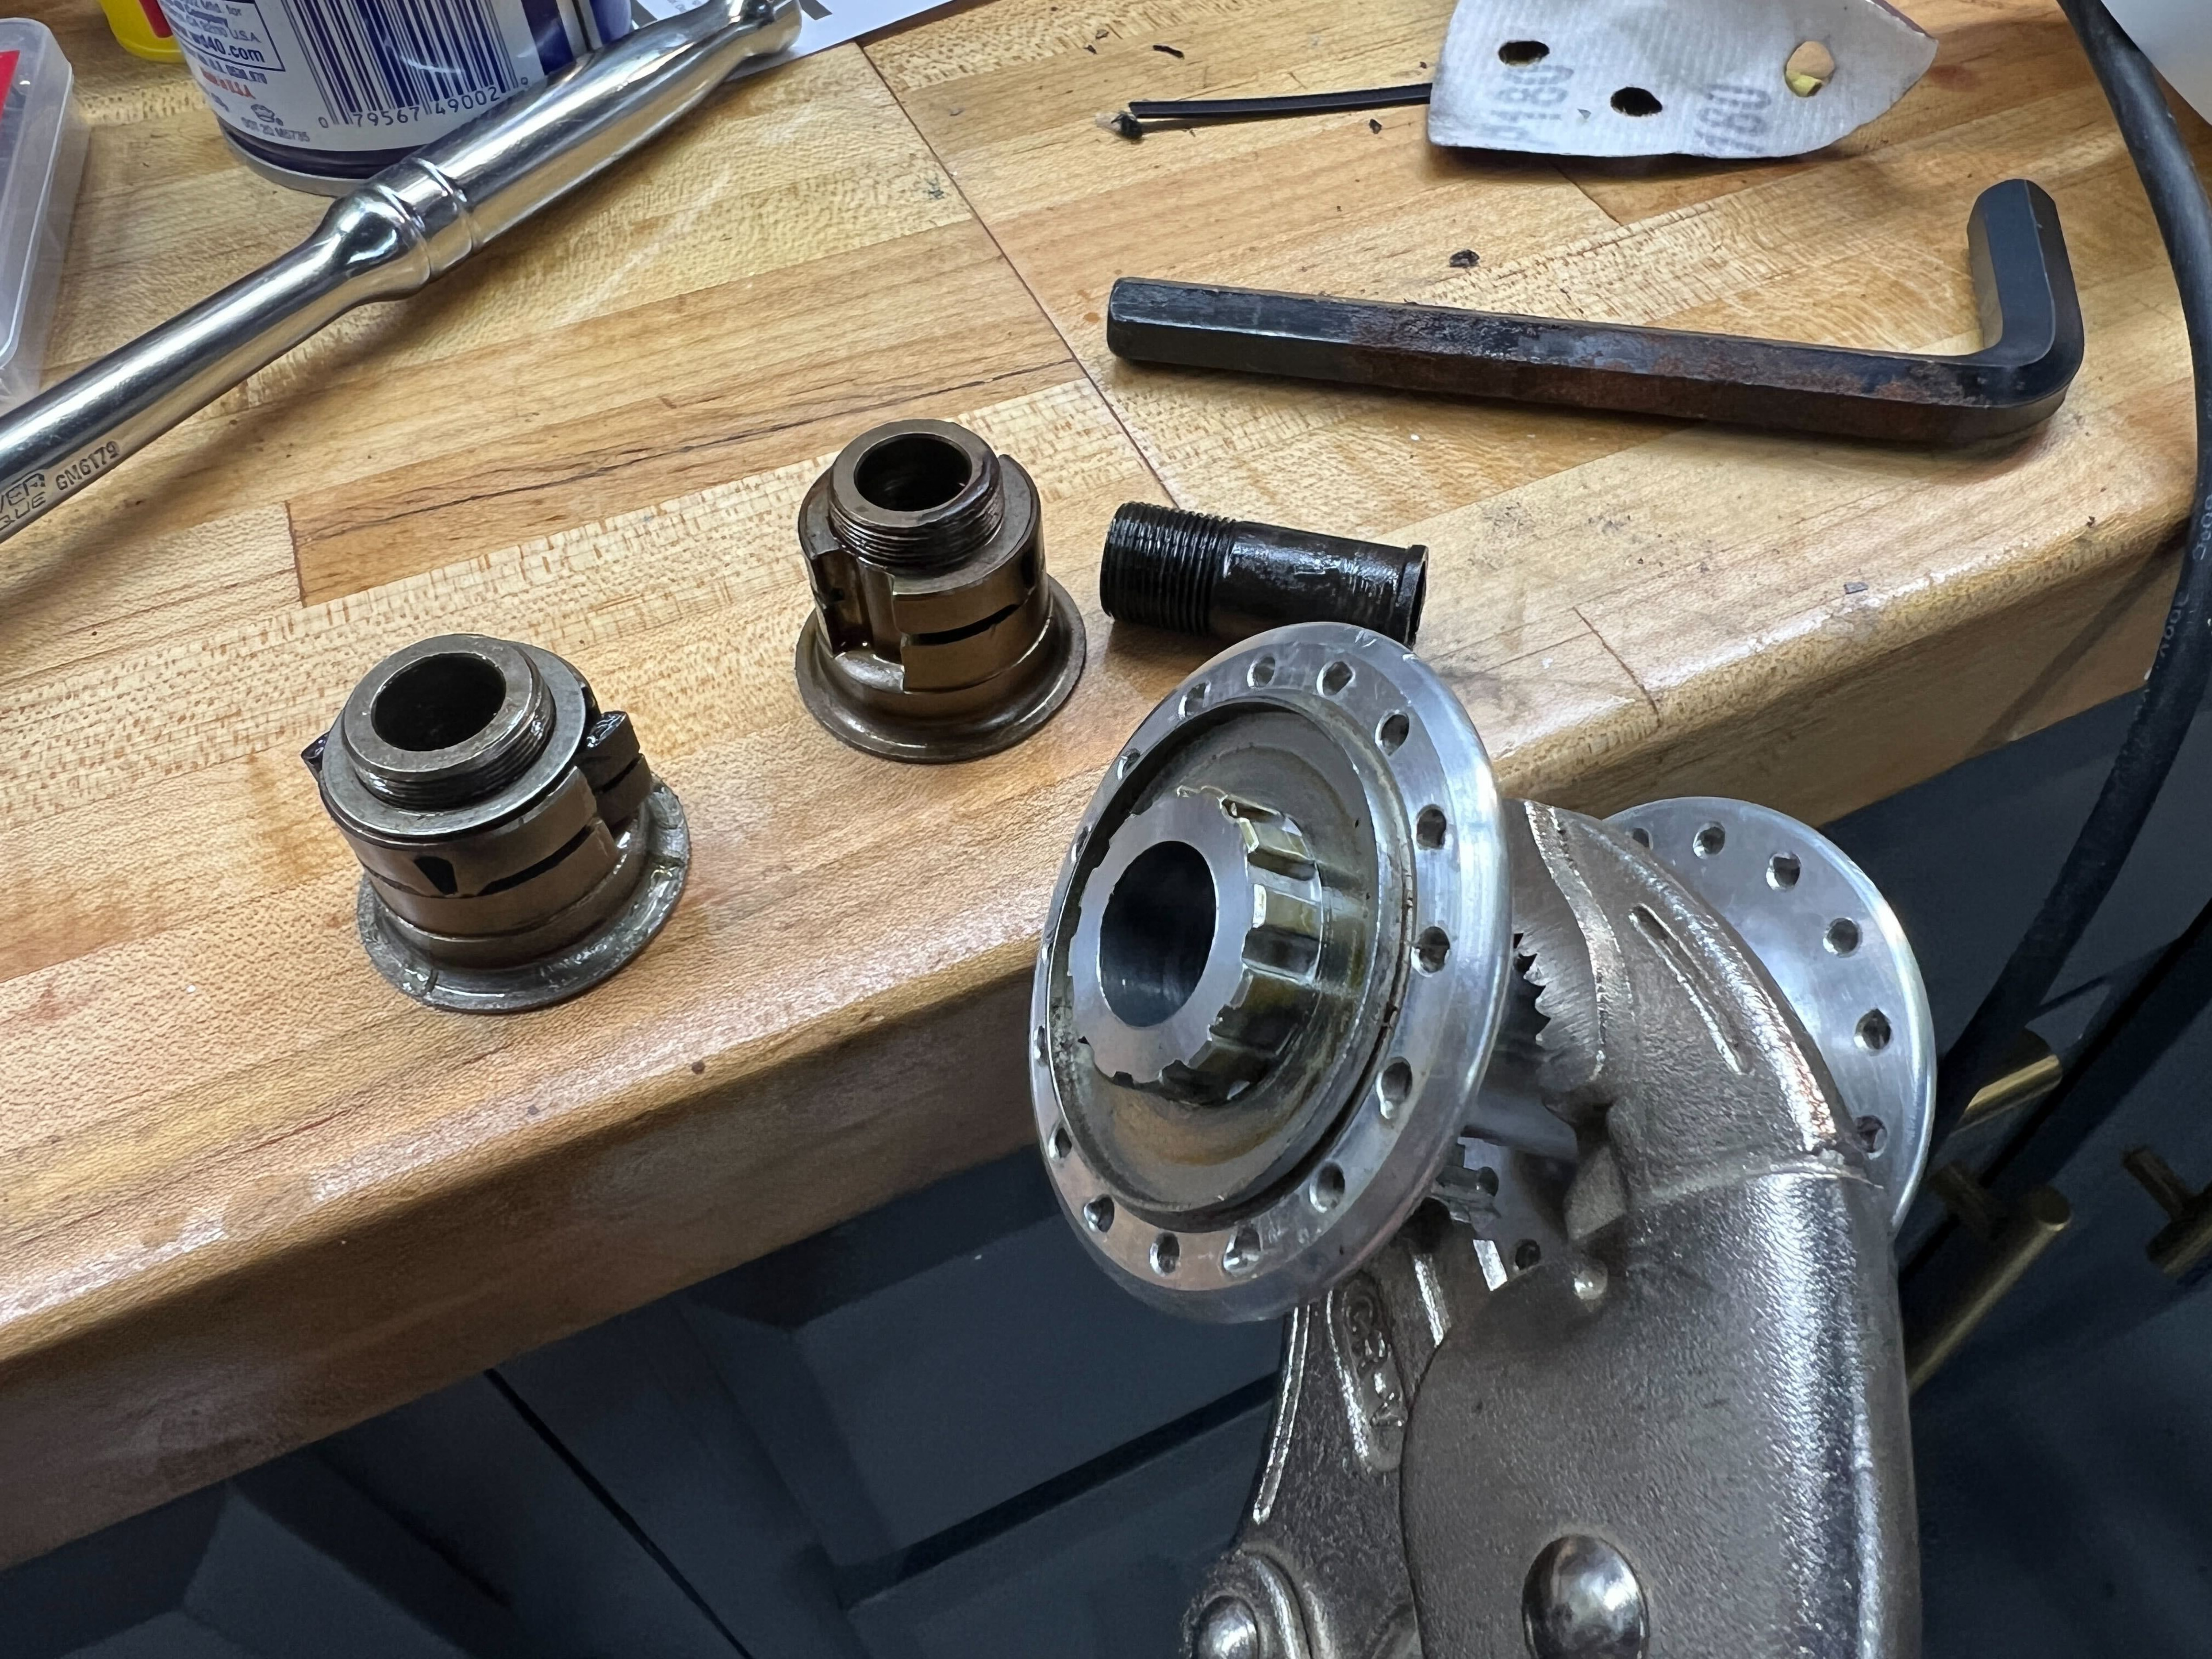
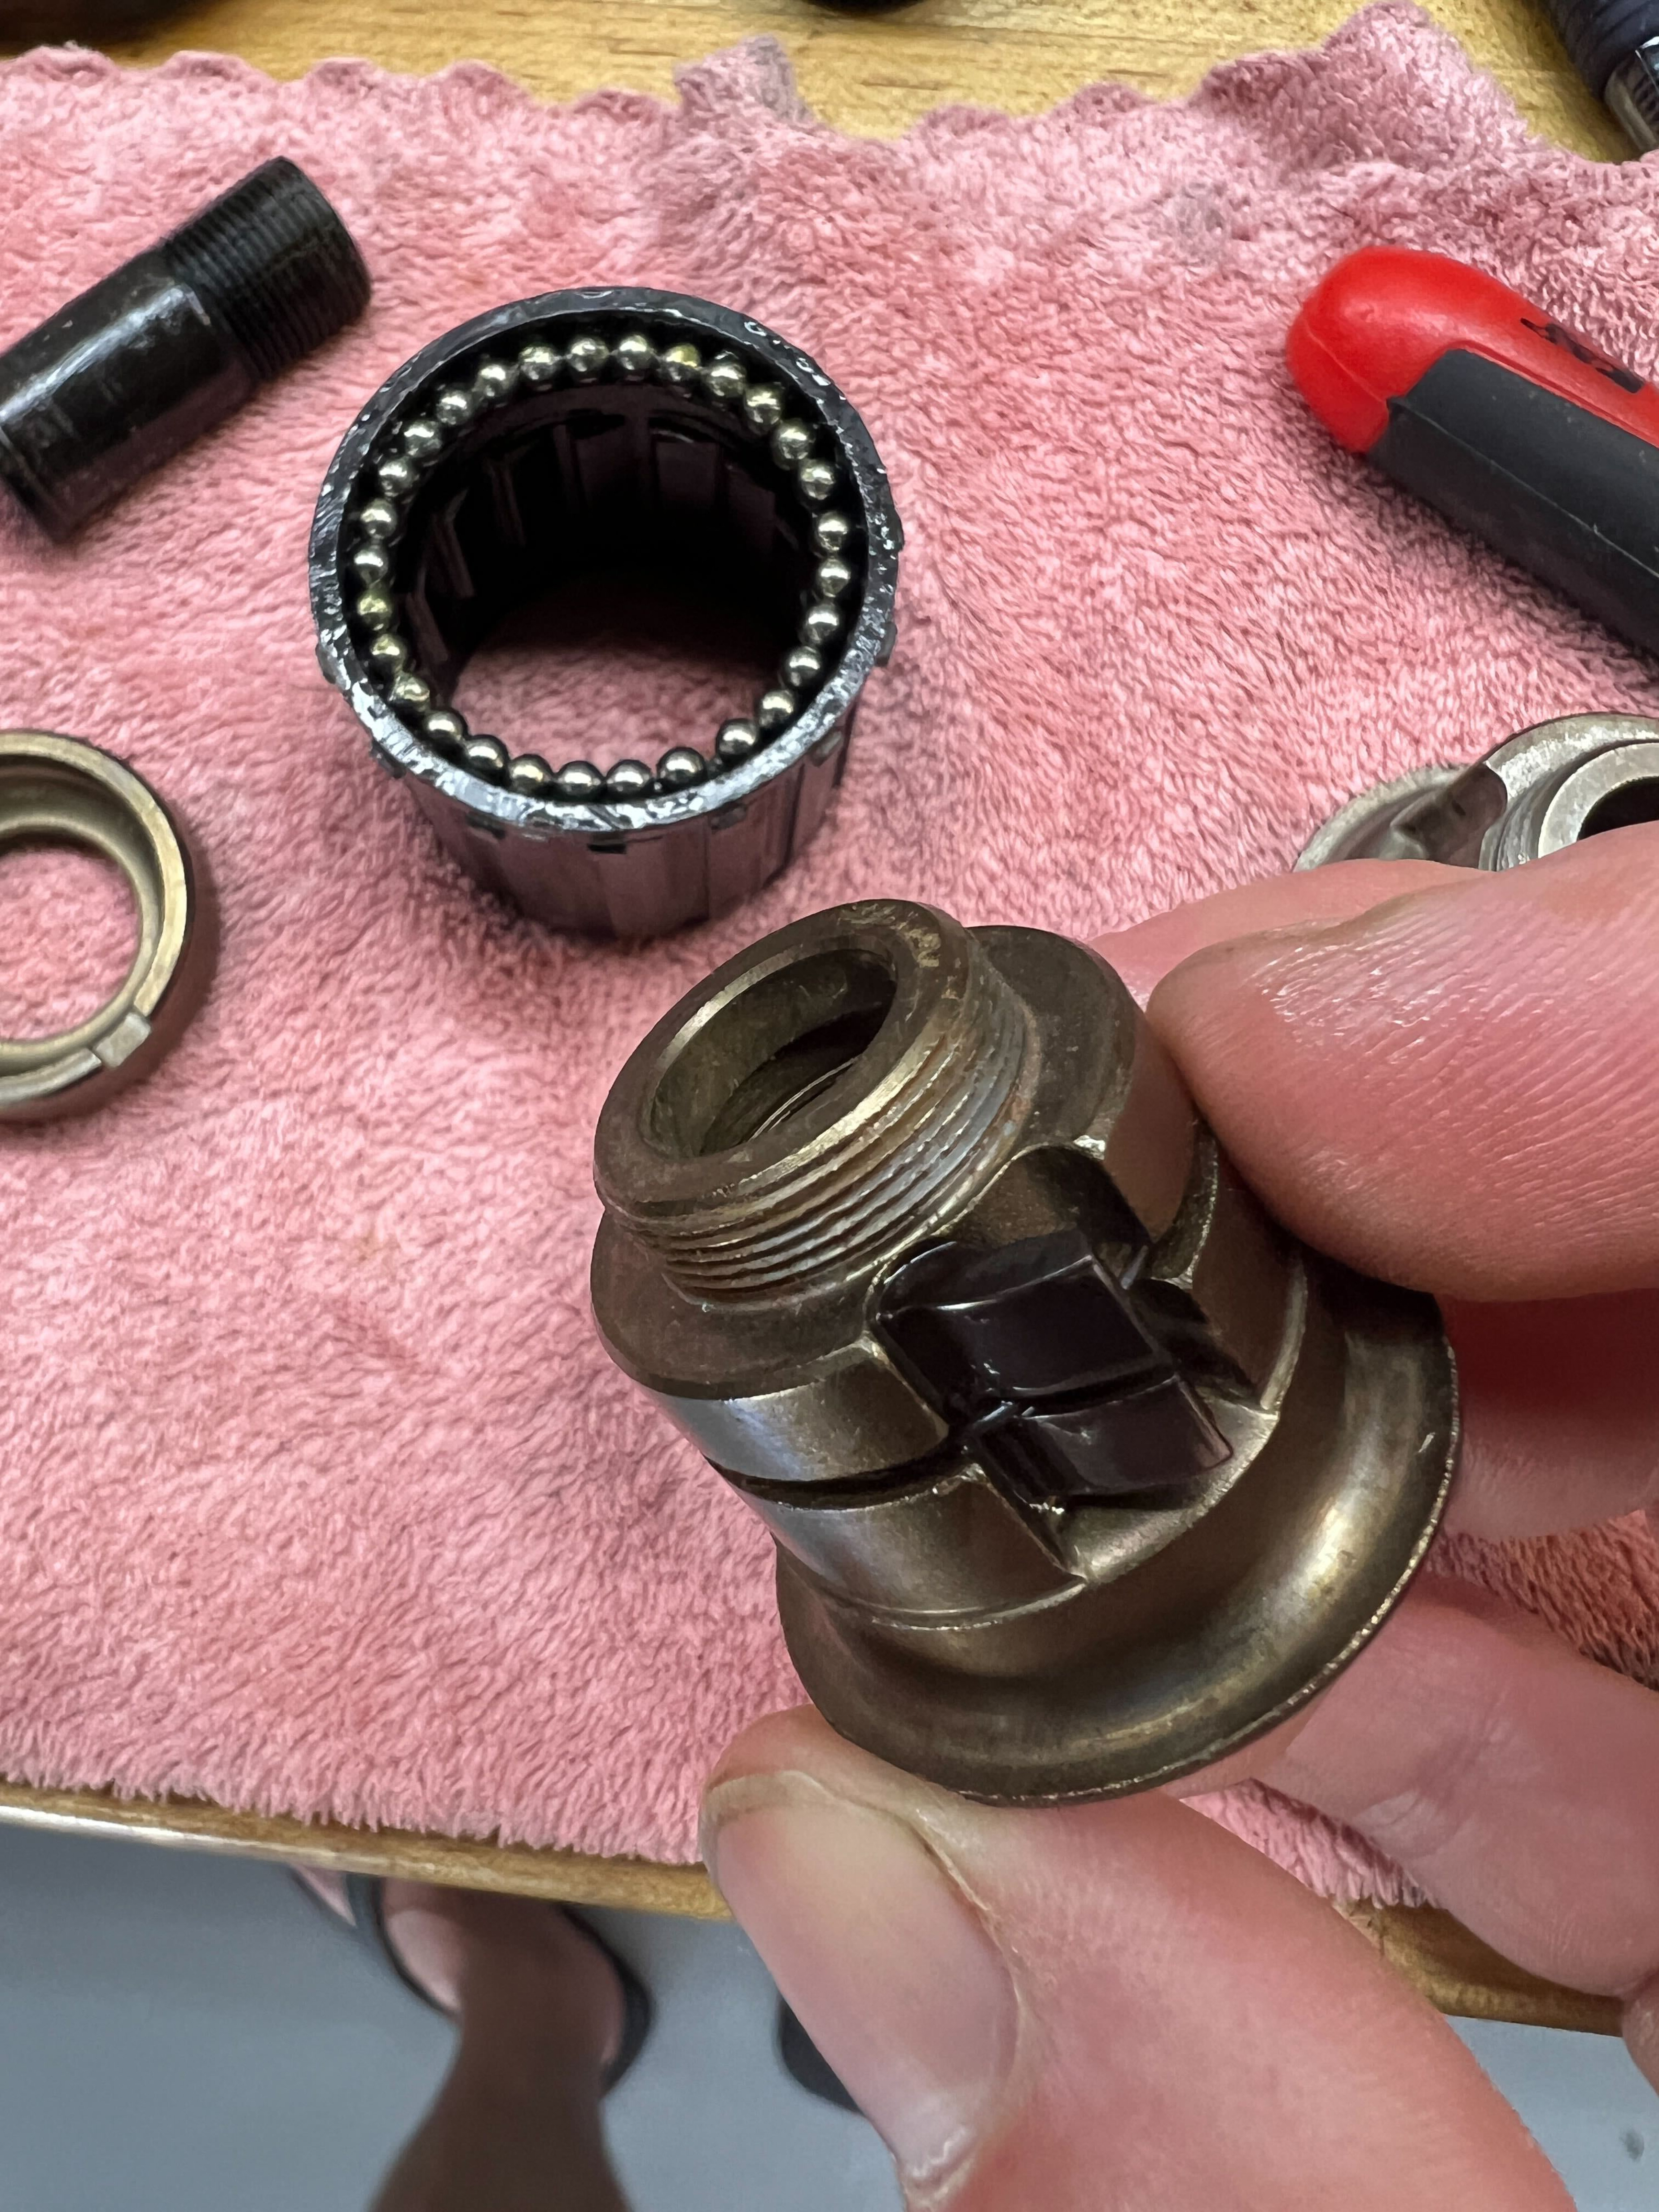
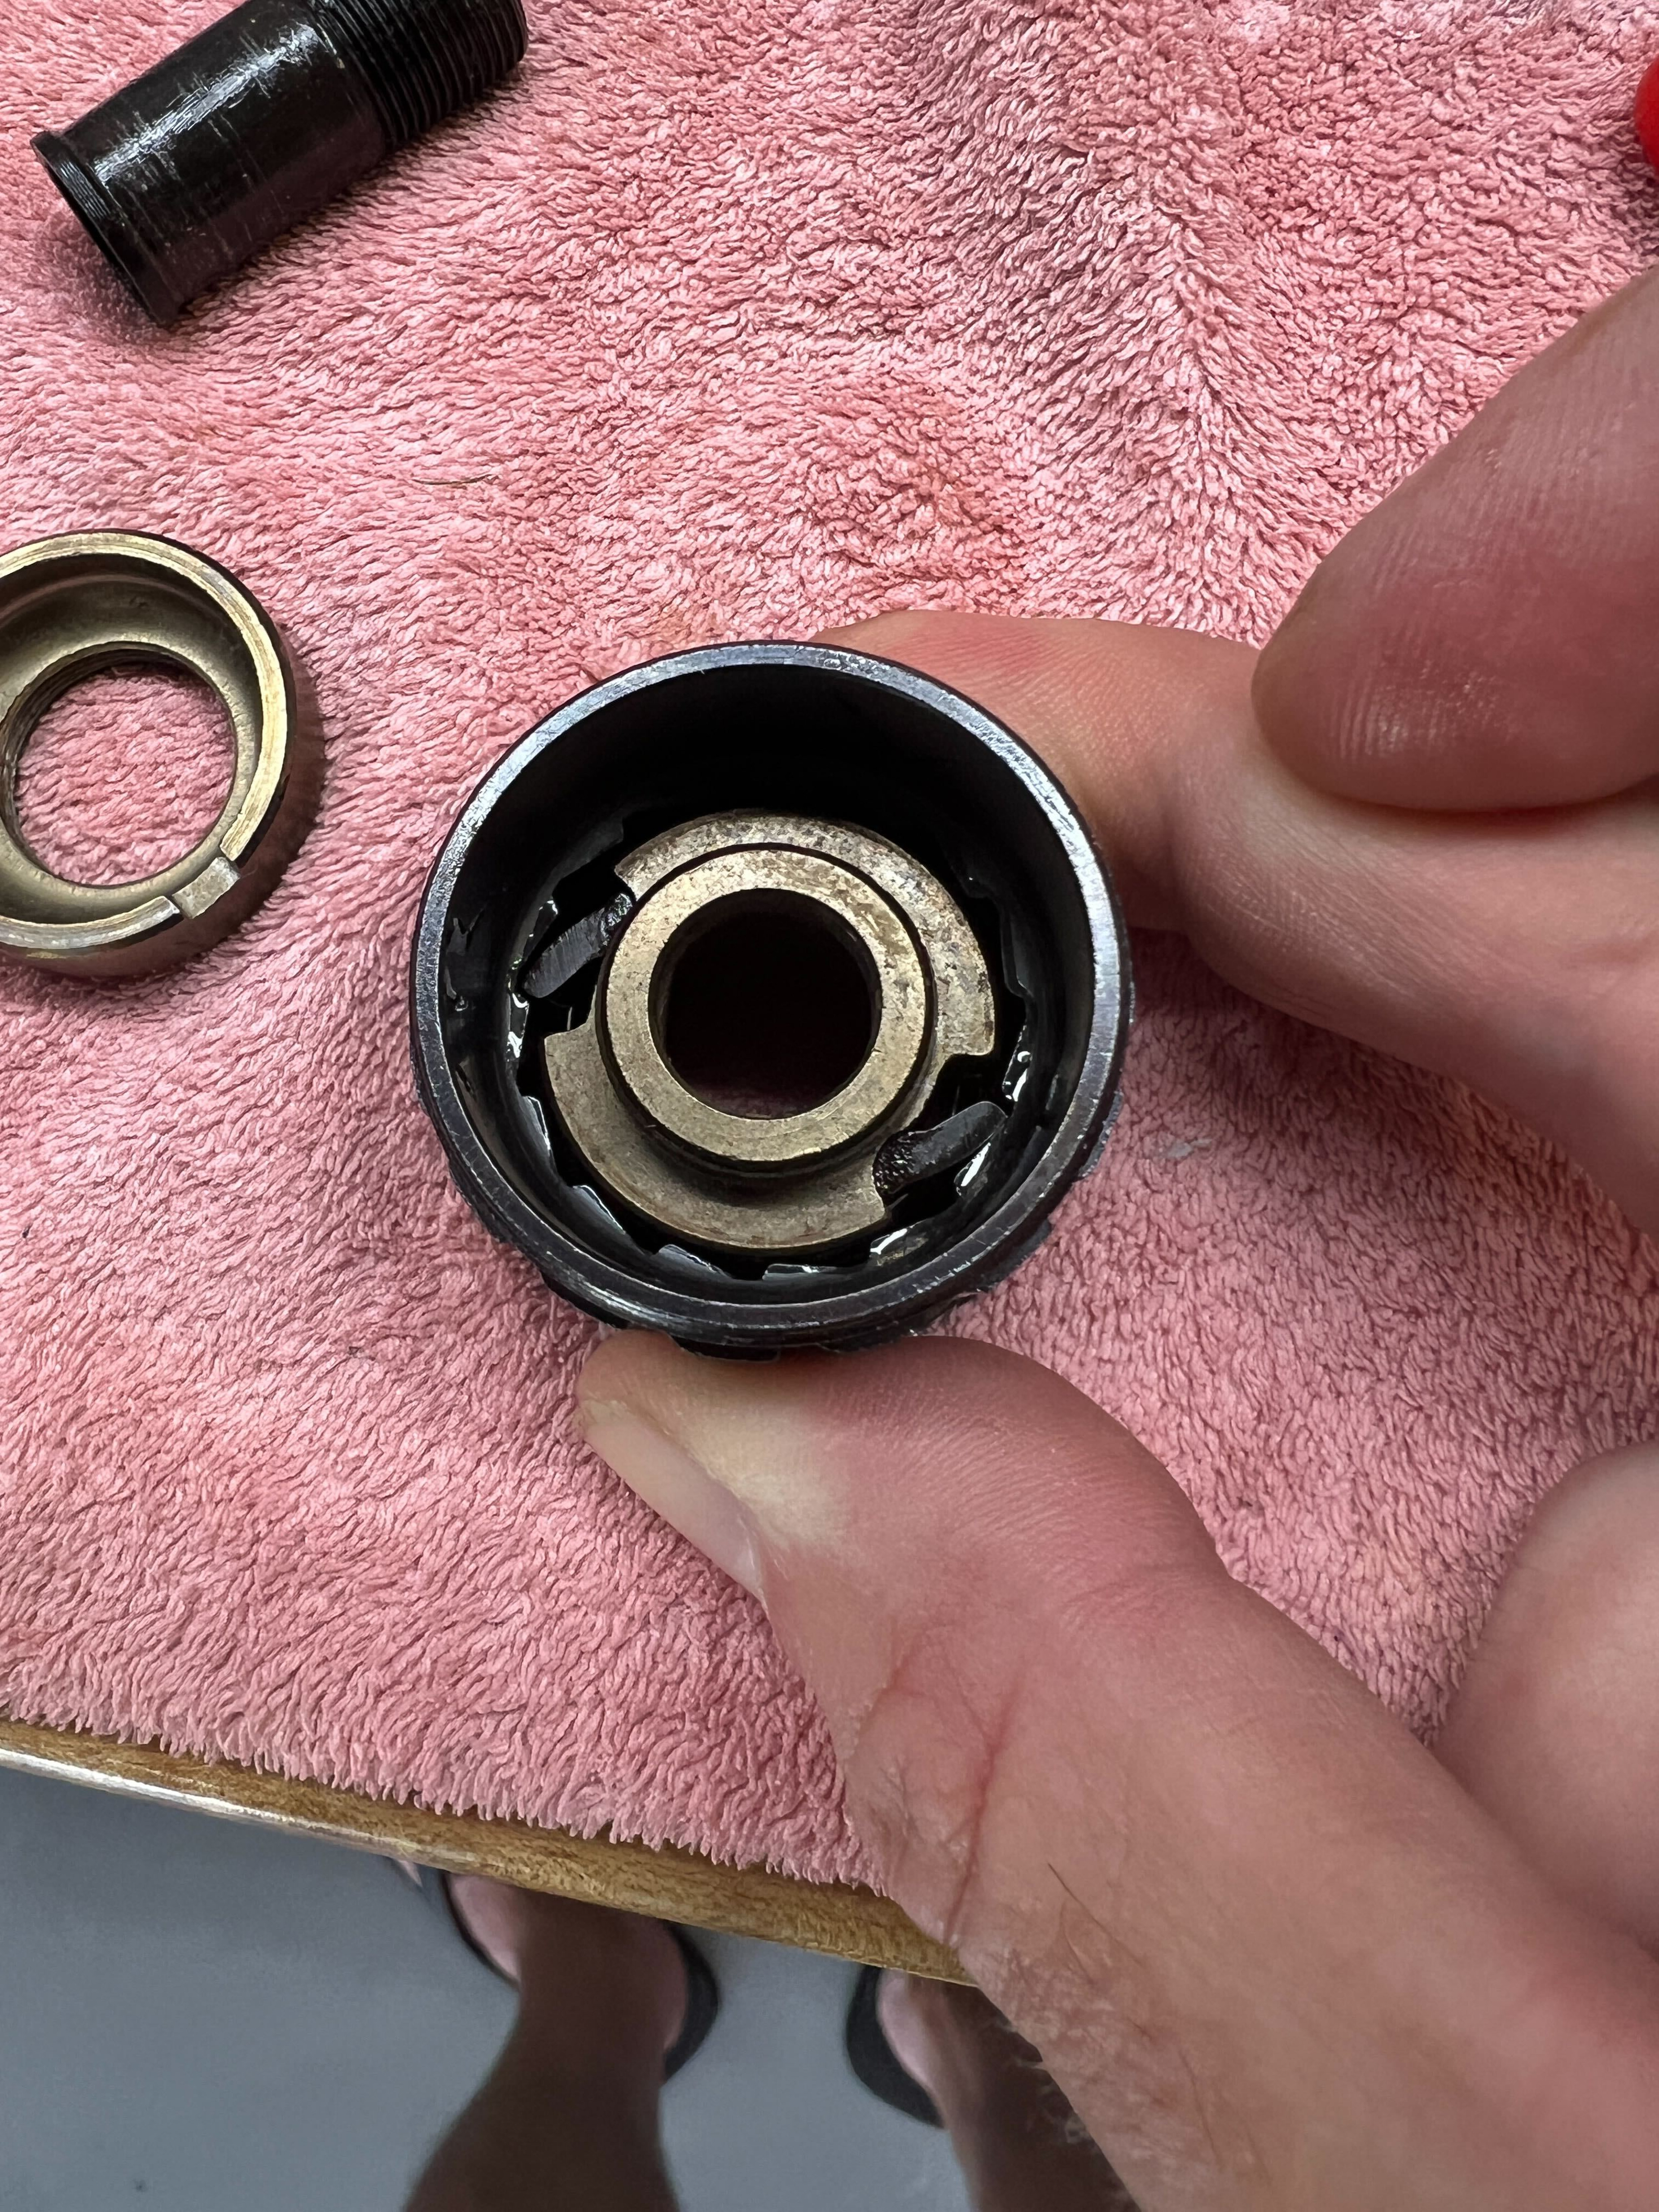
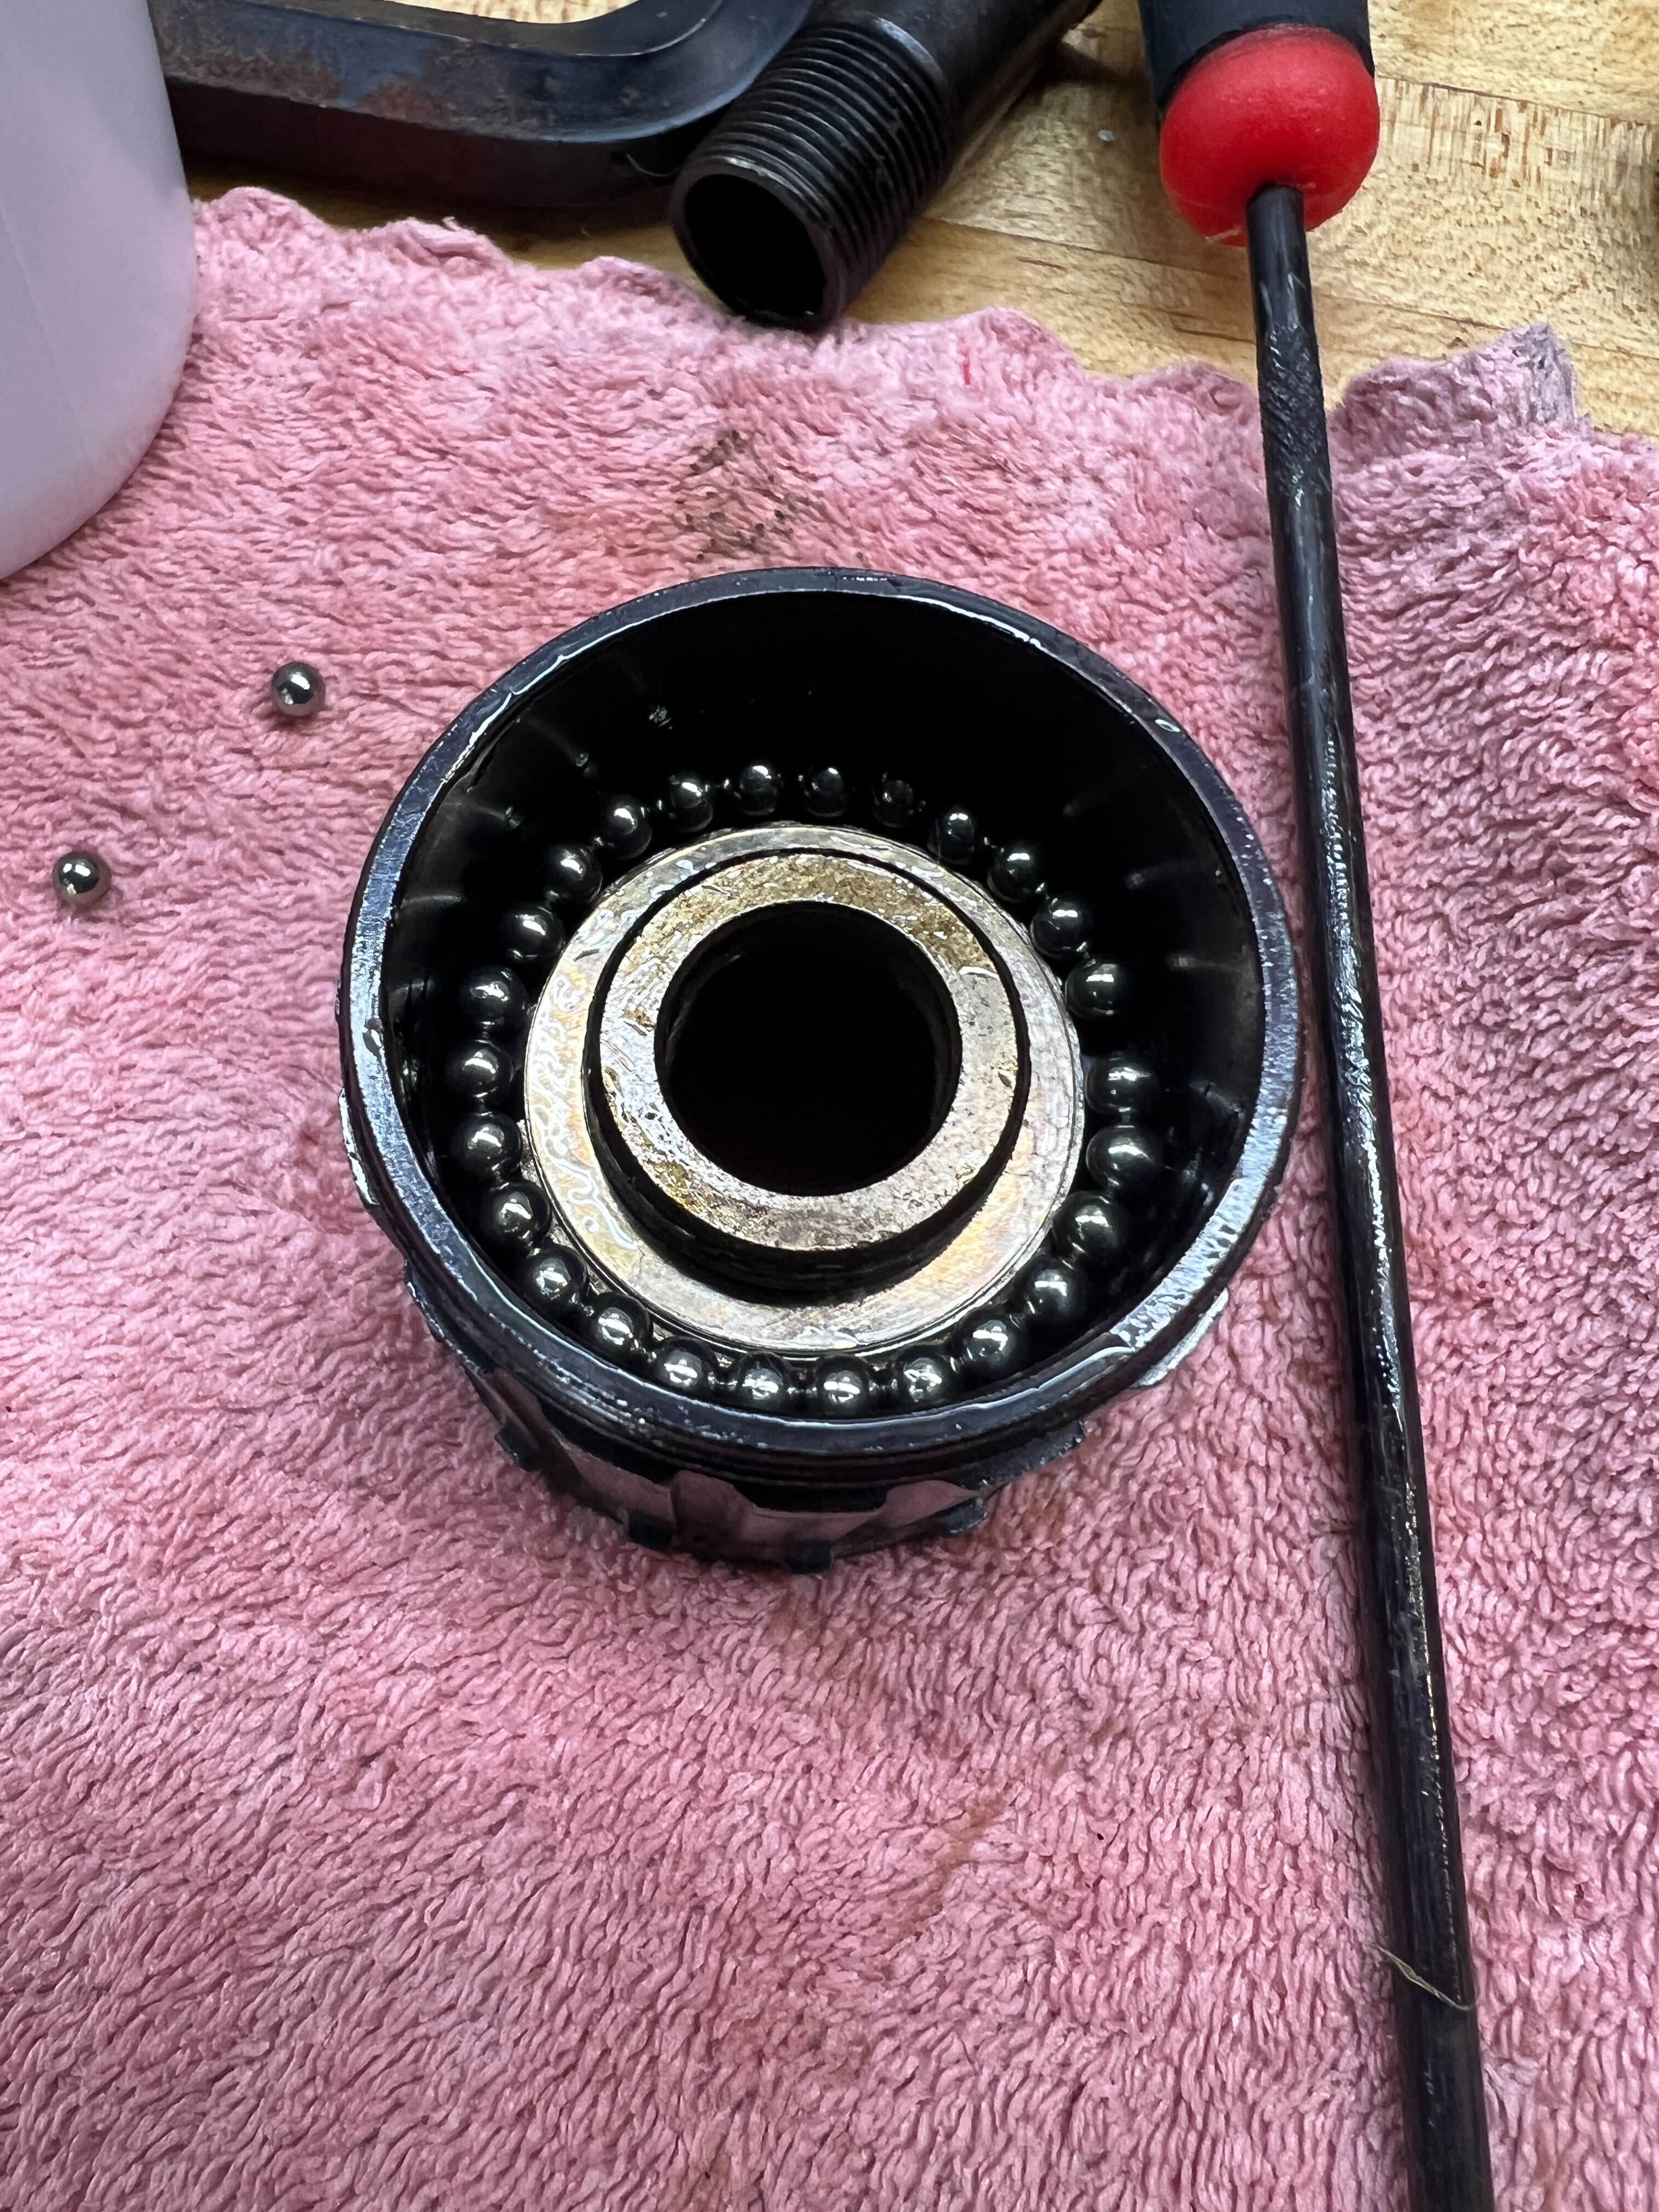
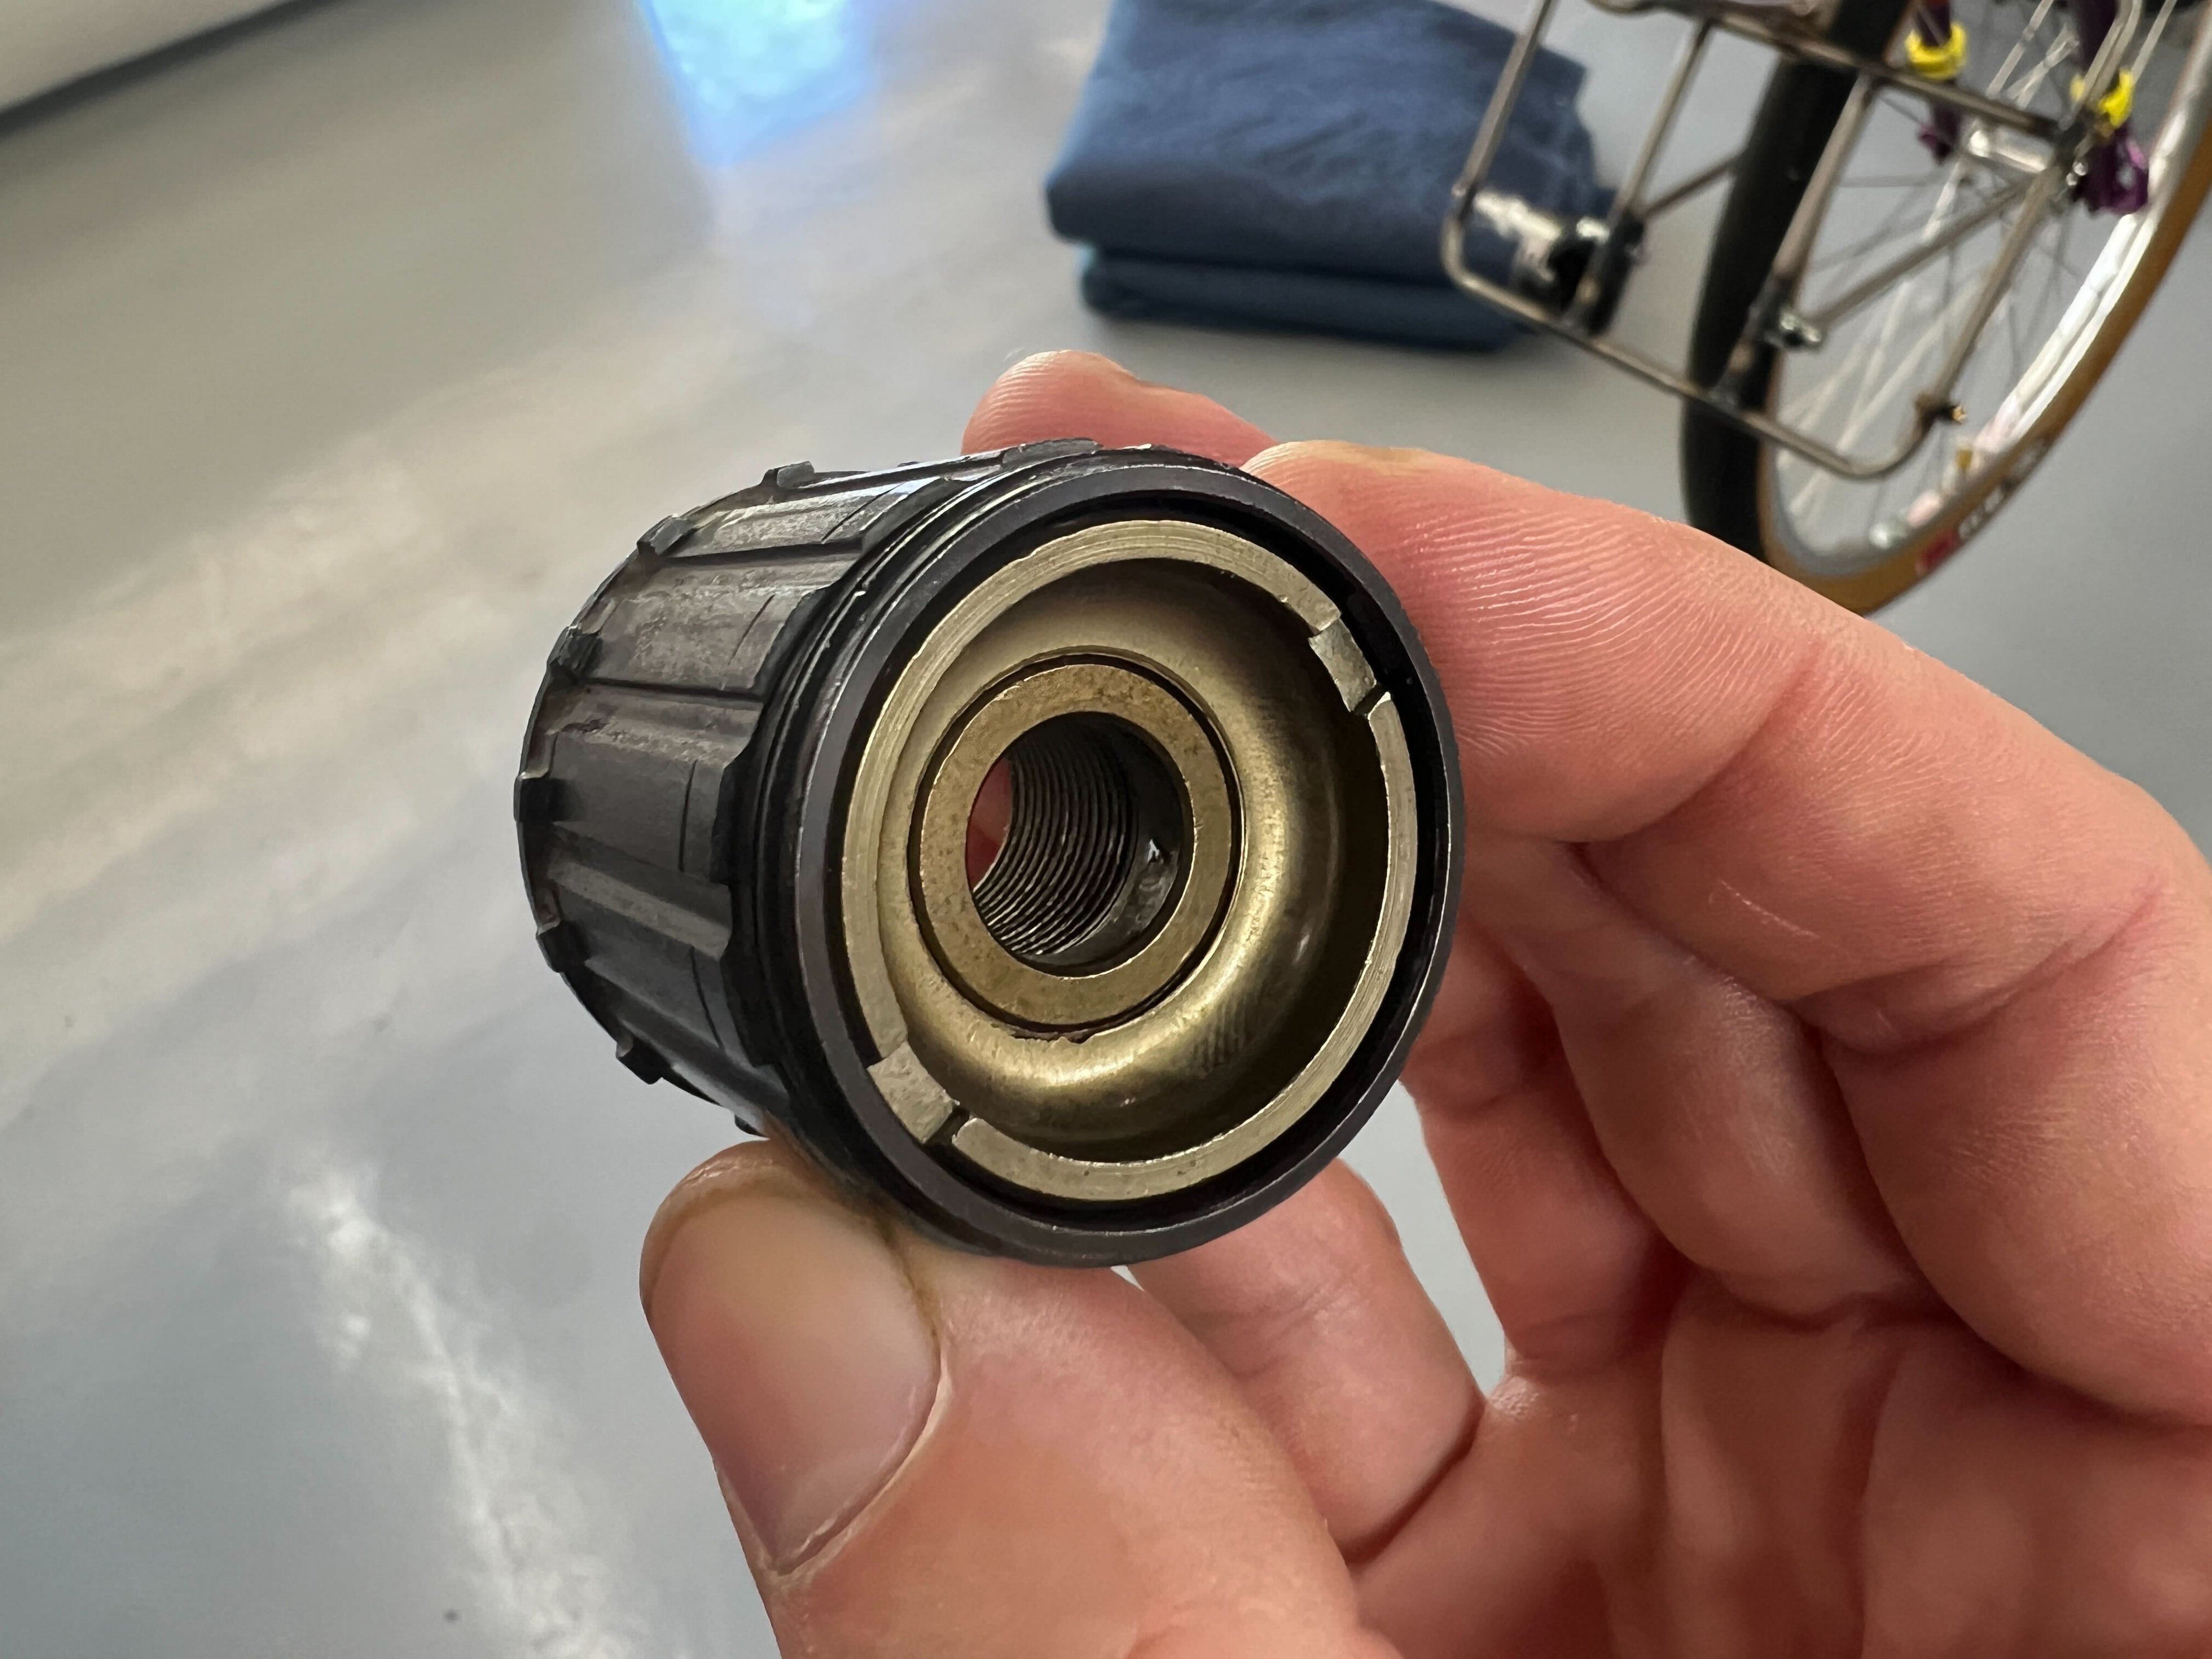
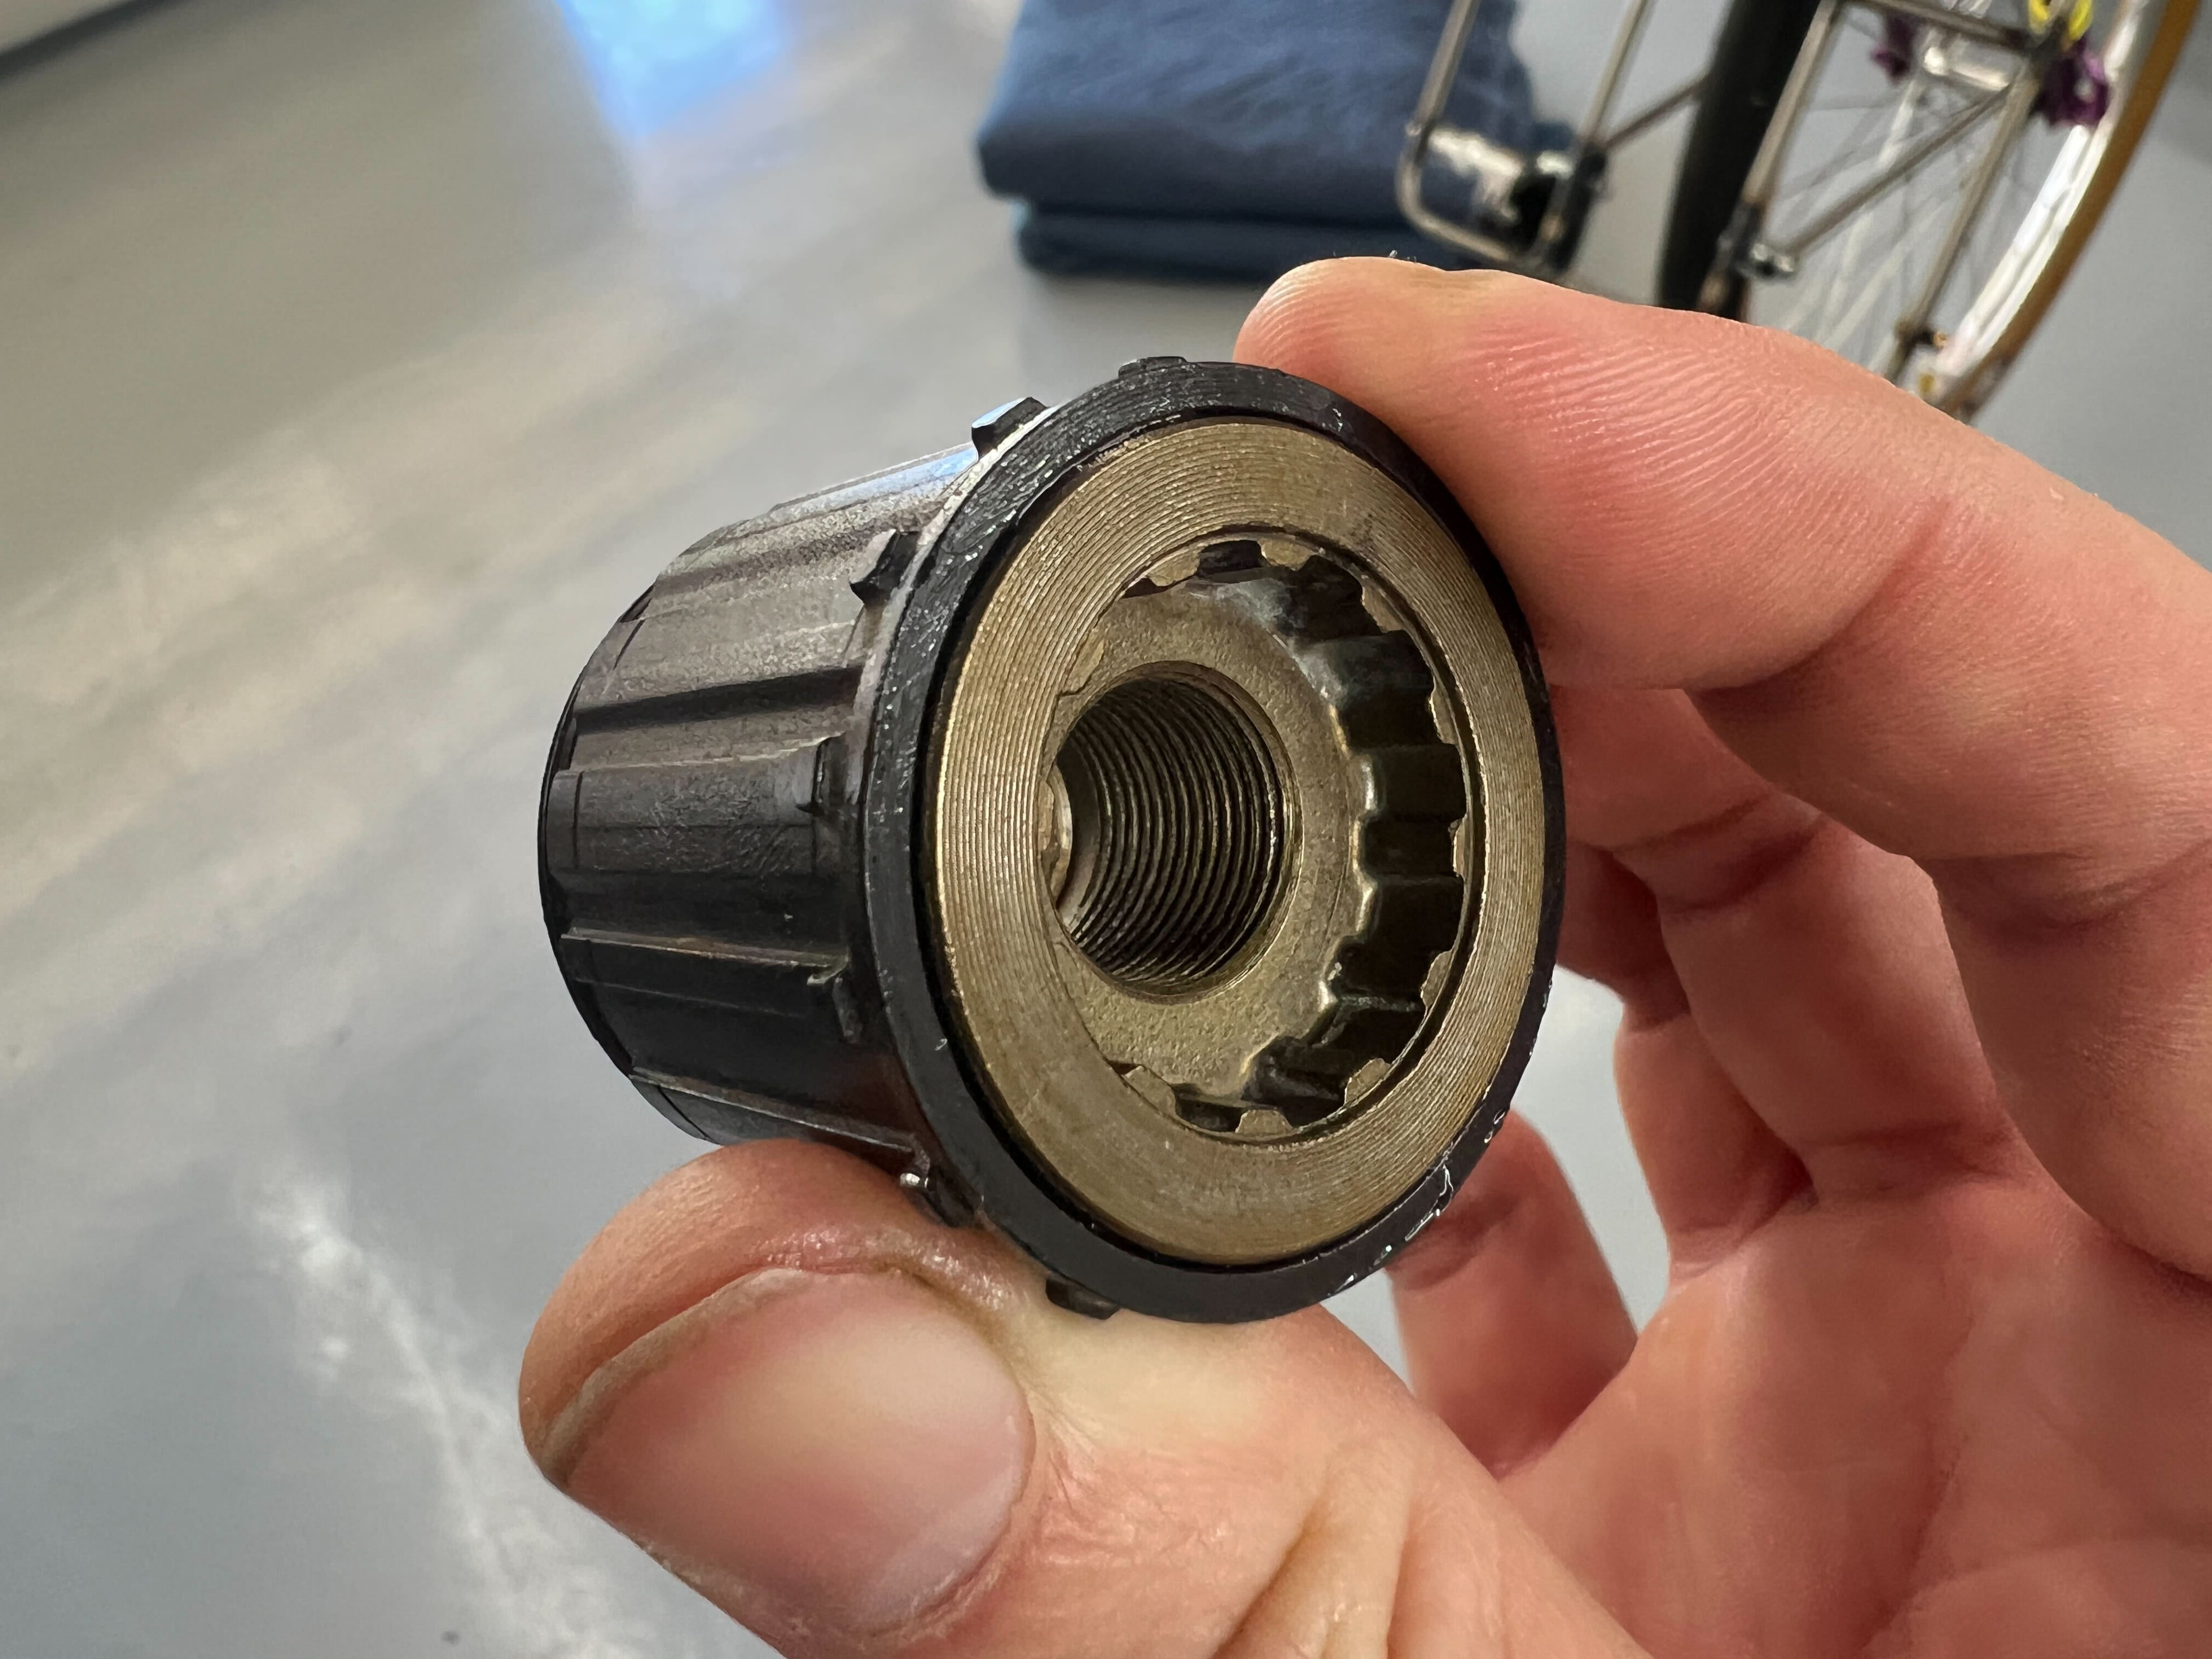
Definitely ended up with way too much preload on the cone for the freehub bearings (which is also the cup for the axle bearings), so that’s been sorted.

I used Phil waterproof on all the bearings in there and am now wondering if maybe I should have used a lighter grease or oil. That’s just what I’ve always used for everything (except pawls of course).

I’m glad I was able to get the cassette off using just one chainwhip and the rag method, but I think I might get a $7 whip from the Amazon to have a second one for the future.

At any rate, the freehub acts like a normal freehub now and not a bound-up one.

[Edit] There’s a very good chance that the chain fell off due to the freehub not being very free, or at least I feel like that’s a major contributing factor.

Got the shifter worked out as well.

Now that I’ve taken a closer look at it, there are two settings on it, and it works for 7 or 8 speed.

It has this sort-of friction mode which says F7 and F8, but it’s like “indexed lite” to me because it isn’t purely friction unless you really loosen it up, just looser indexing.

To change it, you loosen the top cap thing and spin the lower ring thing to set it how you want. Maybe this is standard shifter behavior!

The click is very strong and nice when it’s indexed though. Got the limits all good on the derder. Shifting beautifully, at least on the stand.

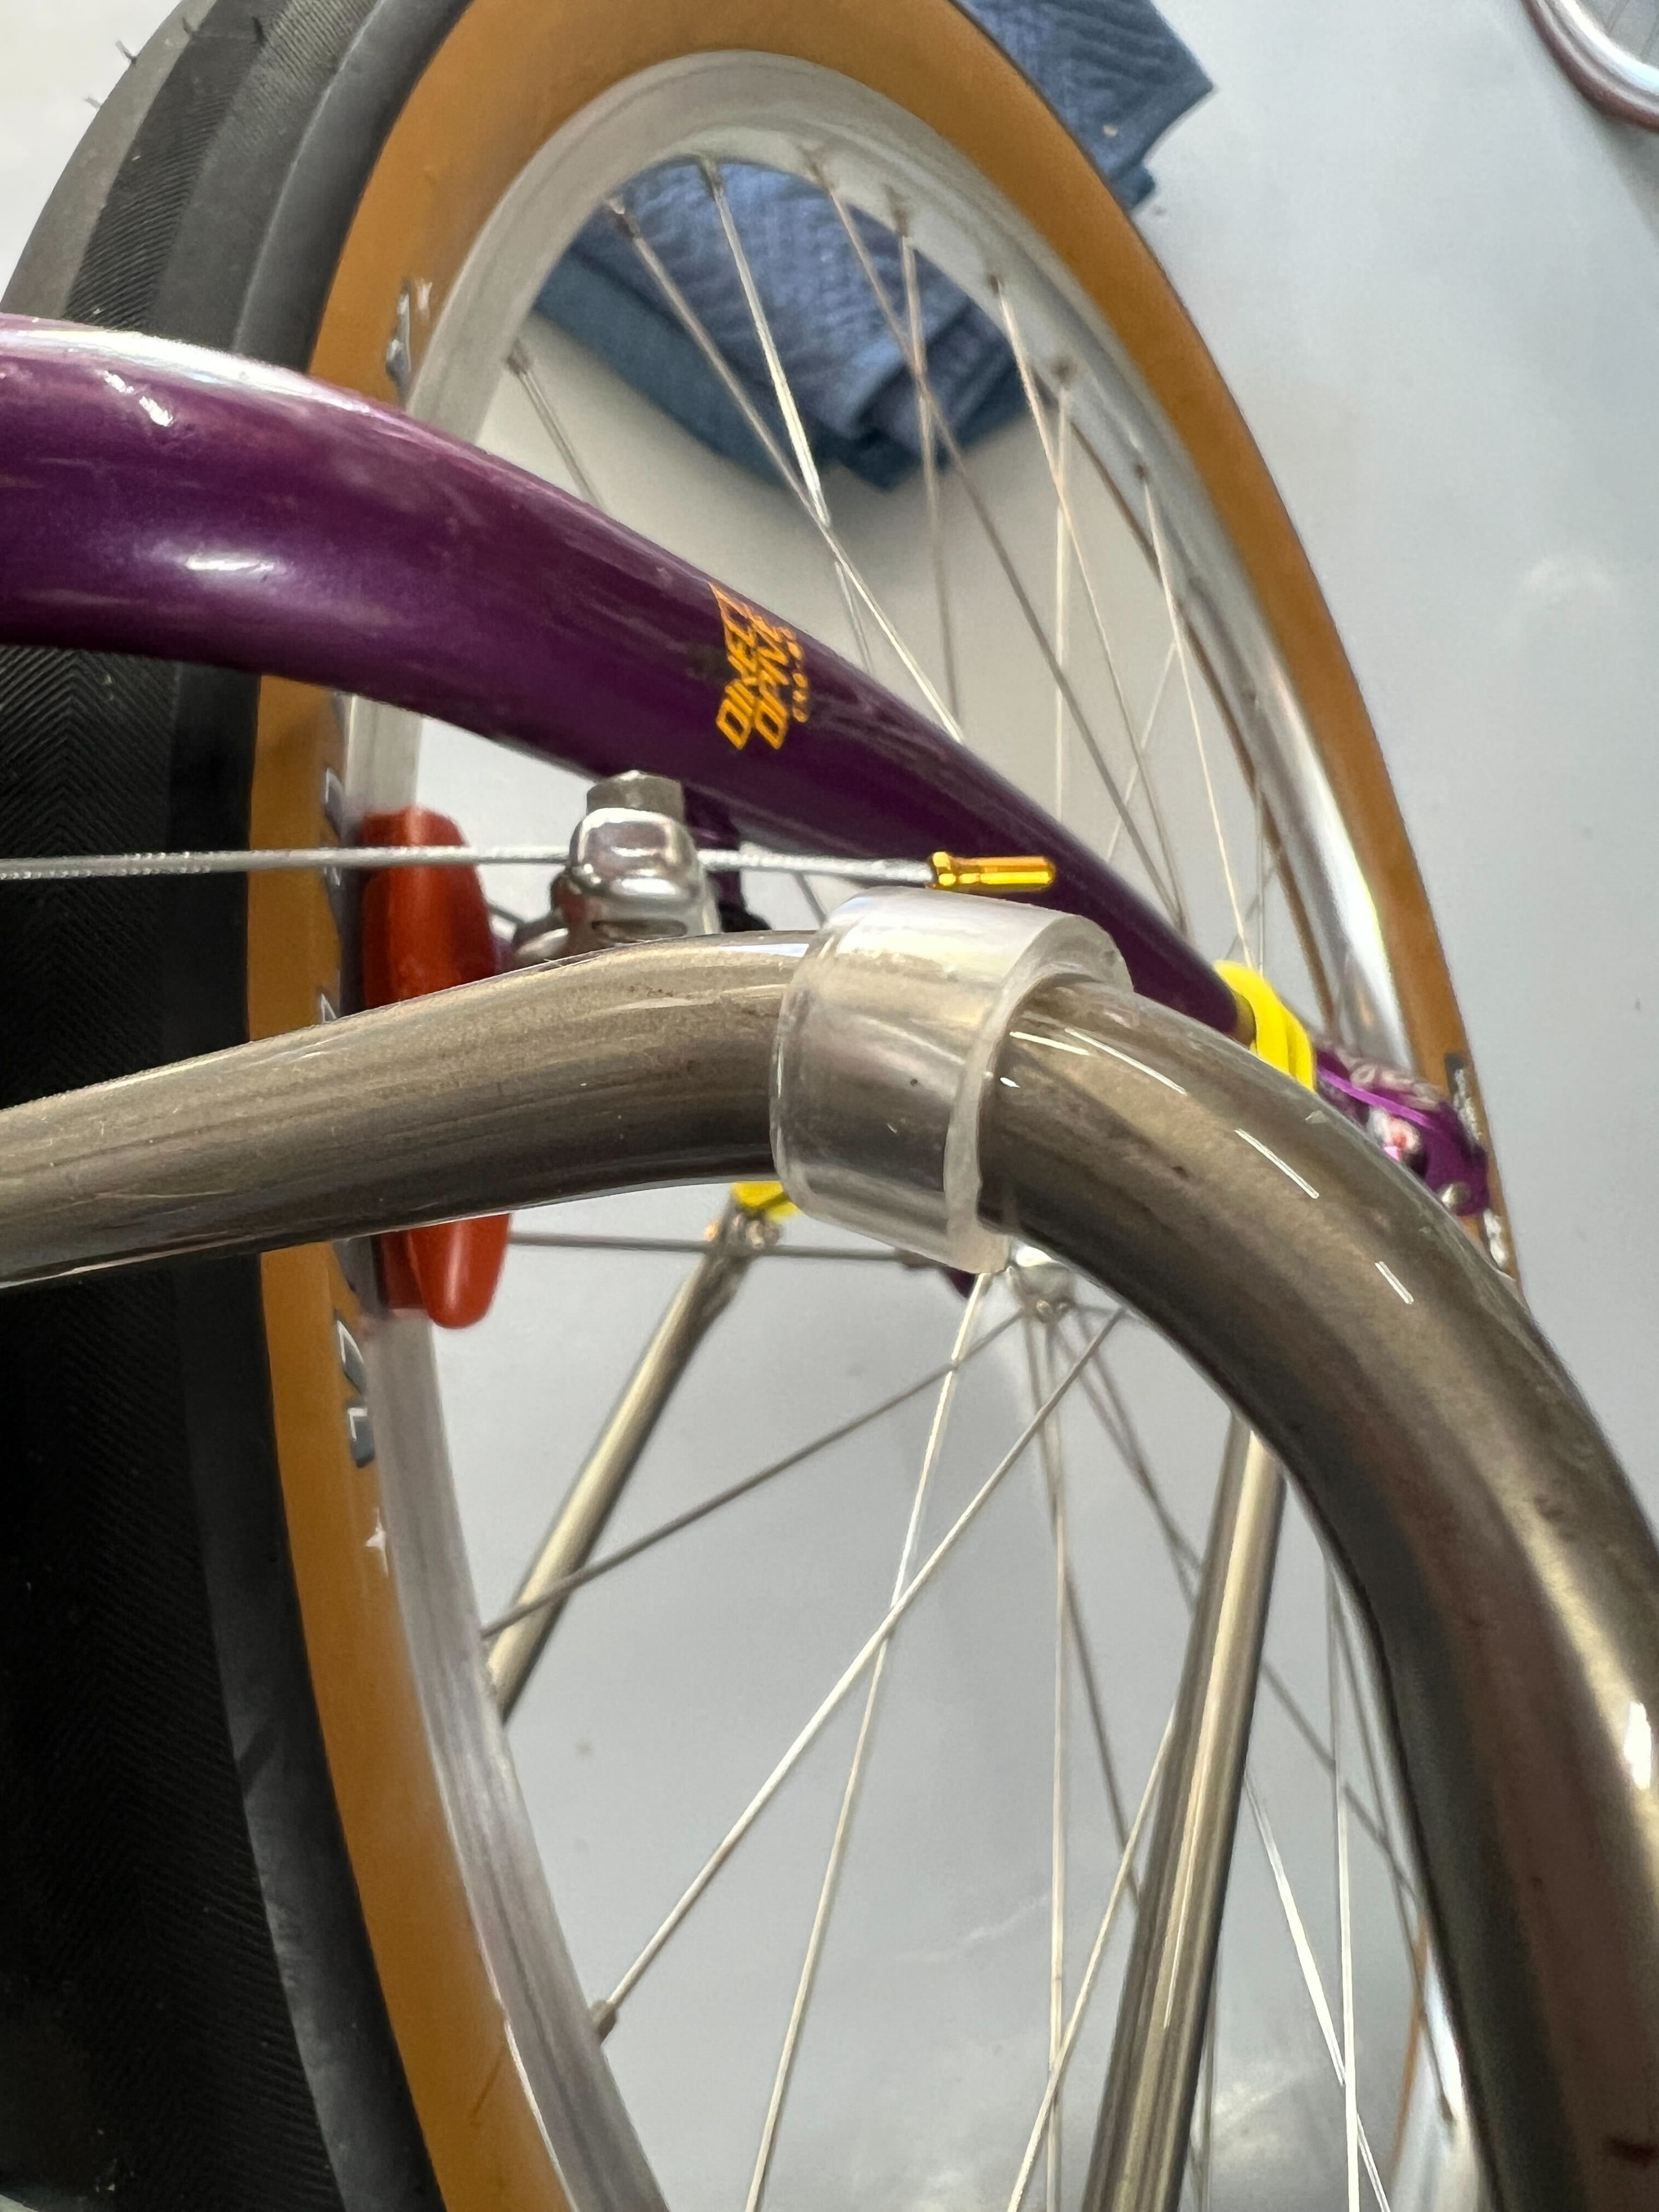
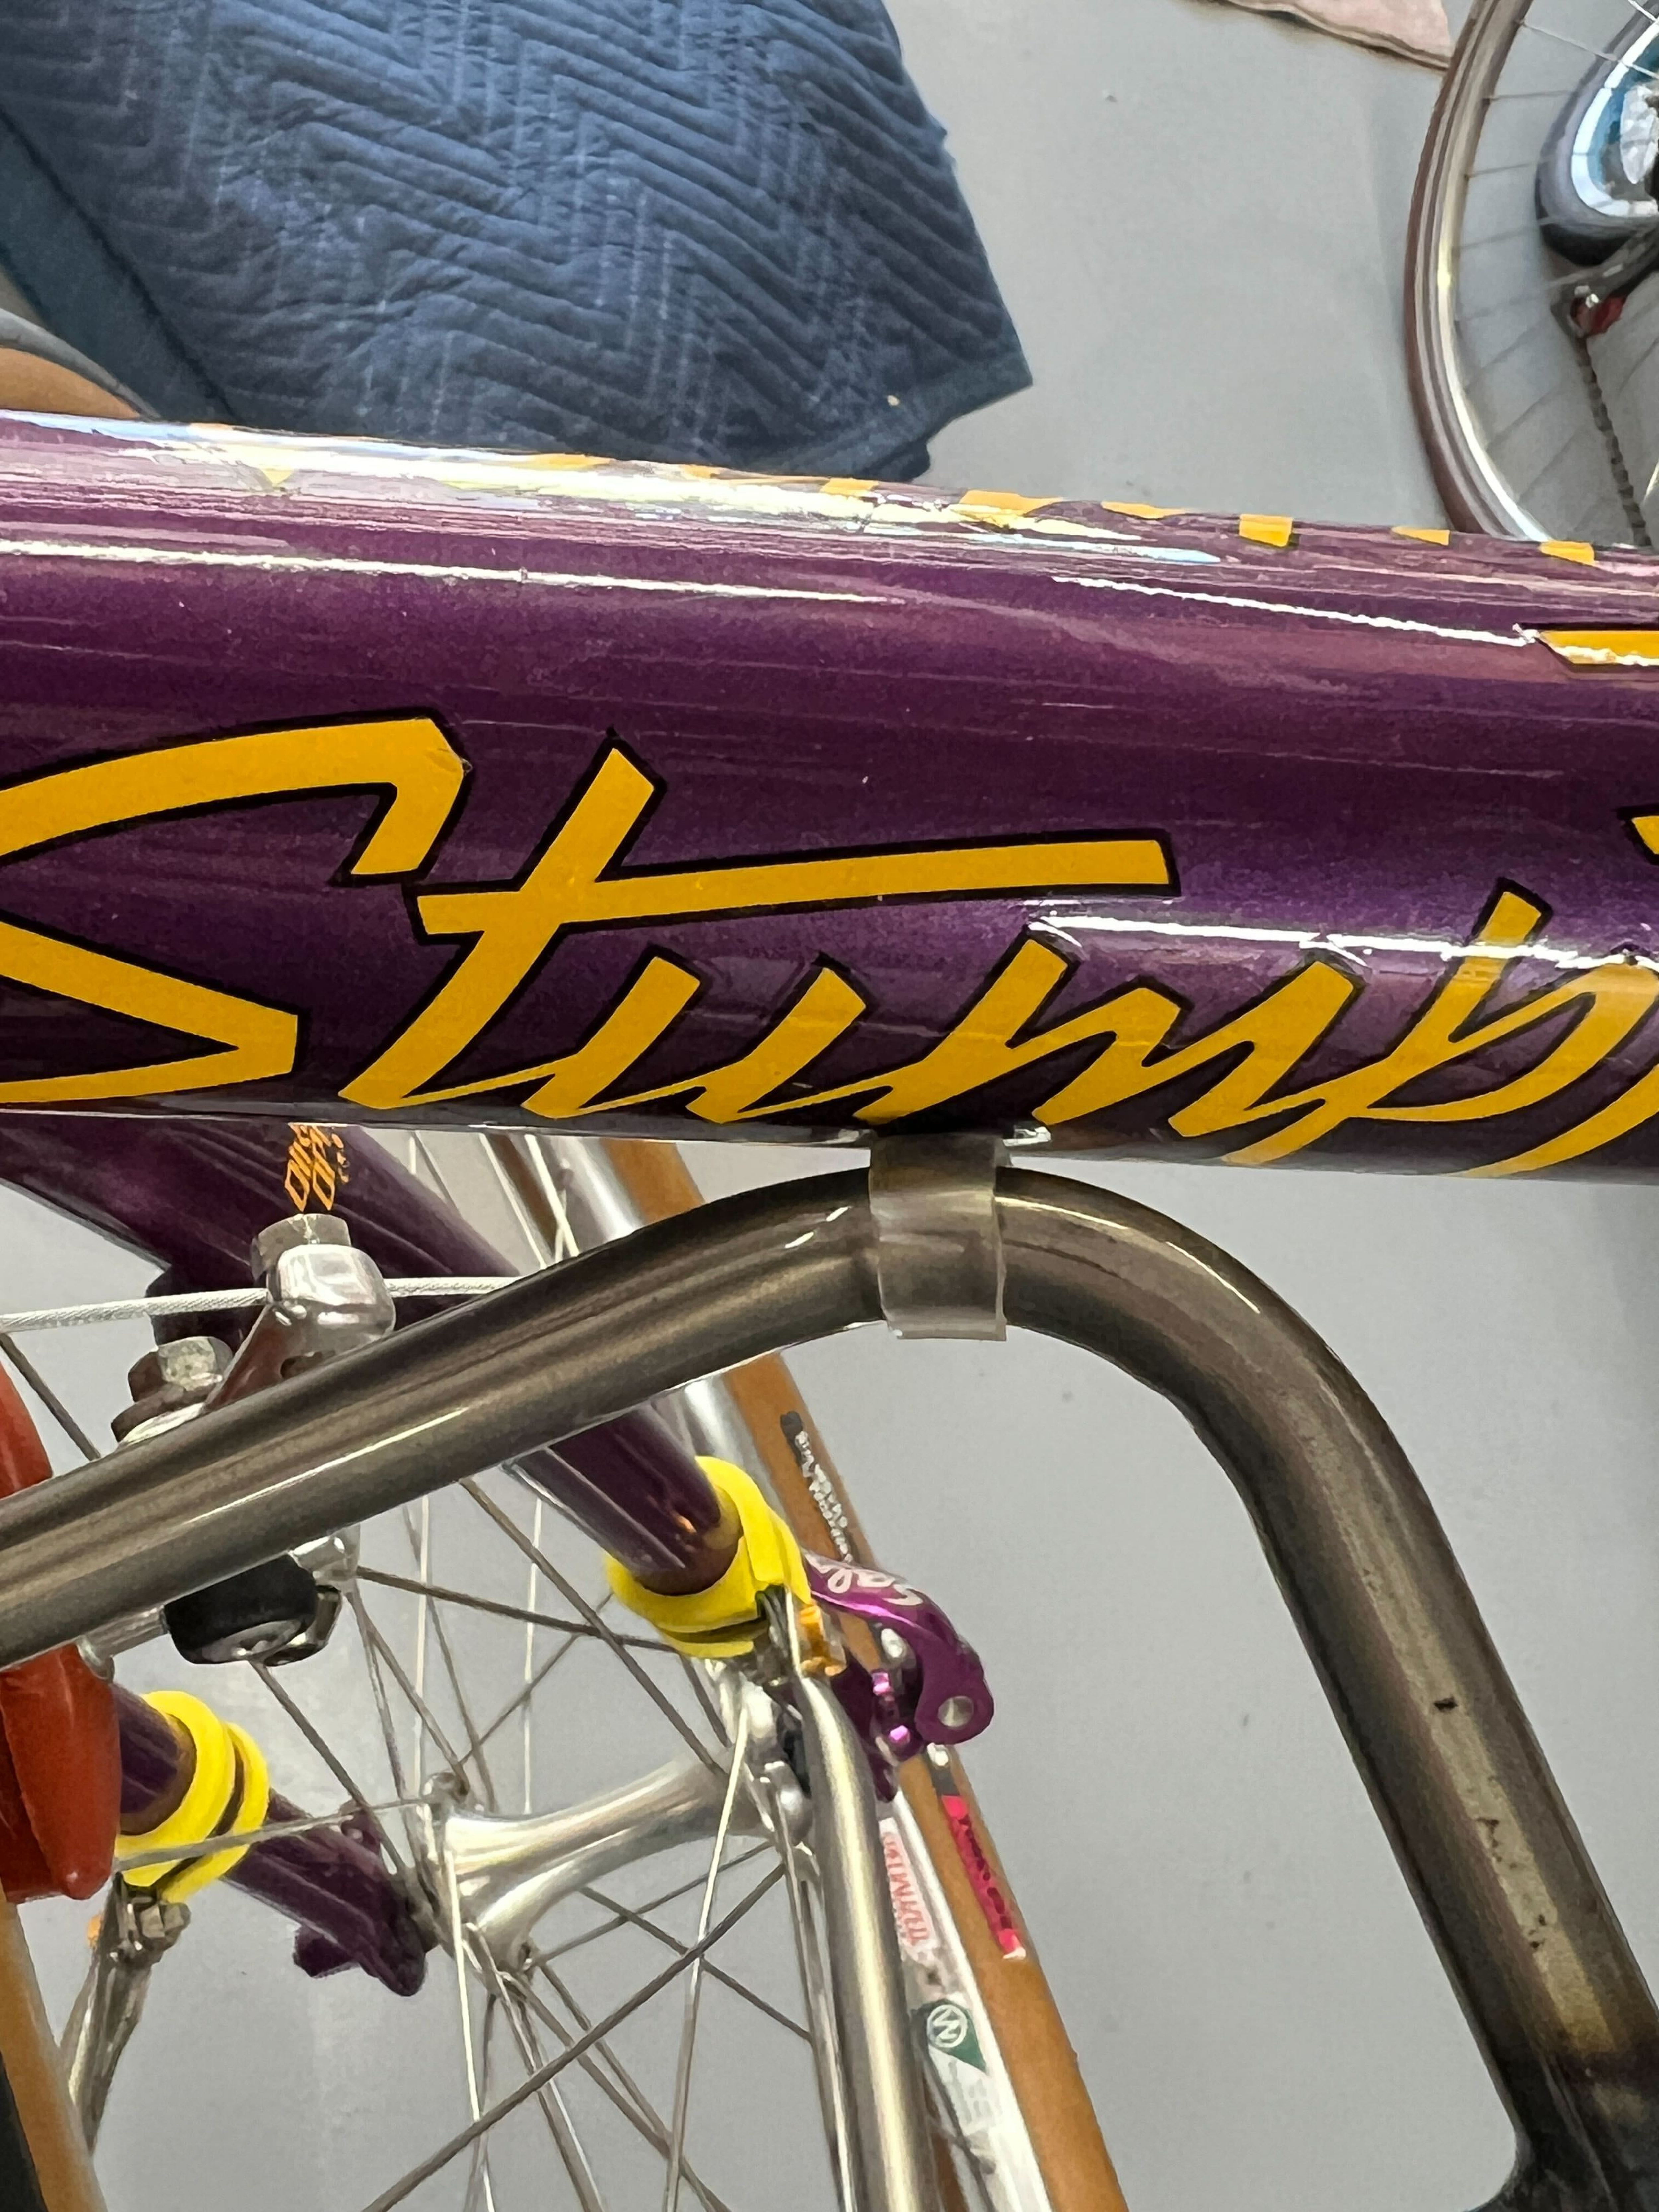
Front brake is sorted.

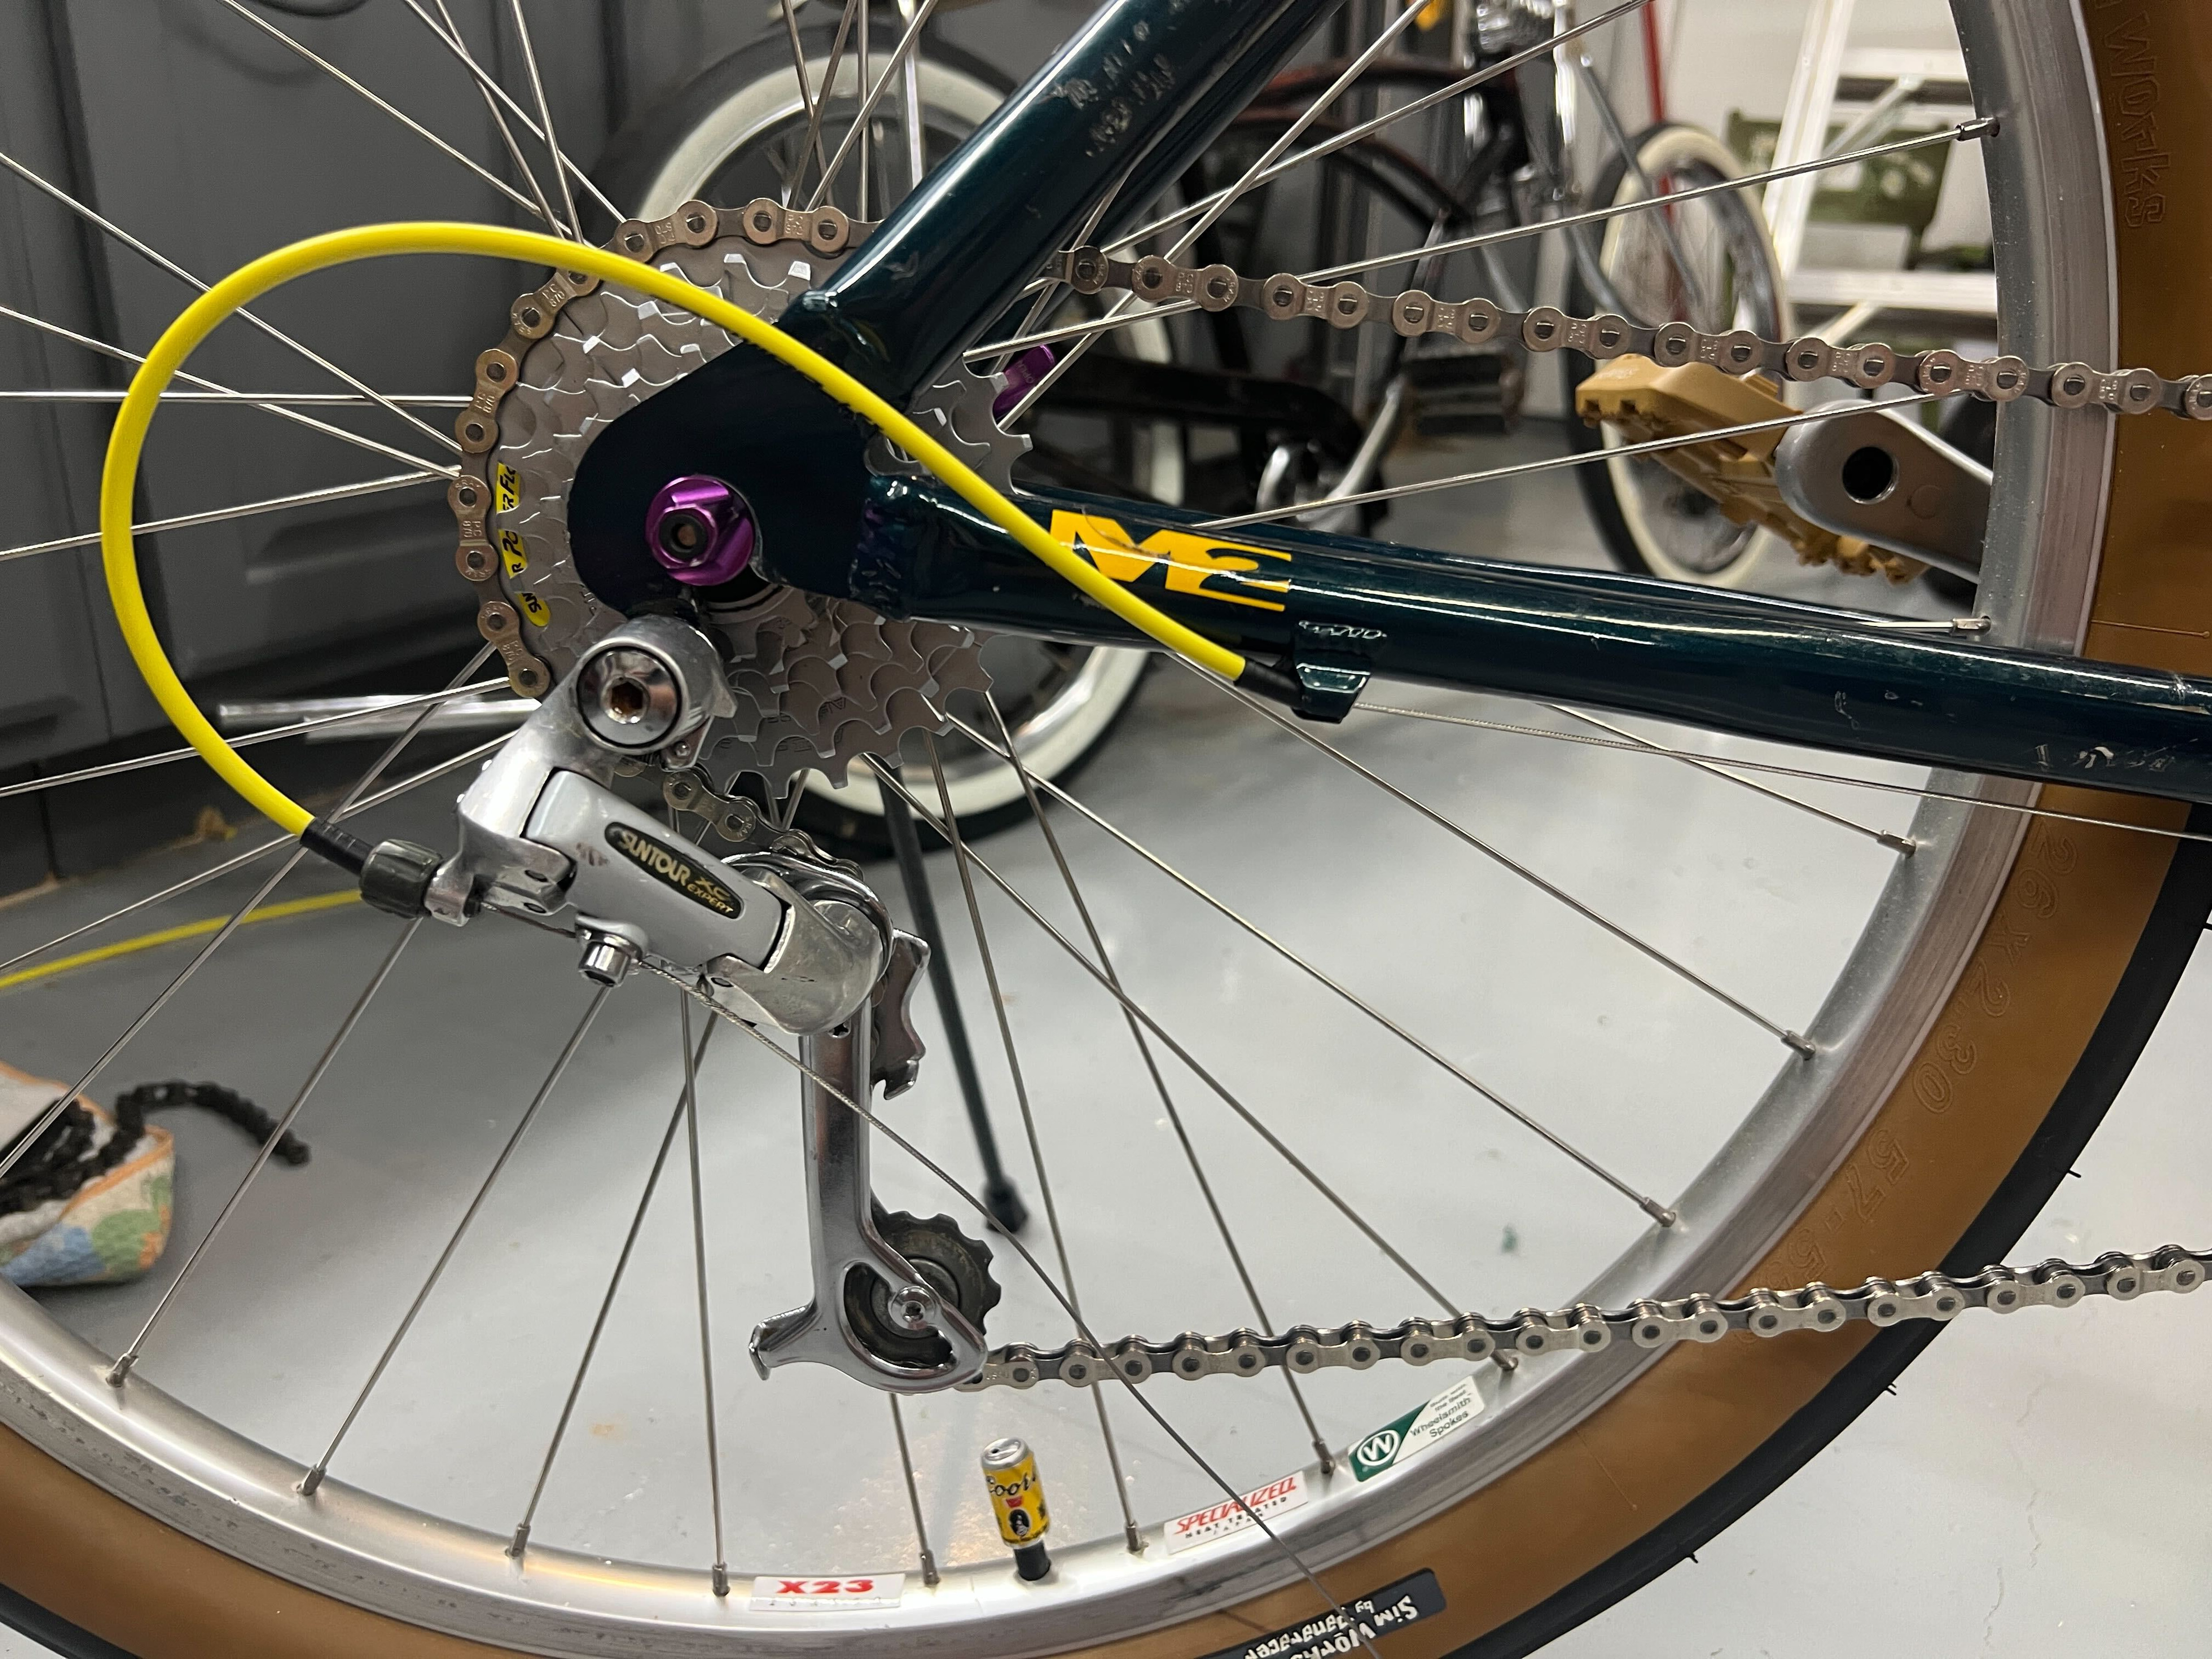
The only thing I’m still on the fence about is removing another link pair, which I’m leaning more towards doing than not, because I see no disadvantages to it. I could probably even take out 2.

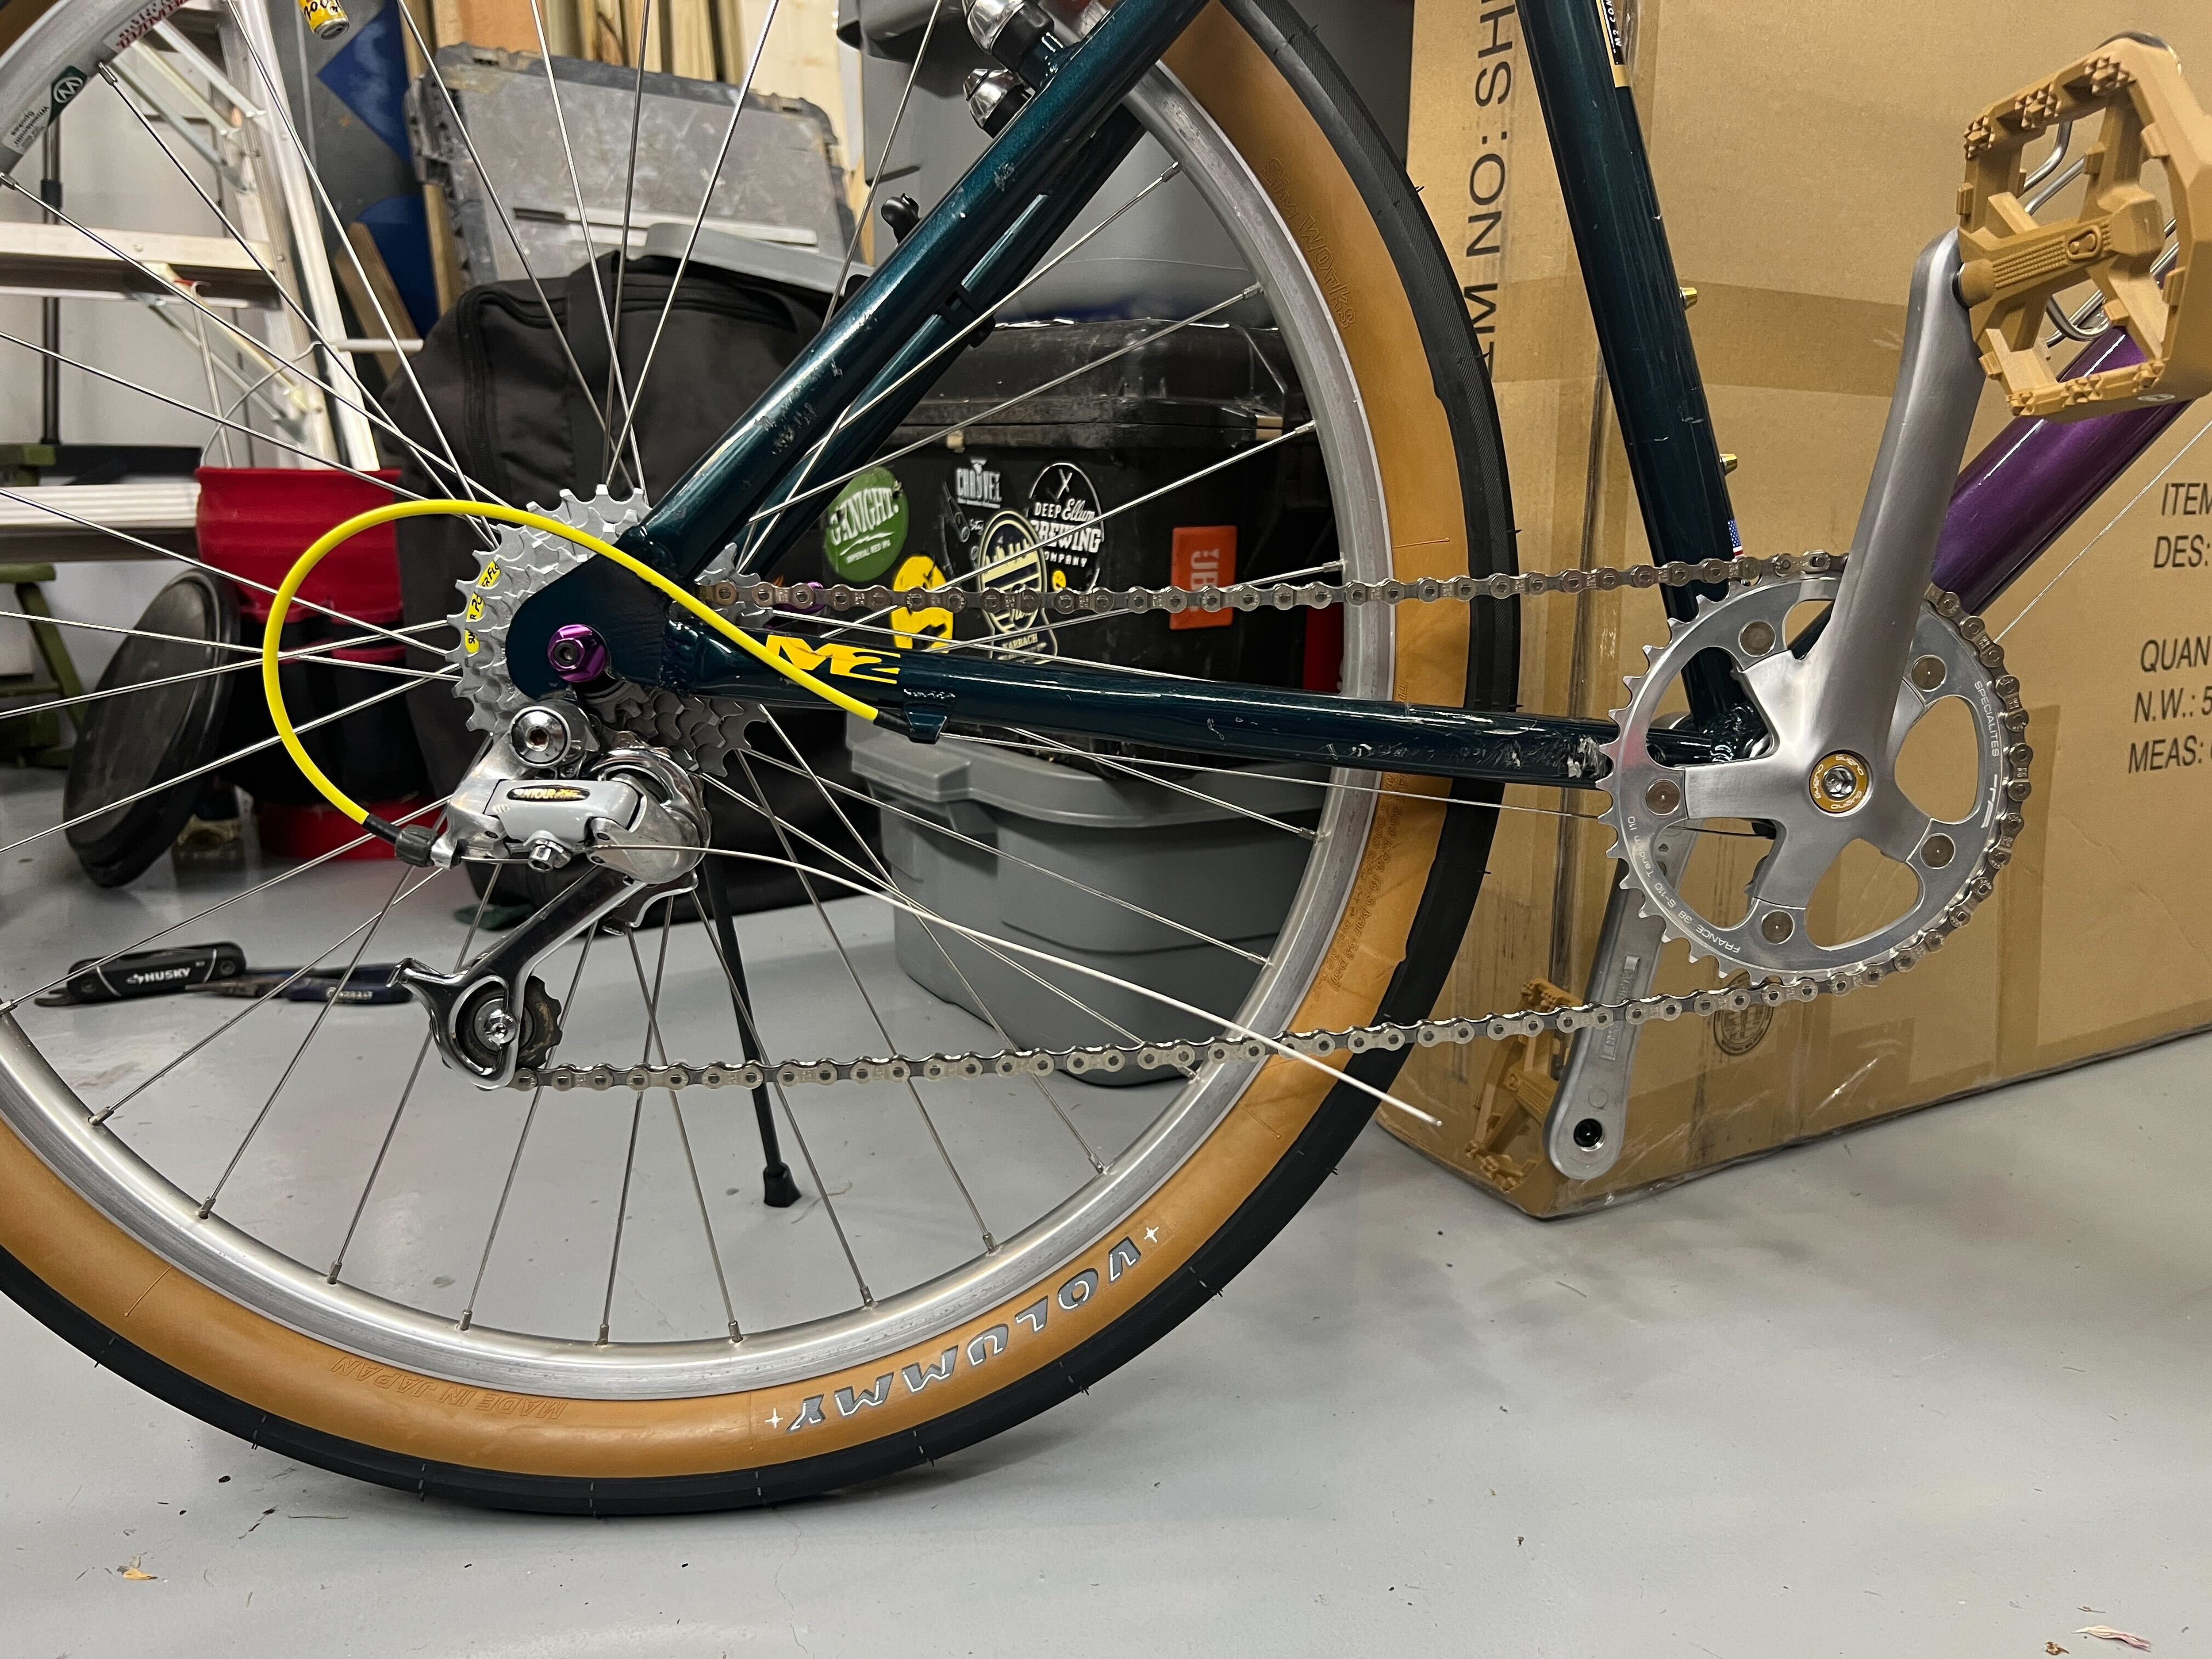
One thing I noticed that I don’t like is that when in the smallest cog, the cage is super close to the dropout, like almost touching it, and shortening the chain would pull that a little more taut.

Here it is as-is on the big gear:

Roughly how it would look with another link out:

I’m probably overthinking it.

show us what it looks like in the smallest cog

also

you could probably take another link out

3 Likes

Does that RD have a hole in the cage for higher spring tension like Shimano? If not, and you’re really sick in the head you could drill one yourself.

Negative! That would have been cool.

@featherduster

This is the cage/dropout clearance I was talking about too:

So yeah, probably gonna pop another one out.

1 Like

Well, I think it’s done.

Another link removed, and just dripped the Silca Super Secret.

Also got the lights sync’d up to the remote.

The guy I bought the frame from back in January asked me to send him a picture when it was done, and I did that today.

Here’s where it started:

Today:

Next up: Front rack bag chat.

1 Like

After riding again, the chain started drooping again when coasting. No drops, but it was the same behavior as before.

Took it apart again, and it was the same thing - the cone for the freehub keeps tightening itself. Last time I just backed it off, but this time I took it apart more, and noticed that I had apparently lost 3 bearings from inside when I rebuilt it. Fortunately I have a whole thing of various bearings, so no big deal there. I just need to figure out how I can keep this cone from tightening itself. There’s no locknut or other kind of retaining mechanism. Gotta figure out how it’s supposed to work I guess.

Watching this video (which is a different but similar model), there may be something I’m missing. Looks like I can remove an inner part (that I didn’t remove before) using a 10mm hex. It’s the part with the pawls on it, and can be fully removed from the hub shell. Maybe the key is in putting it back together and adjusting that inner part. The guy here assembles those parts first and then puts the whole assembly back on the shell.

1 Like

The dither refuses to die.

8 Likes

So I took a closer look at things, and I was sort of wrong in my last post about the cup/cone on the freehub not having a way to manage preload.

It’s true that there’s no locknut, and the cup for the axle bearings is the cone for the outer freehub bearings, so it’s going to get wrenched down when the wheel moves, but preload is controlled by shims so it can’t tighten past a certain point - the shim thickness obv.

It has these two thin washers between the cup/cone piece and the pawl carrier (is that what you call it?):

If that shim stack is too thin, the cup can tighten down too much. Simple. That’s the issue.

Here’s another variable though - I didn’t swap the ALL the parts over from the donor hub to the hub shell in the built wheel. I did everything except the pawl carrier and the hollow bolt that holds it to the shell, because I didn’t know it could be separated til yesterday.

So my first order of business before I try to increase the shim stack is to just swap in the pawl carrier from the donor hub so ALL the parts are from that hub. Gonna see how that goes first, and if I can still tighten the cone down too much, I’ll go from there.

Popped the carrier off the wheel:

And the donor:


(Yes, this is barbaric with the vise grip, but I already did it once. I just dont have a bench vise at the moment.)

No differences in the part from what I can see. Put a caliper on it as well and it was all the same within ~0.02mm depending on jaws shifting and stuff. The only difference is that on the built wheel, the hollow bolt (the threaded thing you see on the bench) had a washer at that flange area, and the donor hub did not. That doesn’t influence anything though.

This might not change anything, but I’m gonna swap the pawls back over anyway so all the parts are reunited.

My guess is that I’ll still have to add some thickness to the preload shim stack but it’s worth a shot and not much effort.

… edit: and I have stainless steel shims coming in tomorrow at the correct ID and OD just in case. I hate the amount of stuff i’ve gotten from Amazon that are related to this build in some way, but man it’s nice.

Headed to the LBS for some lighter oil and grease though while my parts soak in mineral spirits

2 Likes