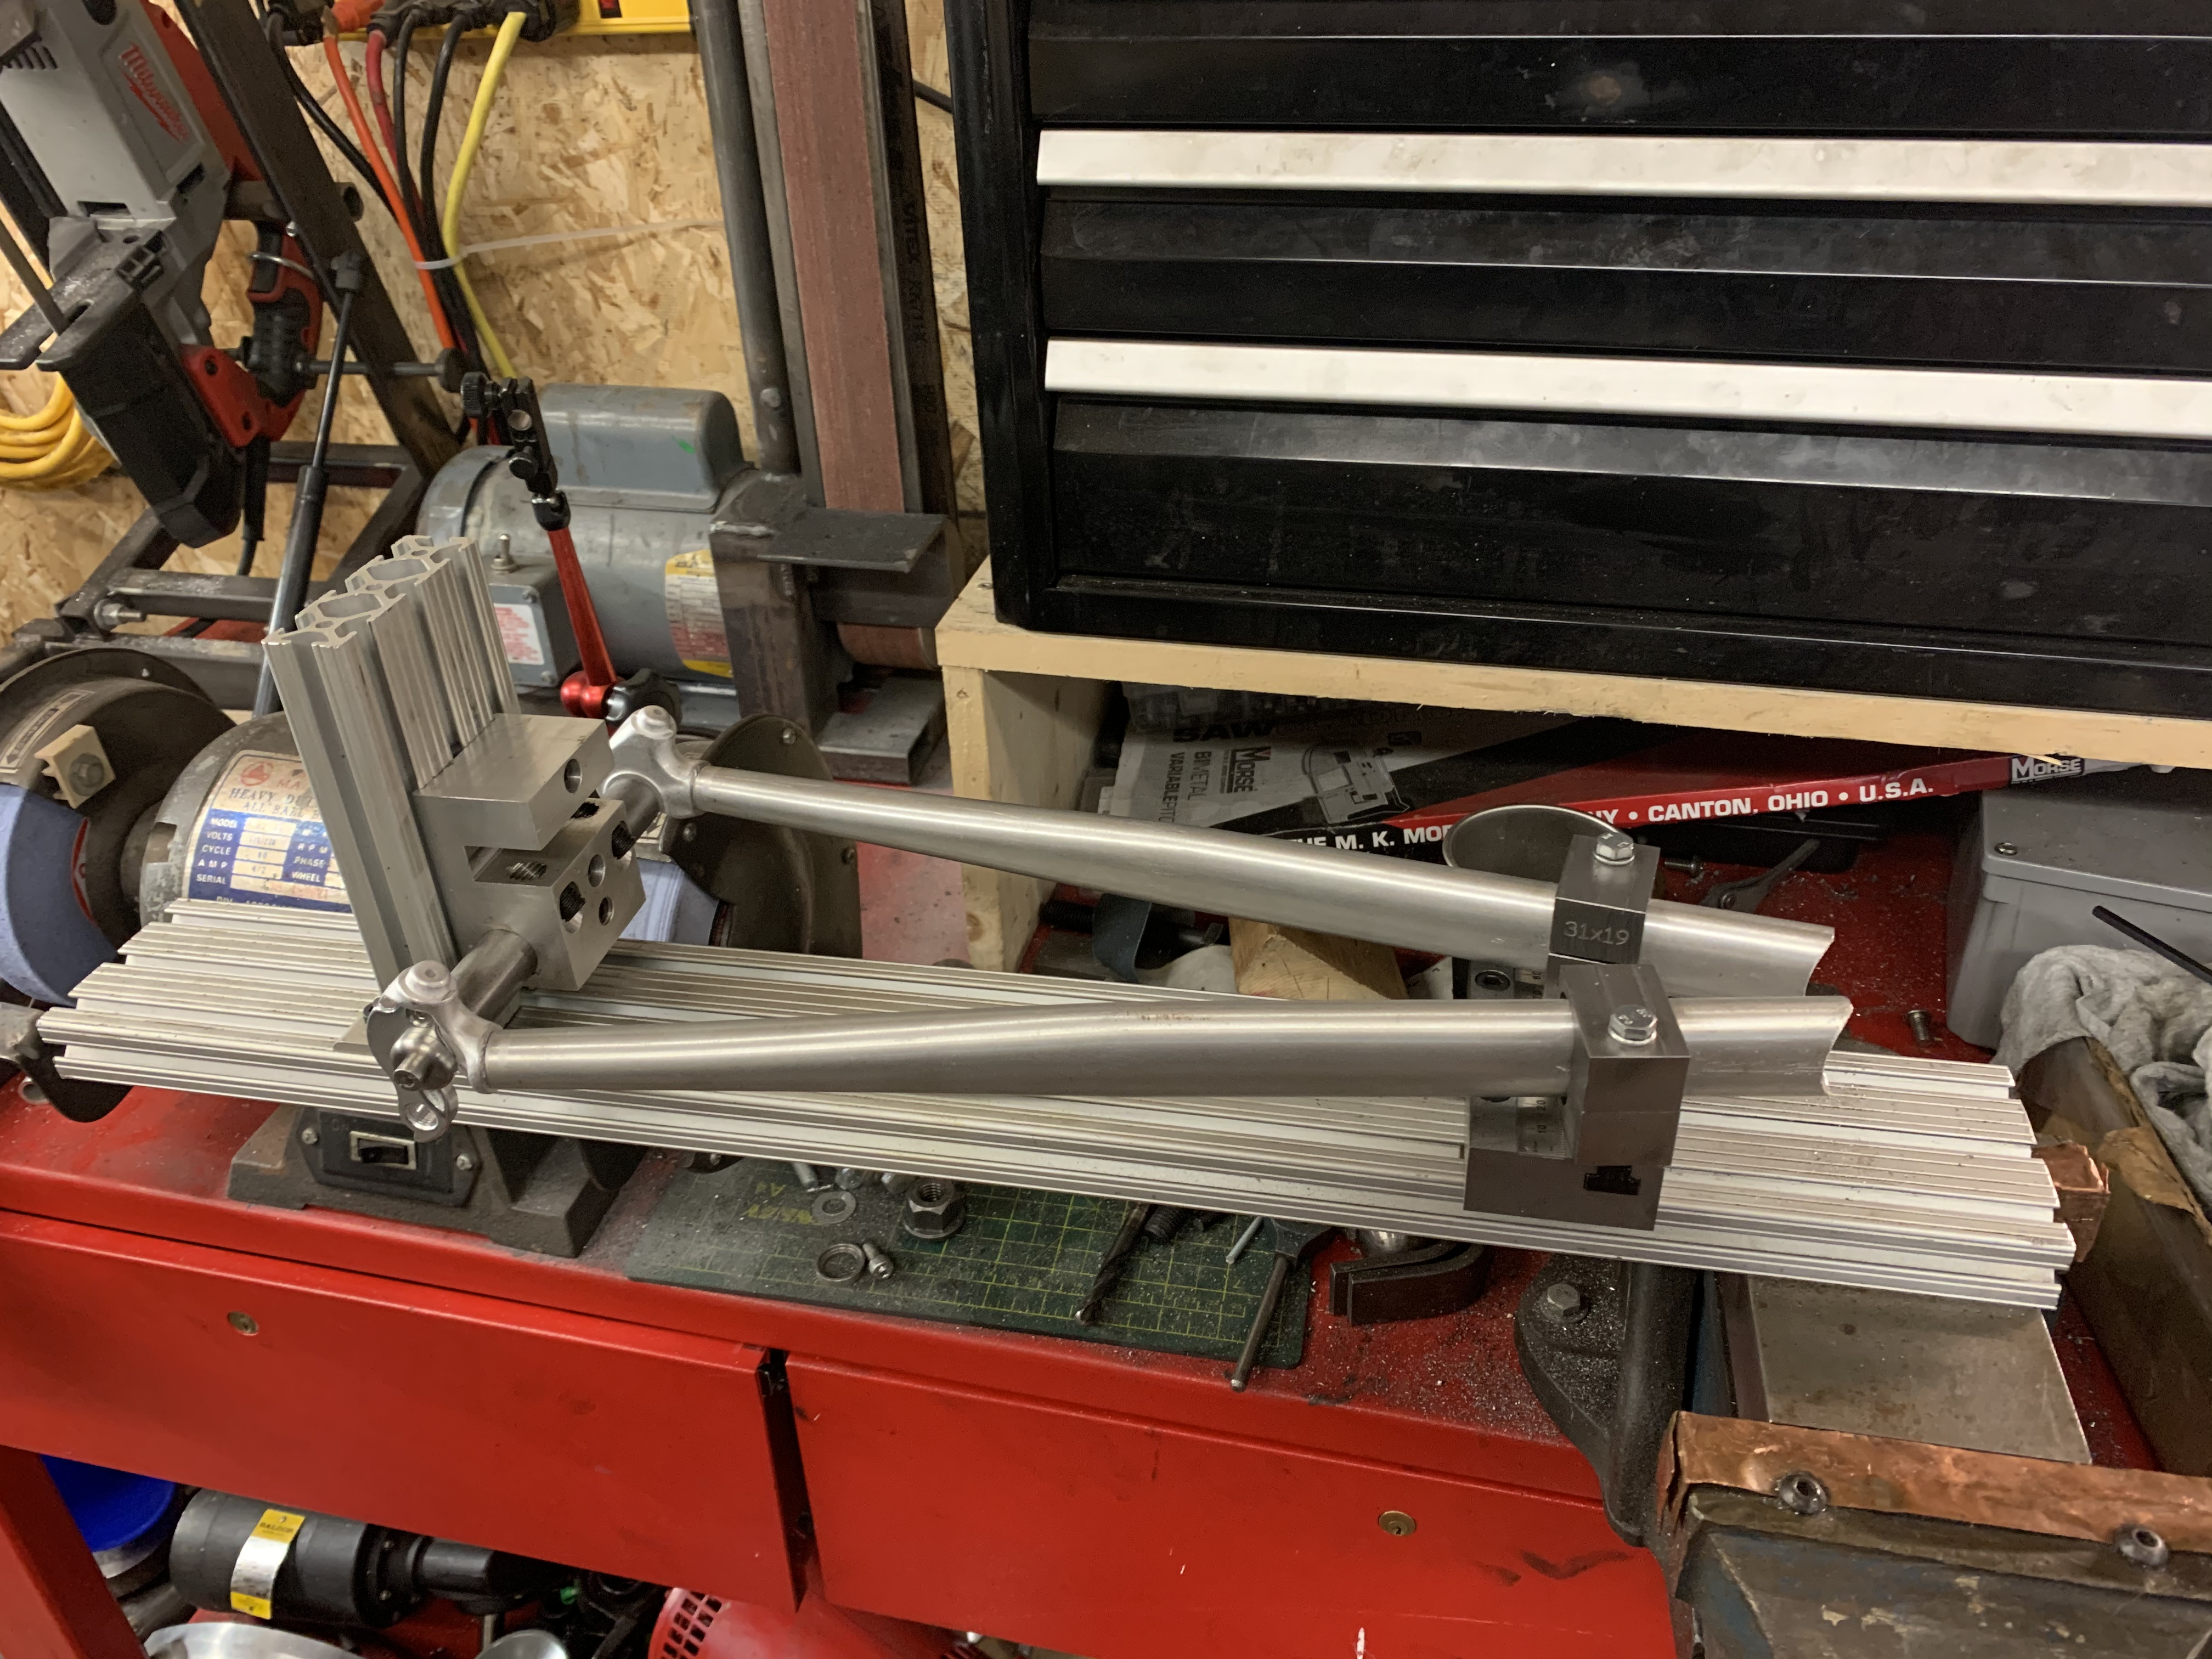
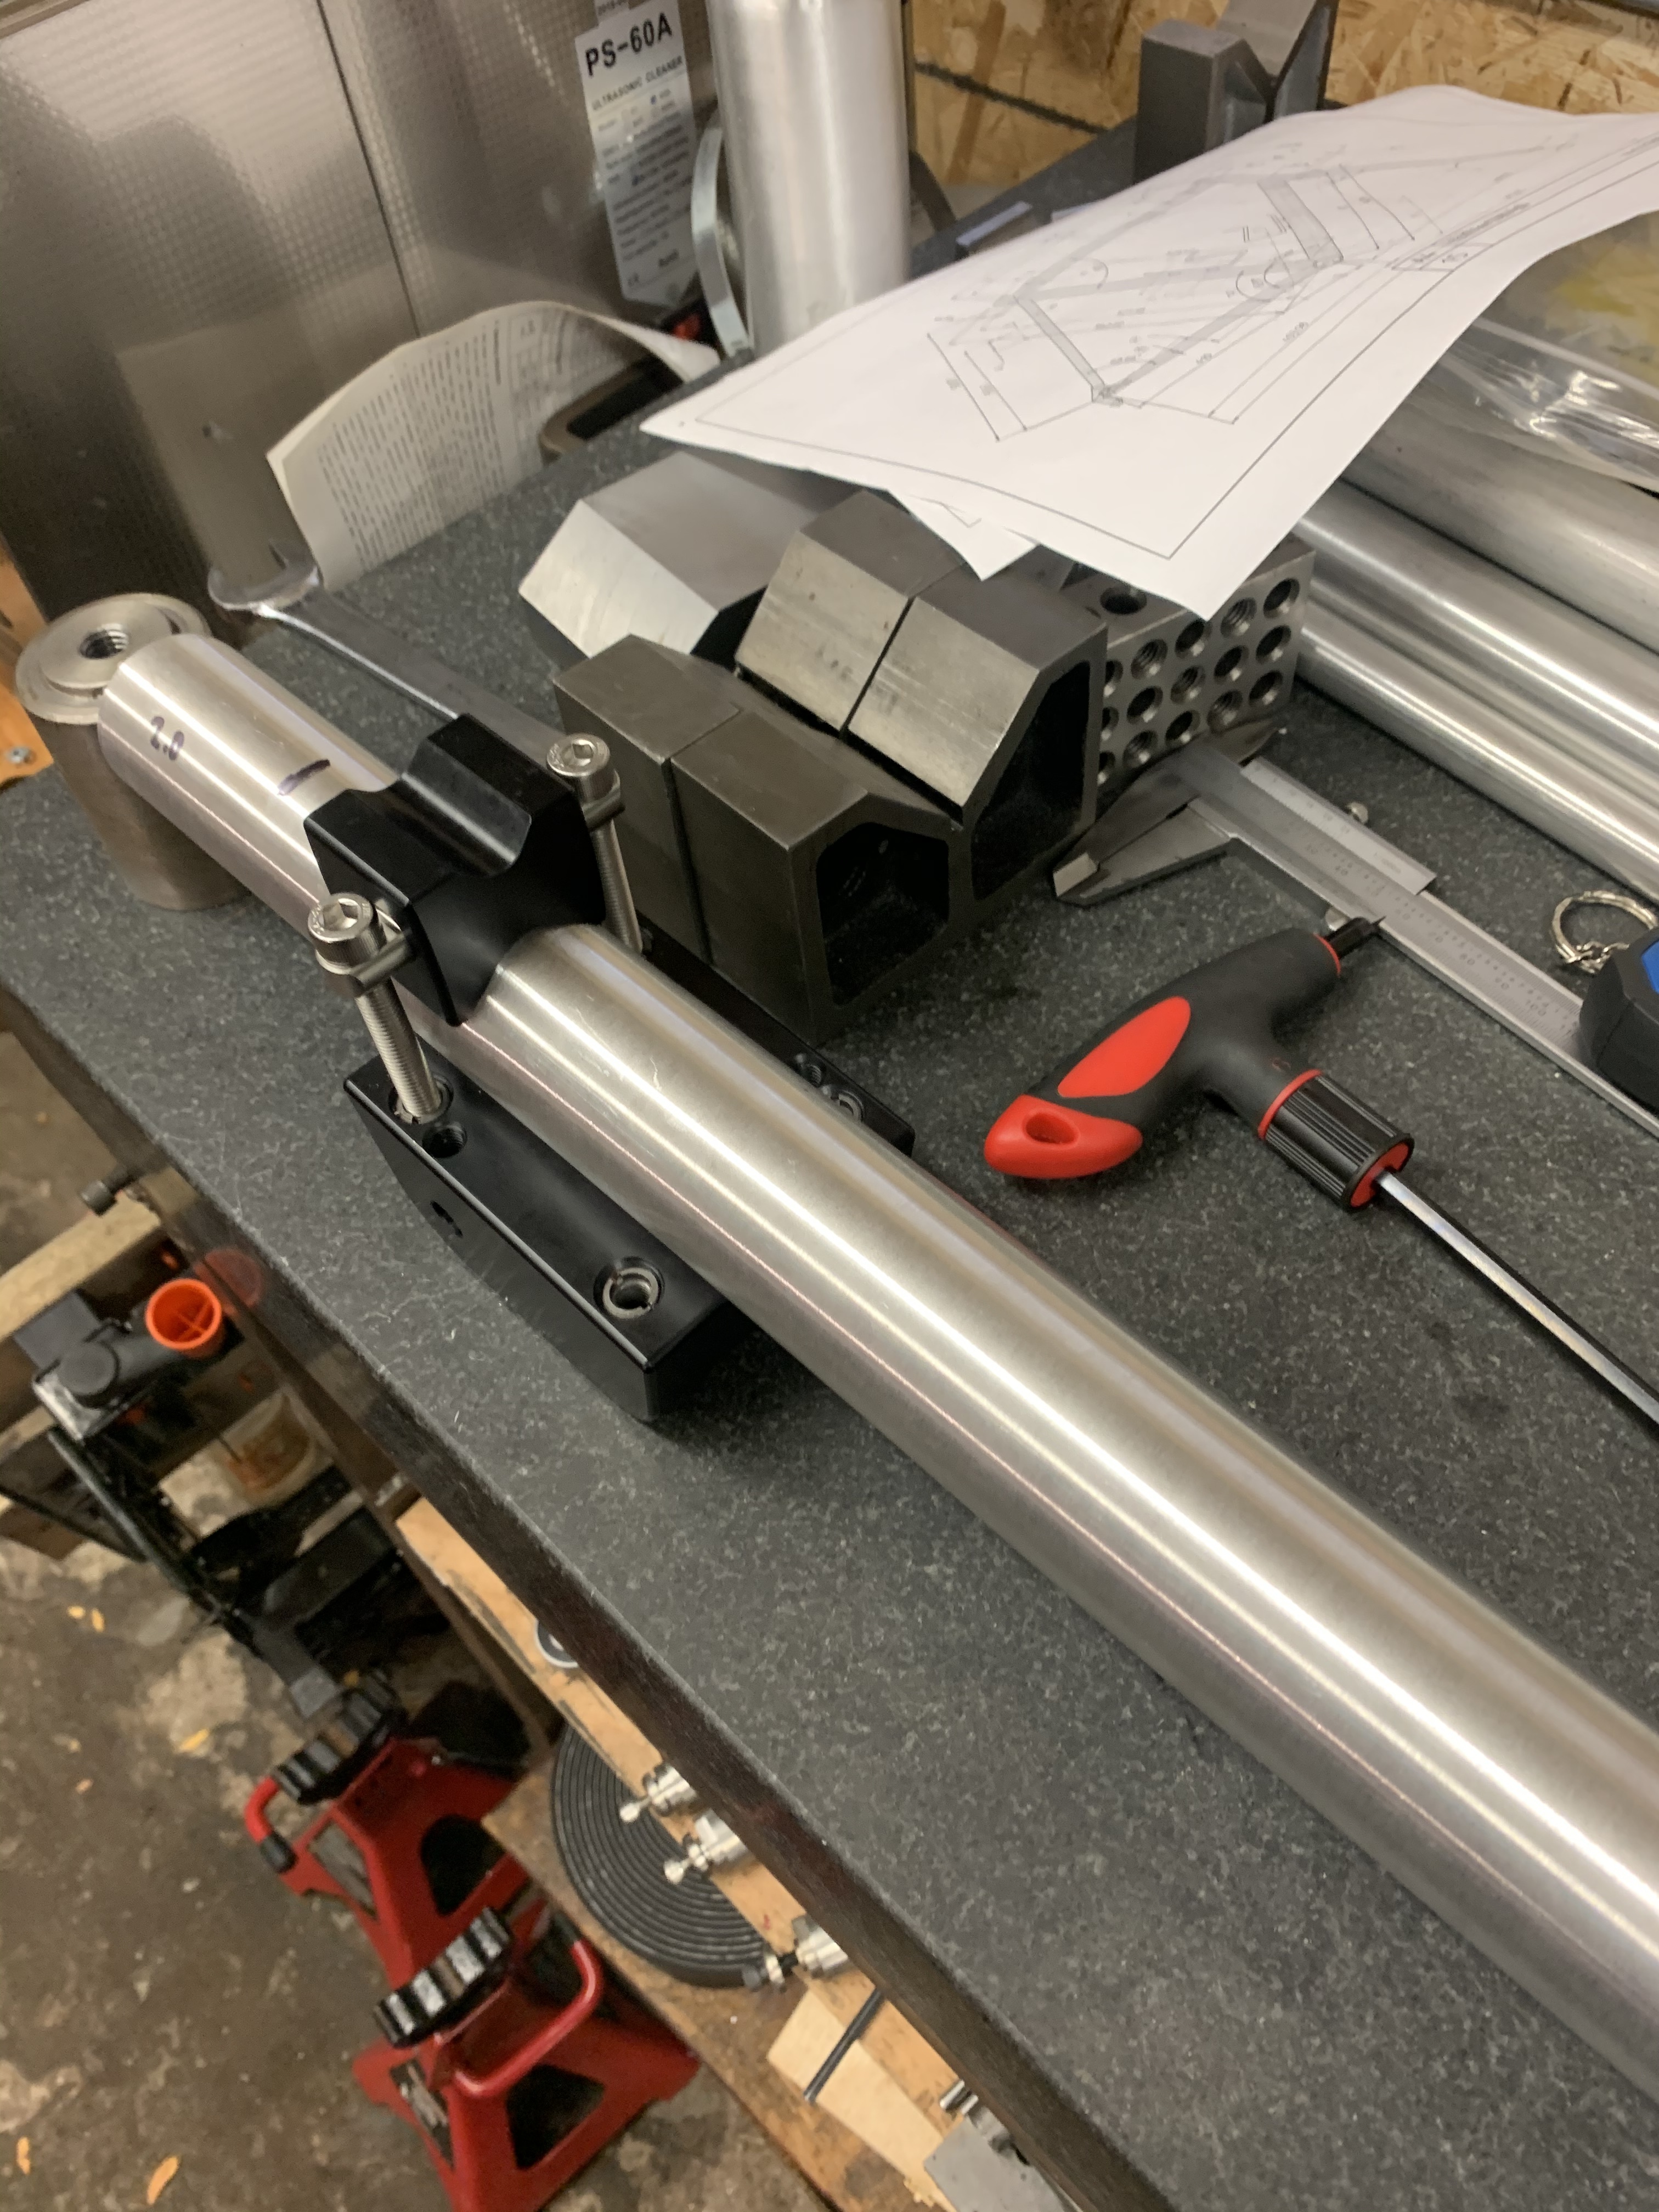
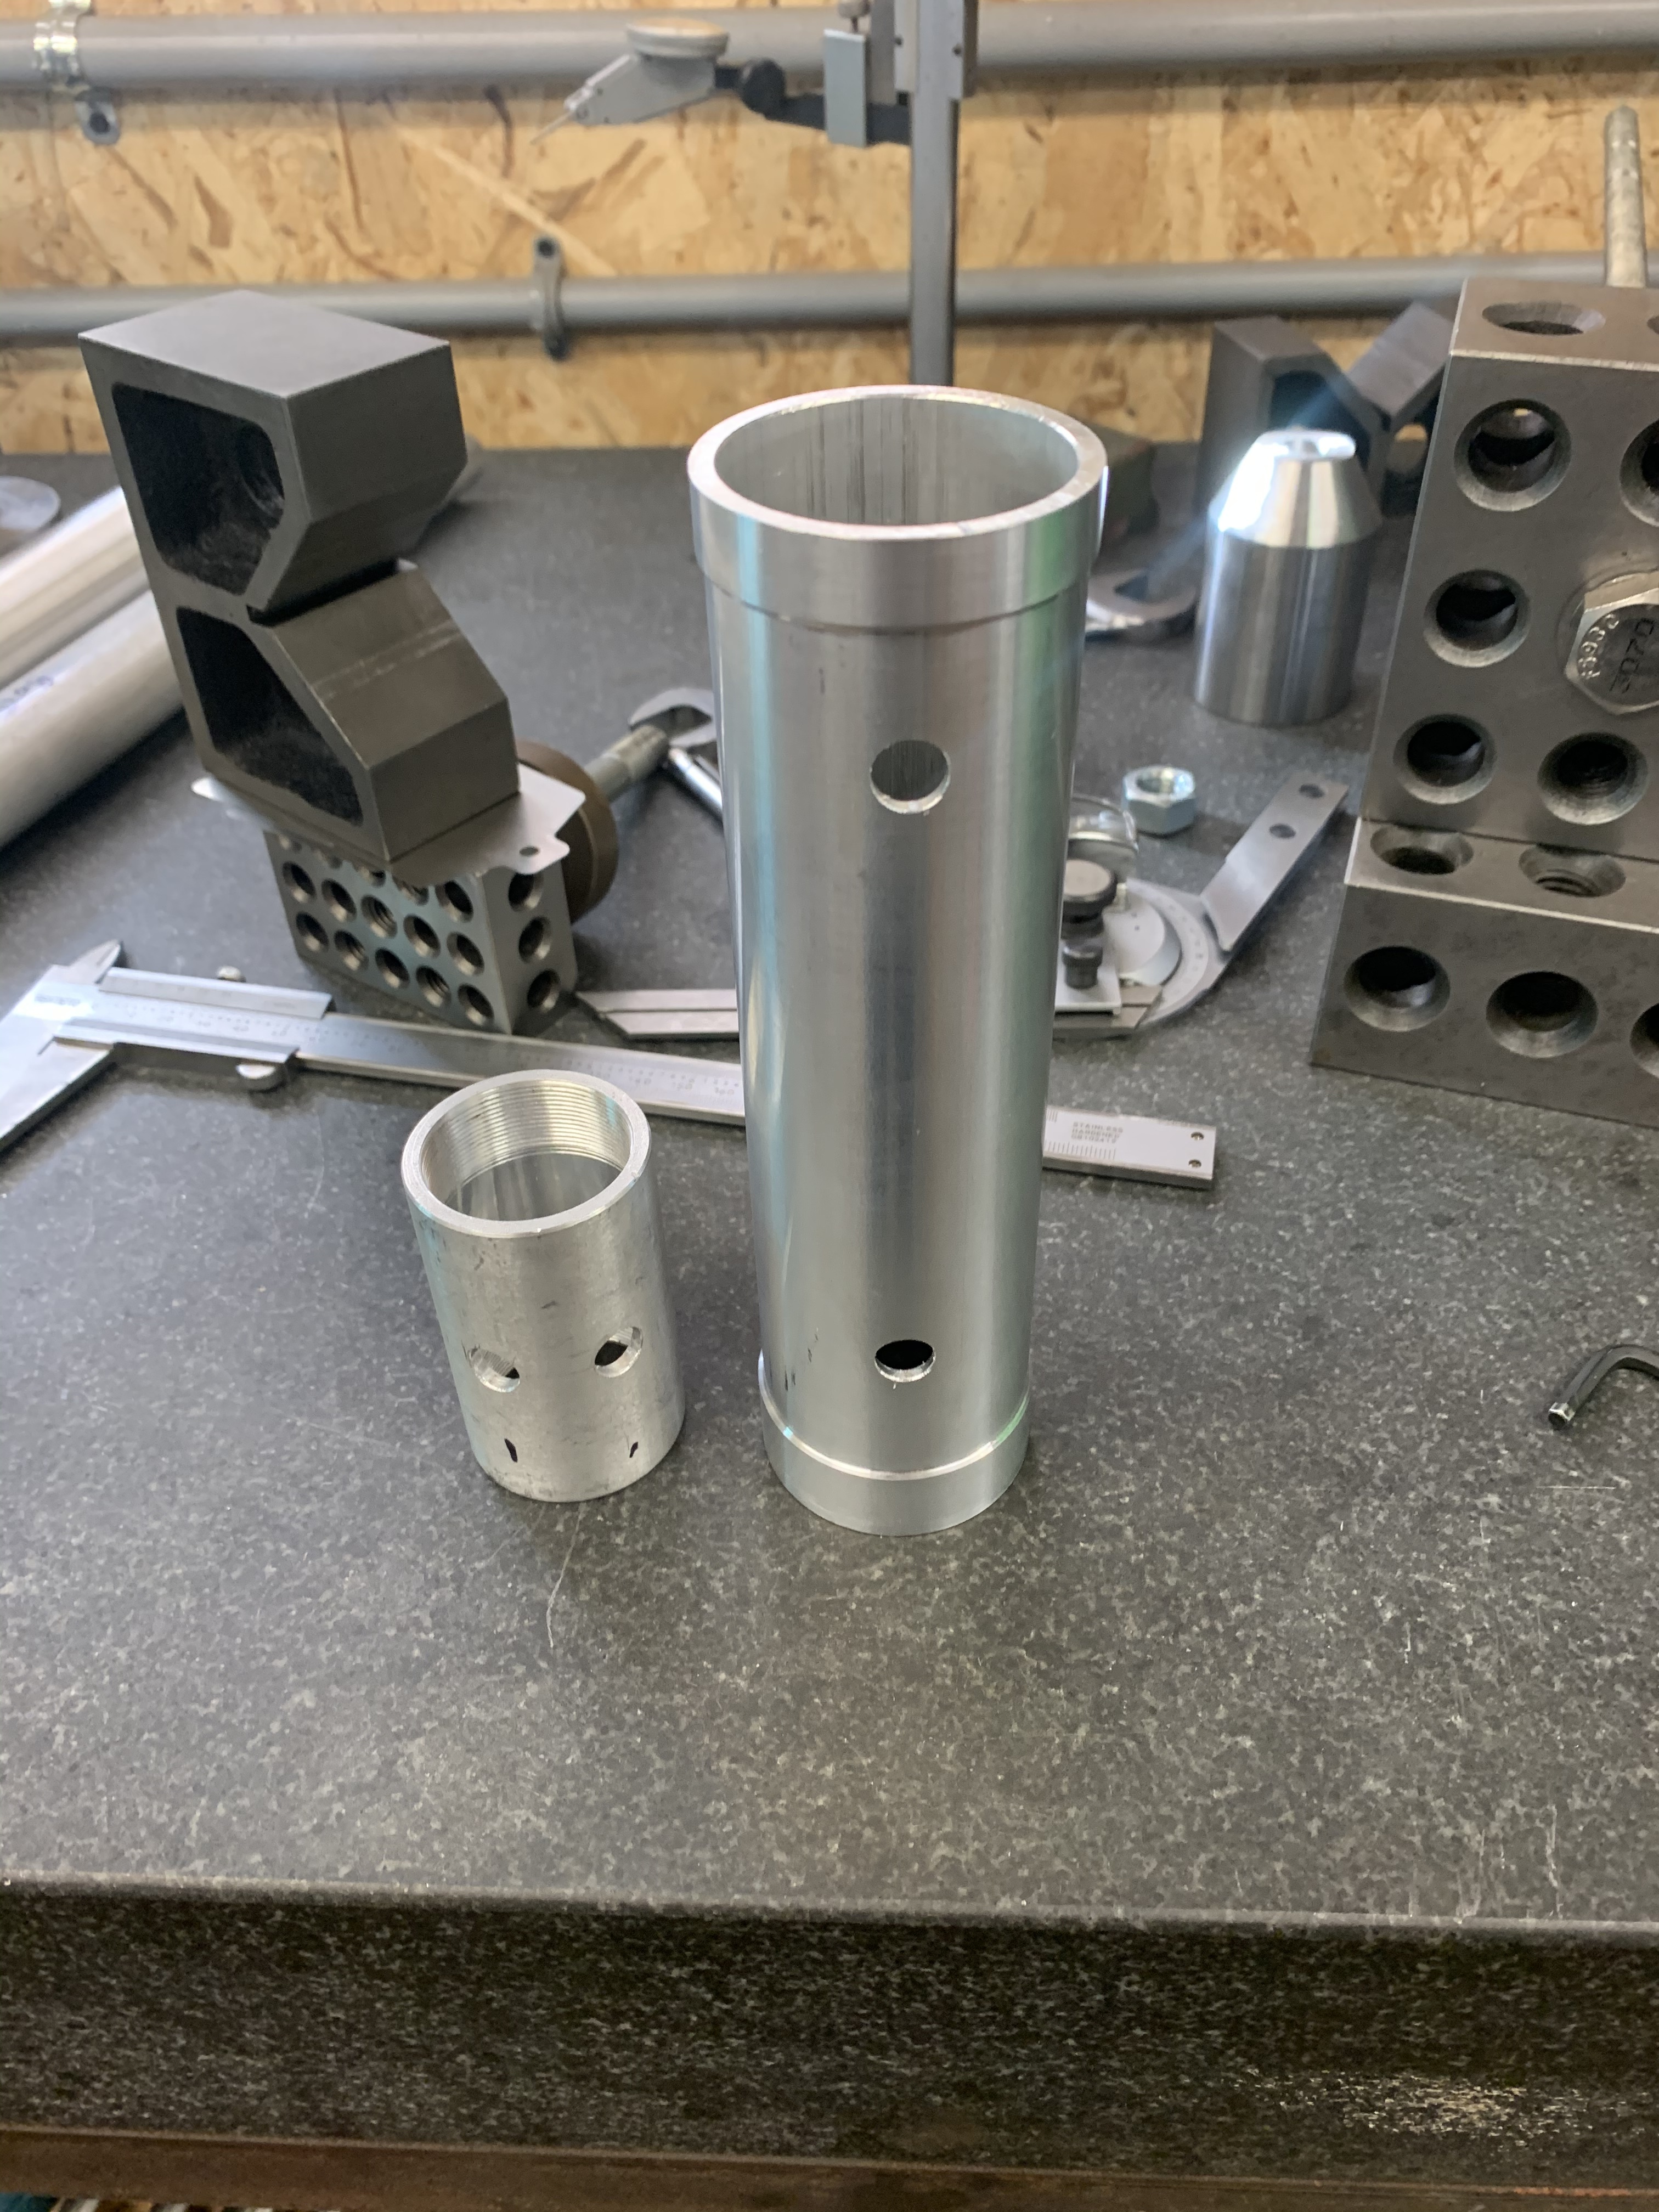
Loaded chainstays and dropouts in my rear end mitering fixture. Dropout plugs needed some filing, goes quick with aluminum! Set it up and mitered the chainstays. CS might end up a couple mm shorter than the 410mm I had on my drawing due to some triangulation error when I rough cut them to length.
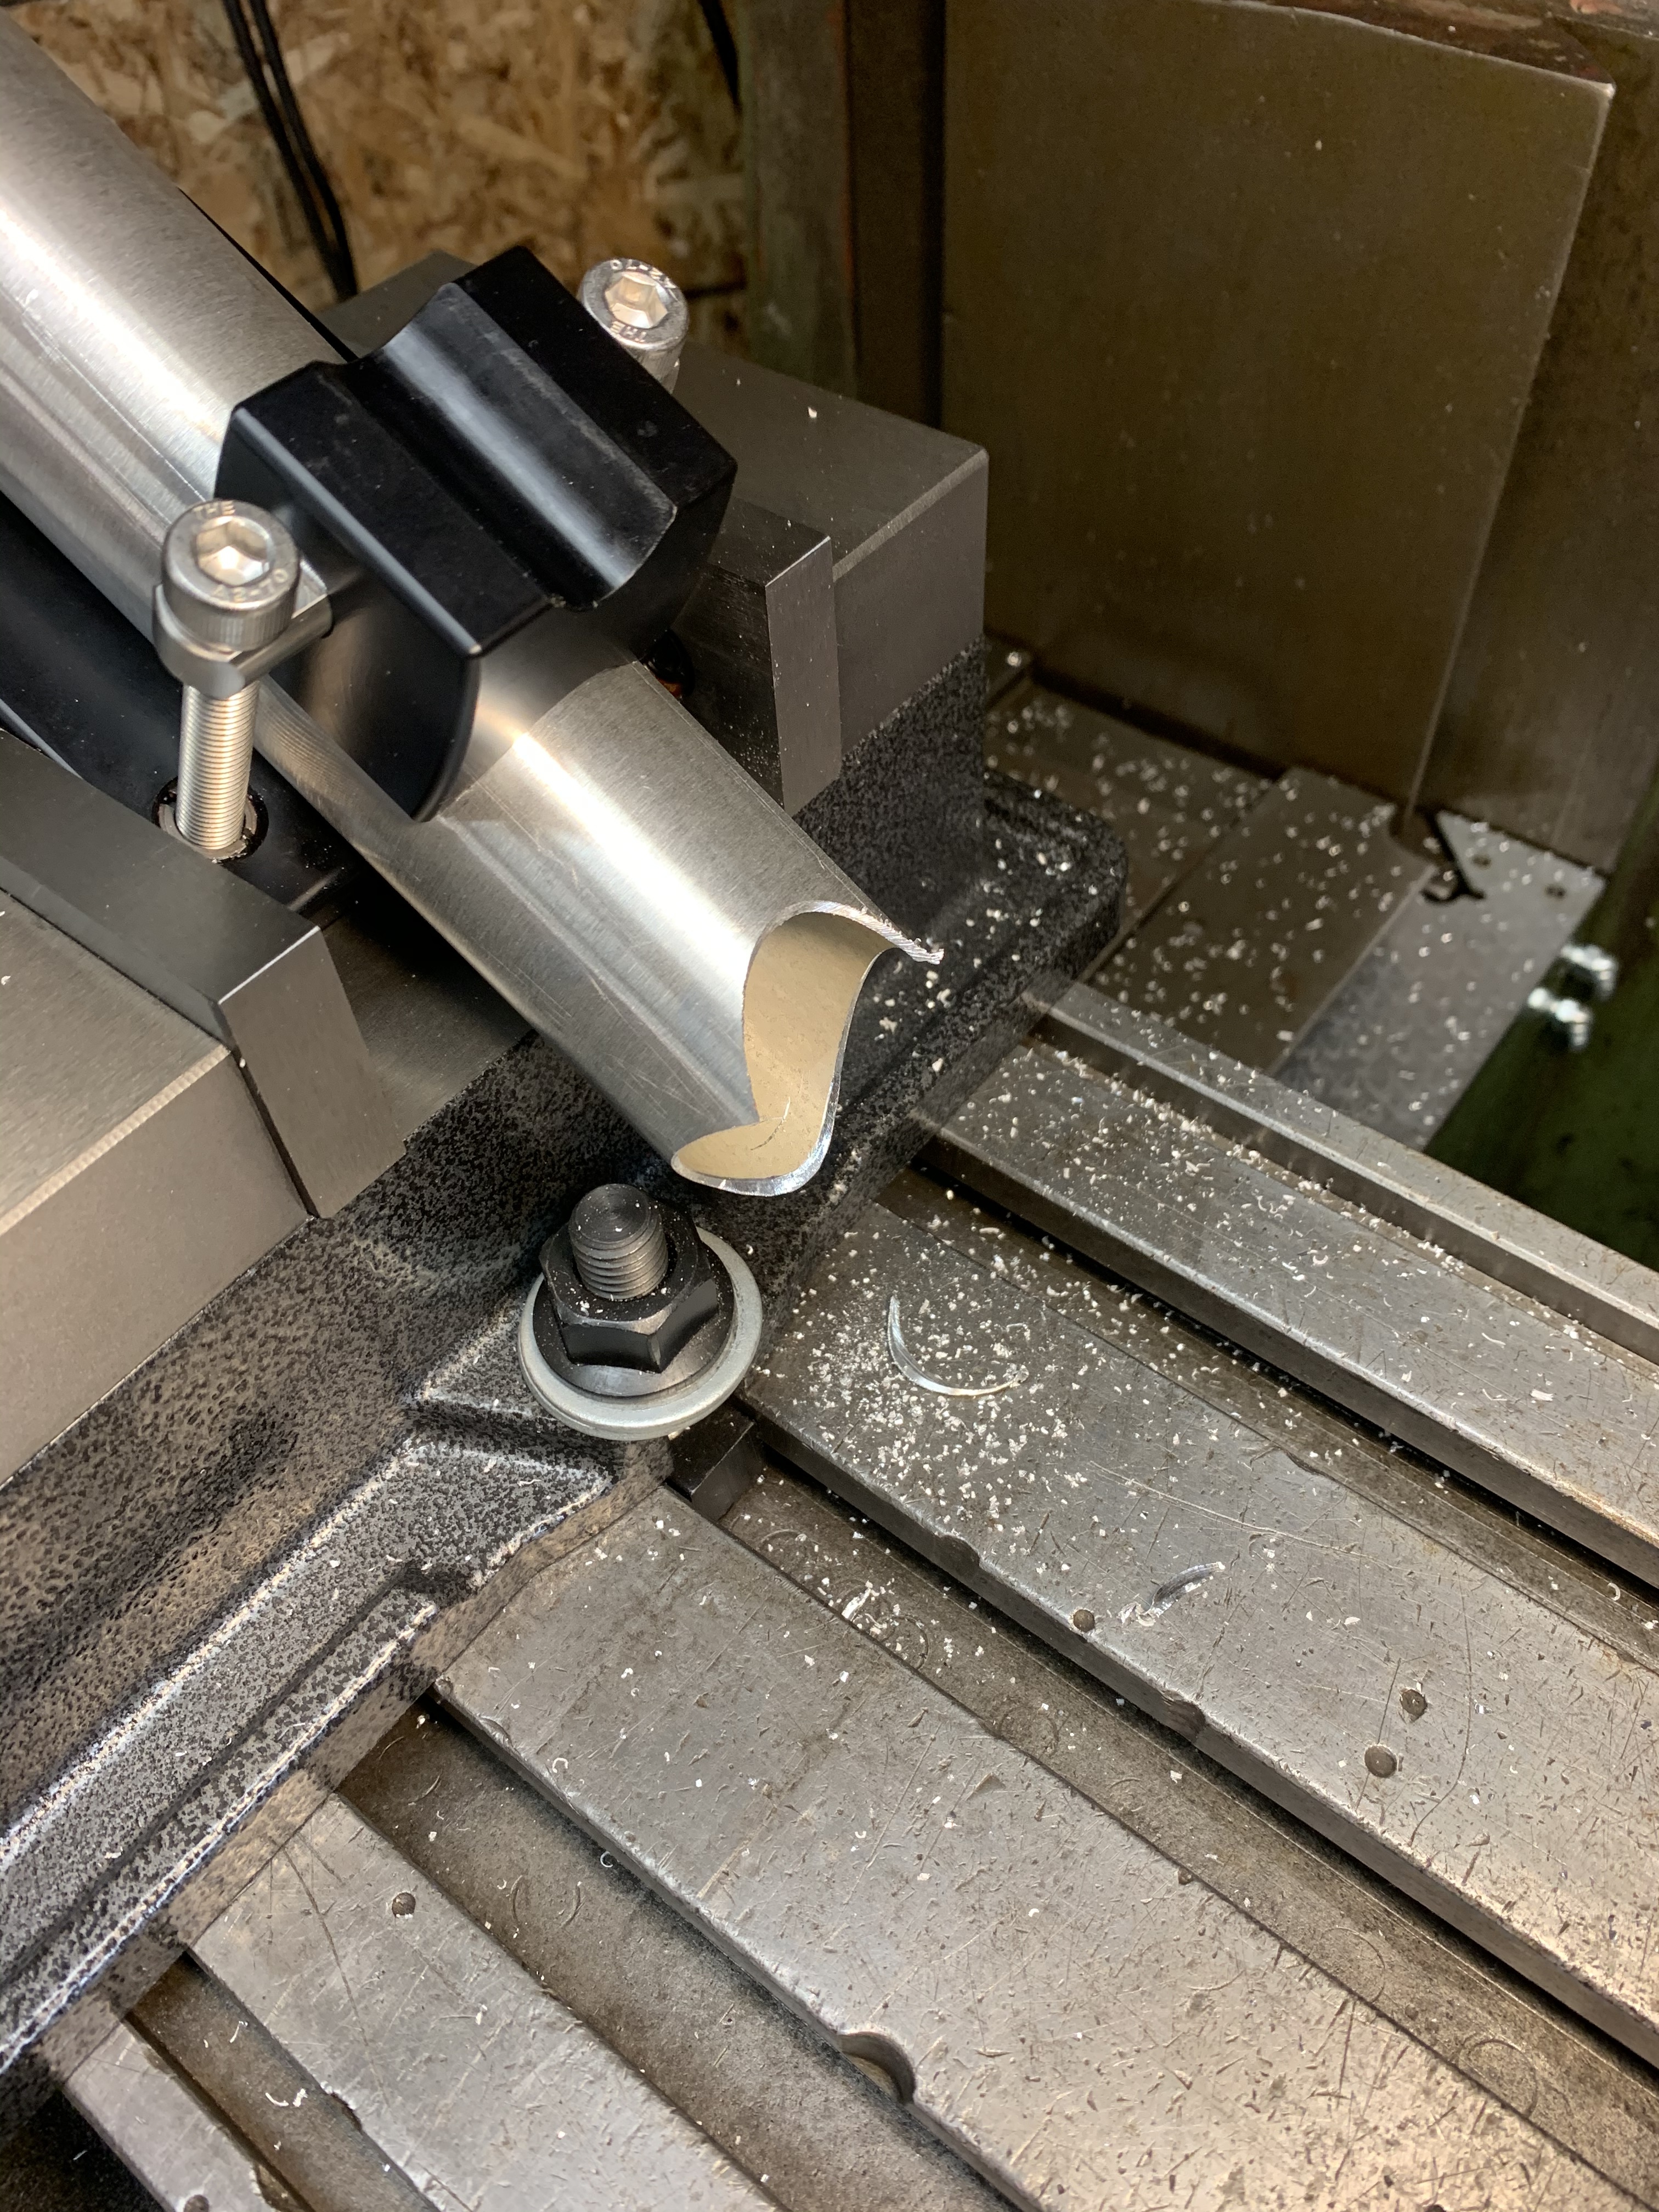
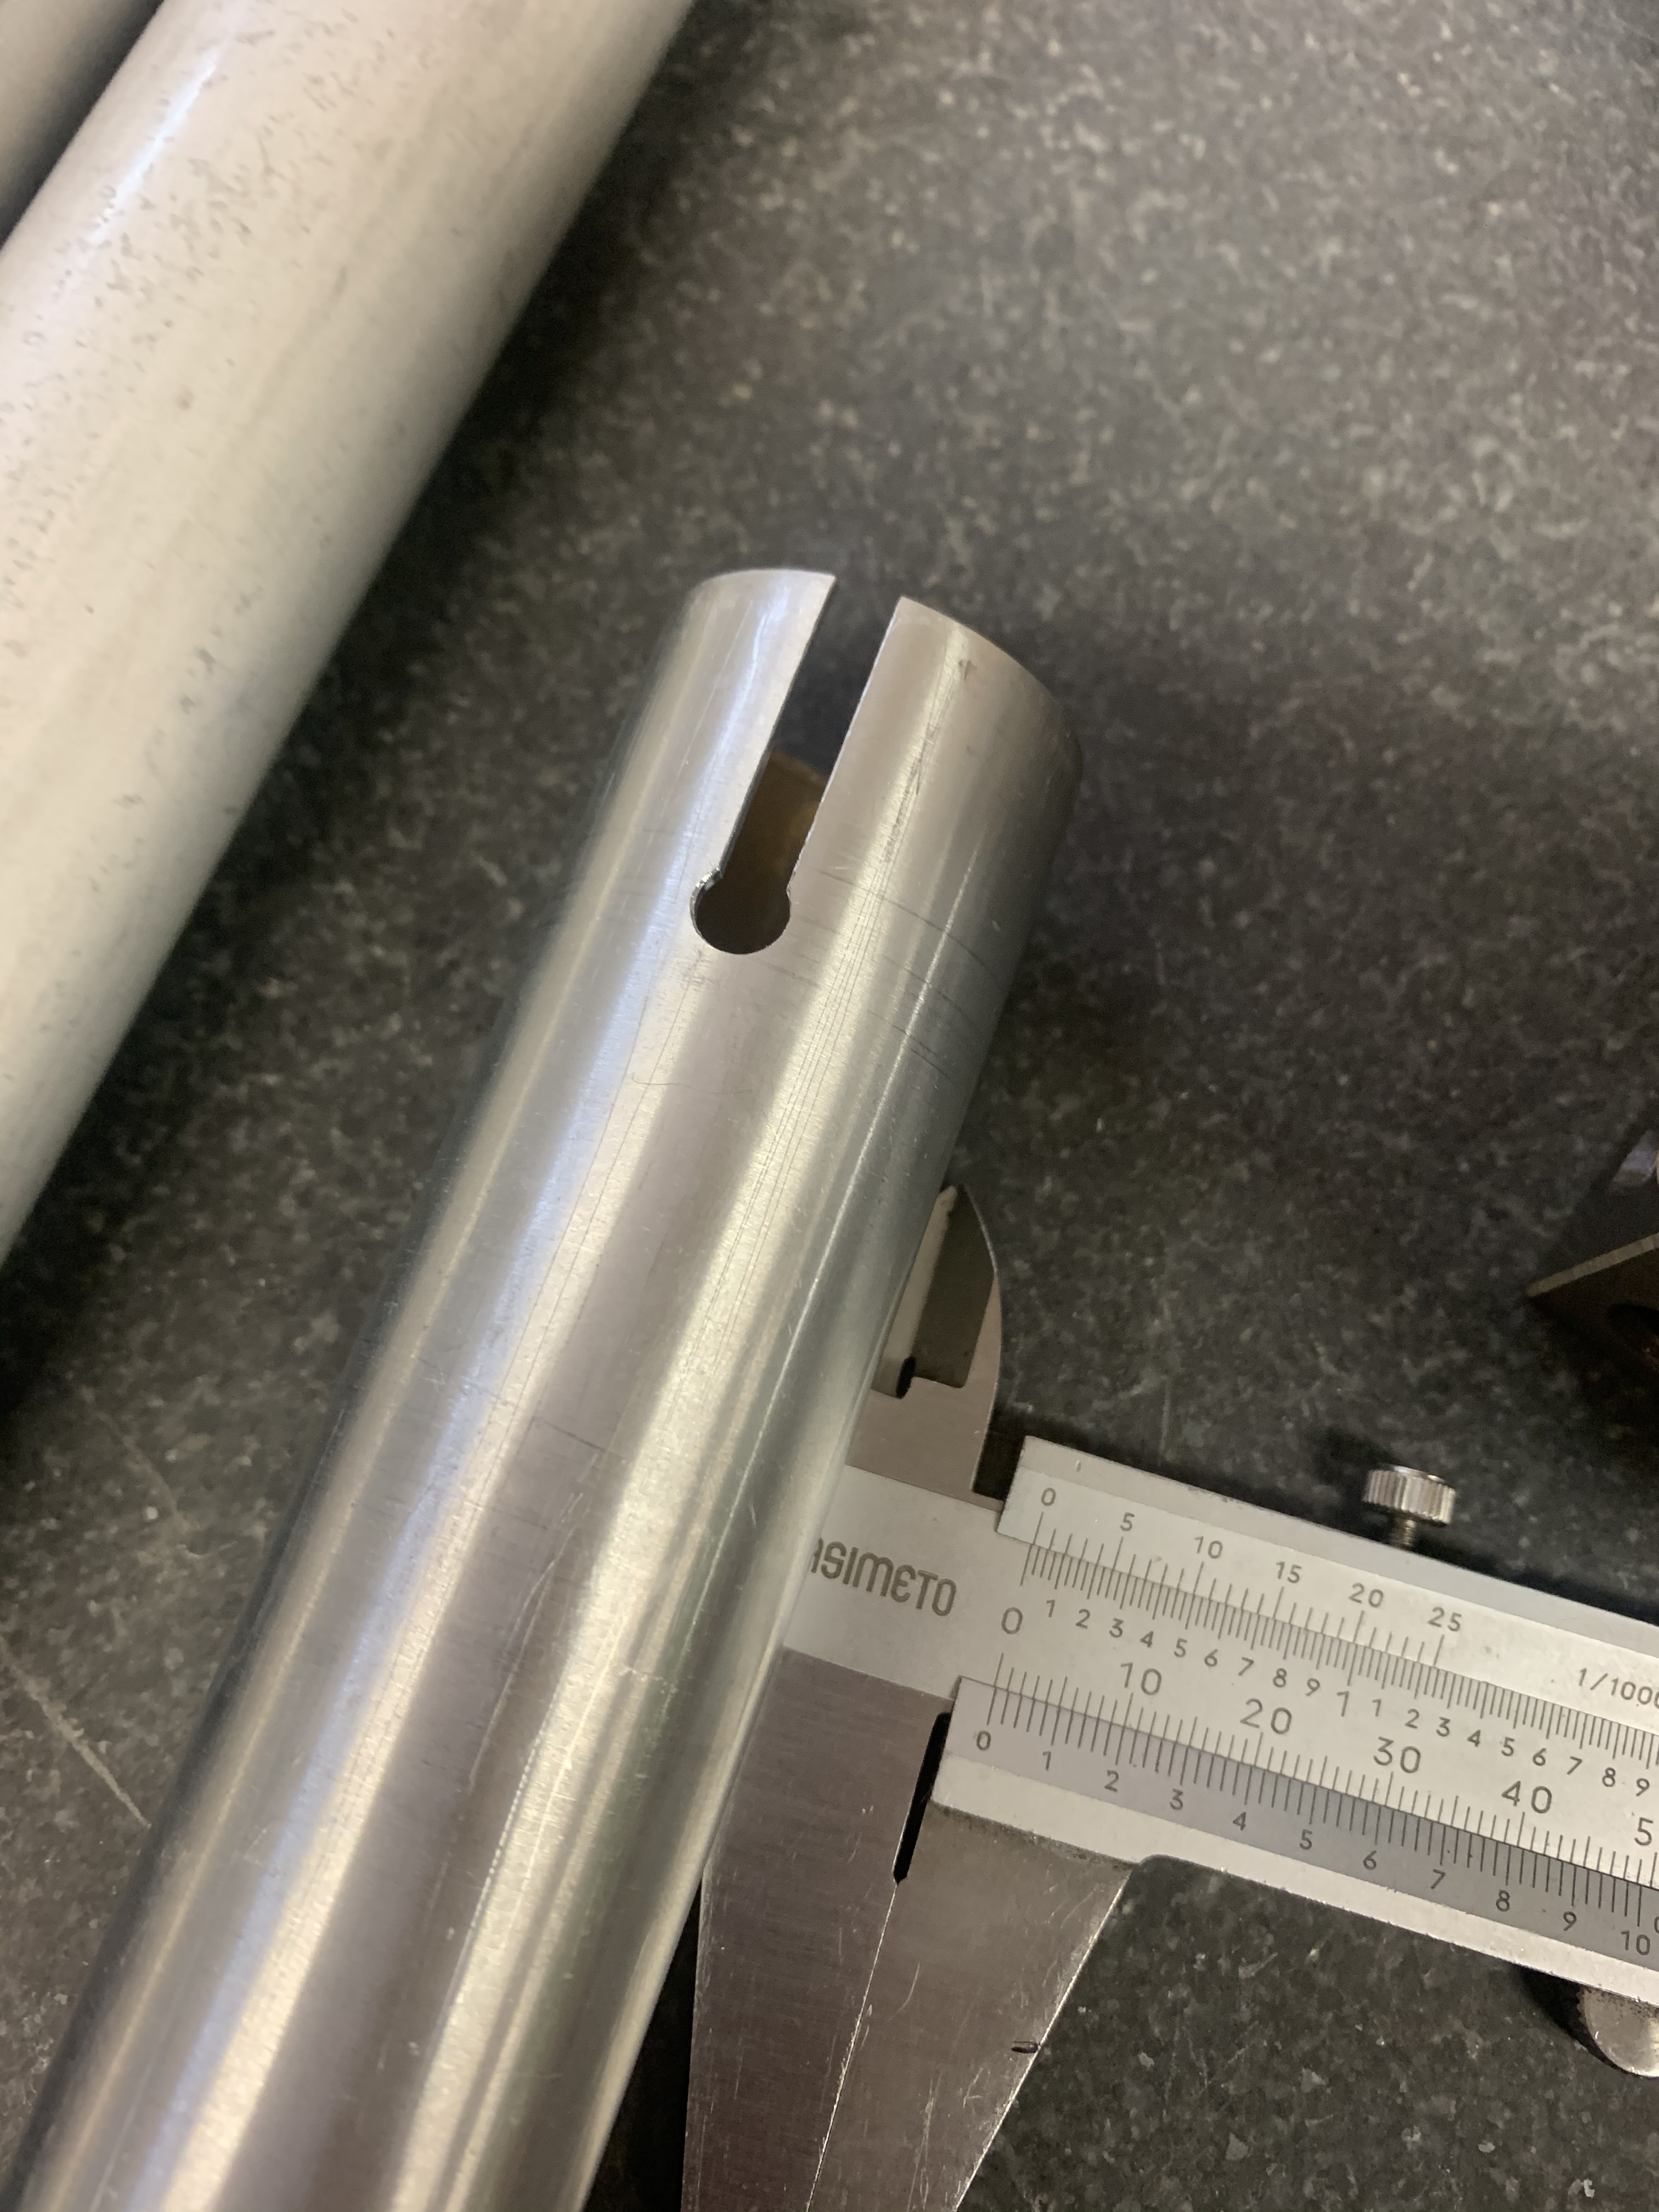
Mitered the ST scallop on the DT and checked fit before I took it out of the mill… “get it right, get it tight”. A bevel protractor with a piece of 7/8” bar chucked in a collet is how I’ve been setting angles. Works well enough I’m not going mess with rotary tables or tilting vises on the new machine I think.
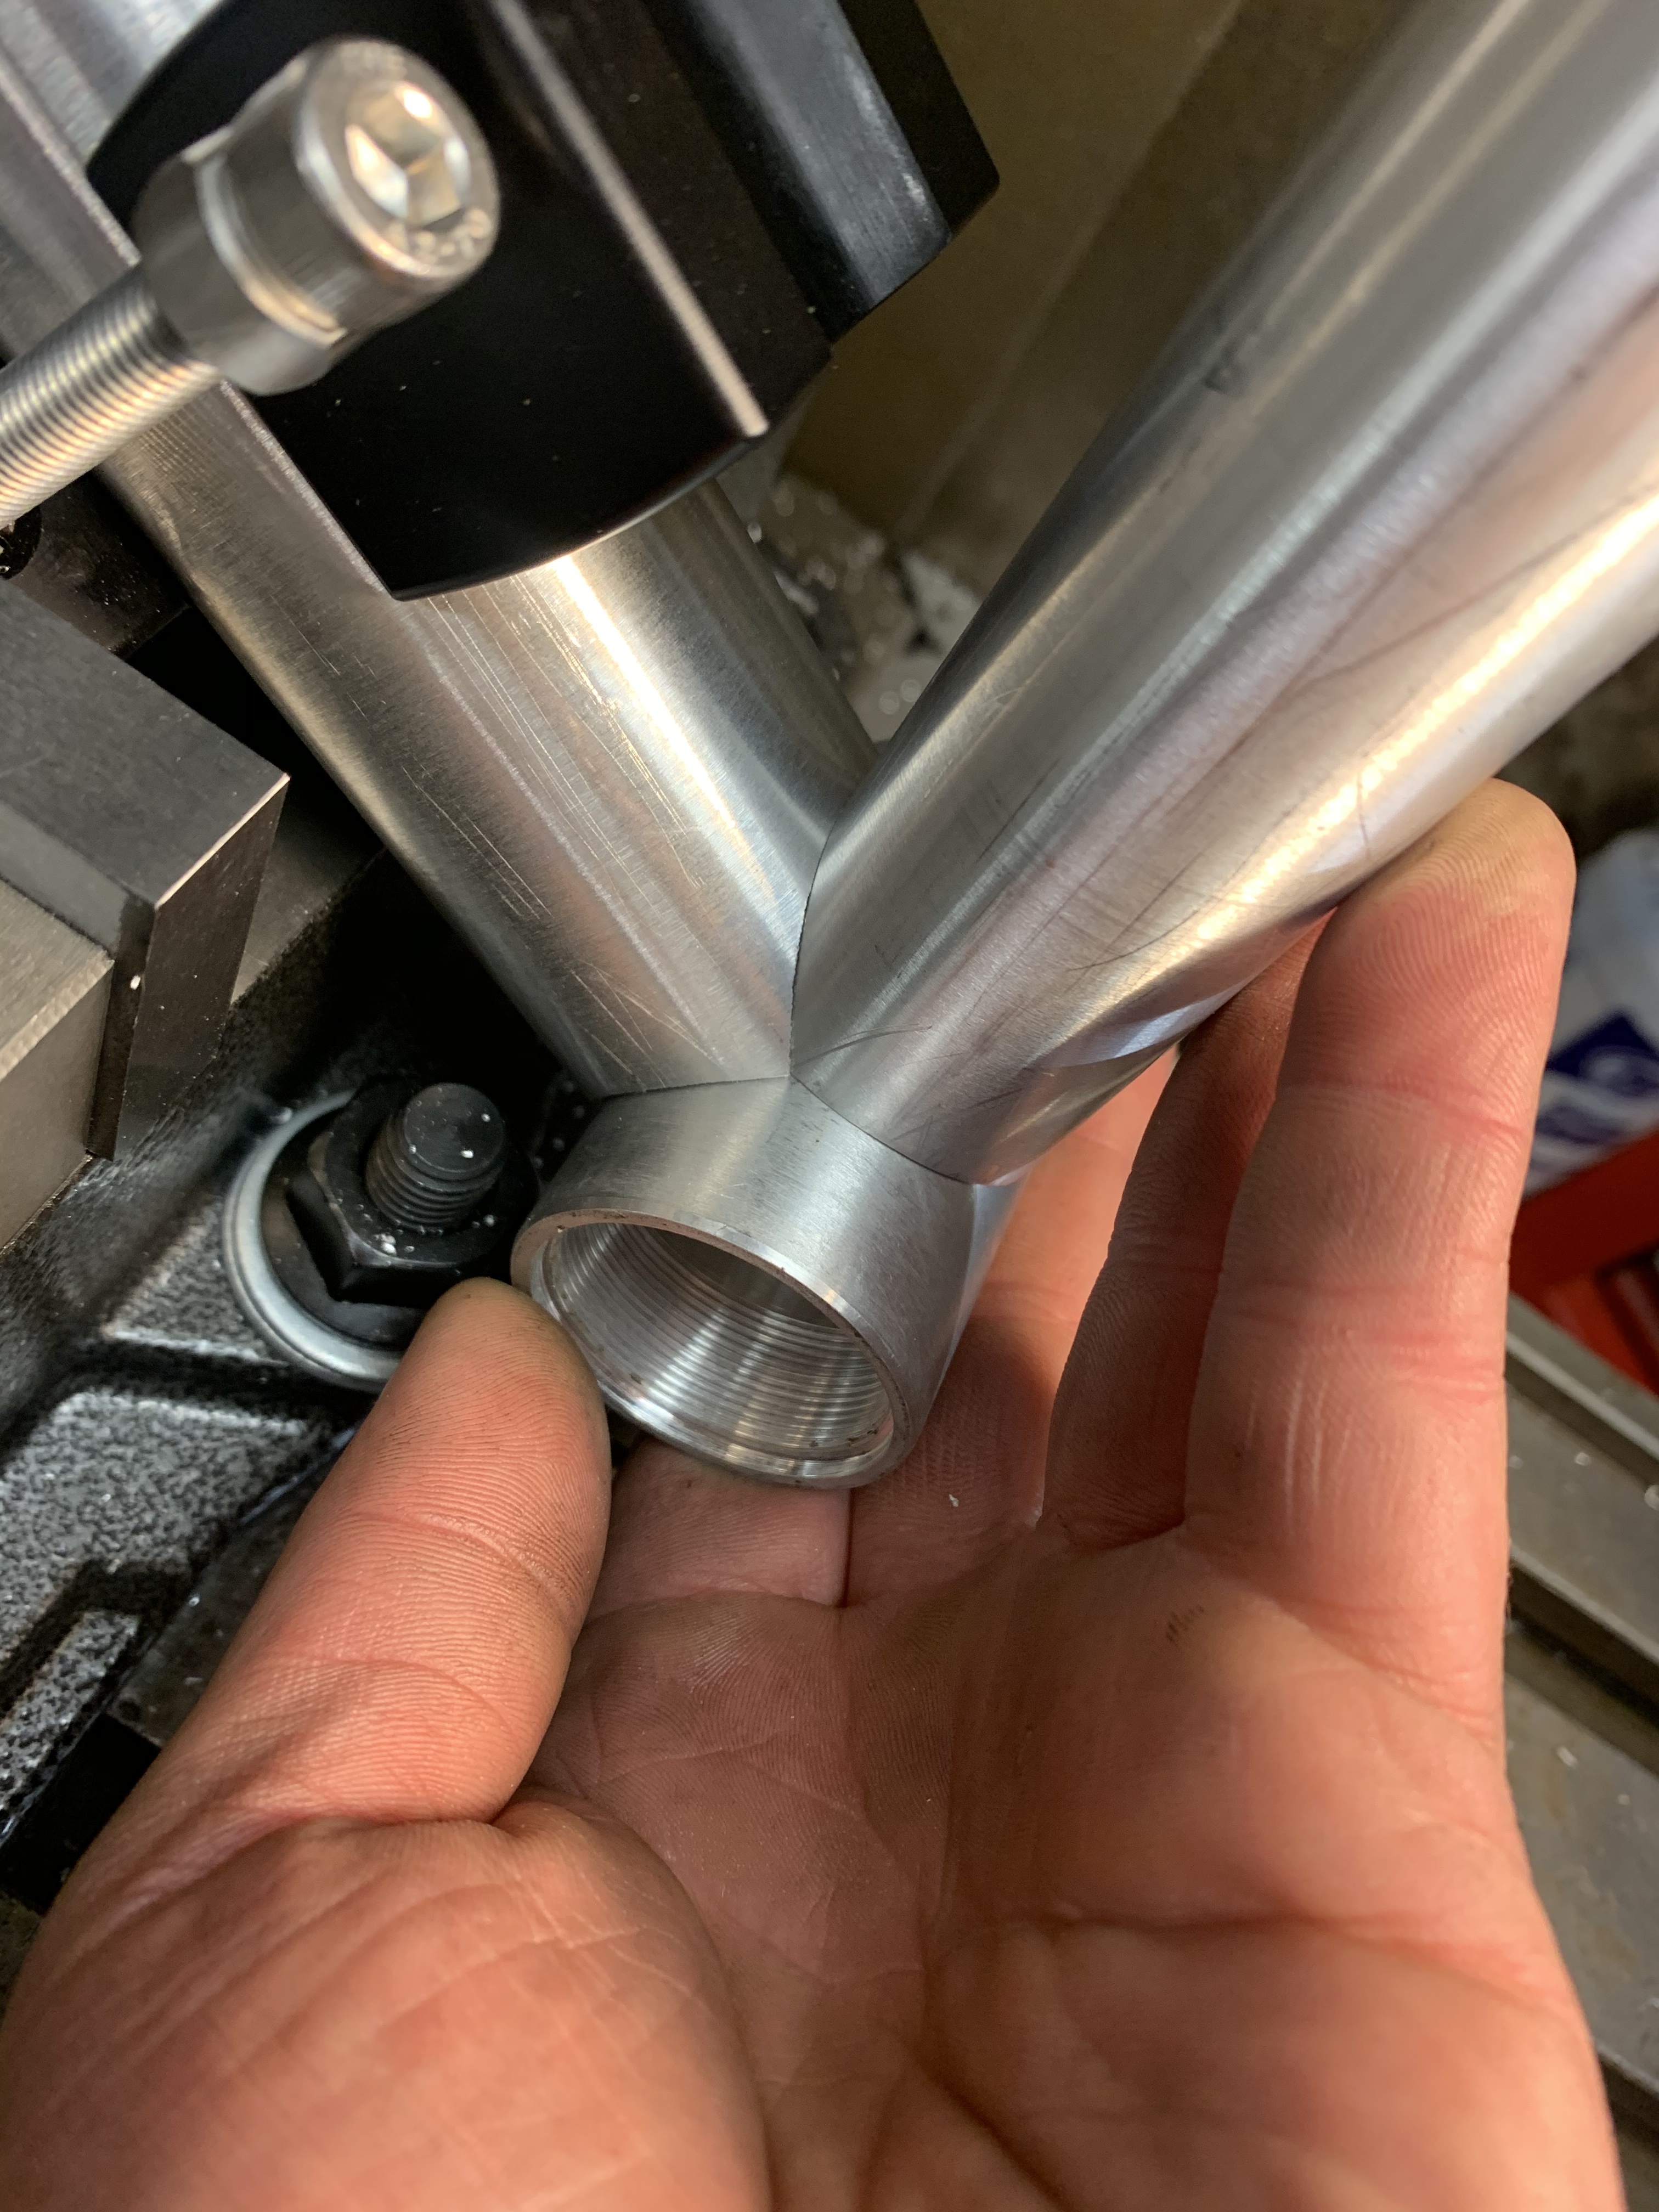
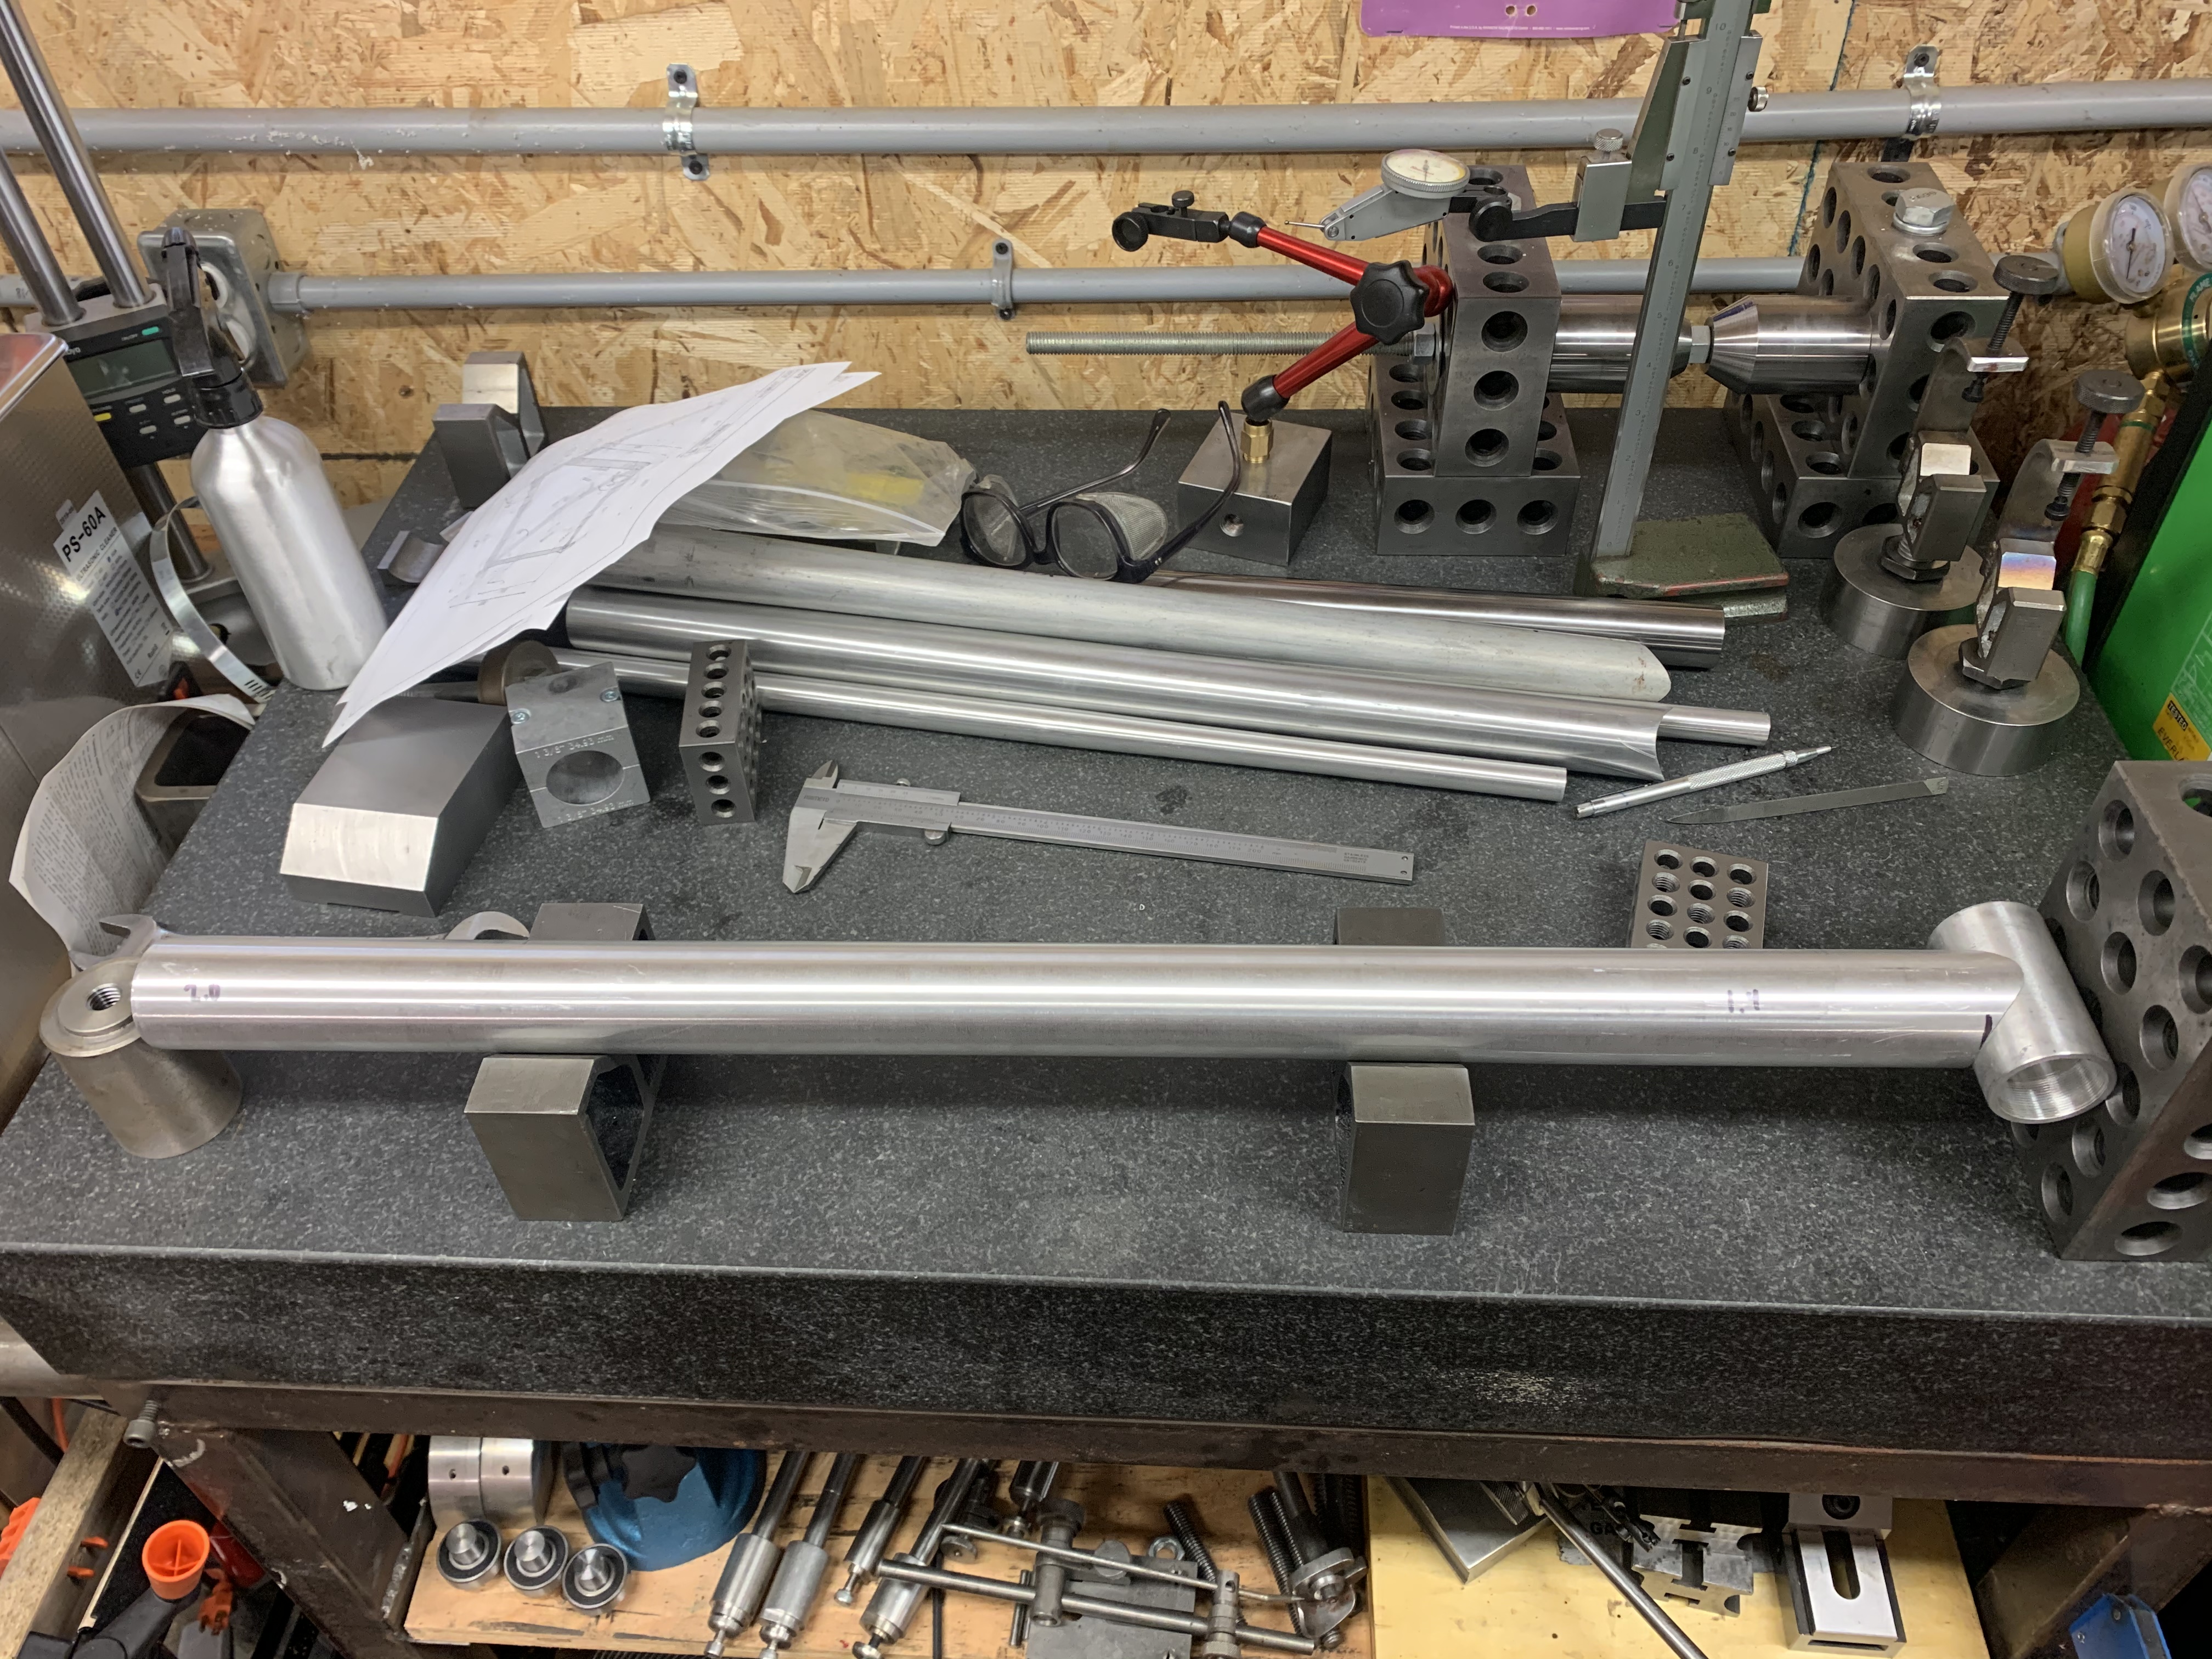
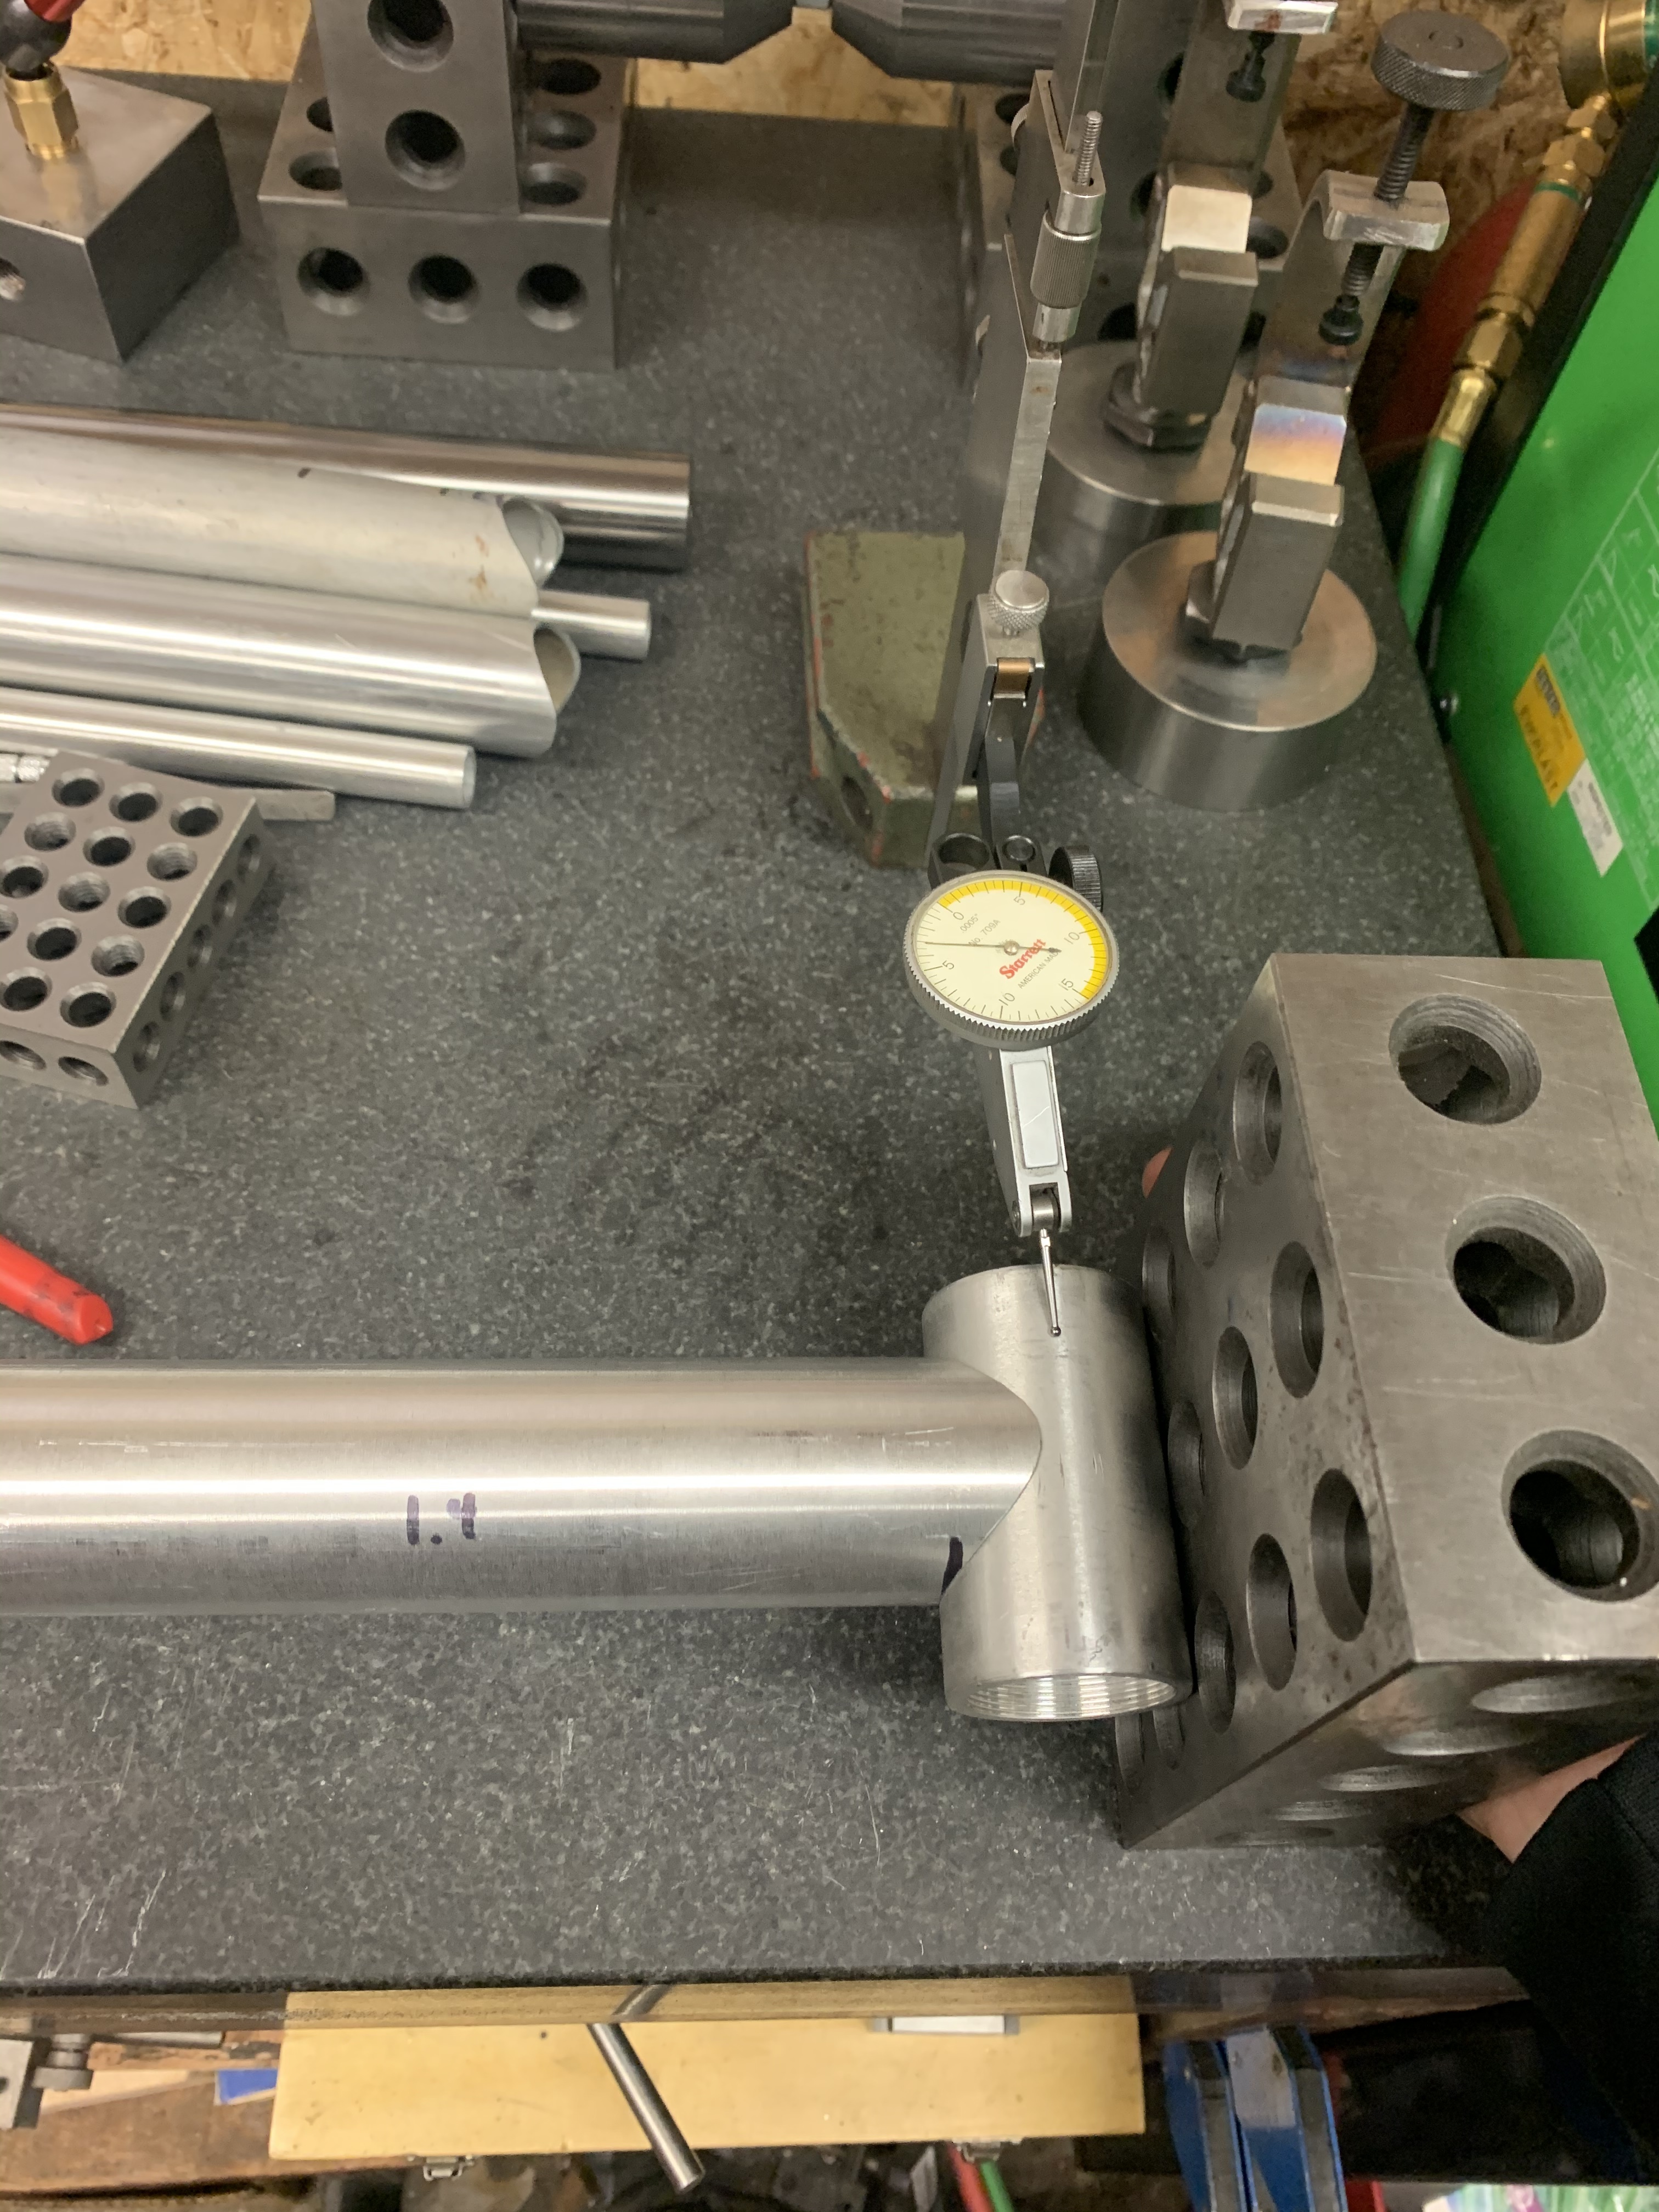
Wedged the BB against the DT on the granite table to mark the length for the HT end cut and check that the miters are in phase. I used to fuck with centrelines and shit but I like to just check things as I go along like this. I’m sure it’s influenced by my work experience. I like indicators, micrometers and calibrated surfaces more than an effbuilder probably should.
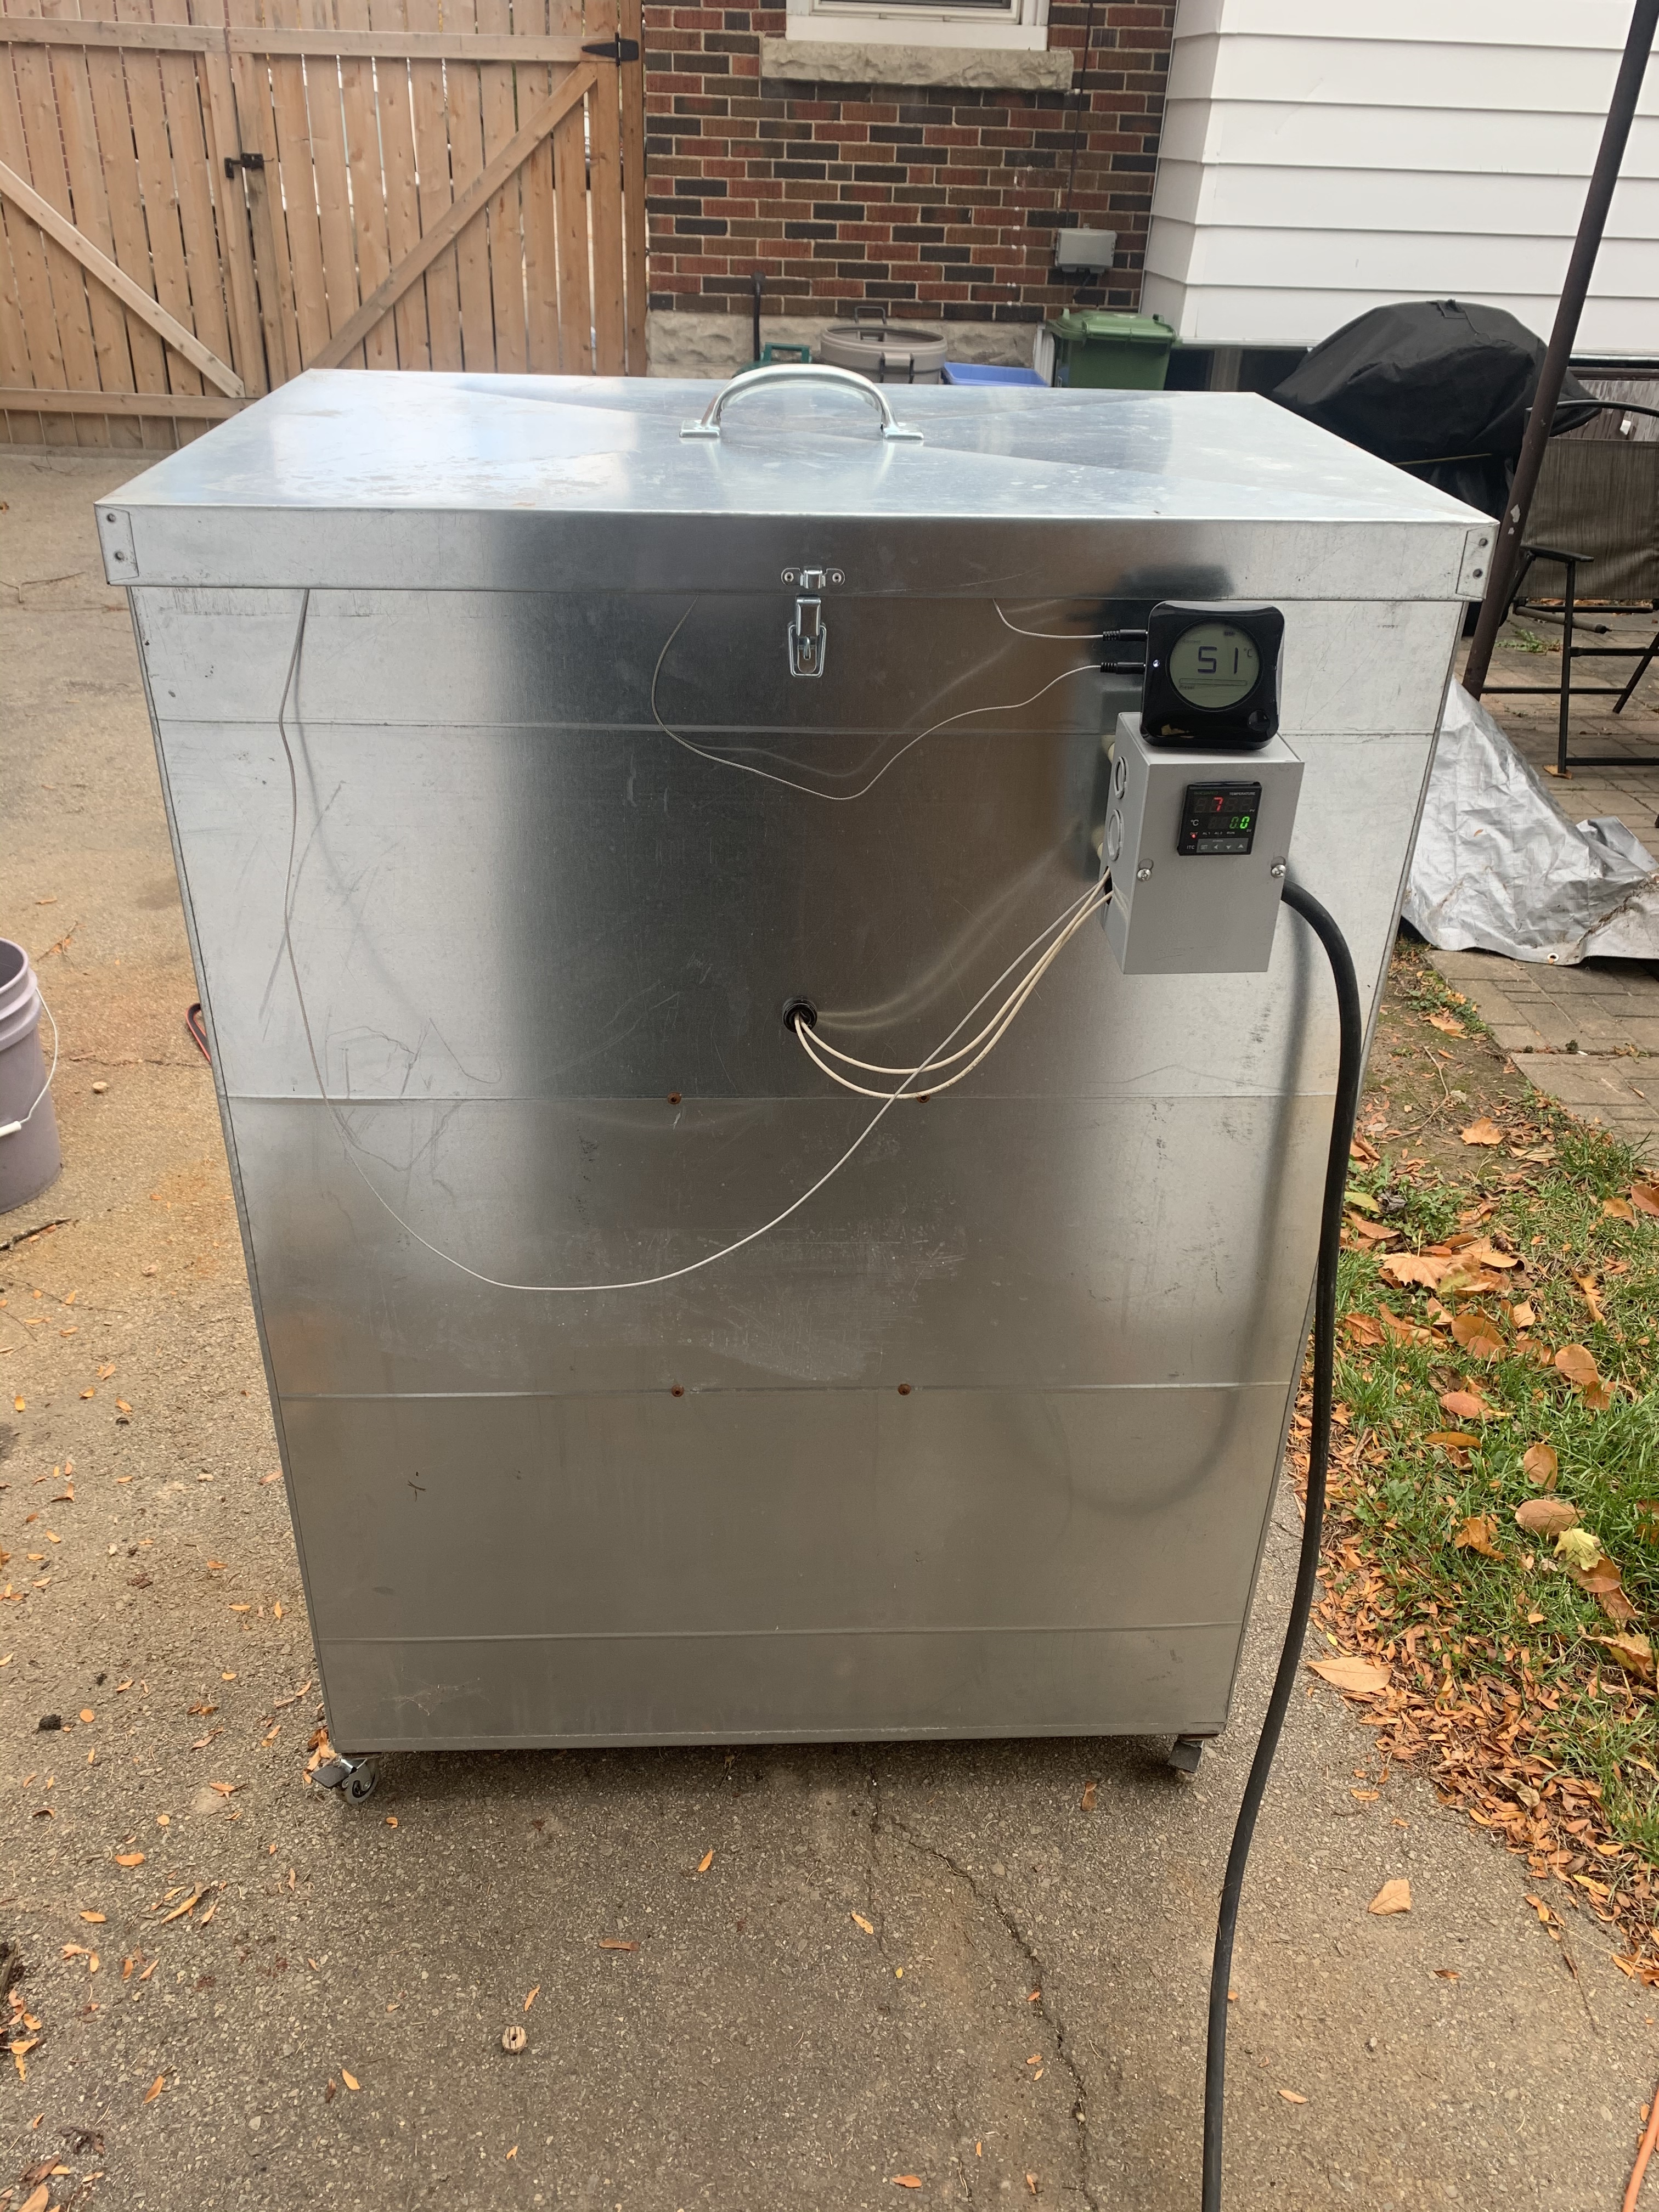
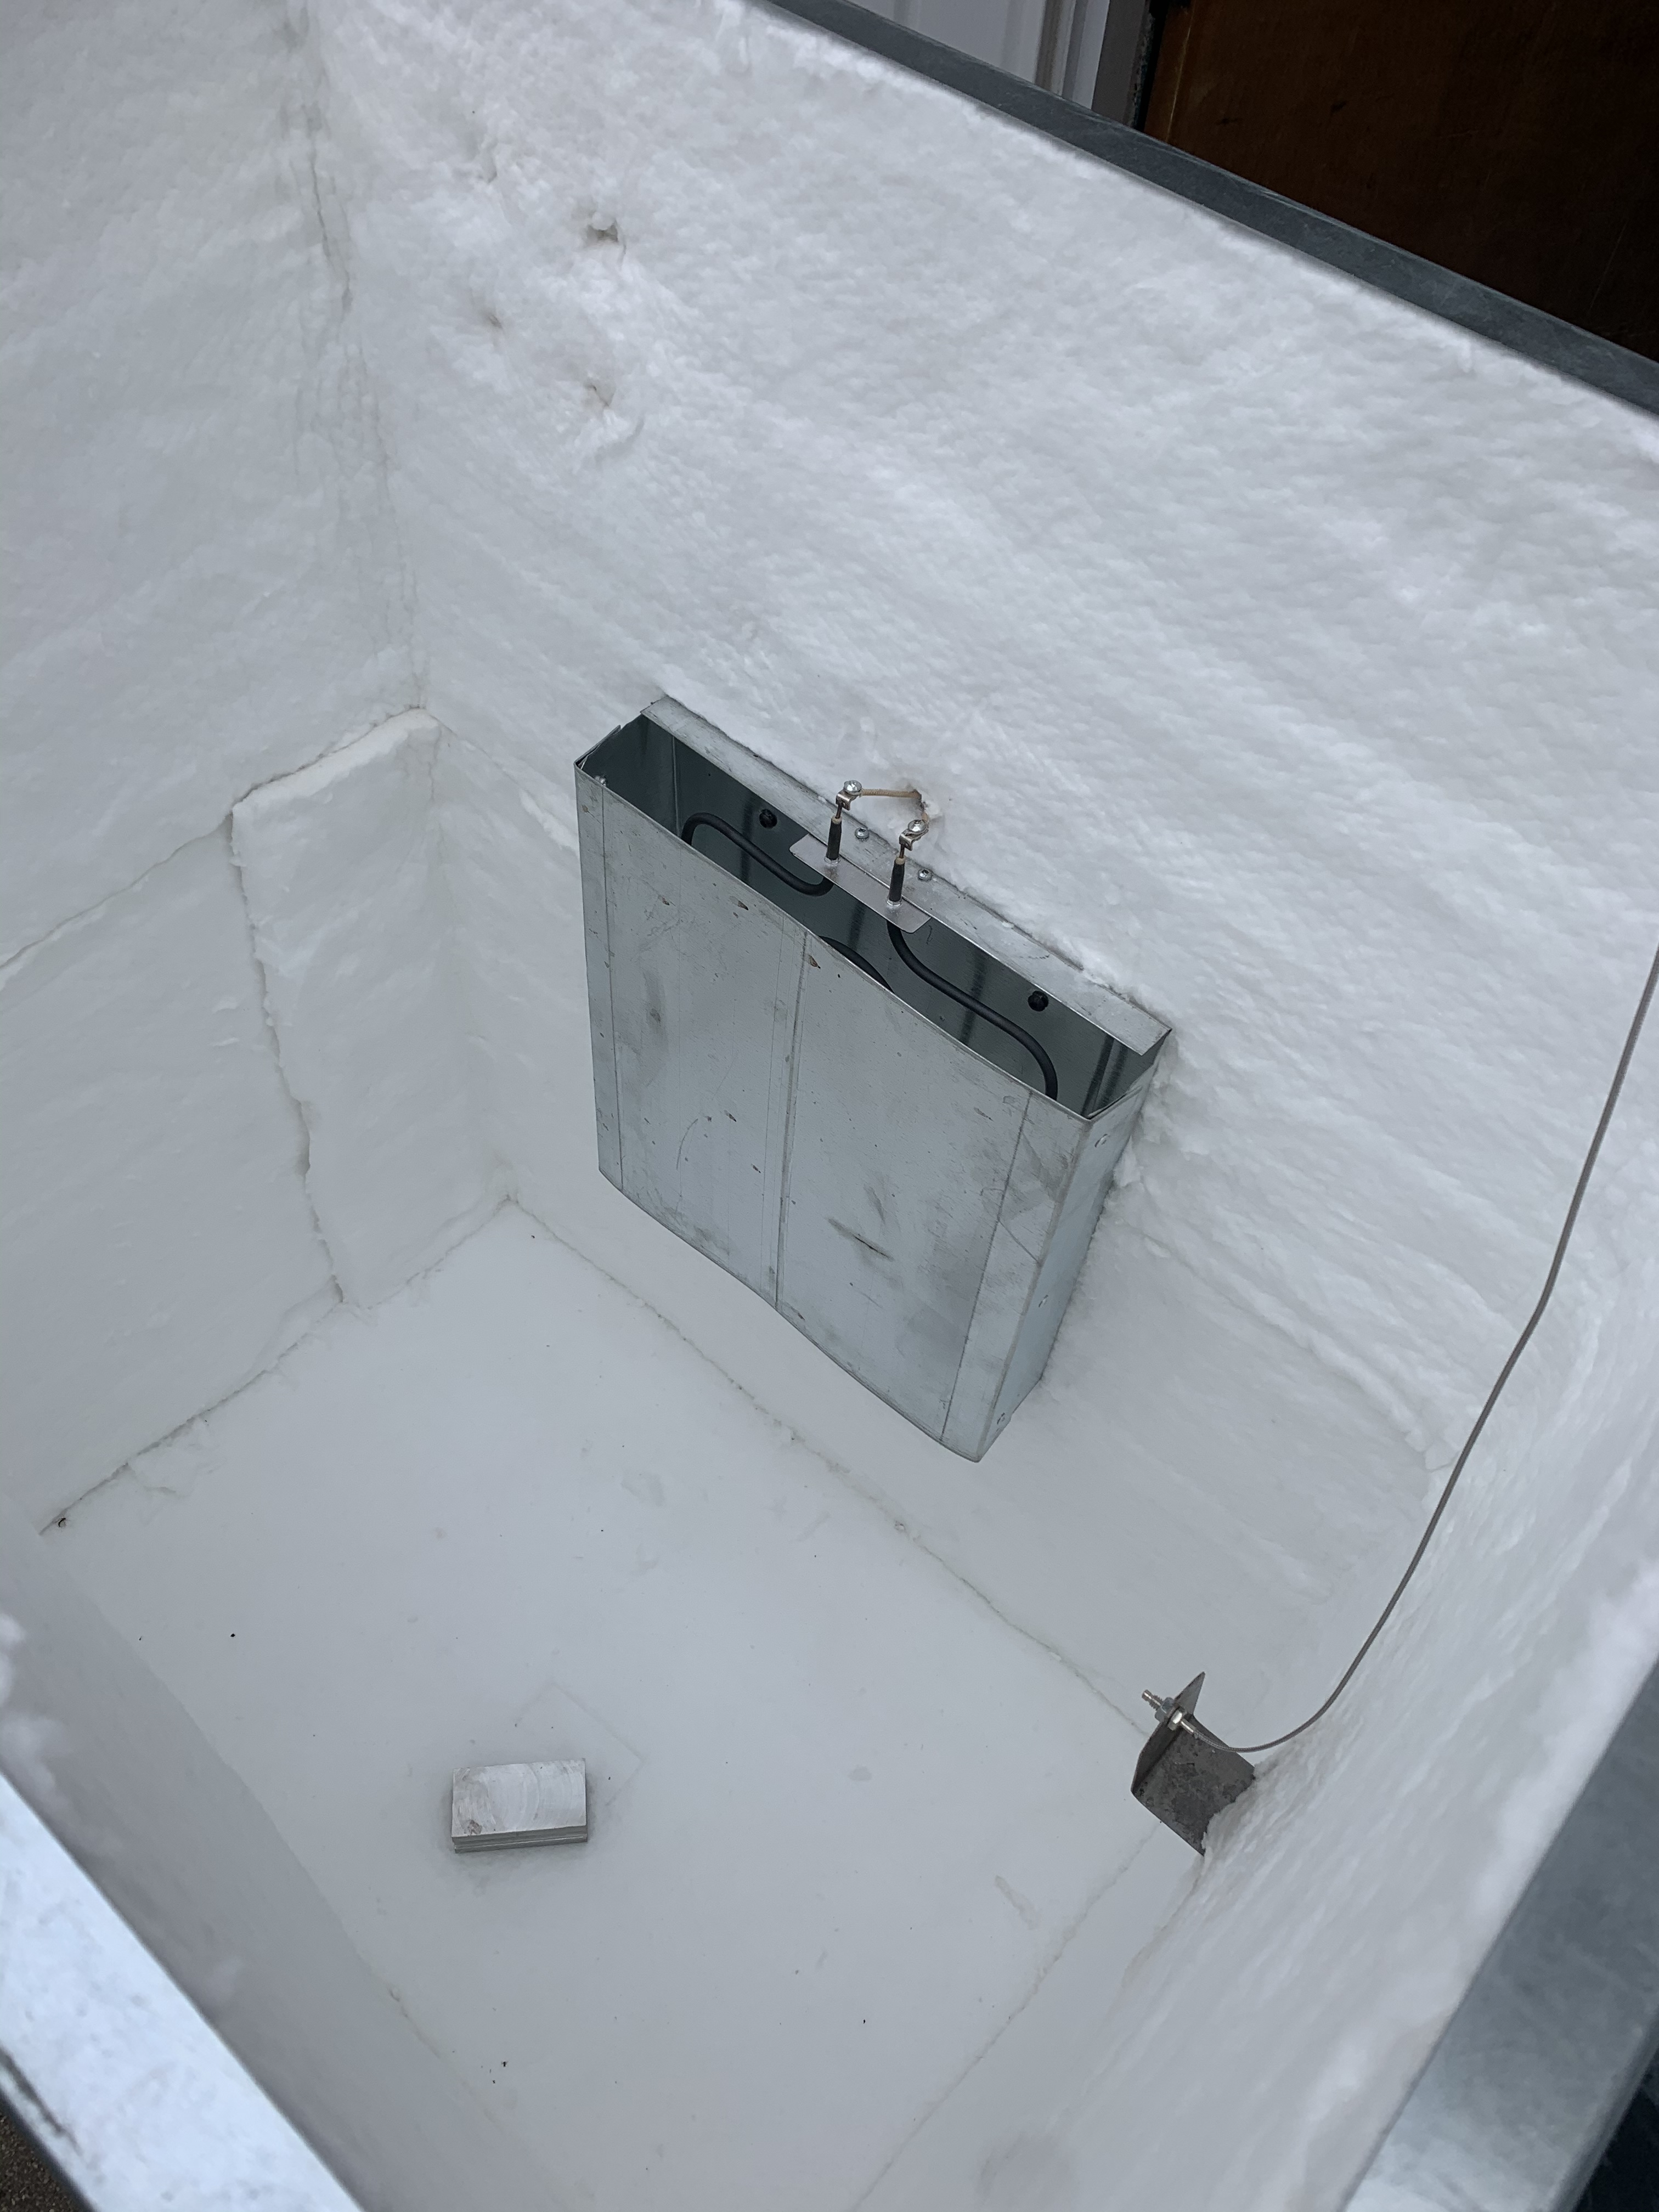
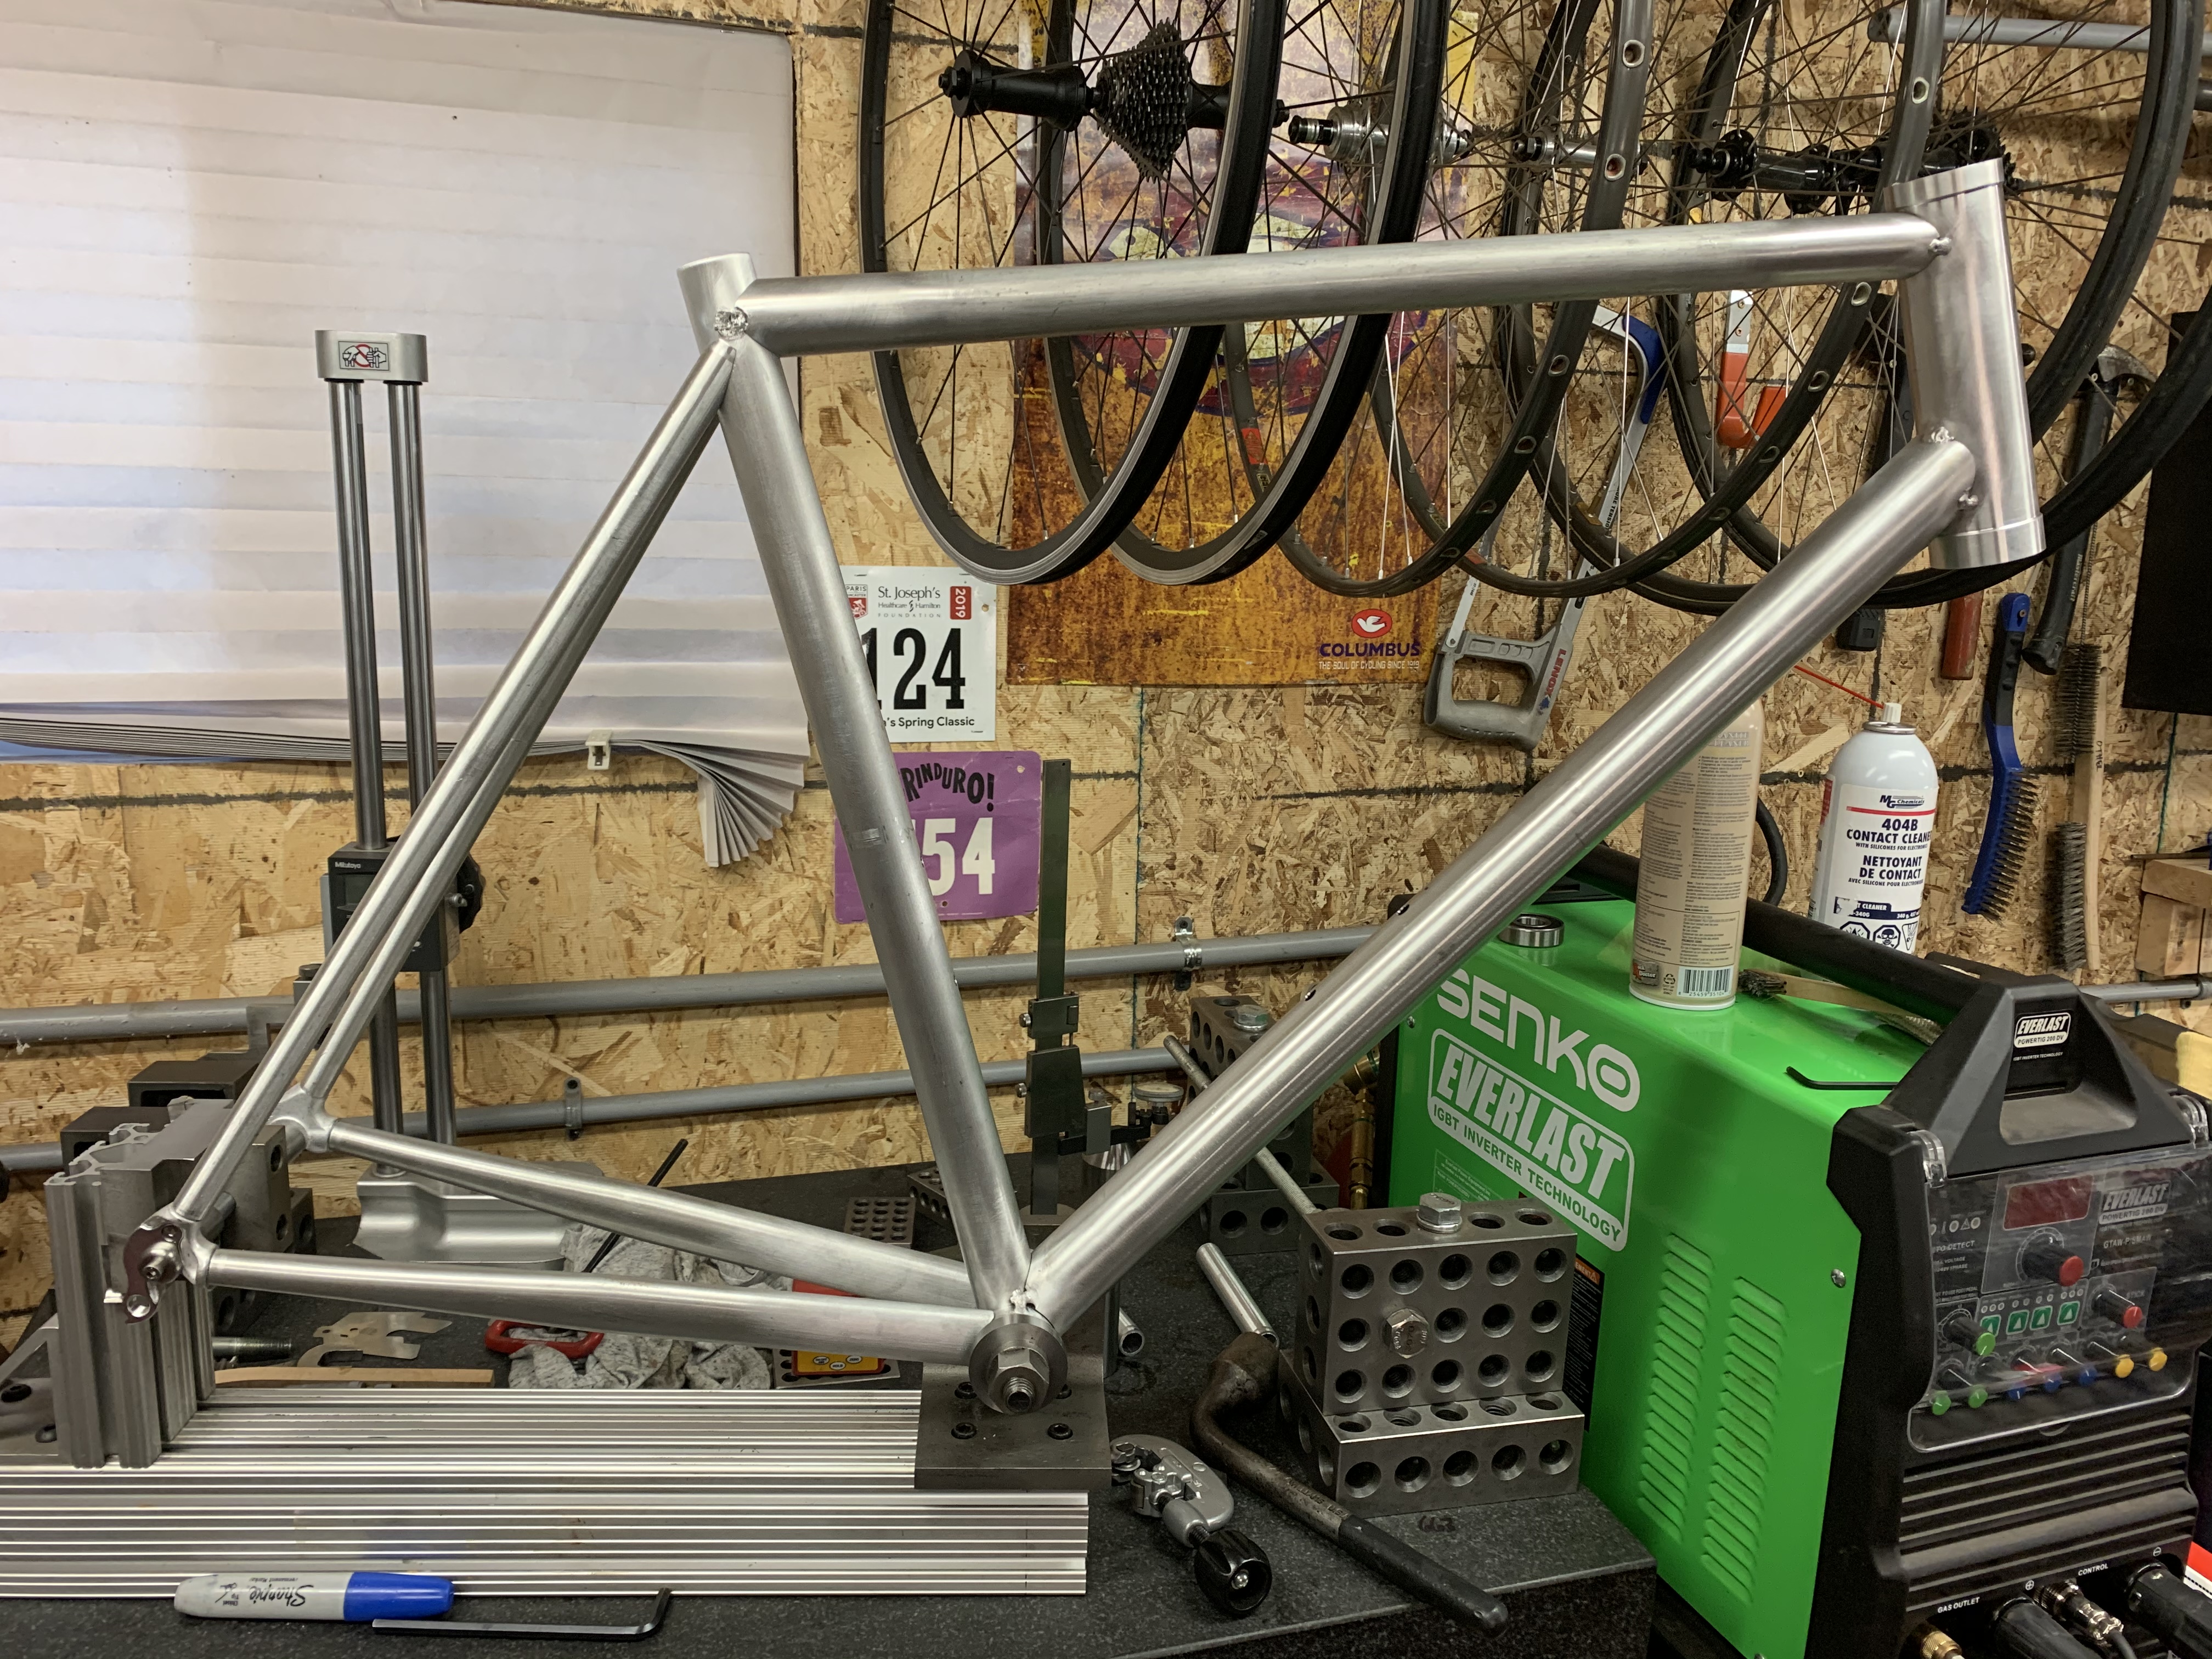
Next is take it apart again, drill vent holes in the BB and headtube and start cleaning the tube ends inside and out. Then tack the main triangle, fixture in my rear end jig, miter and set up the seatstays and then wait for two consecutive days with no commitments to weld everything and throw it in the oven I built.
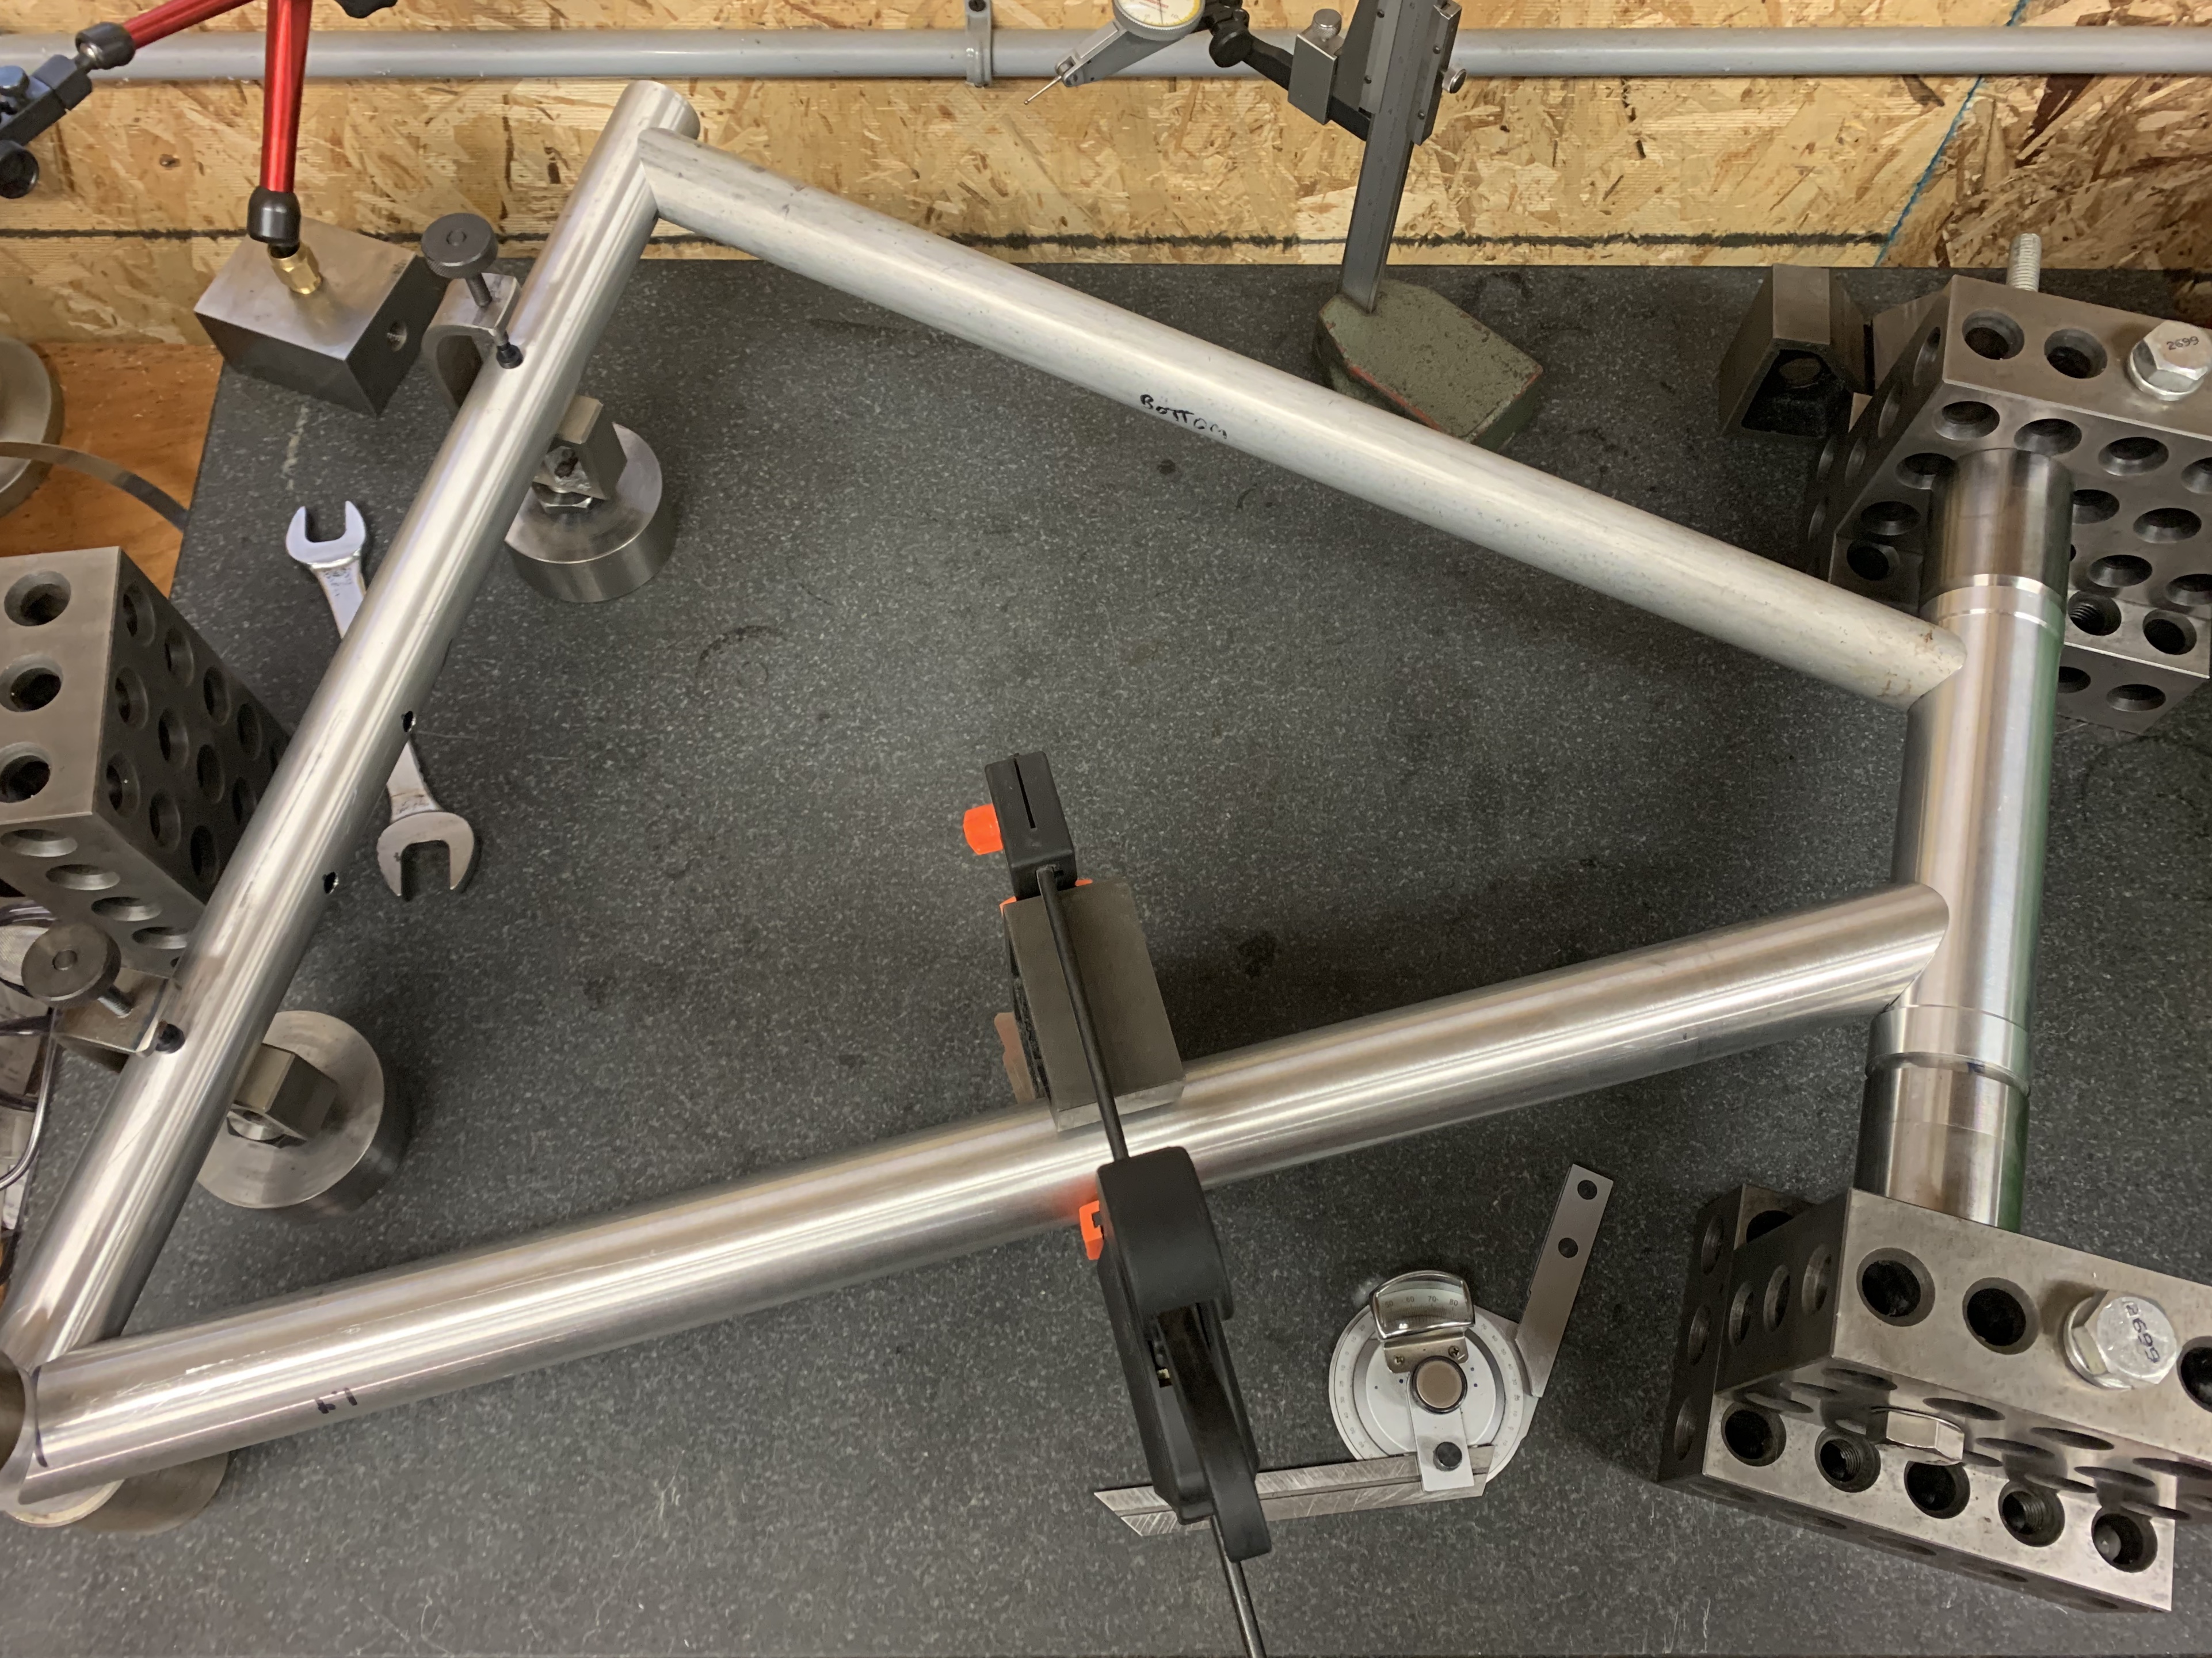
Front triangle is tacked and the seatstays are mitered.
Struggled a bit with welder settings but got things sorted after a bit of testing on some aluminum flat stock. Then I forgot to clean the inside of the seattube resulting in some really gross tacks at the TT joint . Should be fine once I fully weld everything next weekend.
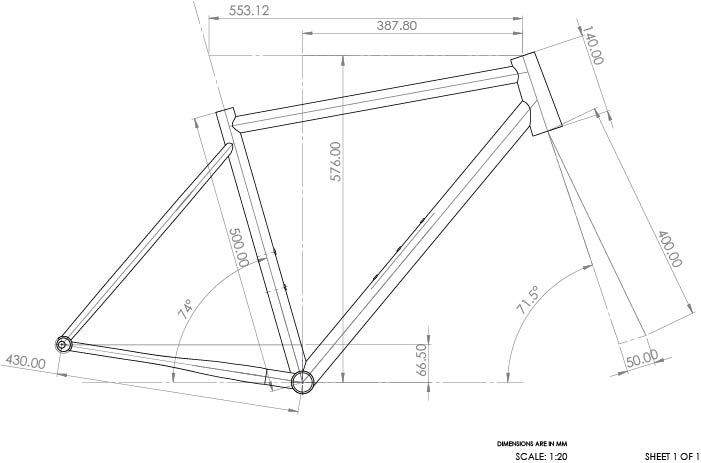
@rancid_burple interesting, those are a couple of things I didn’t change from the geometry as it came from specialized.
@drwelby replace the bike I crashed and experiment, try to change a couple of things I wasn’t crazy about. As for seat tube angle, i wanted it to be steeper almost as soon as I got on the sequoia, so I made it a little steeper on this.
Edit: interestingly enough the 2017 model had a 74* STA compared to my 2018s 73.5*

 . Should be fine once I fully weld everything next weekend.