Yeah, Marcus is a local legend.
I’m glad to see that Yojimbo’s endures in some way despite the sale of the building. I hope he made a million bucks on that thing.
@spaghetti, do you know if the building is still there? I haven’t been over in that area in ages.
1 Like
good question, I’ll try to swing by this week
Boring utility update: Repacked the front hub.
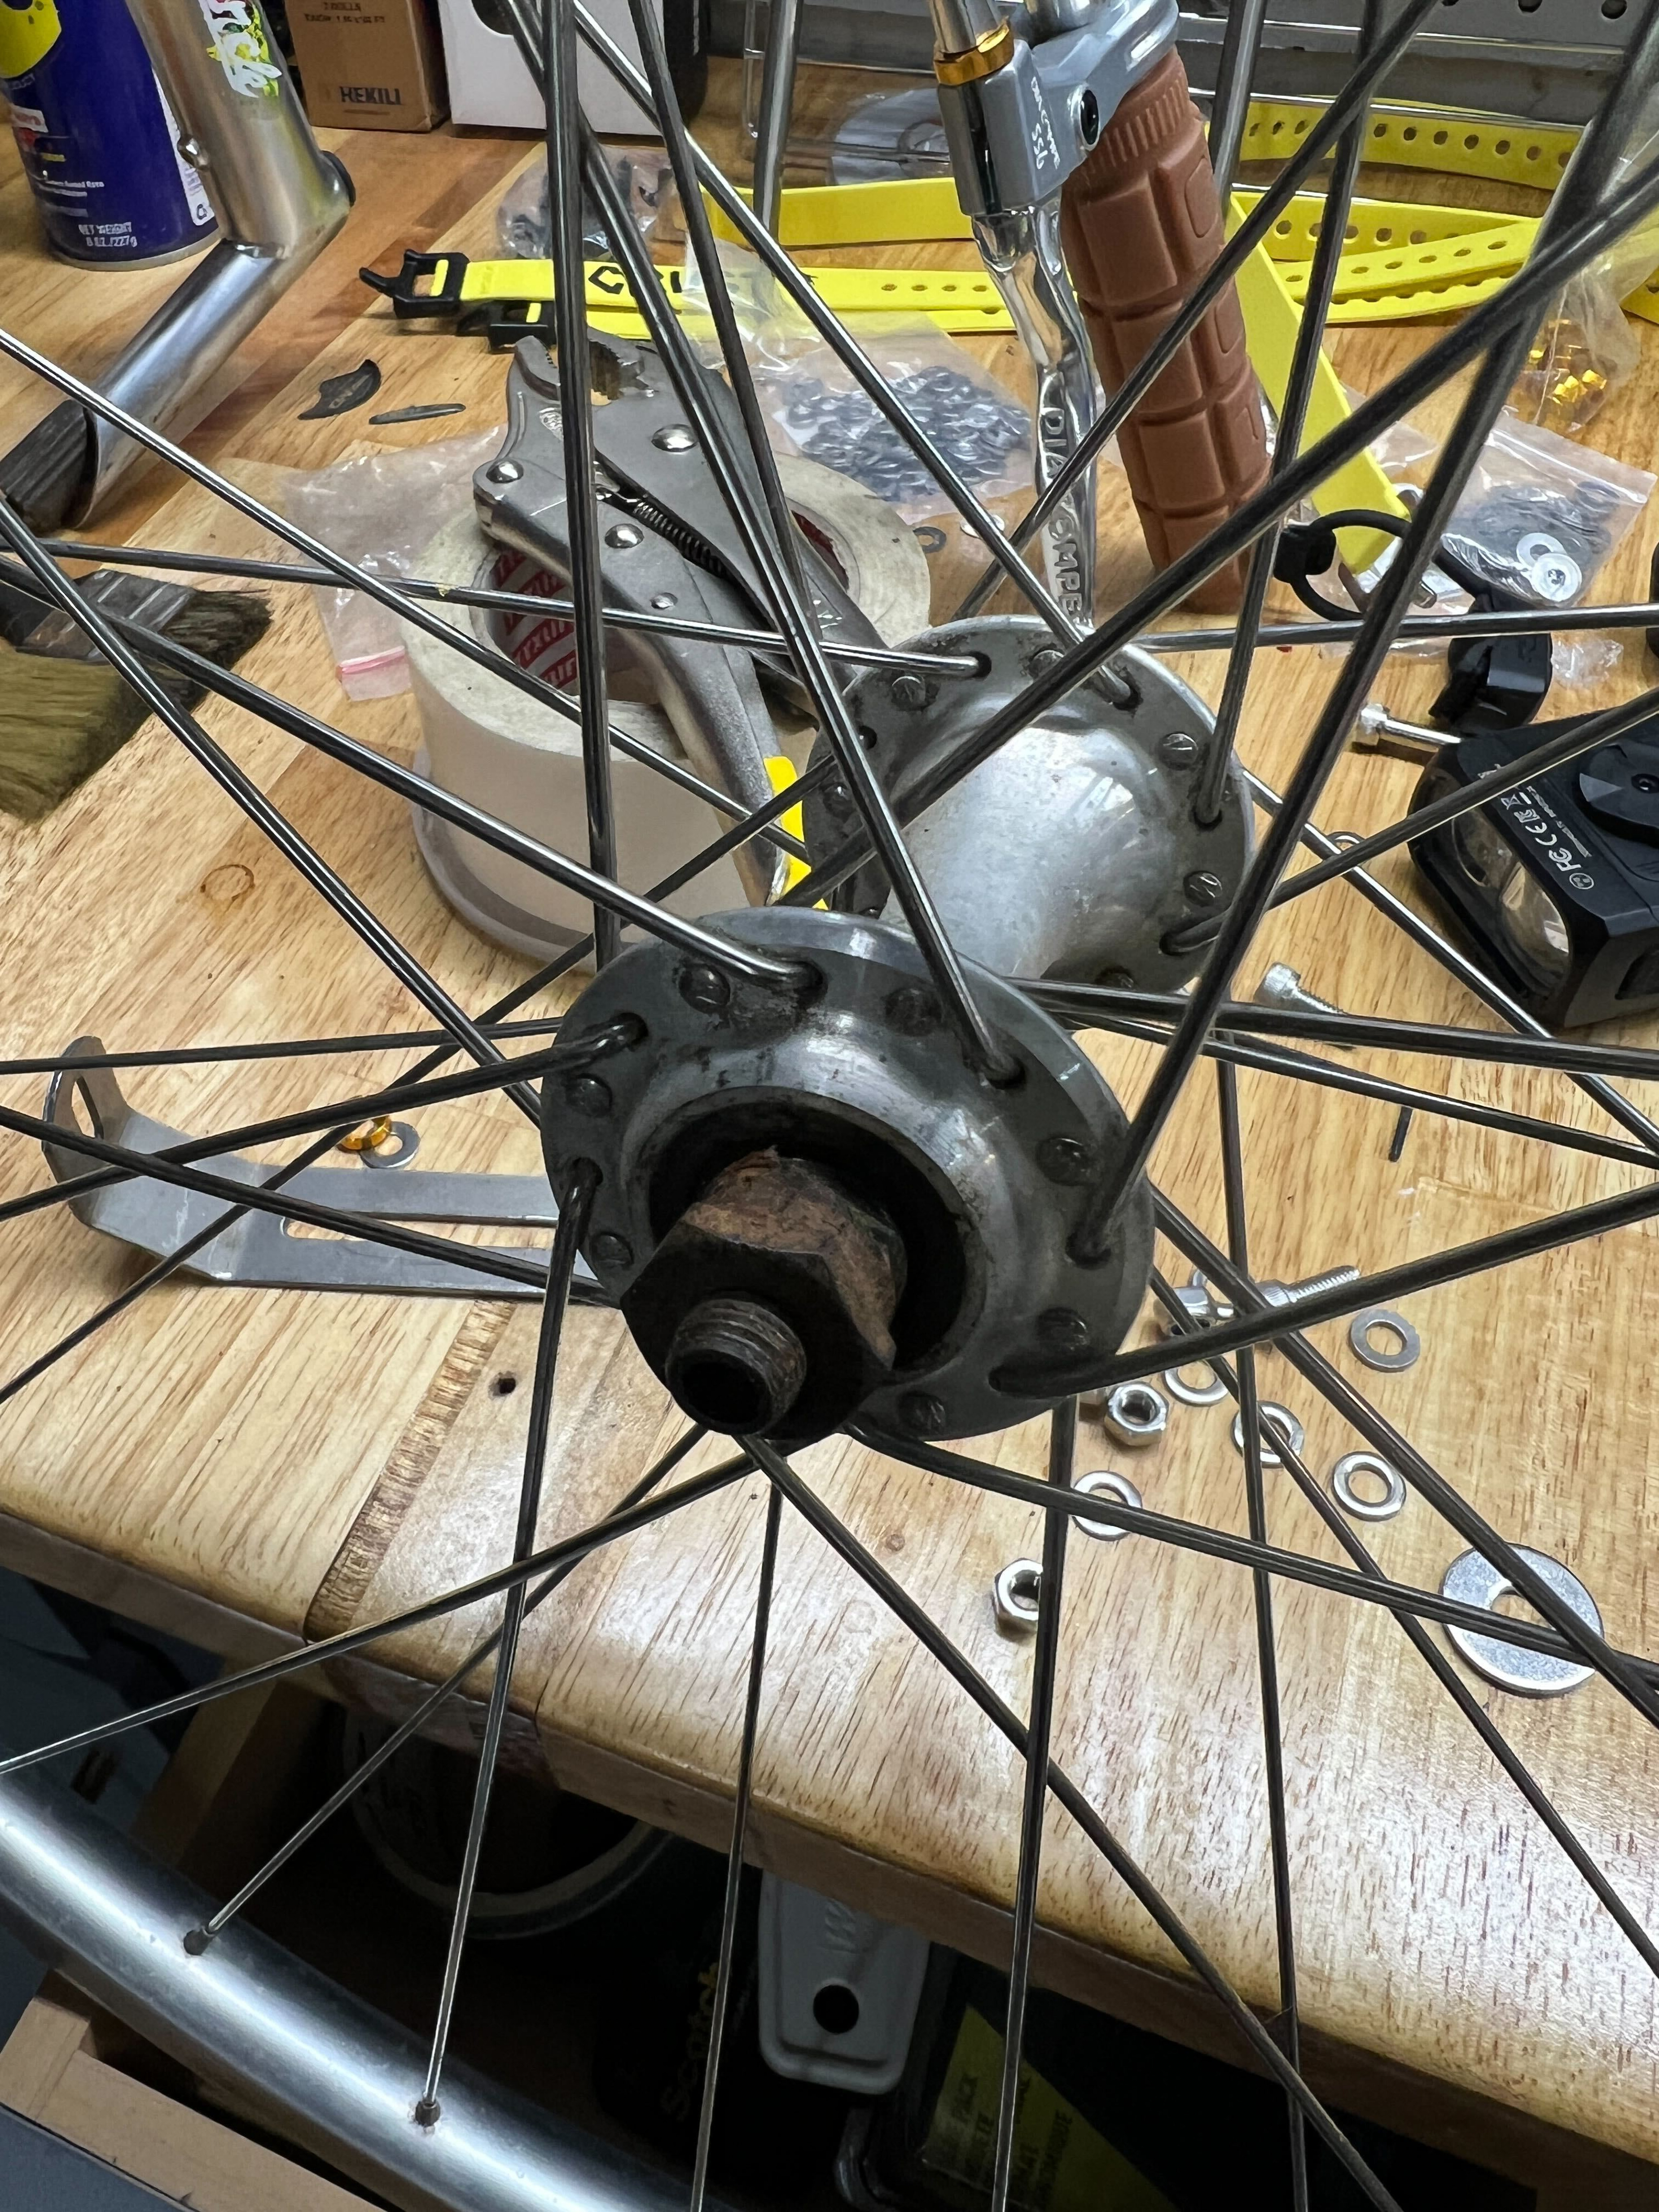
Very crunchy, but with only mild surface corrosion on the nuts 'n whatnot.
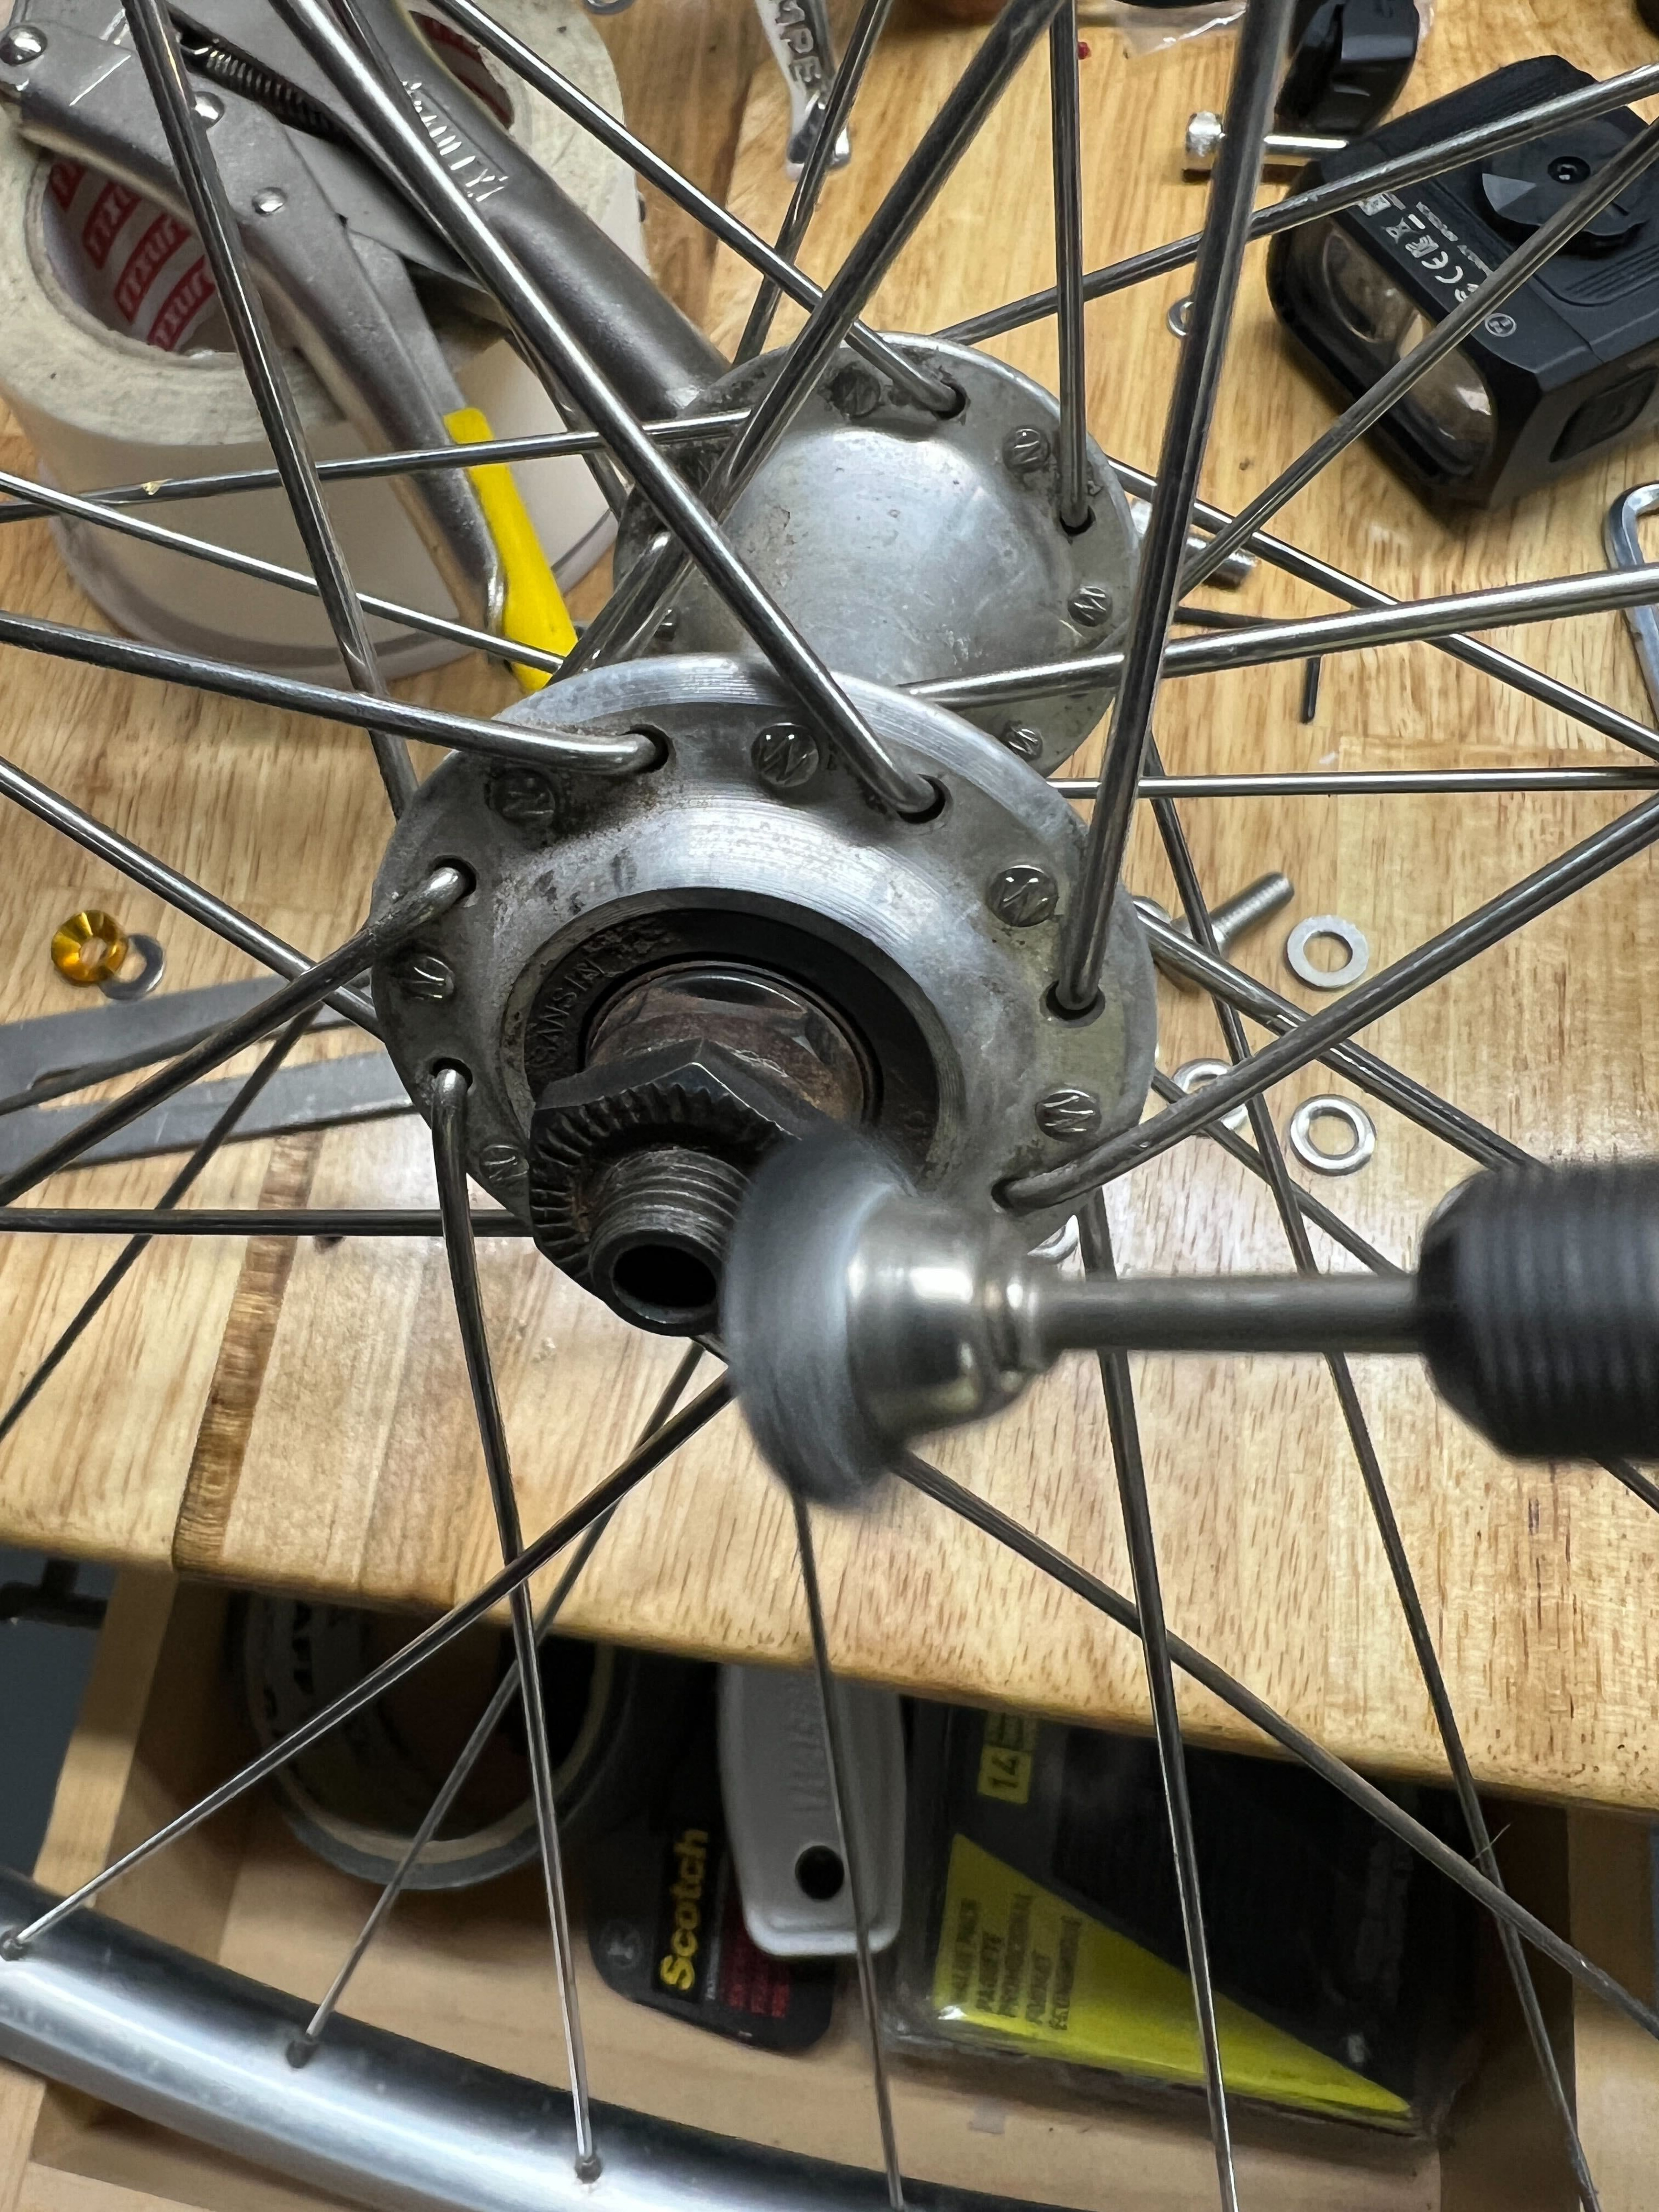
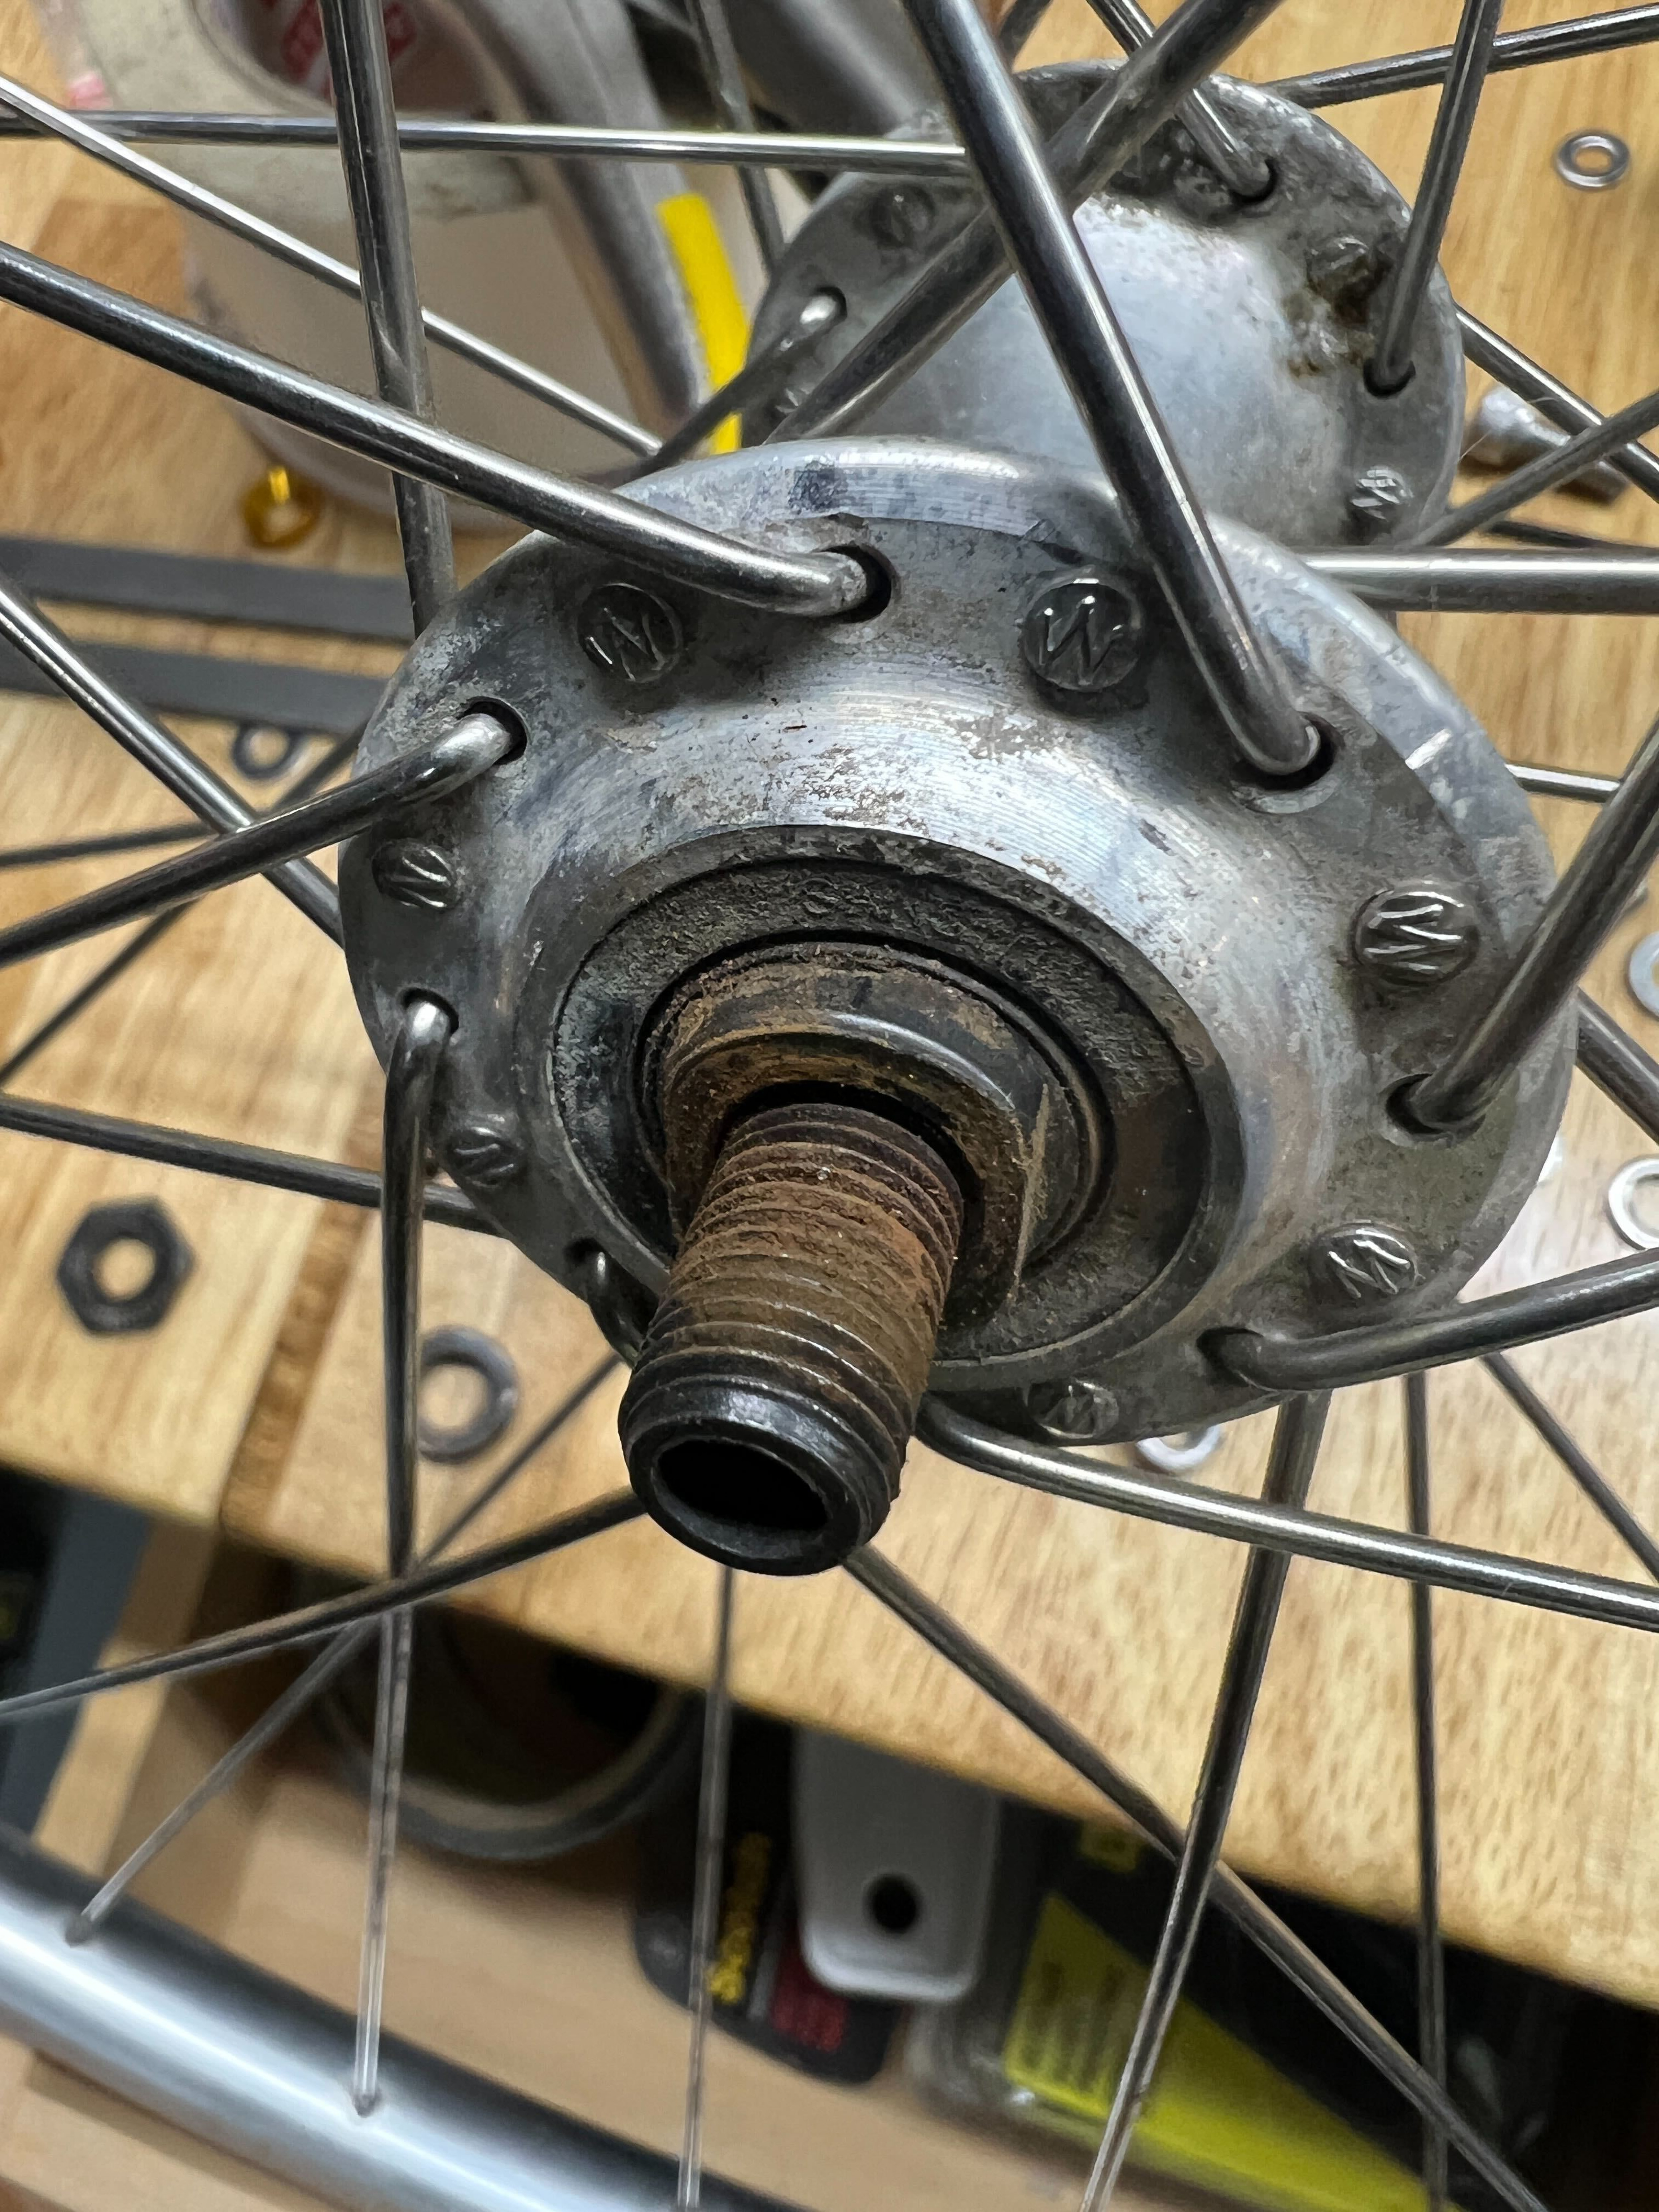
Gorss
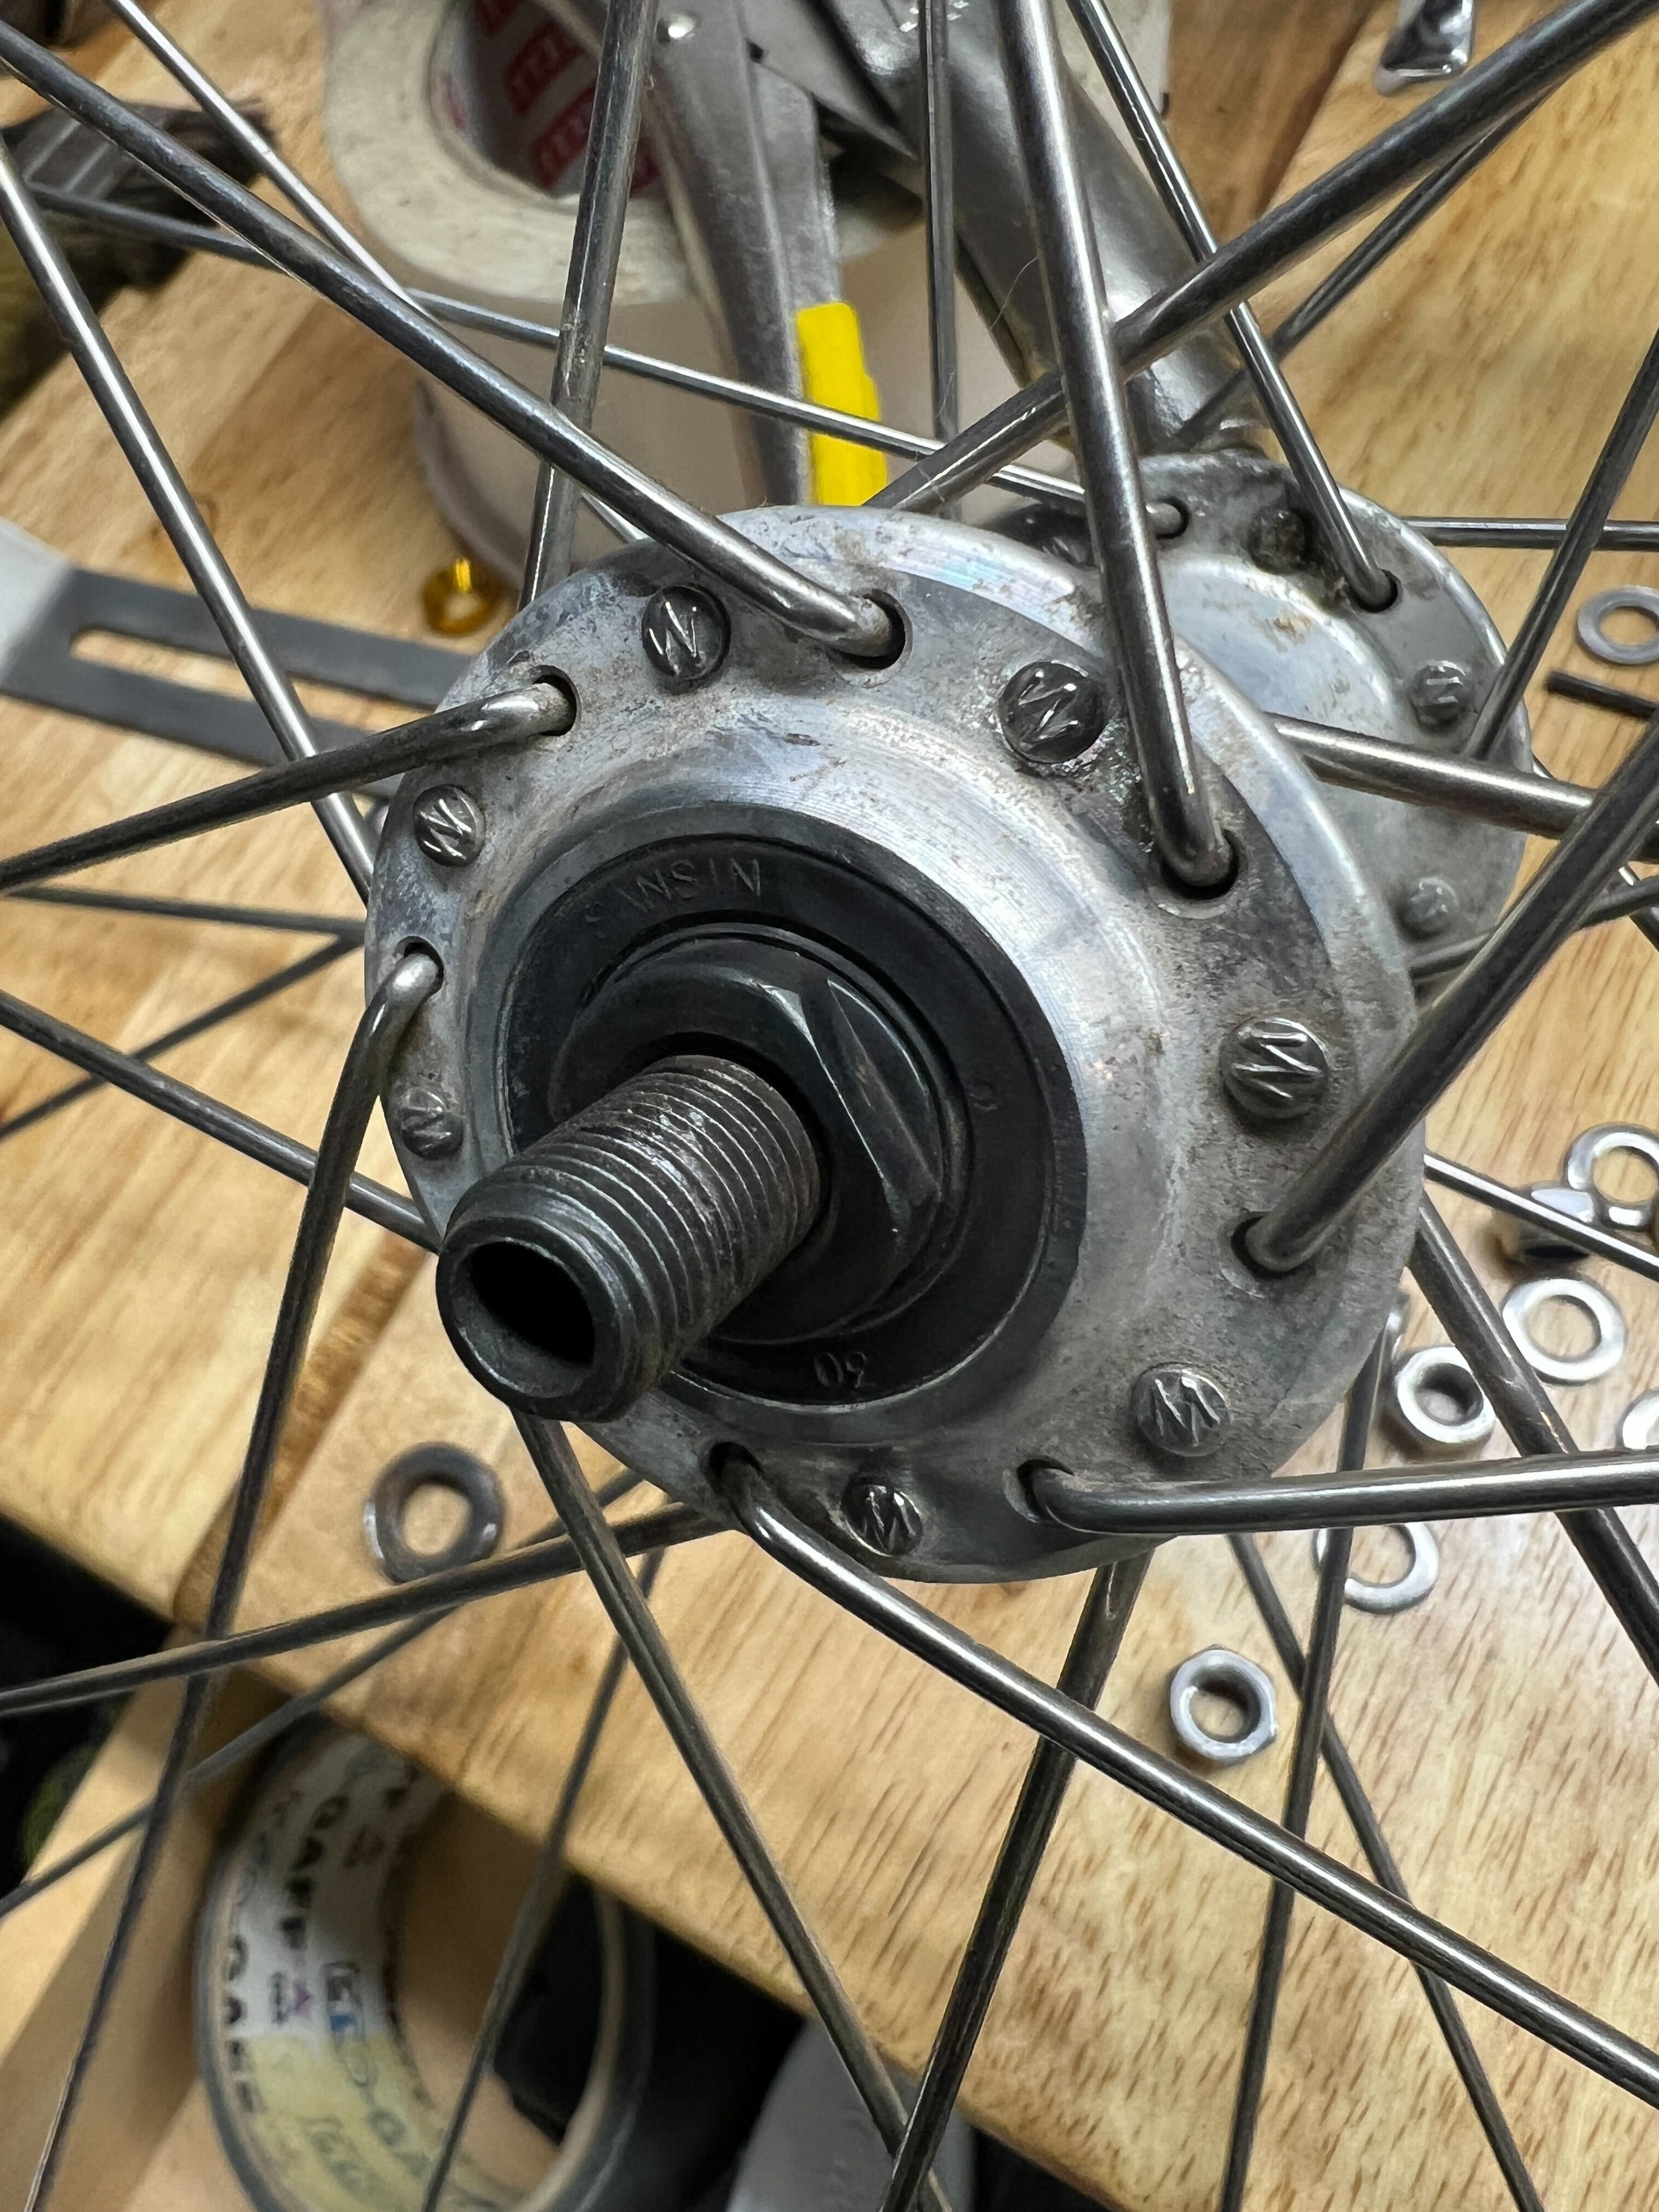
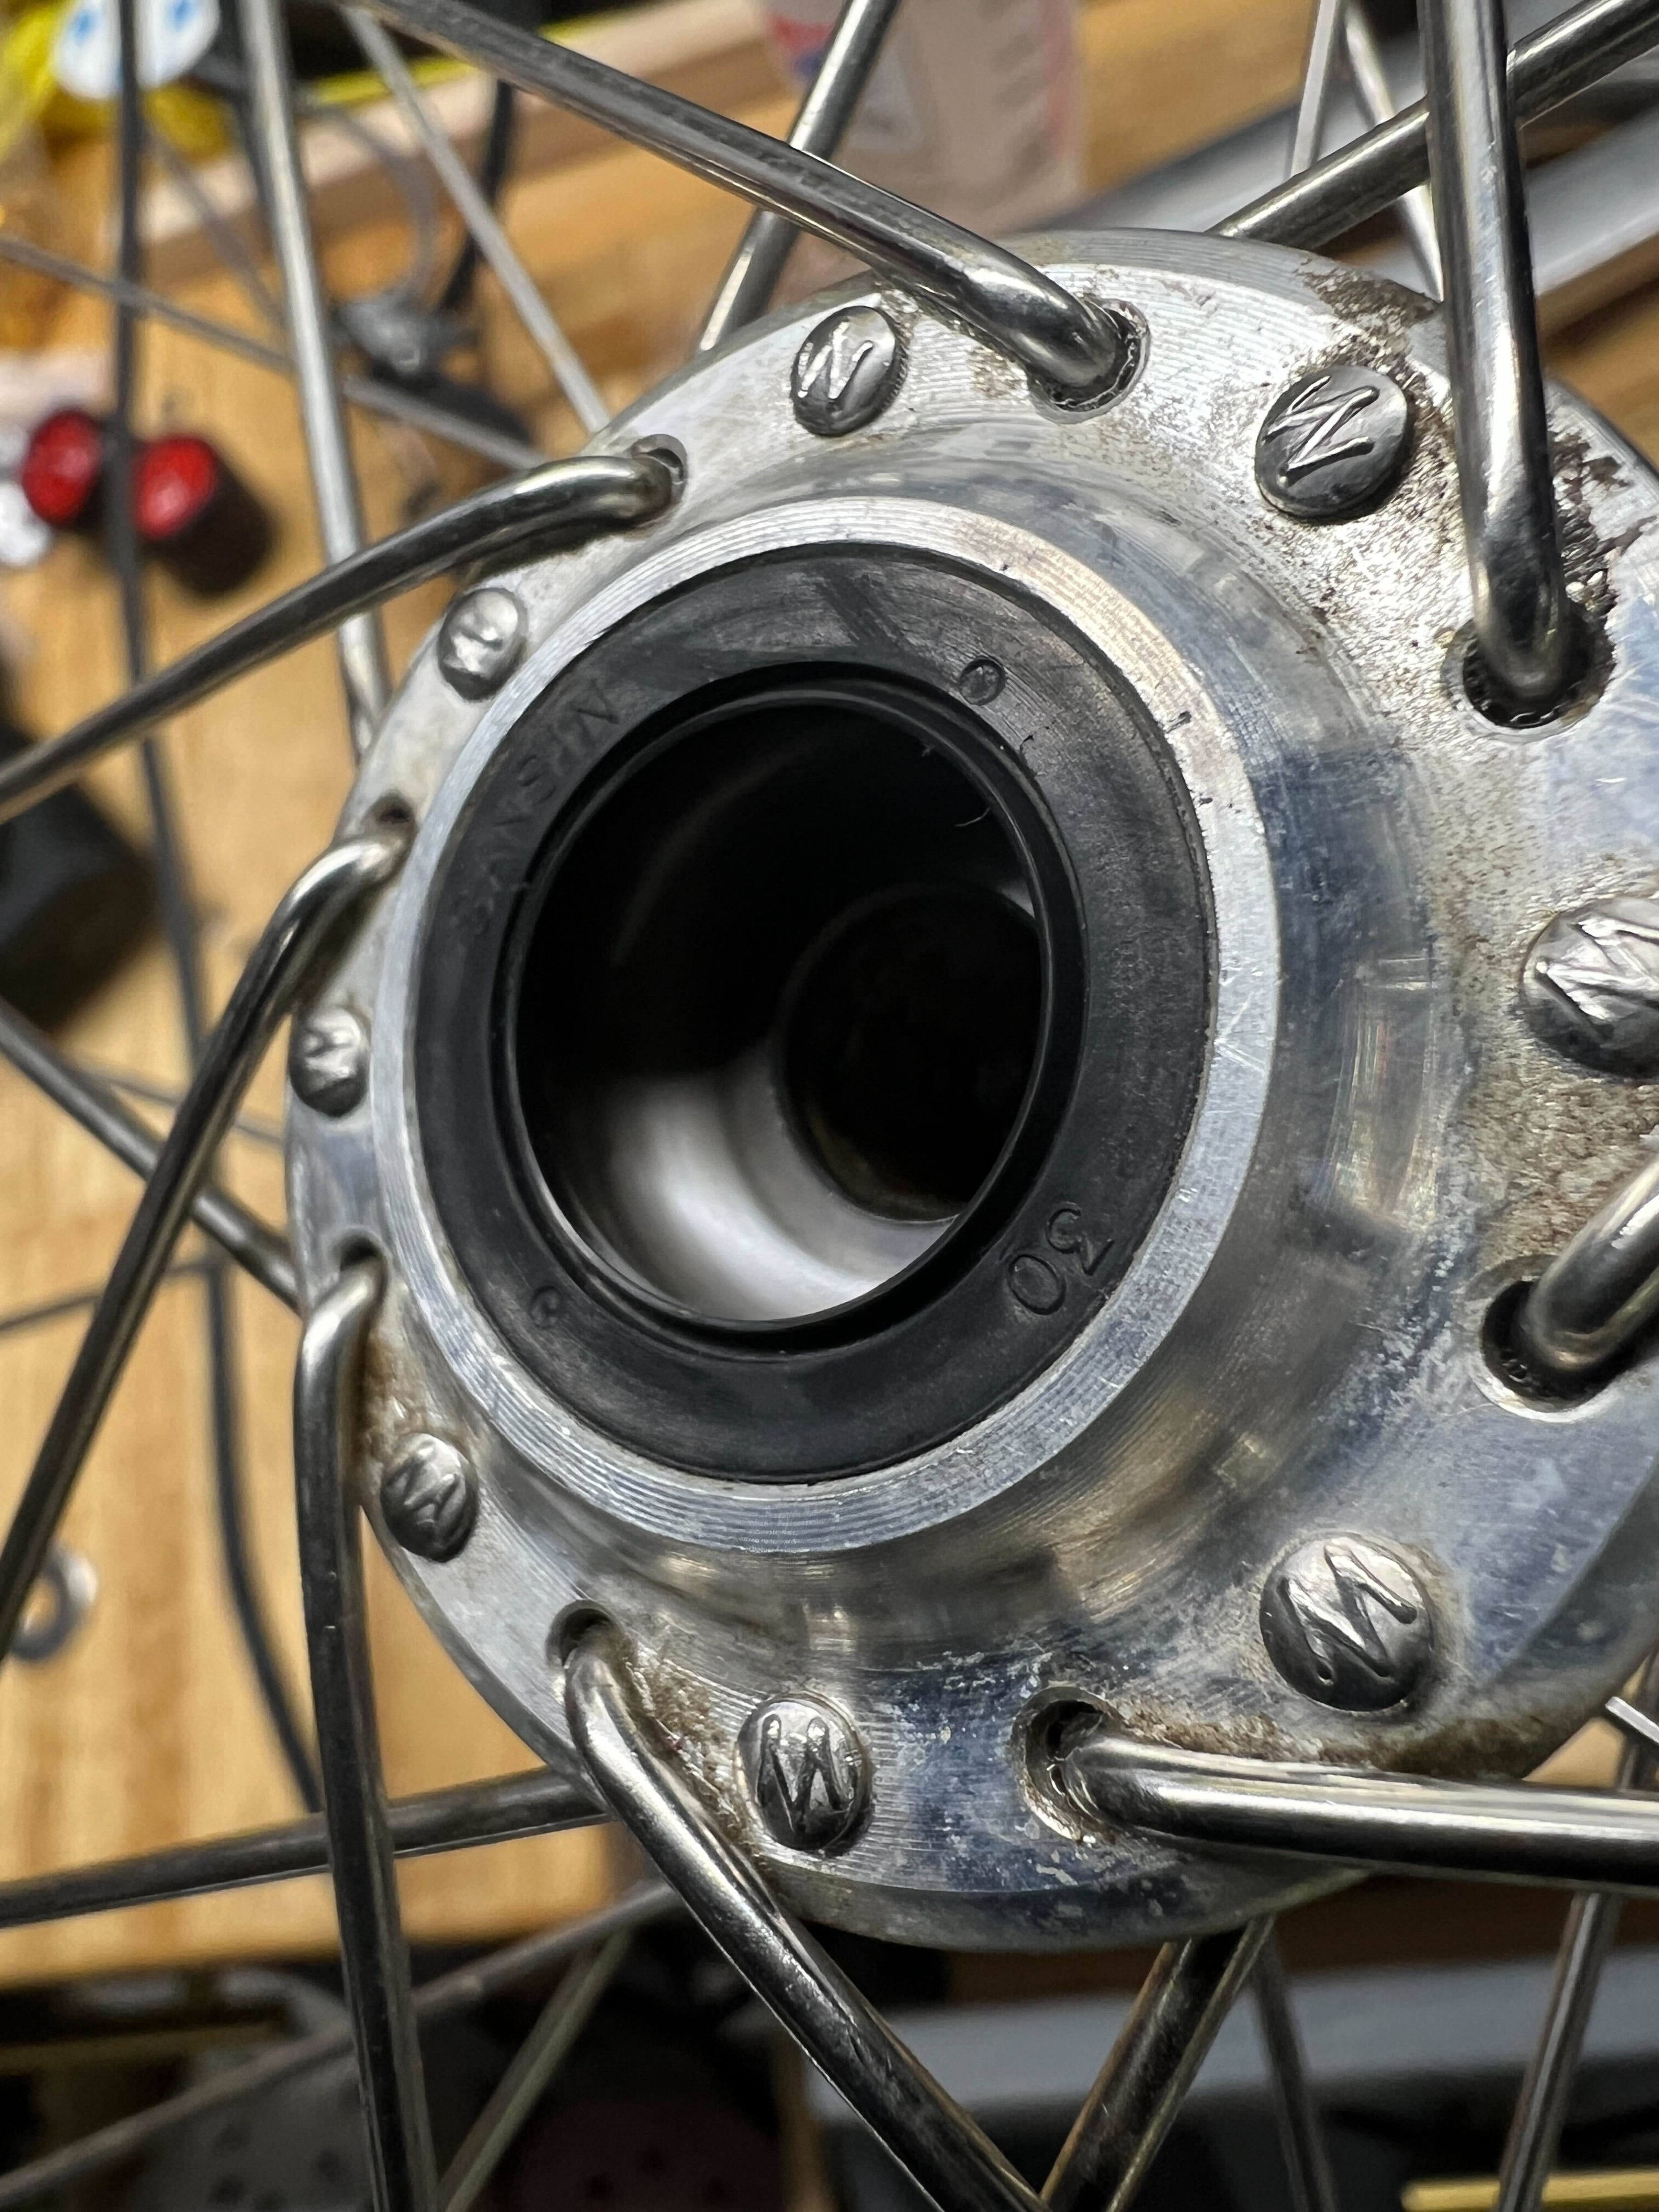
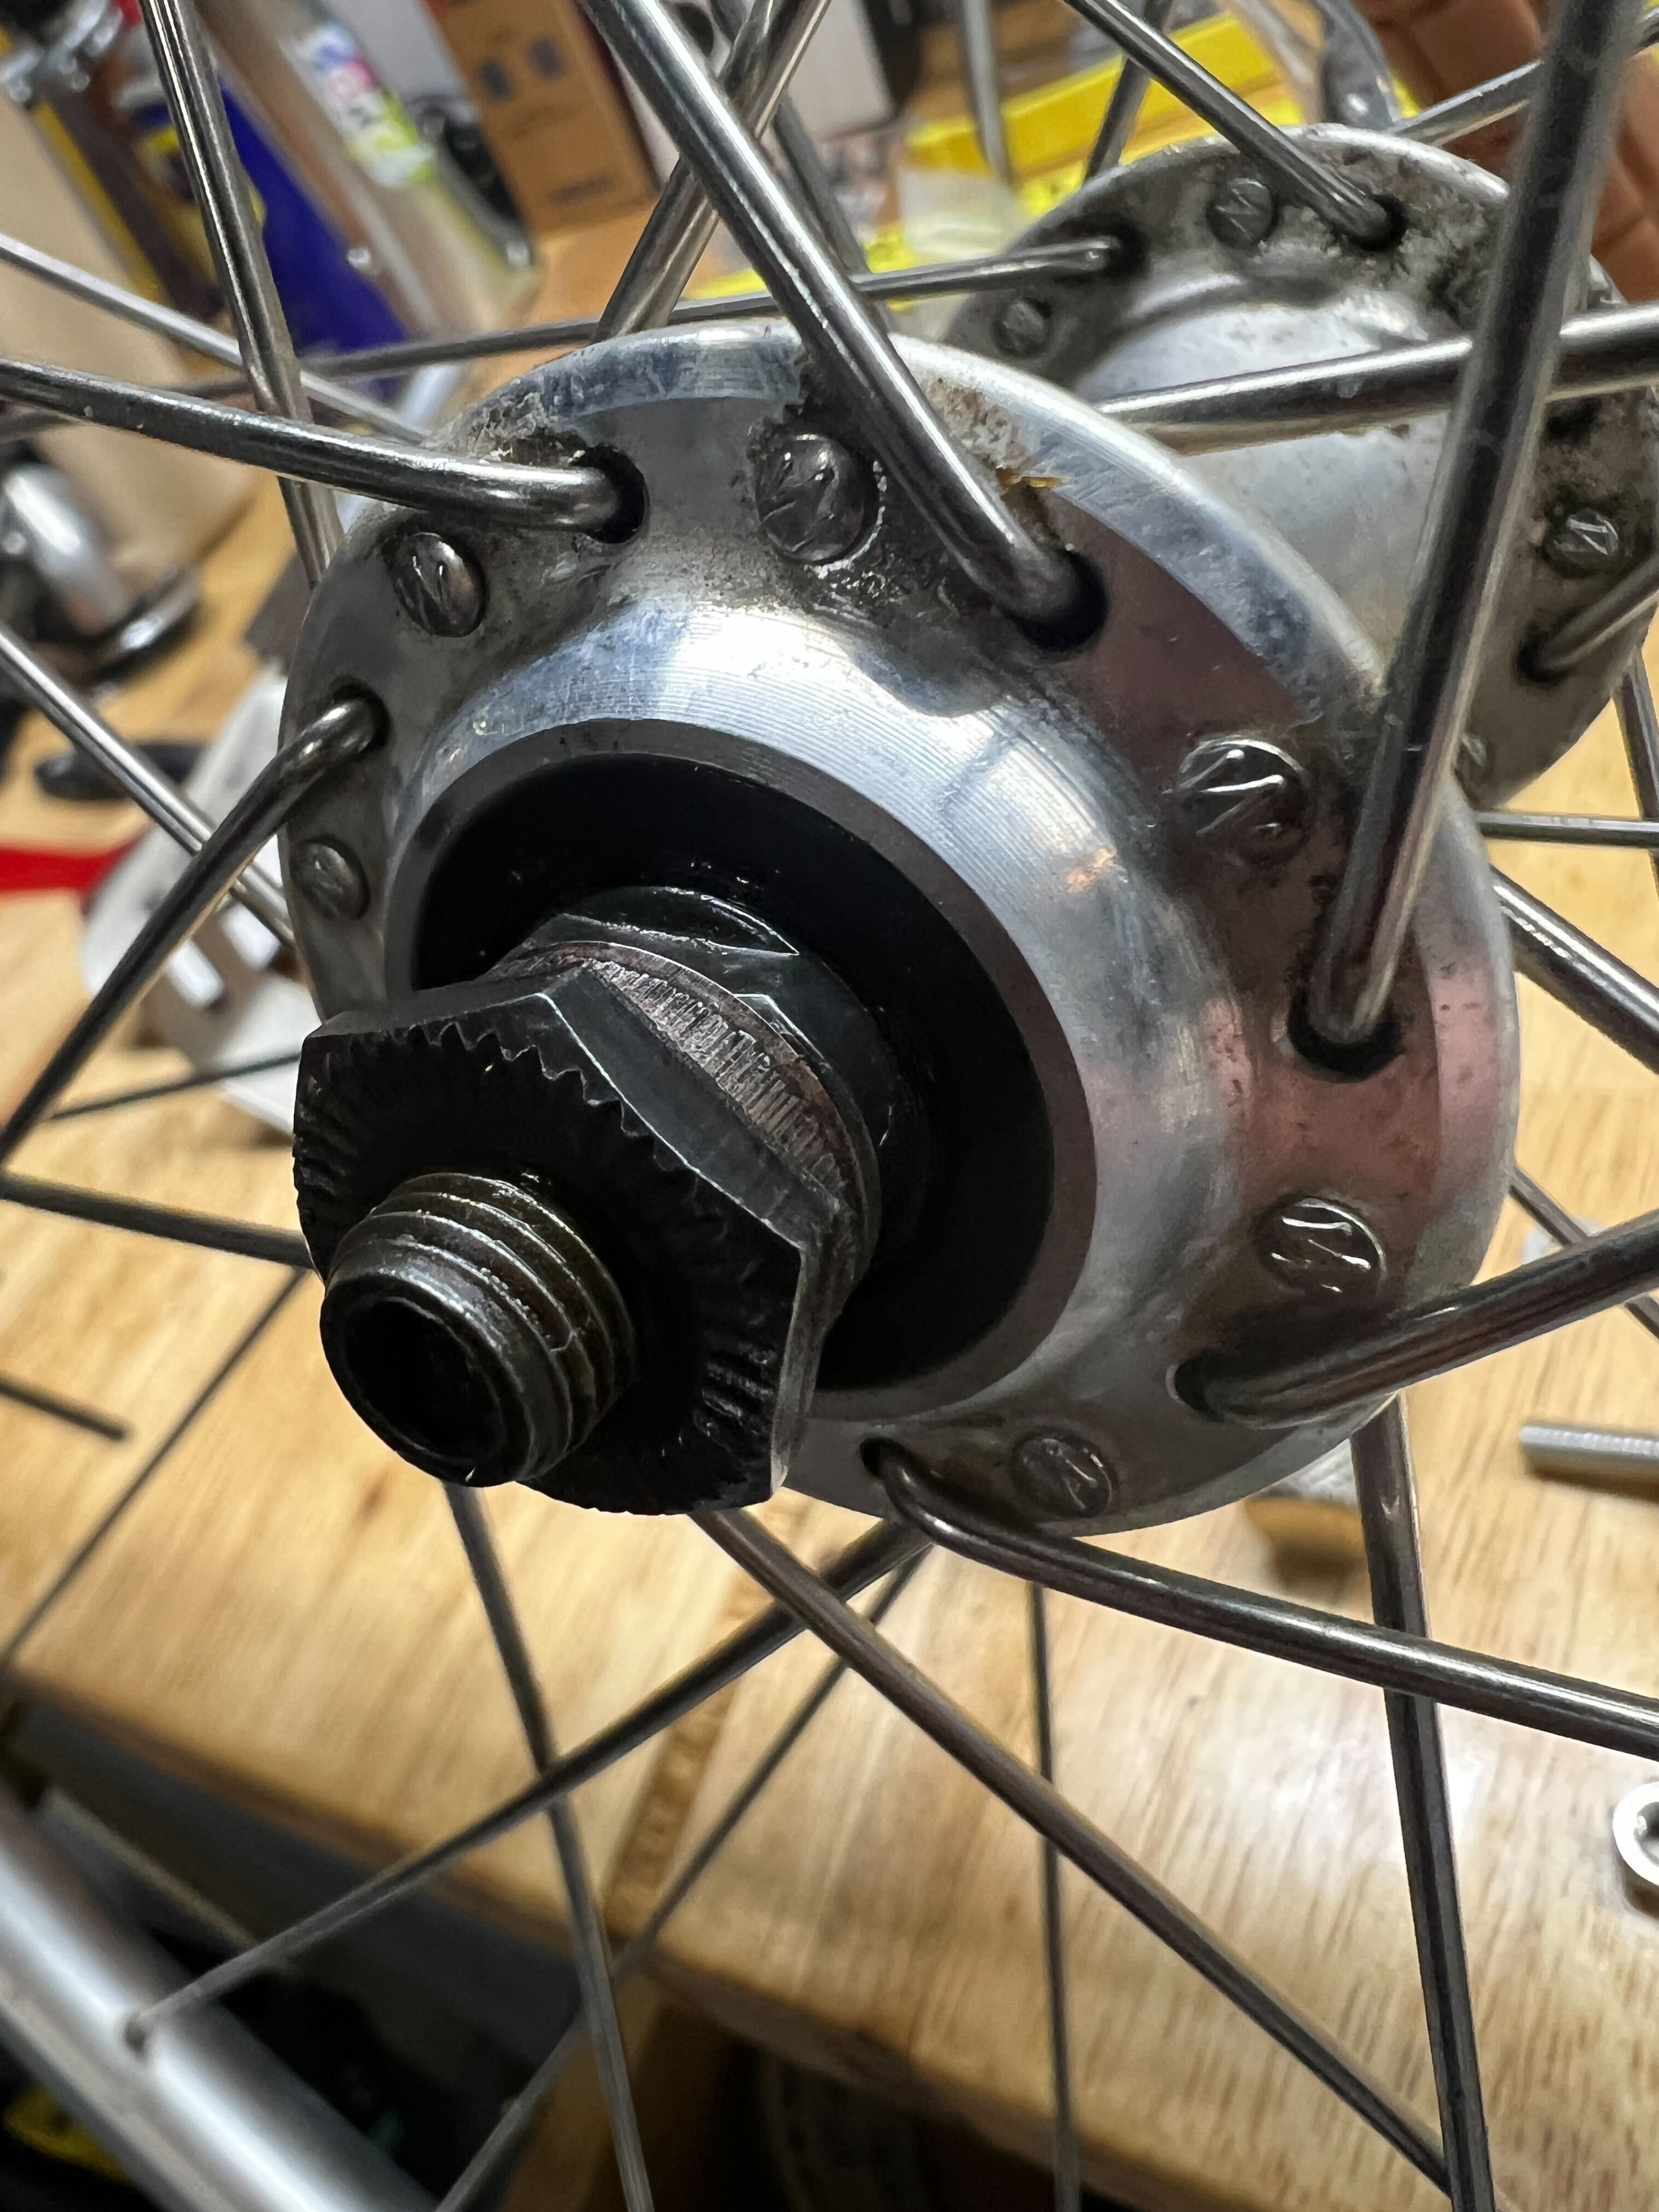
Done! Didn’t go nuts trying to make the cone, spacer and nut look nice.
I put all new bearings in though. These are the old ones:
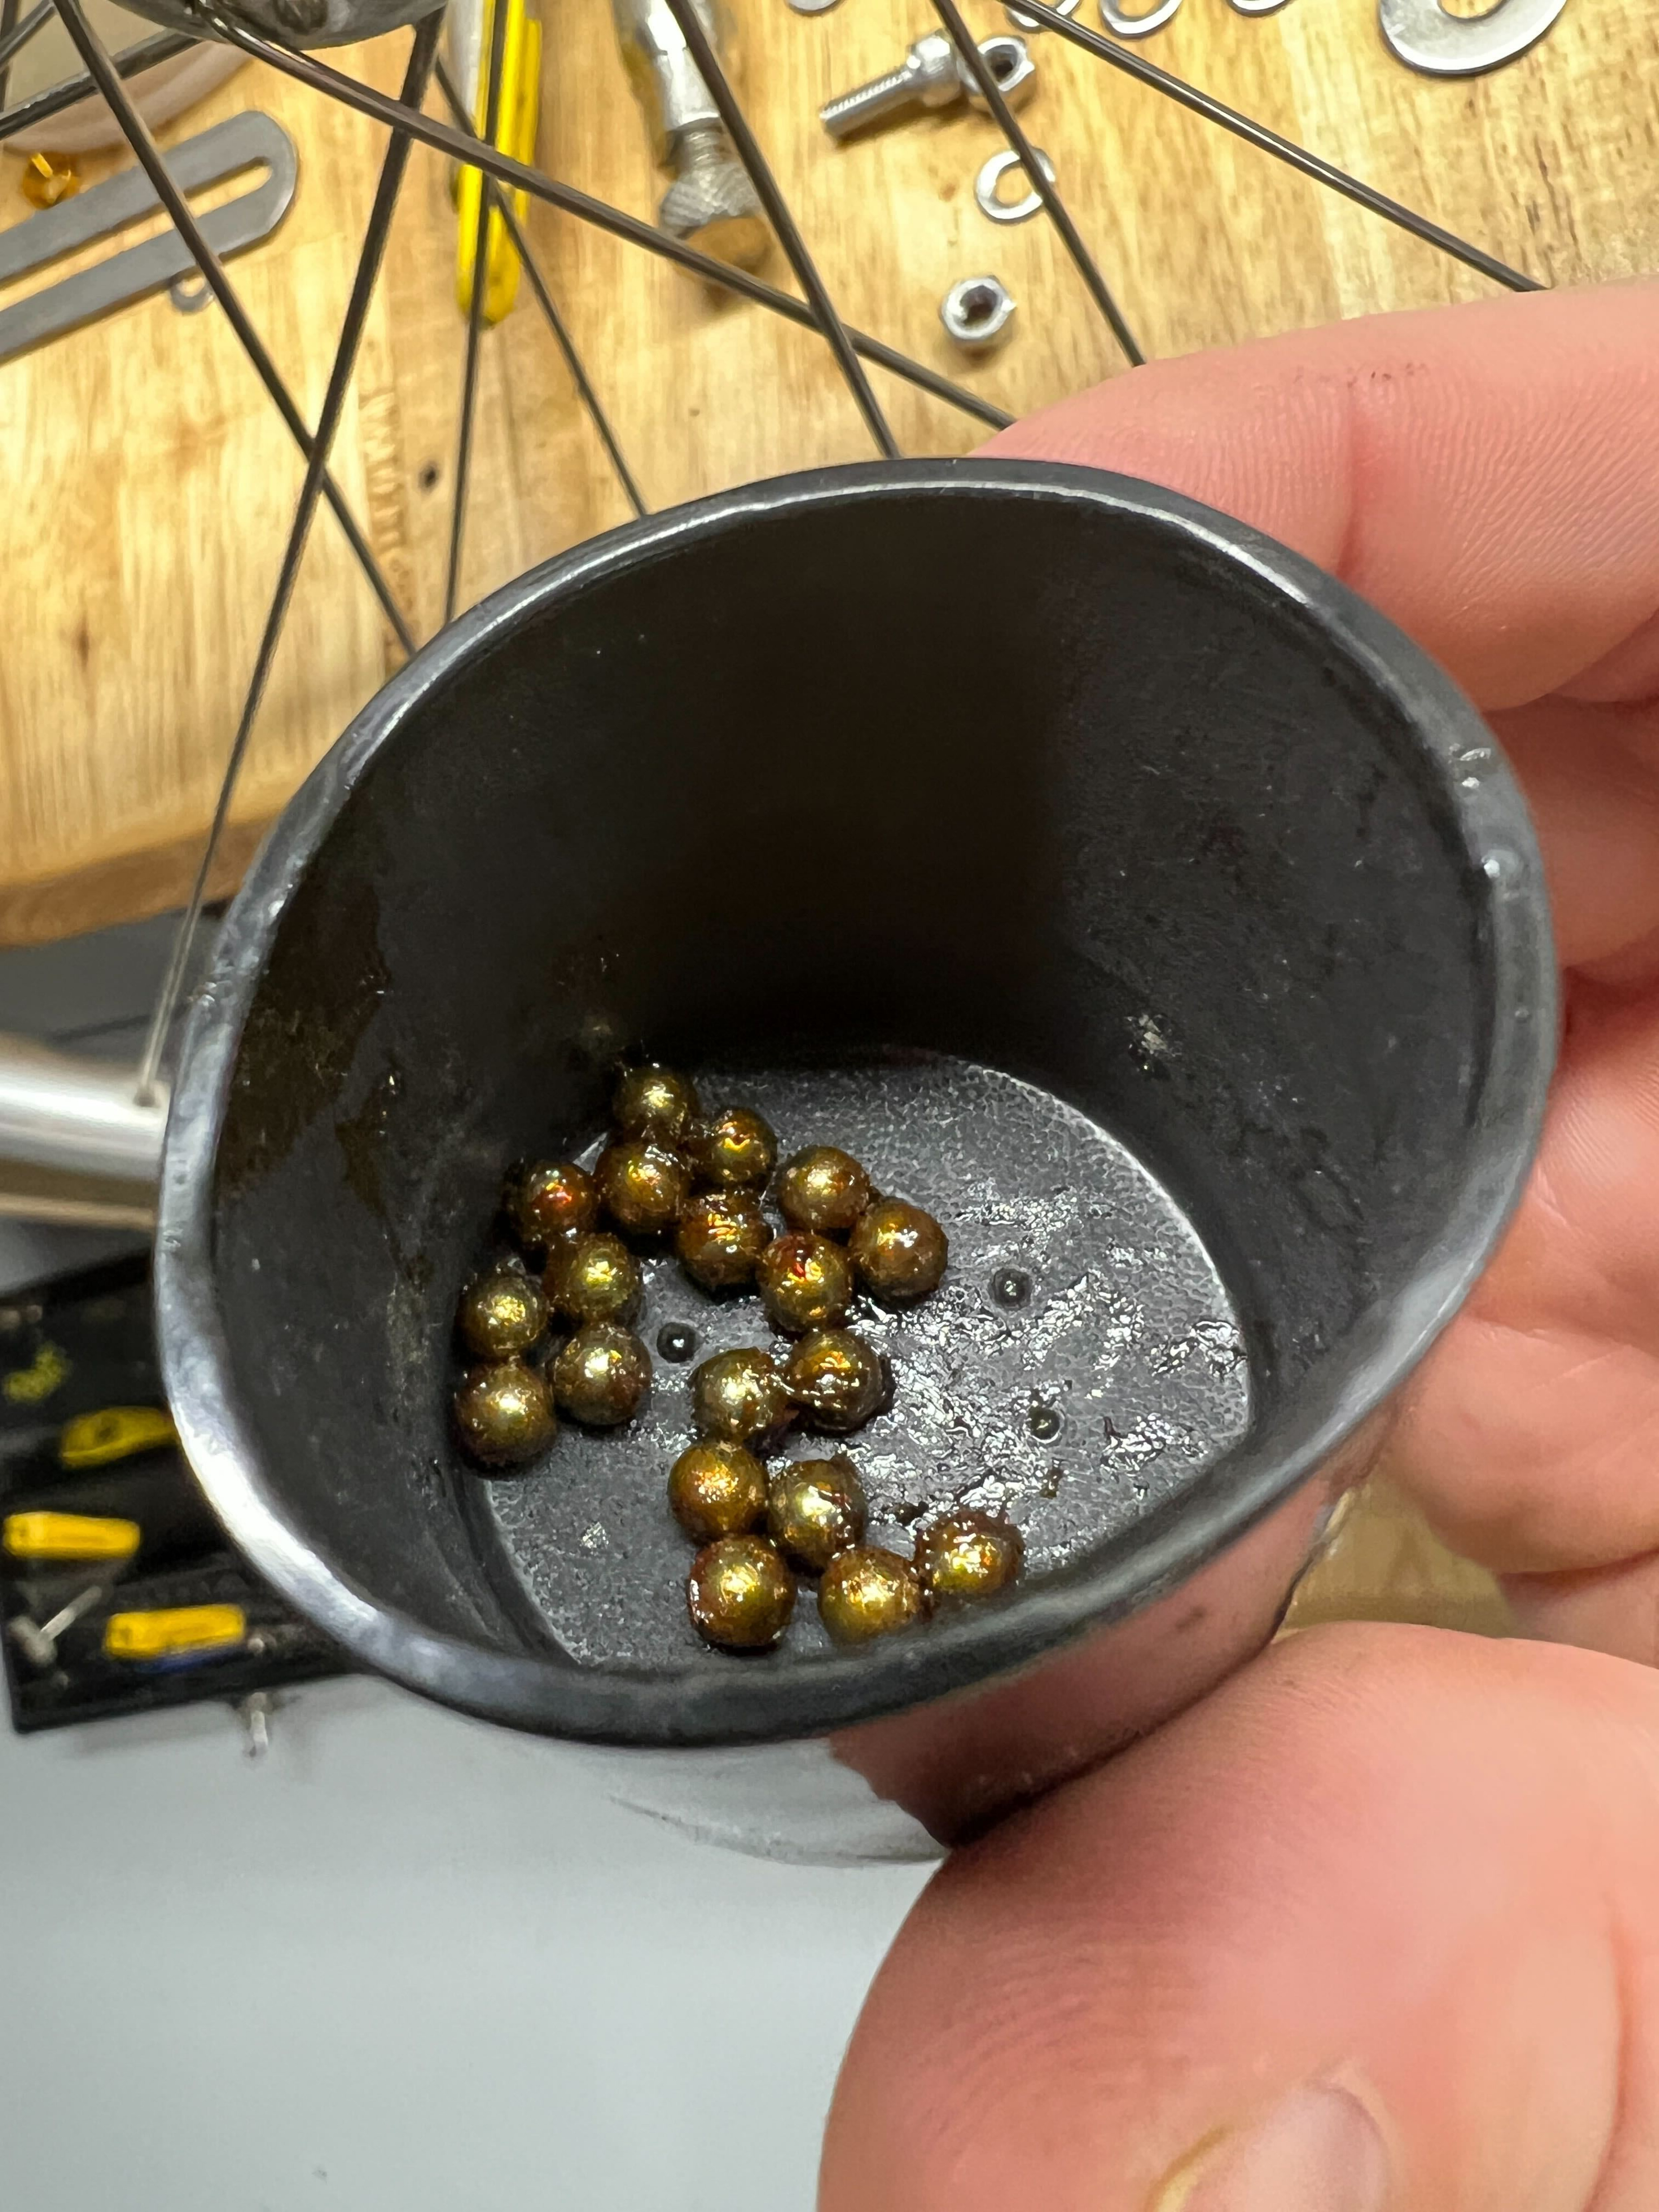
I know they’re totally fine and I could just clean them, but I have a container of bearings so I figured why not. Less effort.
1 Like
Some lunchtime brake work…
This was the mess I started with. Took everything apart, cleaned with WD40 (and let it sit in there - not the plastic parts).
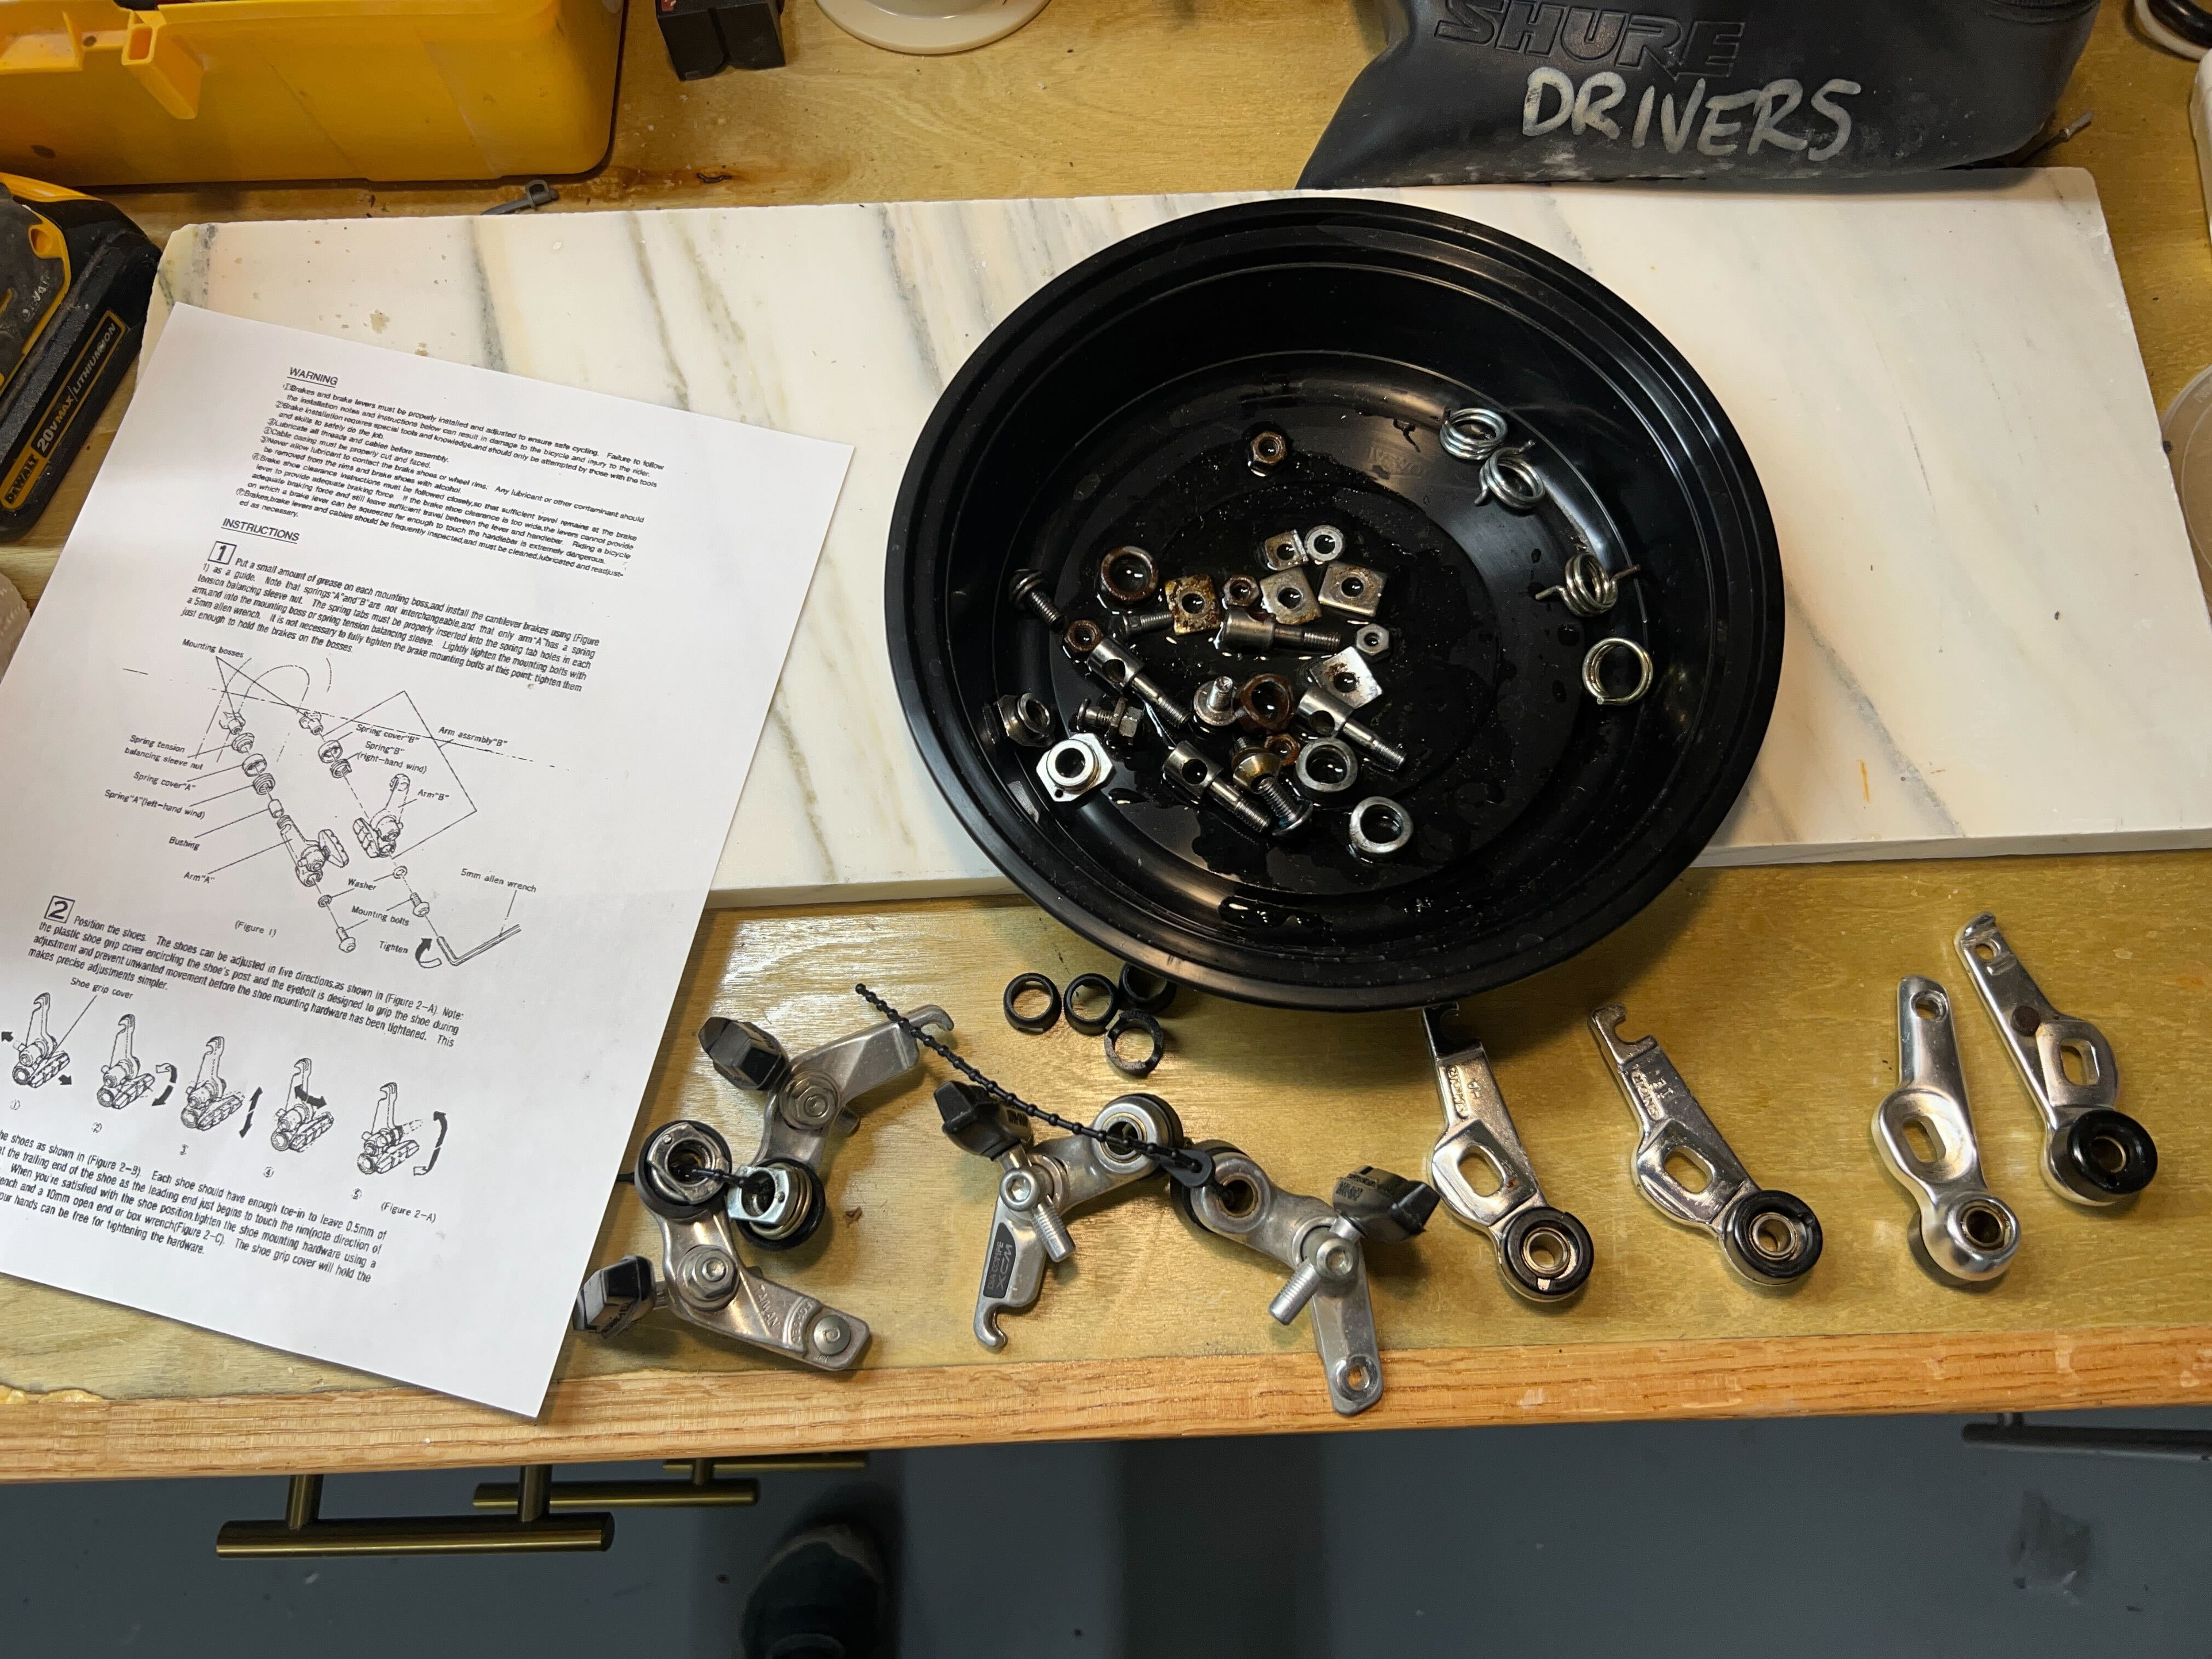
I got this set of Dia-Compe XCM brakes for $20 just to swap out some of the bits on my Suntour ones for appearance reasons since I figured they’d be mostly compatible, which turned out to be mostly true.
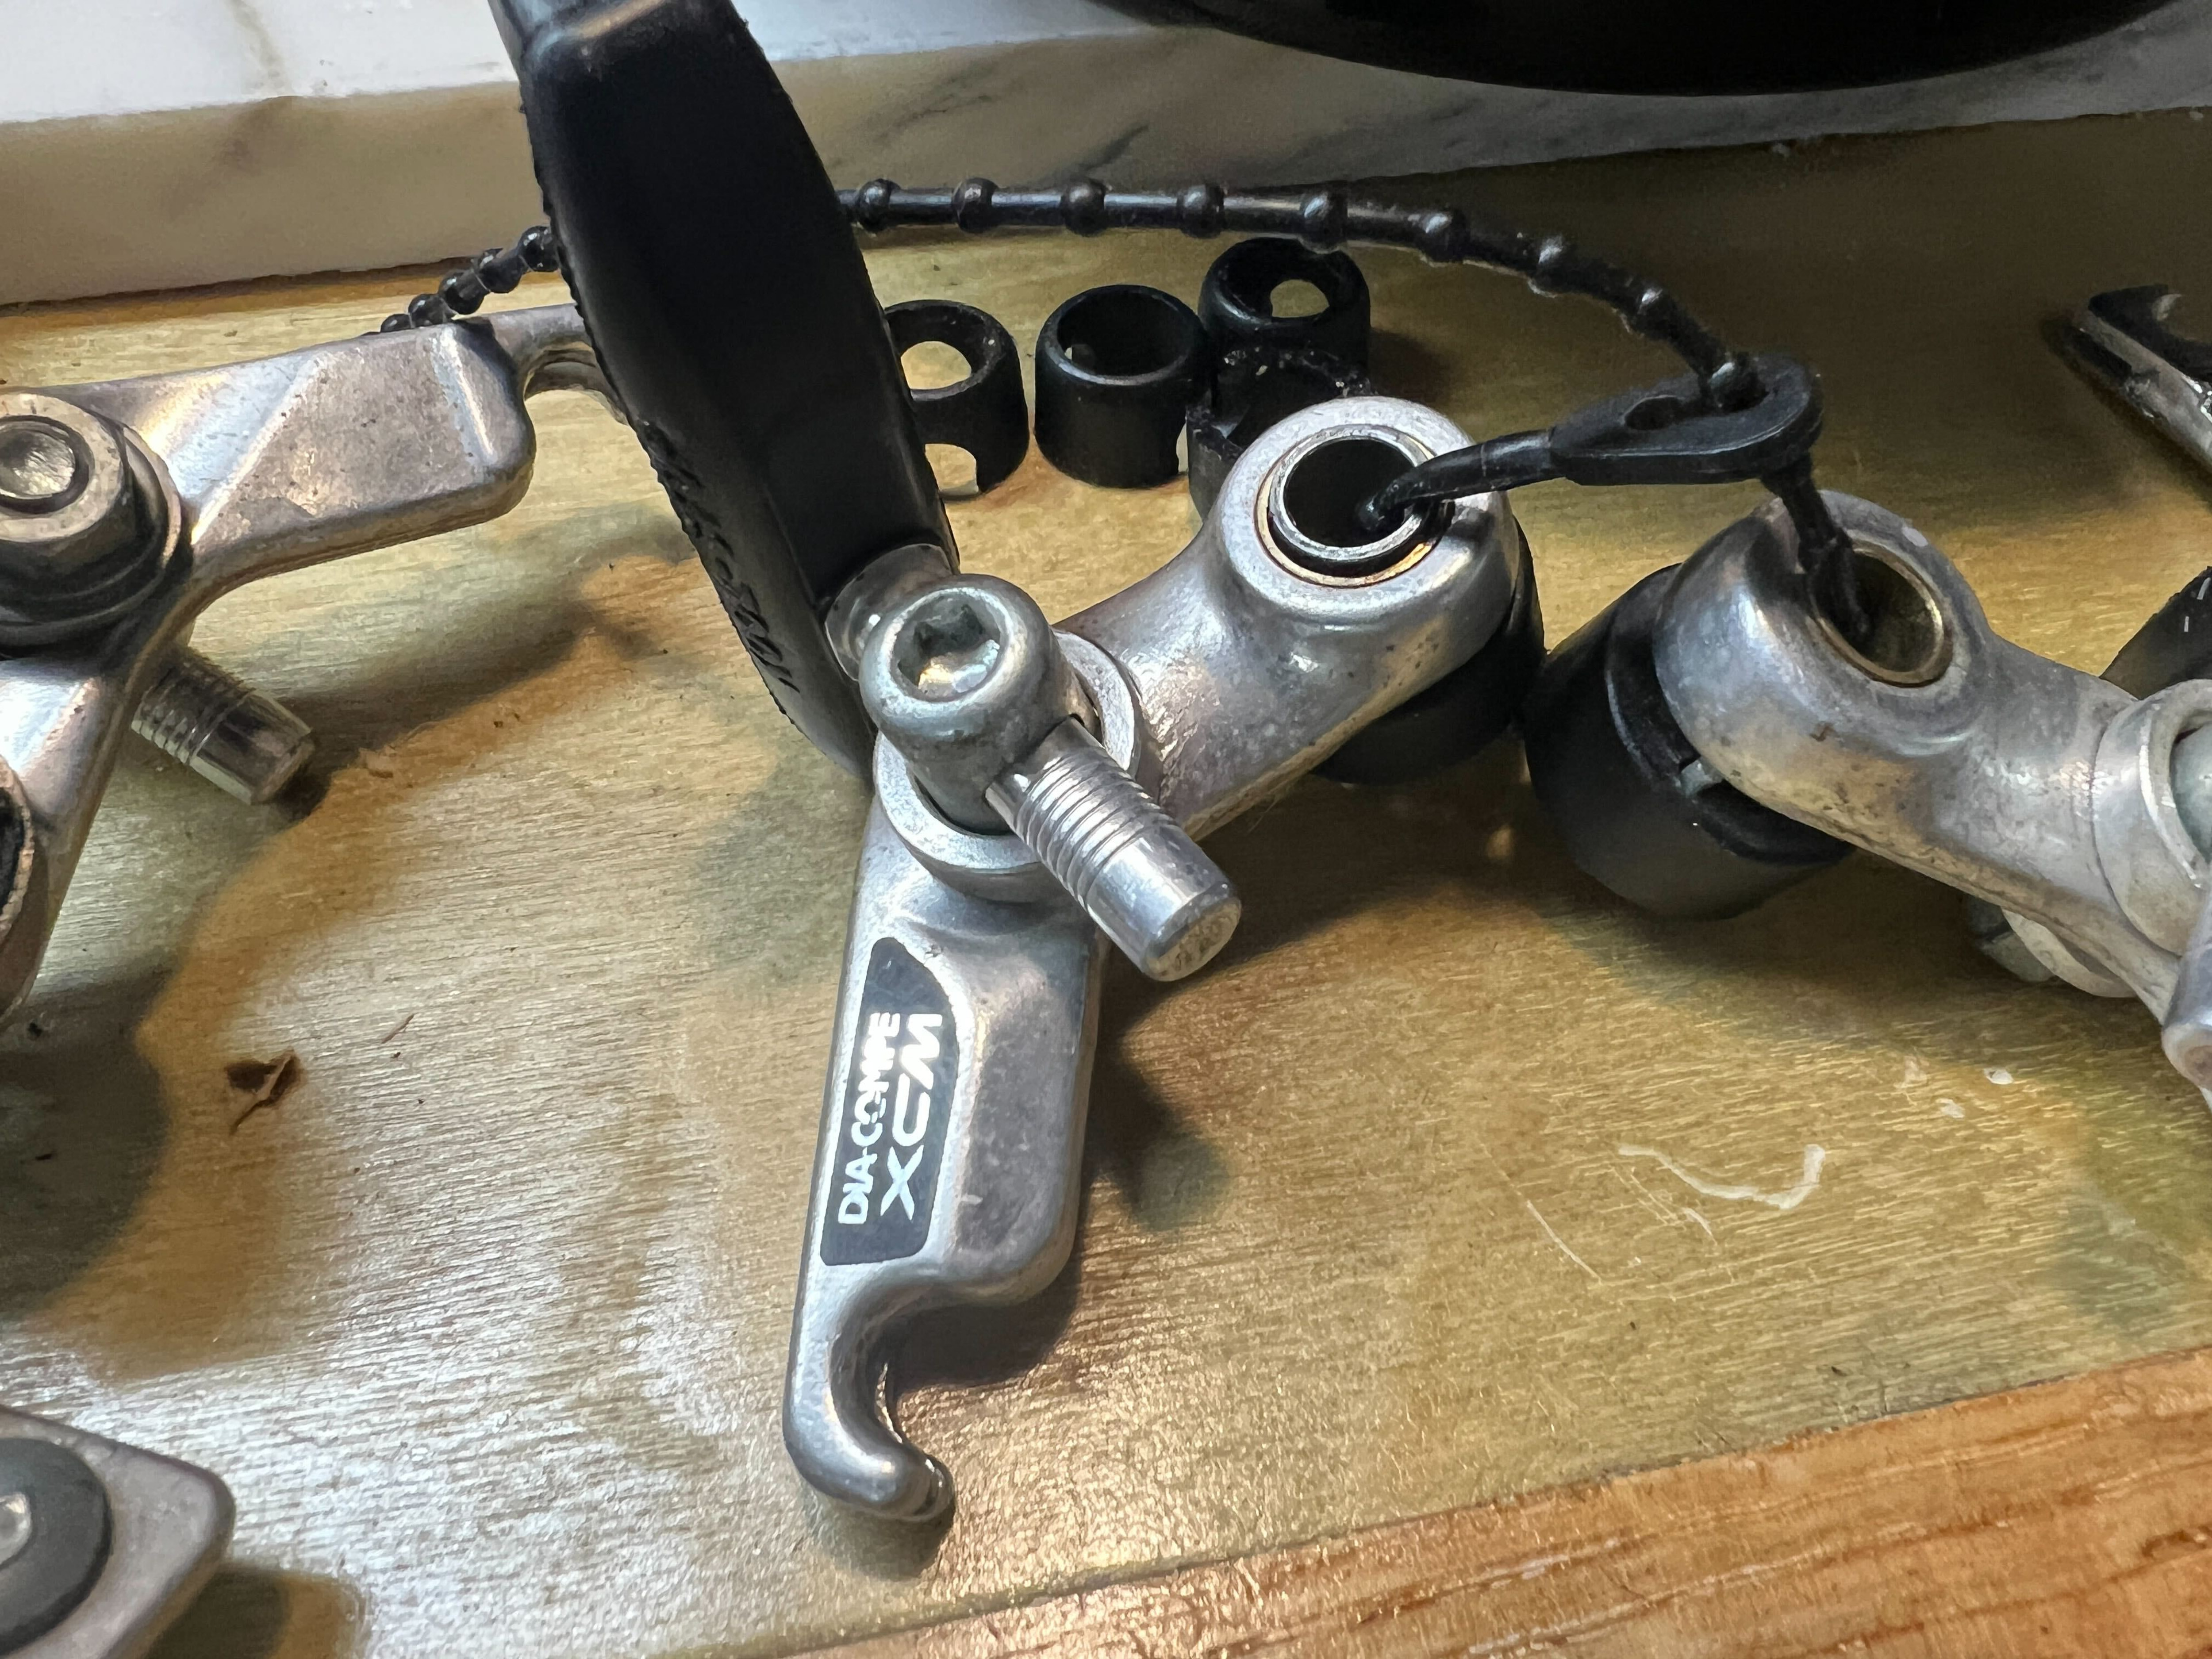
They came with a full new set of Kool-Stop pads, so I basically bought some replacement pads for the future and got the cantis for free. At least that’s how I’m justifying spending more money on these OEM brakes.
Anyway, having never set up cantilever brakes from scratch before, I had no idea how the left side (looking at it from the front) was supposed to work with the spring tension thing. Once I just trusted the diagram (which isn’t even for my exact brakes, but close enough), it made sense.
The fact that there are holes in the bosses on both sides, and that it’s impossible to insert the end of the spring into the boss on that side with the tensioner jawn in there had me second-guessing this, but it seems to be set up correctly. I’m guessing the holes are there to accommodate various styles of brakes where the springs use the holes on both sides. No idea if that’s true, but it sounds plausible!
Anyway anyway, the parts I wanted to swap fit perfectly. These parts from the originals still worked and weren’t complete trash, but were just too rusted for my taste.
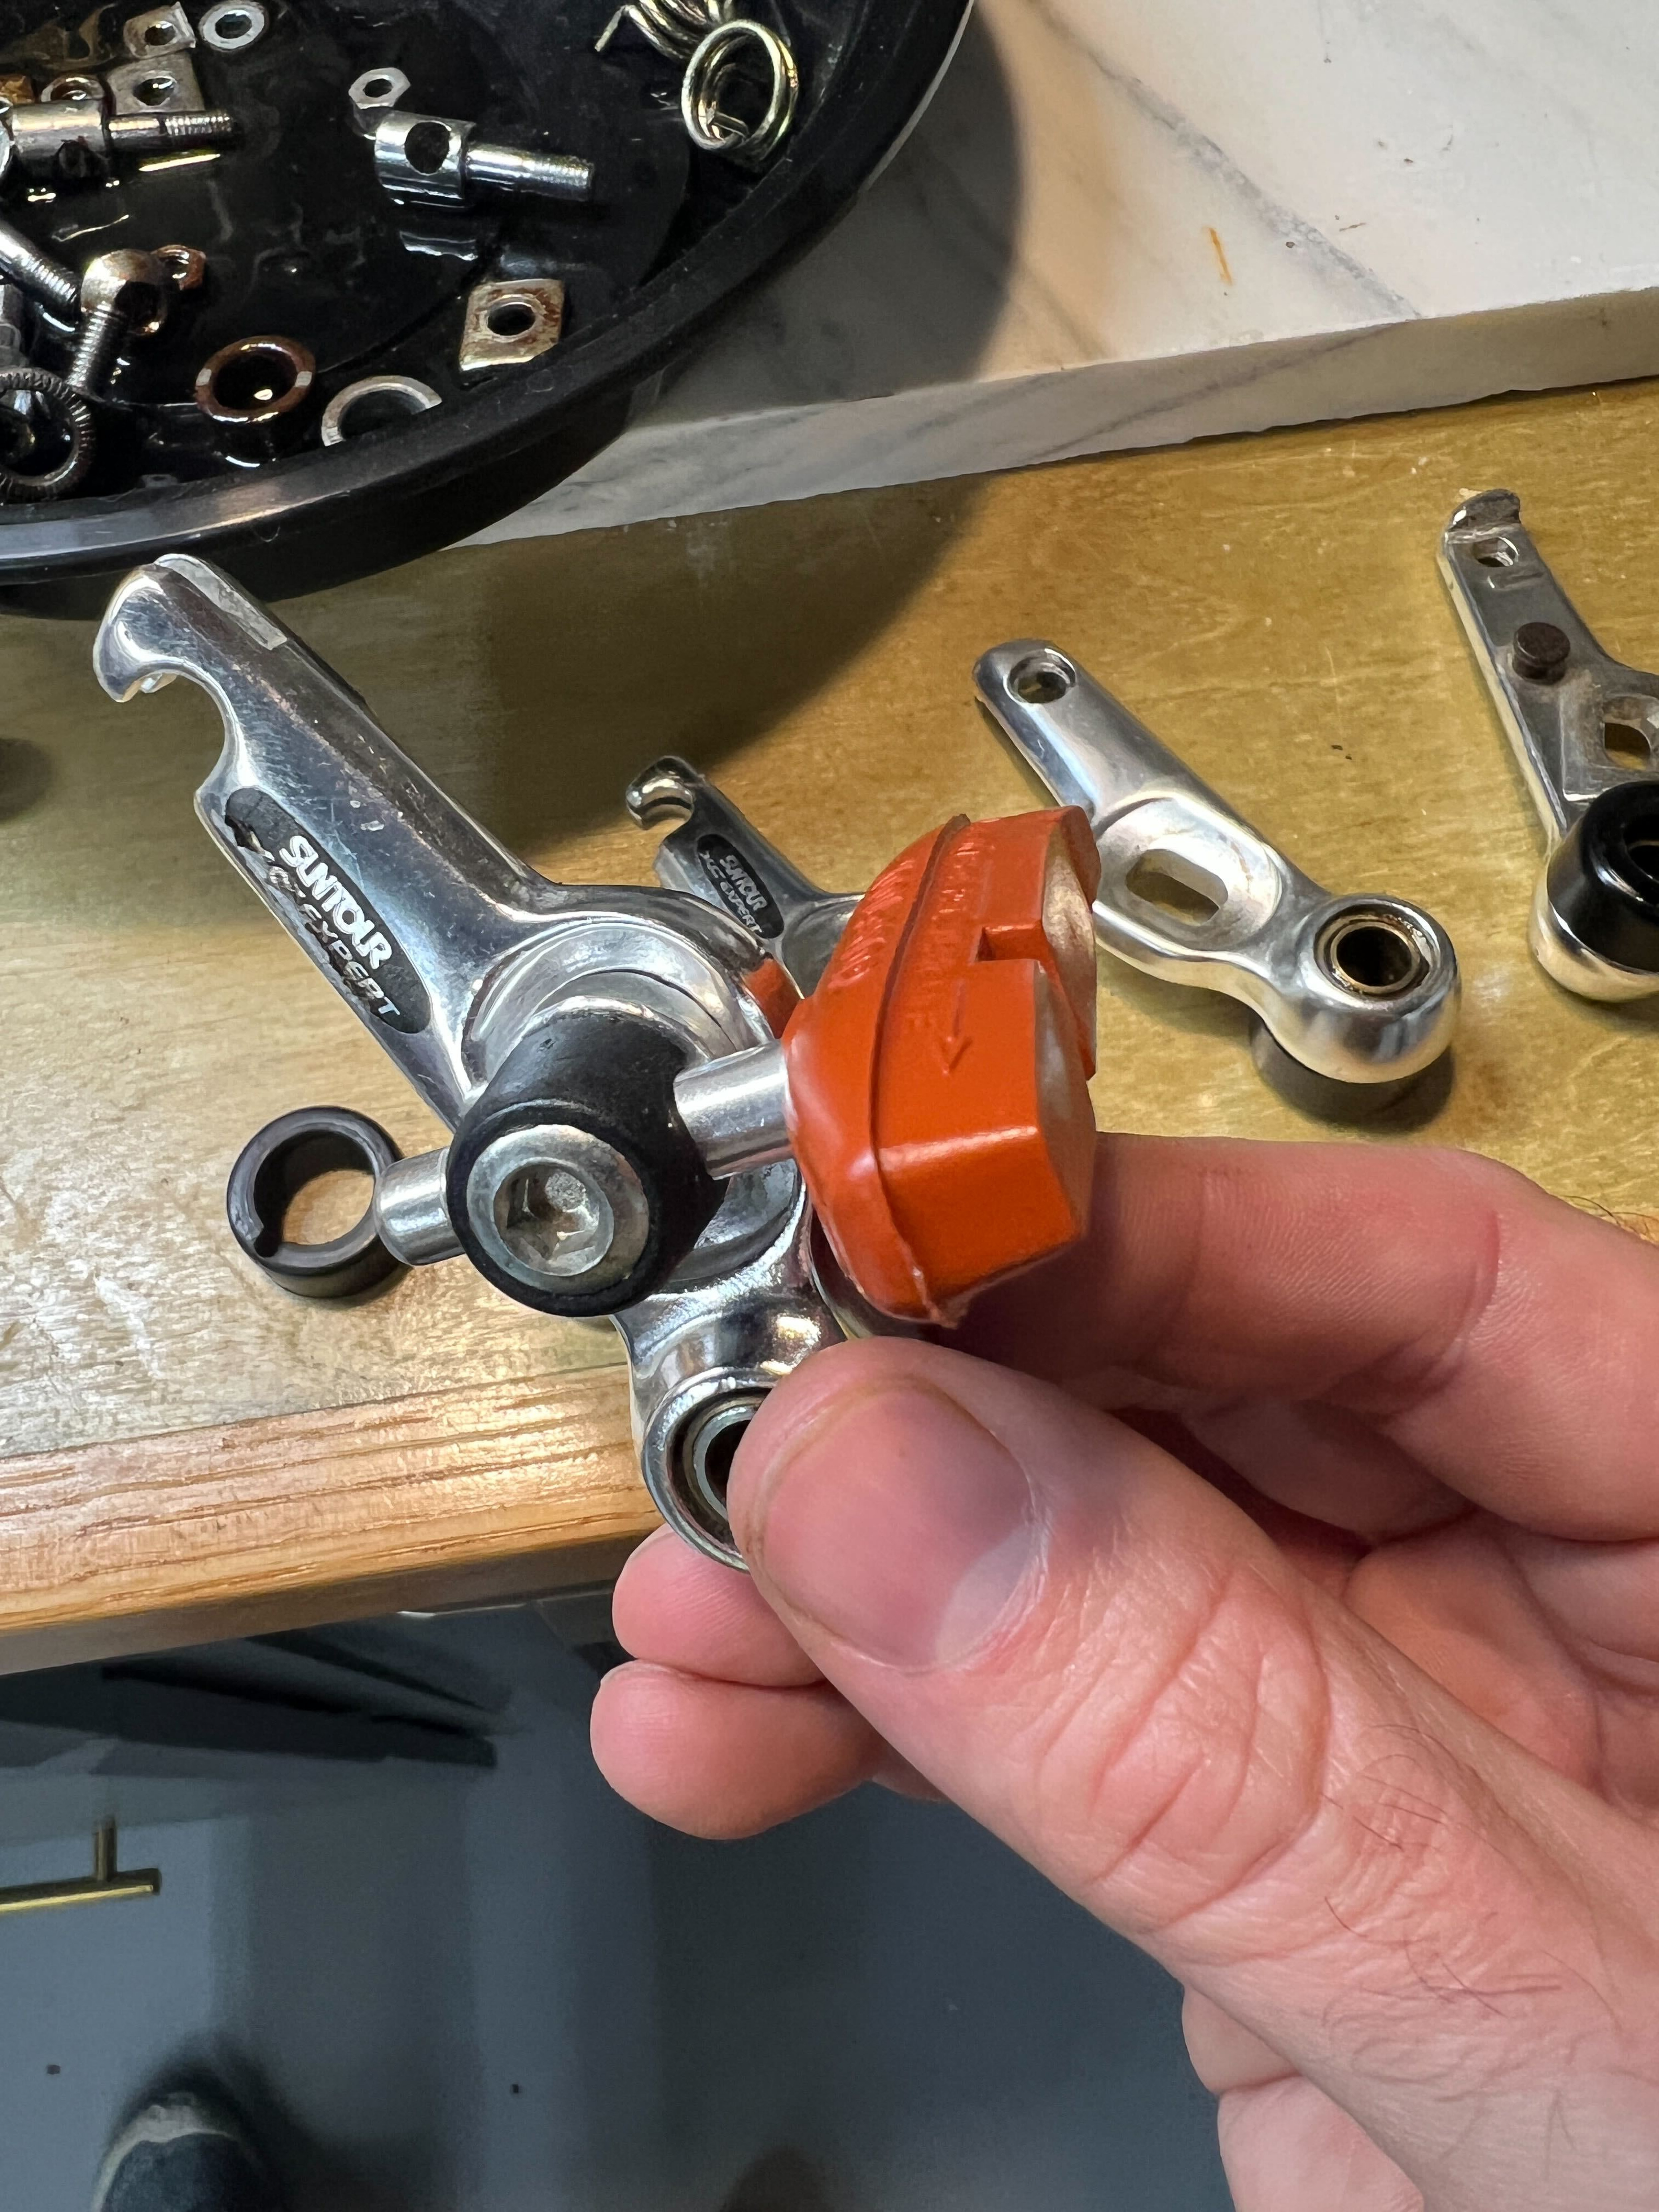
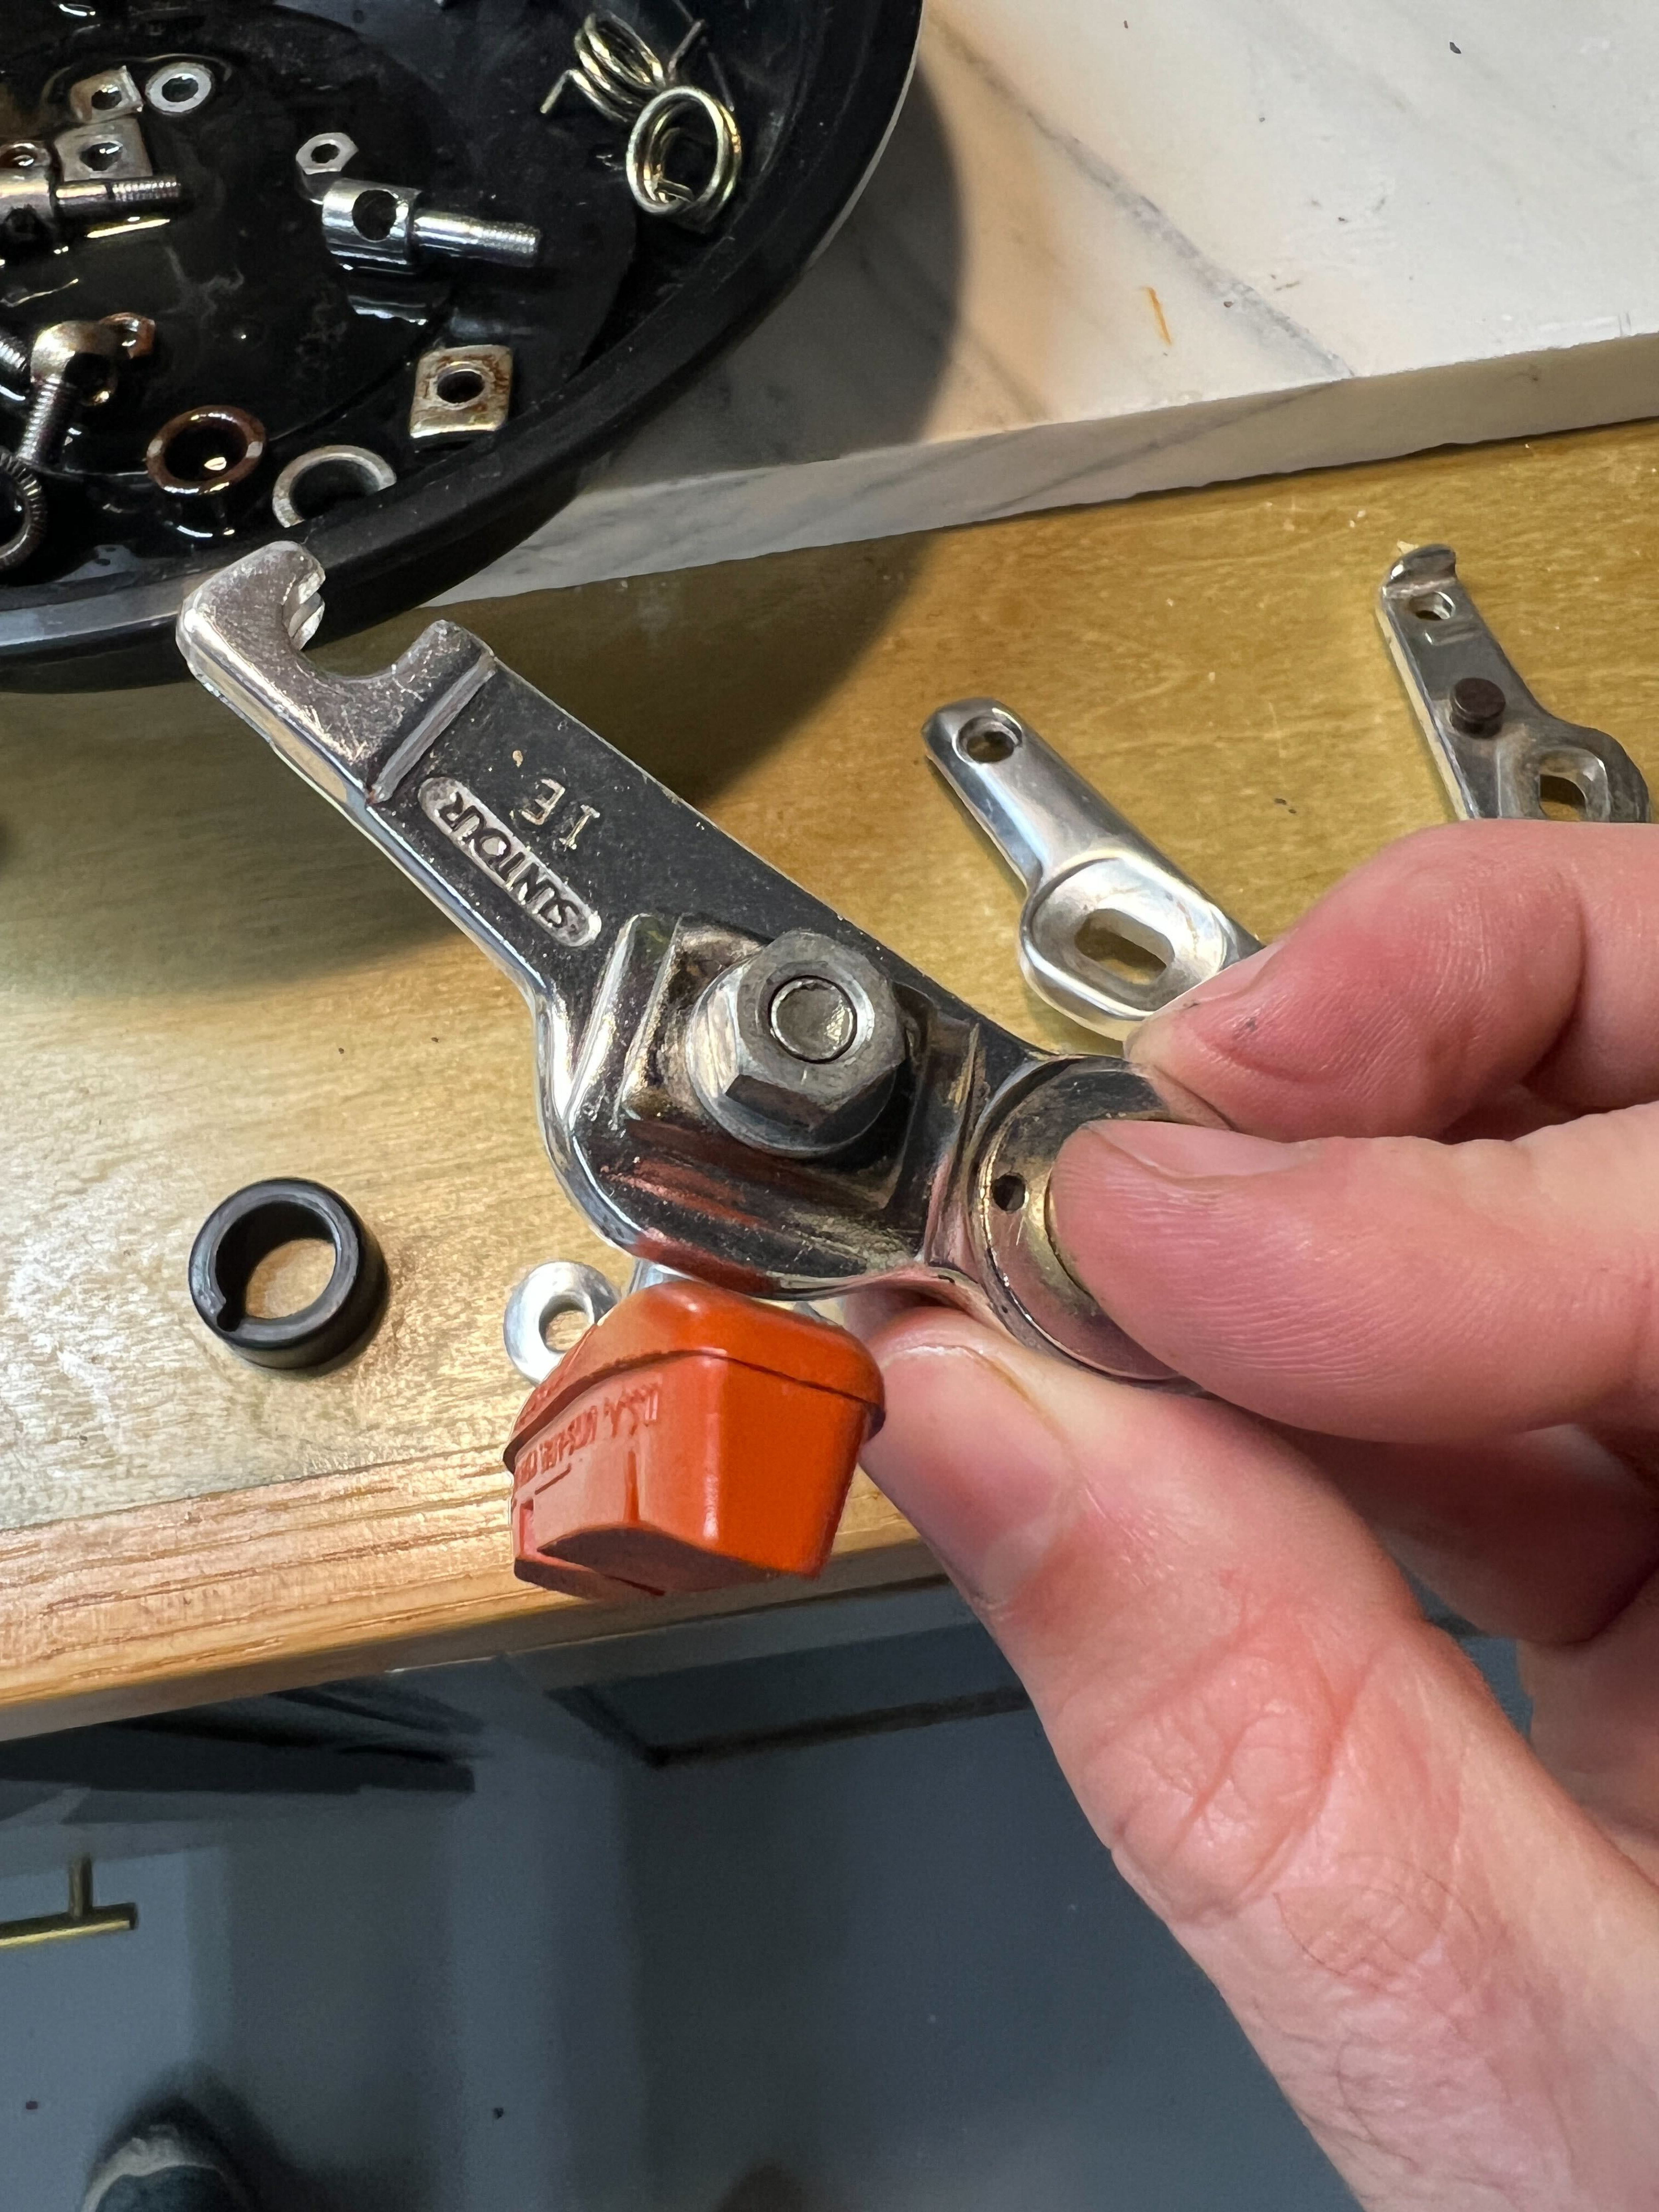
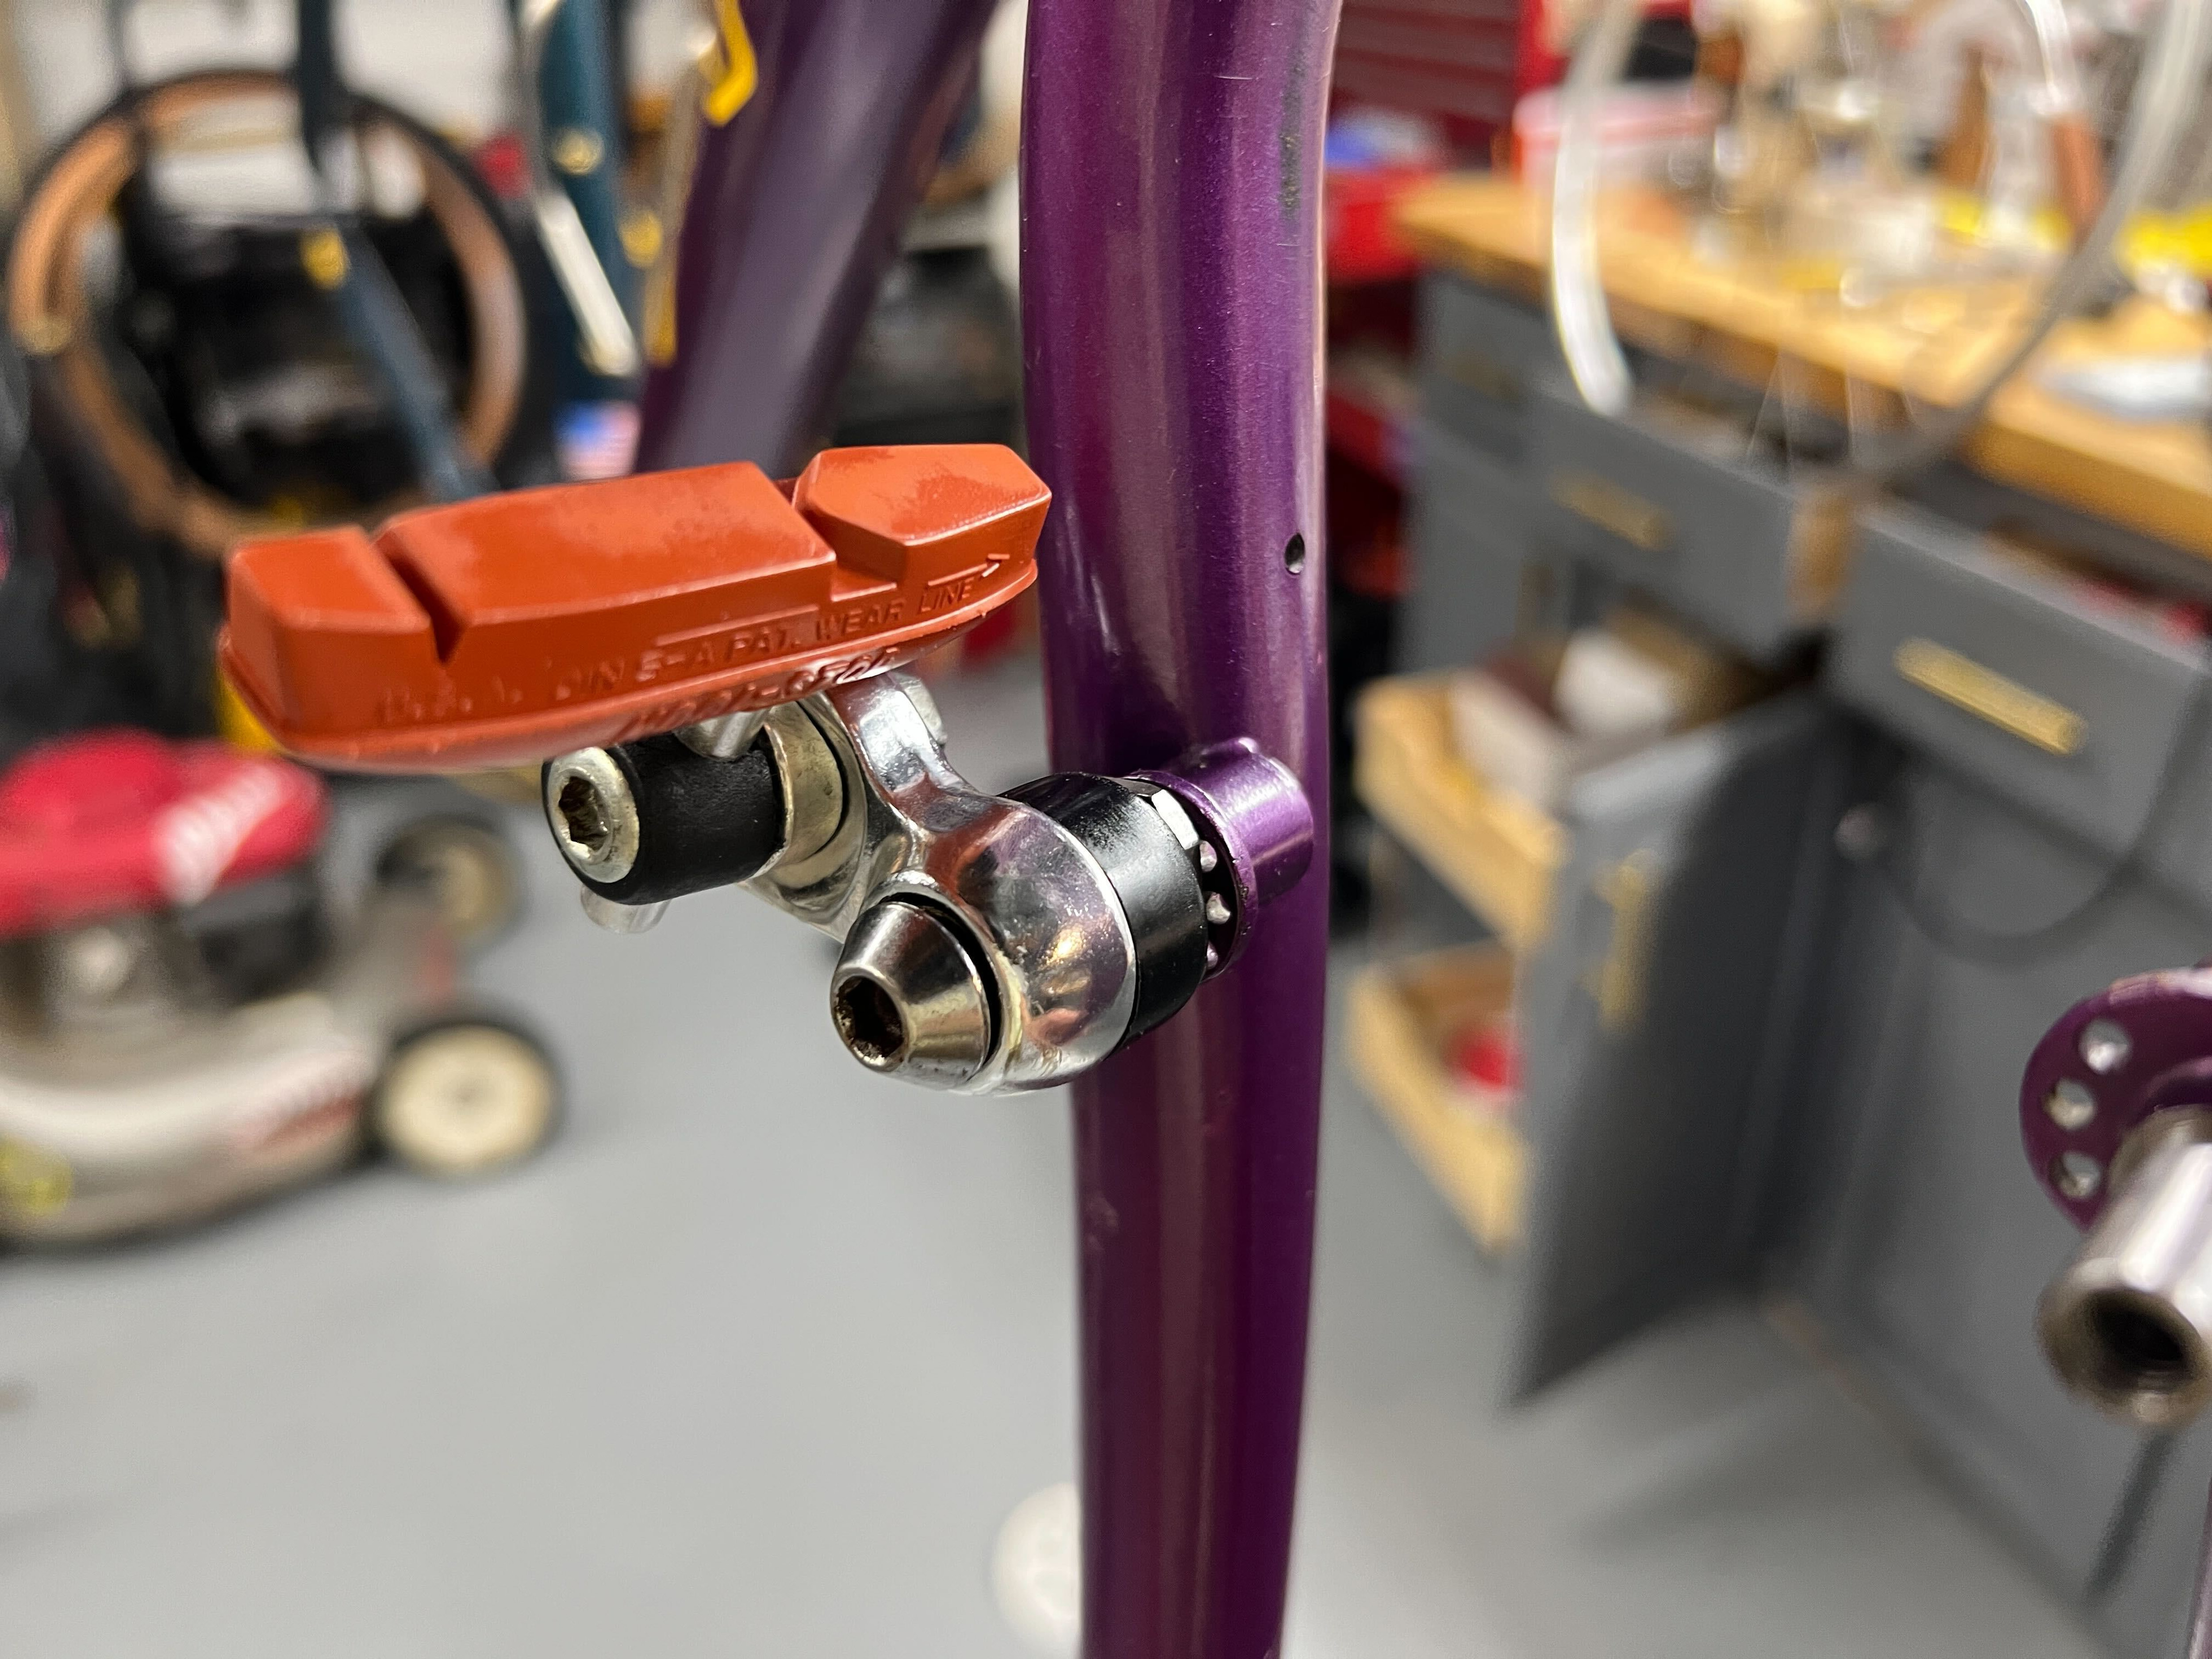
We have a brake! (Yes I am aware the shoe is the wrong orientation in this photo.)
And another one!
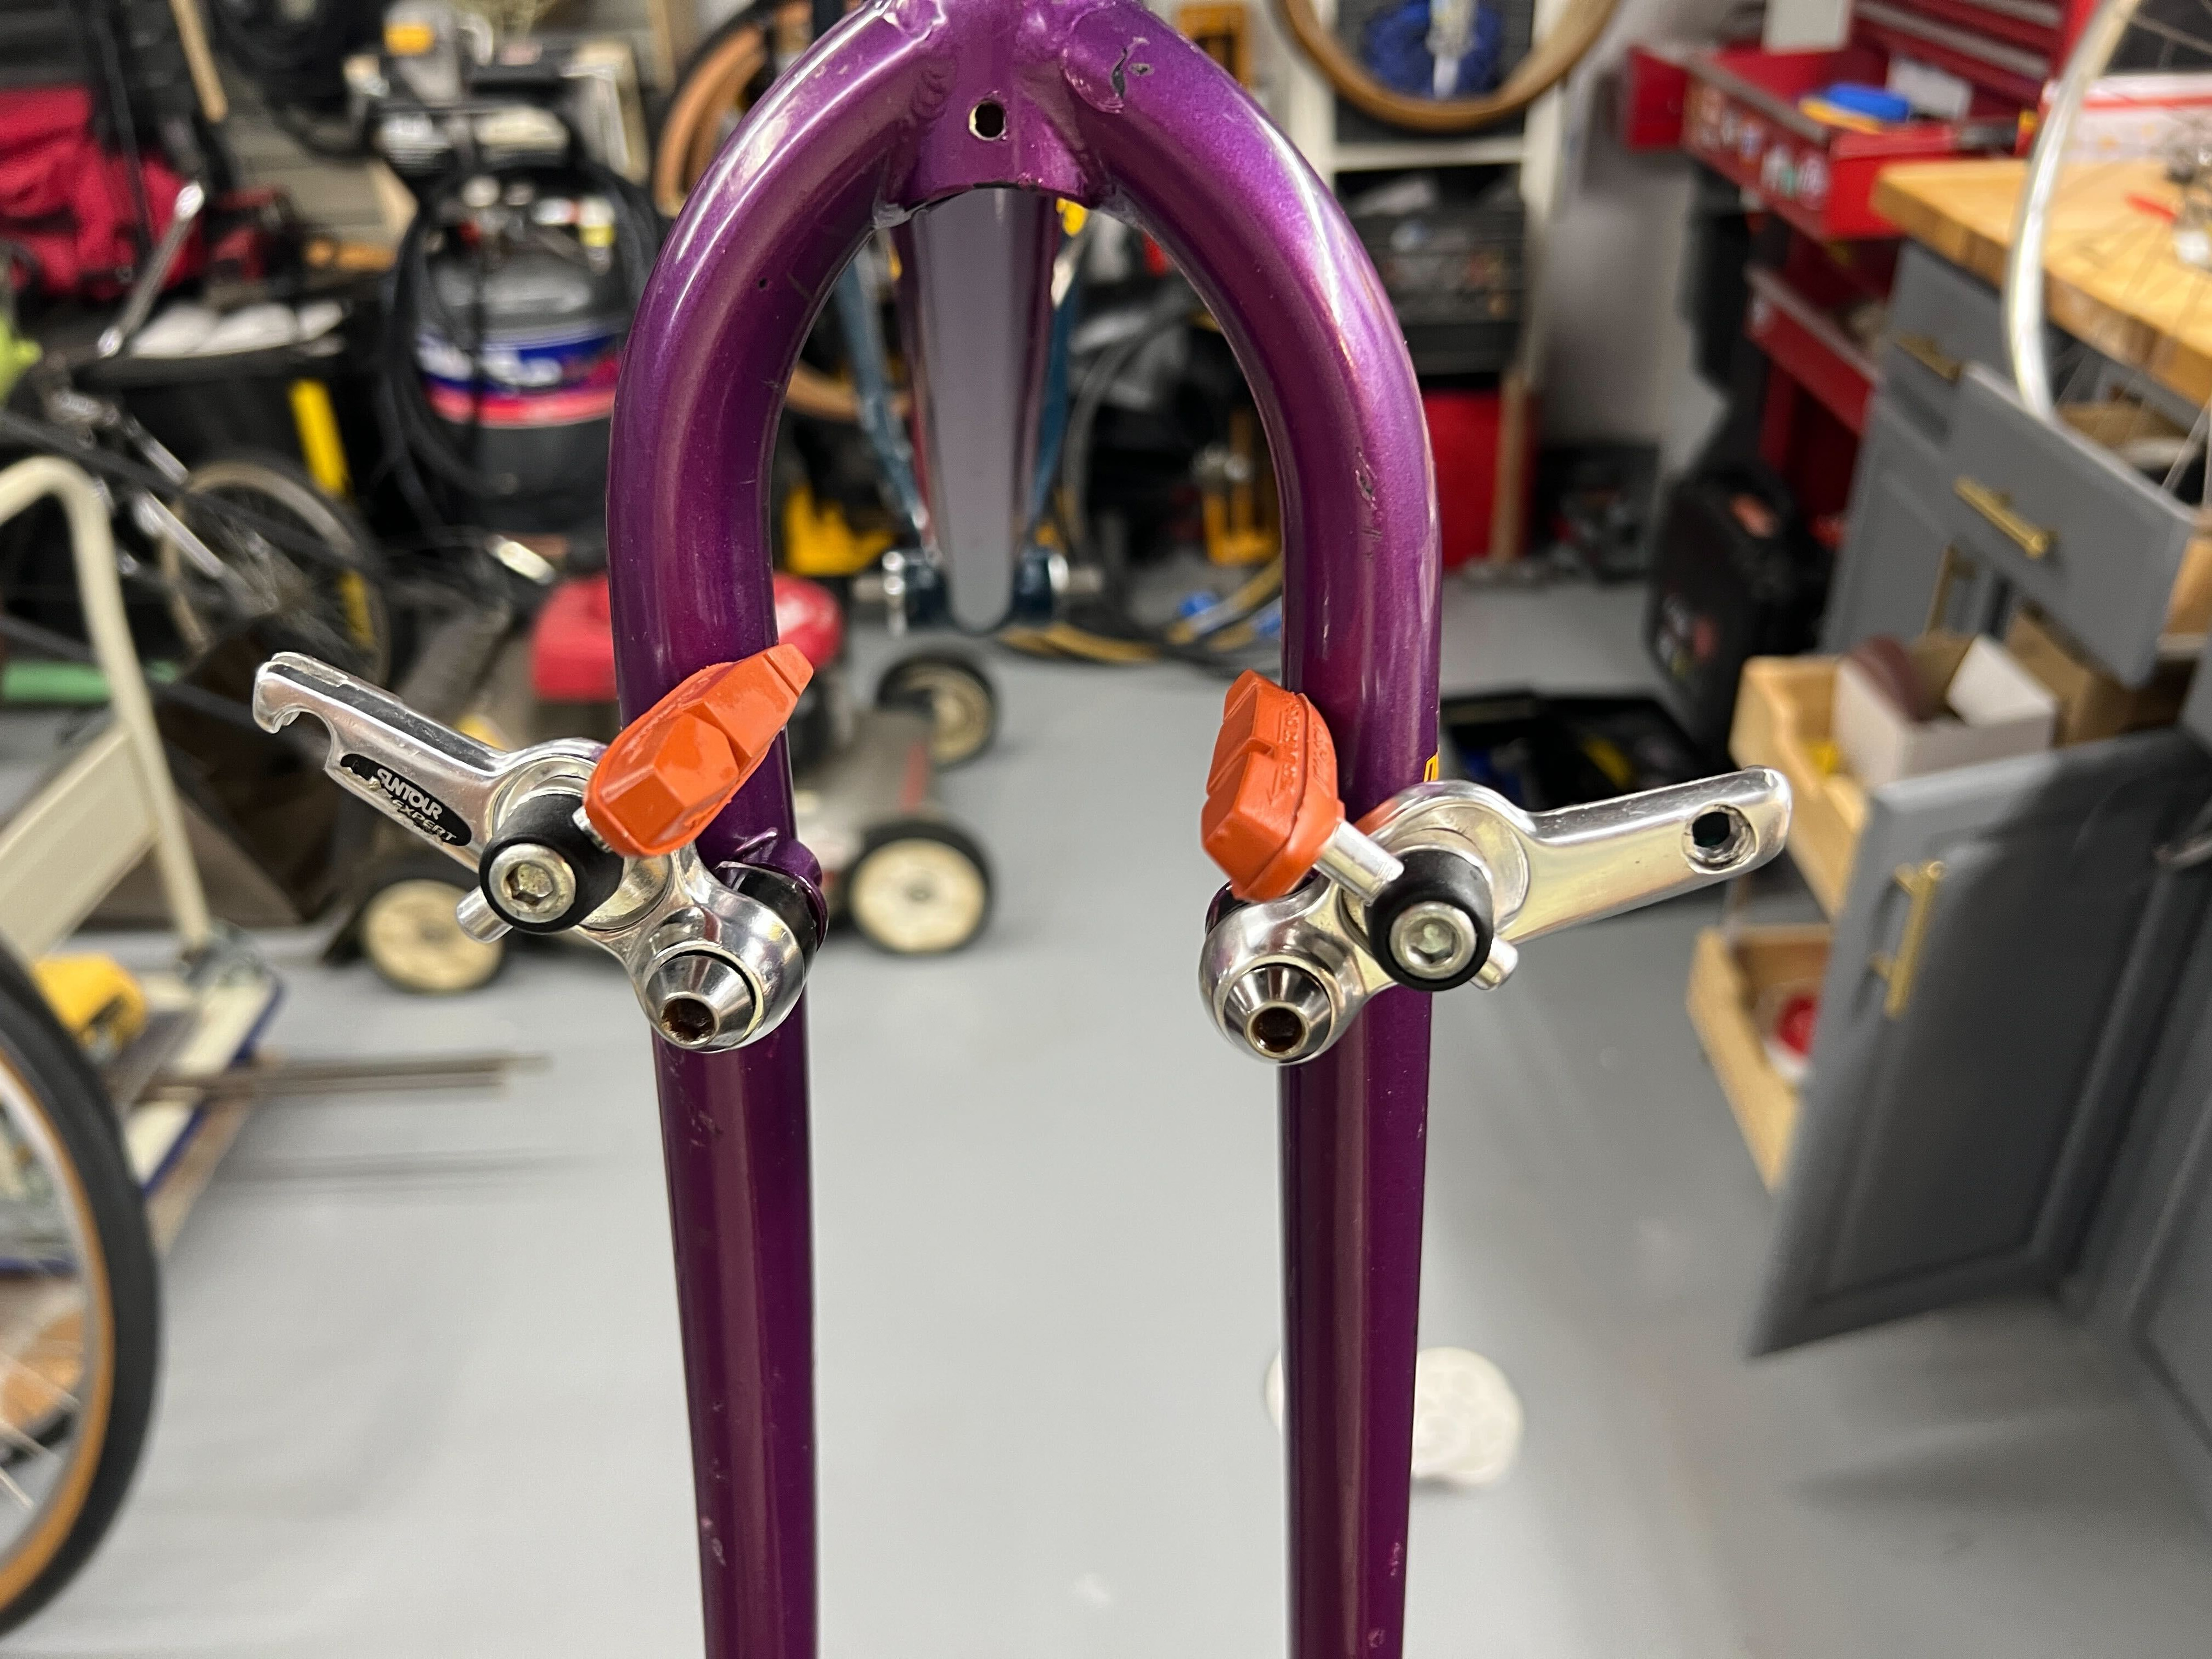
Stuck the wheel in just to see how it lined up without adjusting anything.
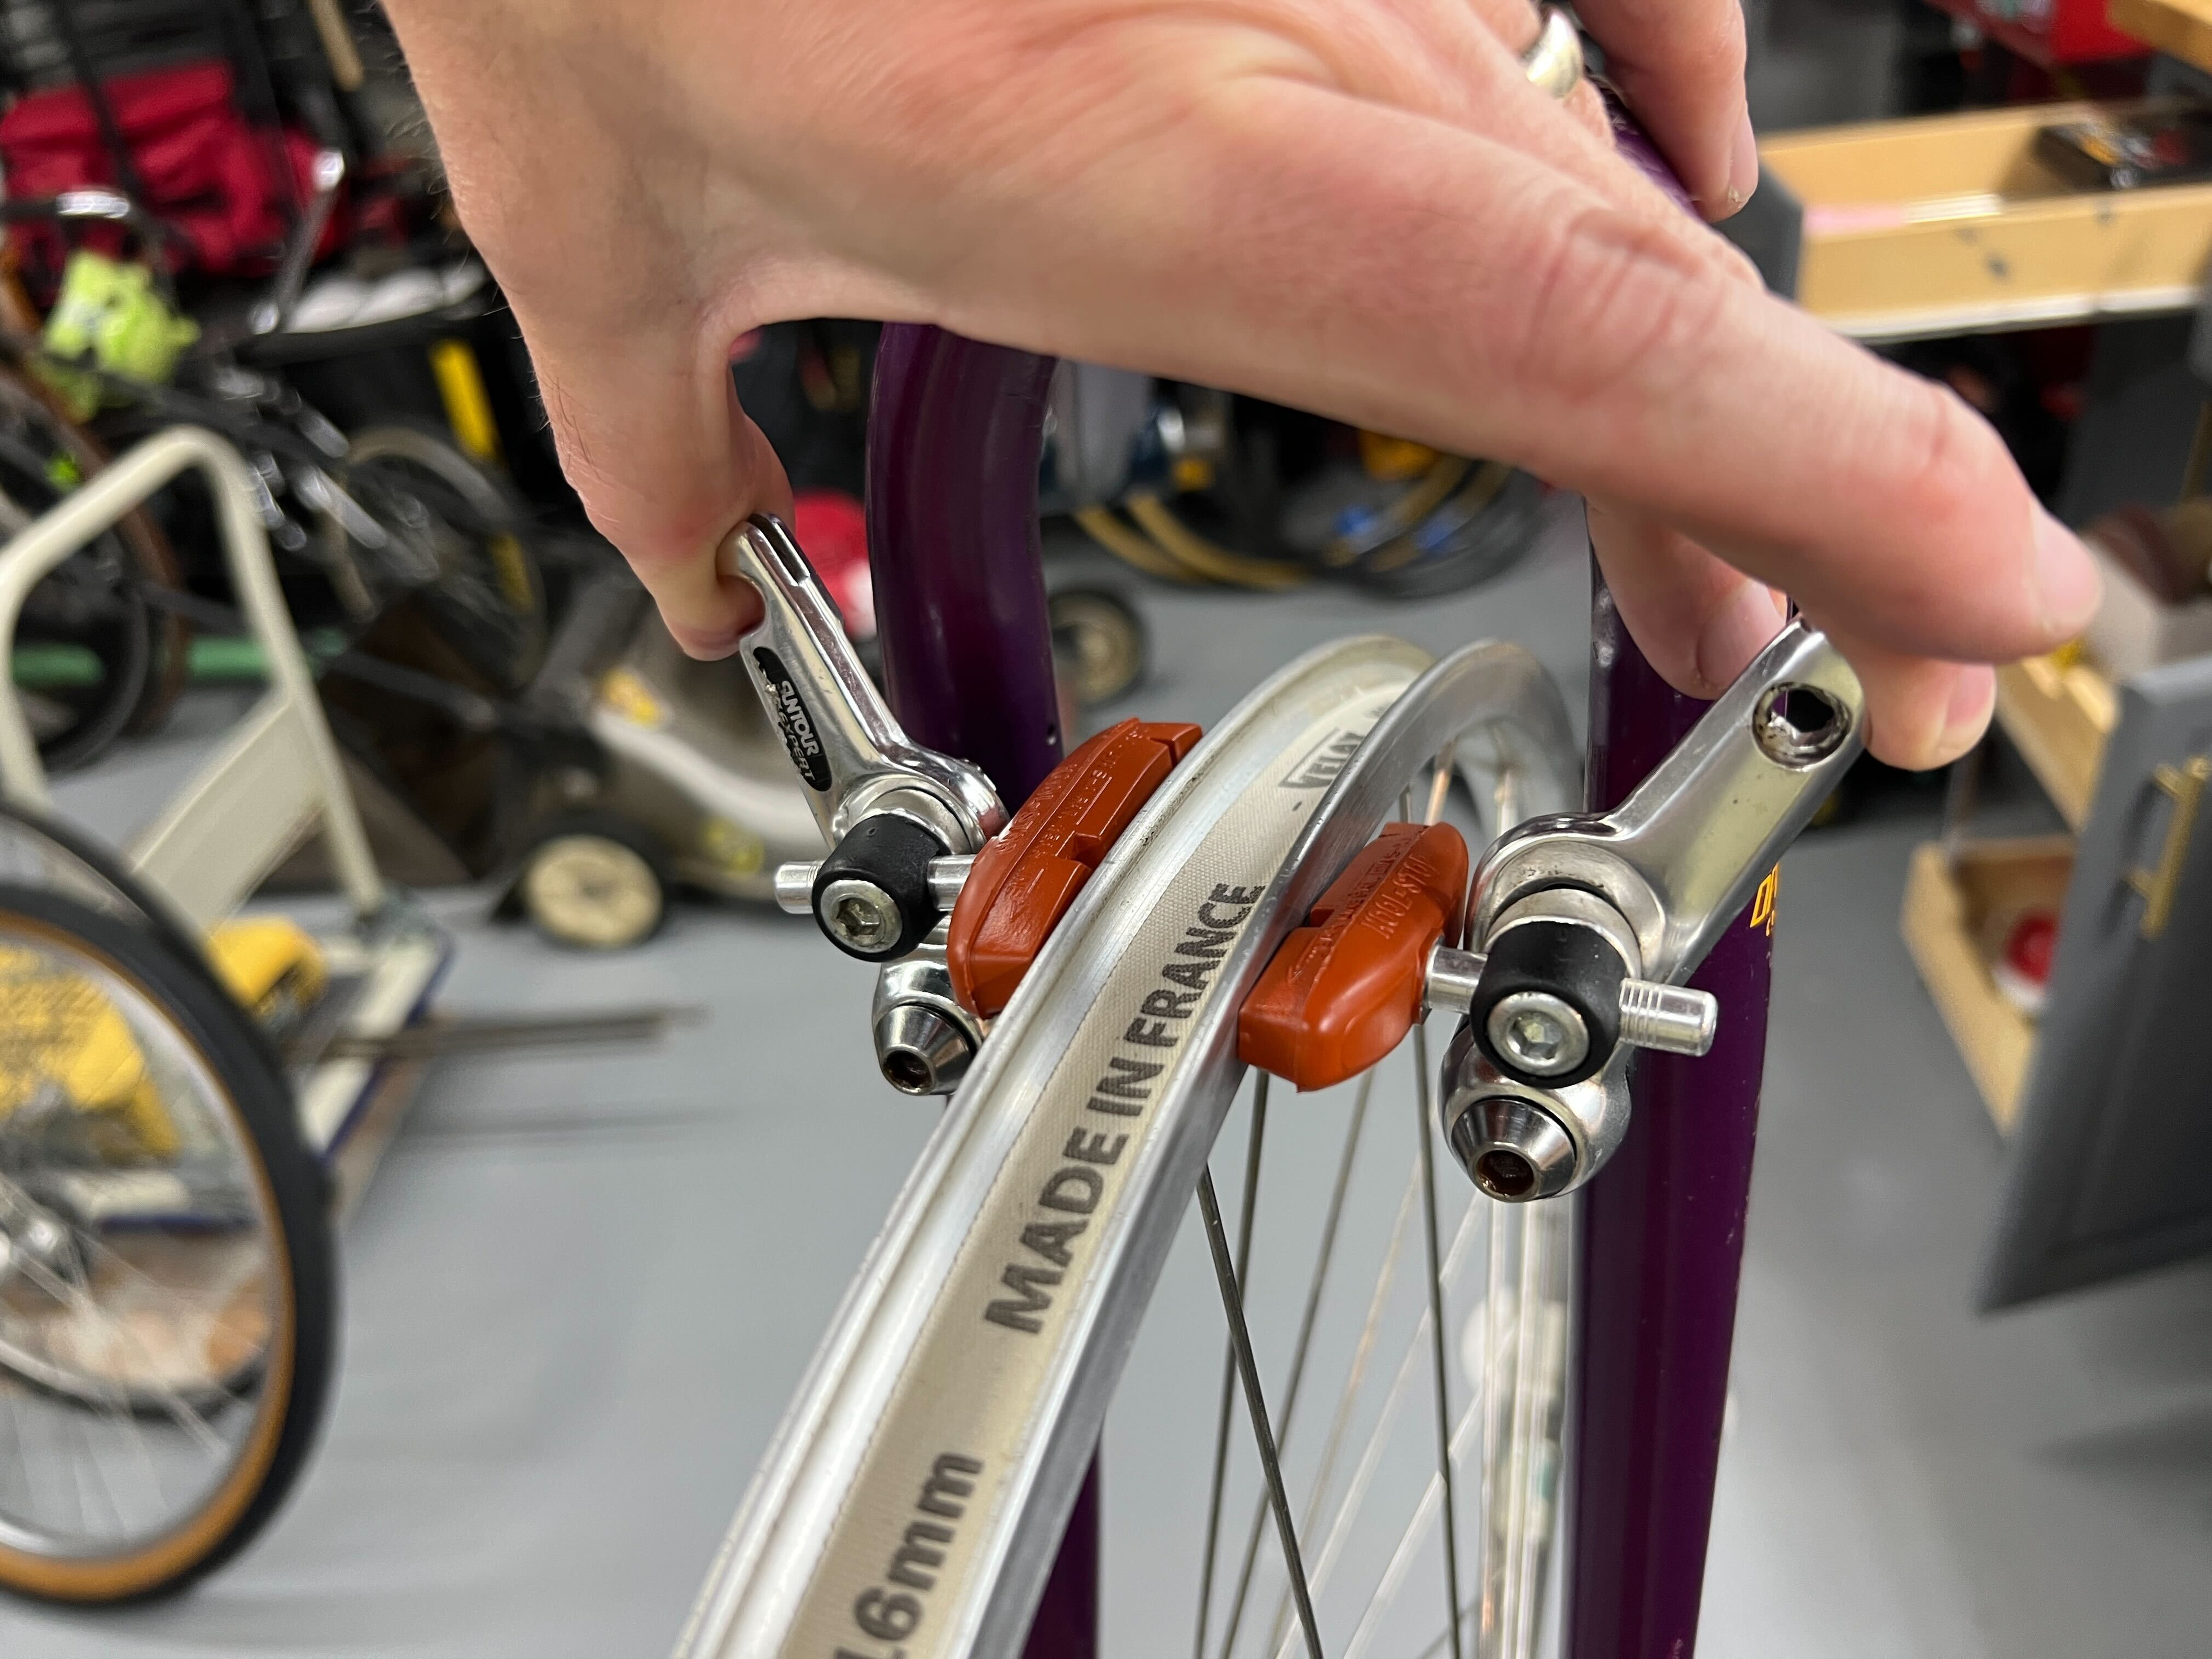
Definitely have some work to do tonight, but I should have a roller with brakes on it at least by tomorrow morning!
4 Likes
Oh yeah, the other crown race came in today, so that’s in there, and is a much better (marginally better if we’re being real) situation.
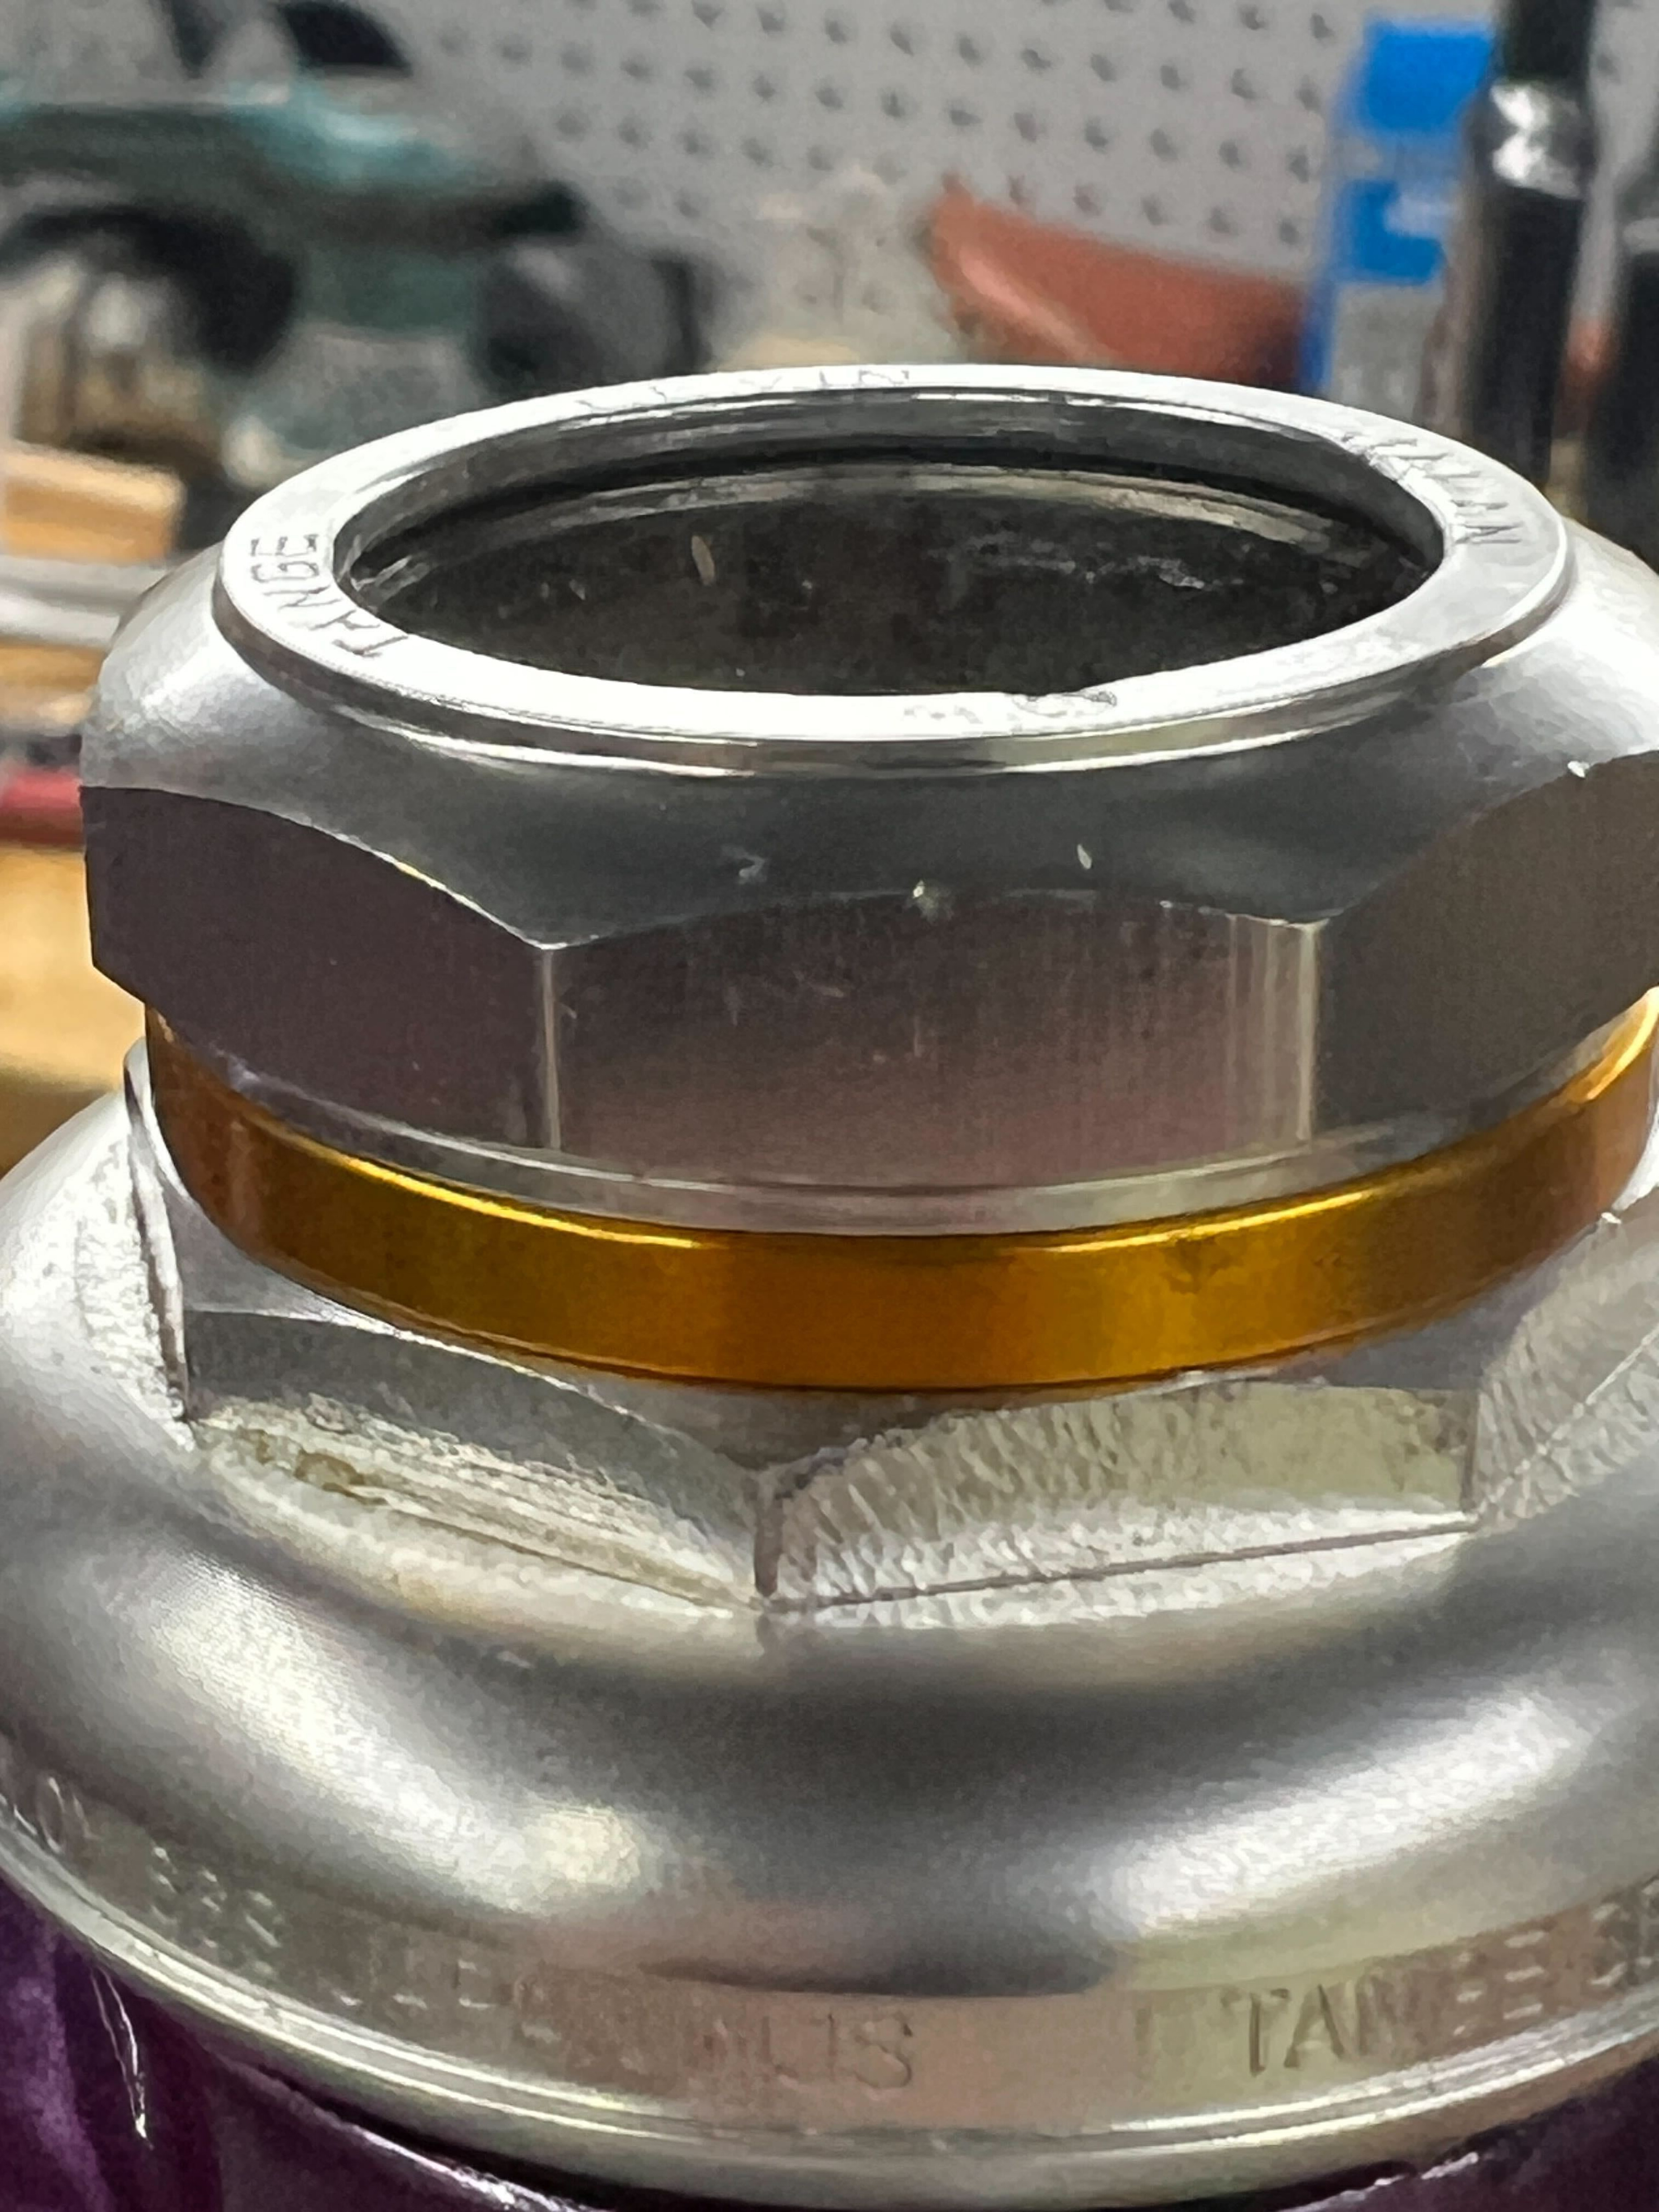
Probably the most perfect stack I’ve had personally without cutting the steerer to length.
I don’t know what was up with the other race, but it was seriously a b to get on, and it didn’t even seat solidly on the crown (like I mentioned before, there was like half a mm gap that I didn’t like). The Tange CDS race went on much easier and went all the way down. Same diameters too - both 26.4 ¯\_(ツ)_/¯
Headset is locked in.
2 Likes
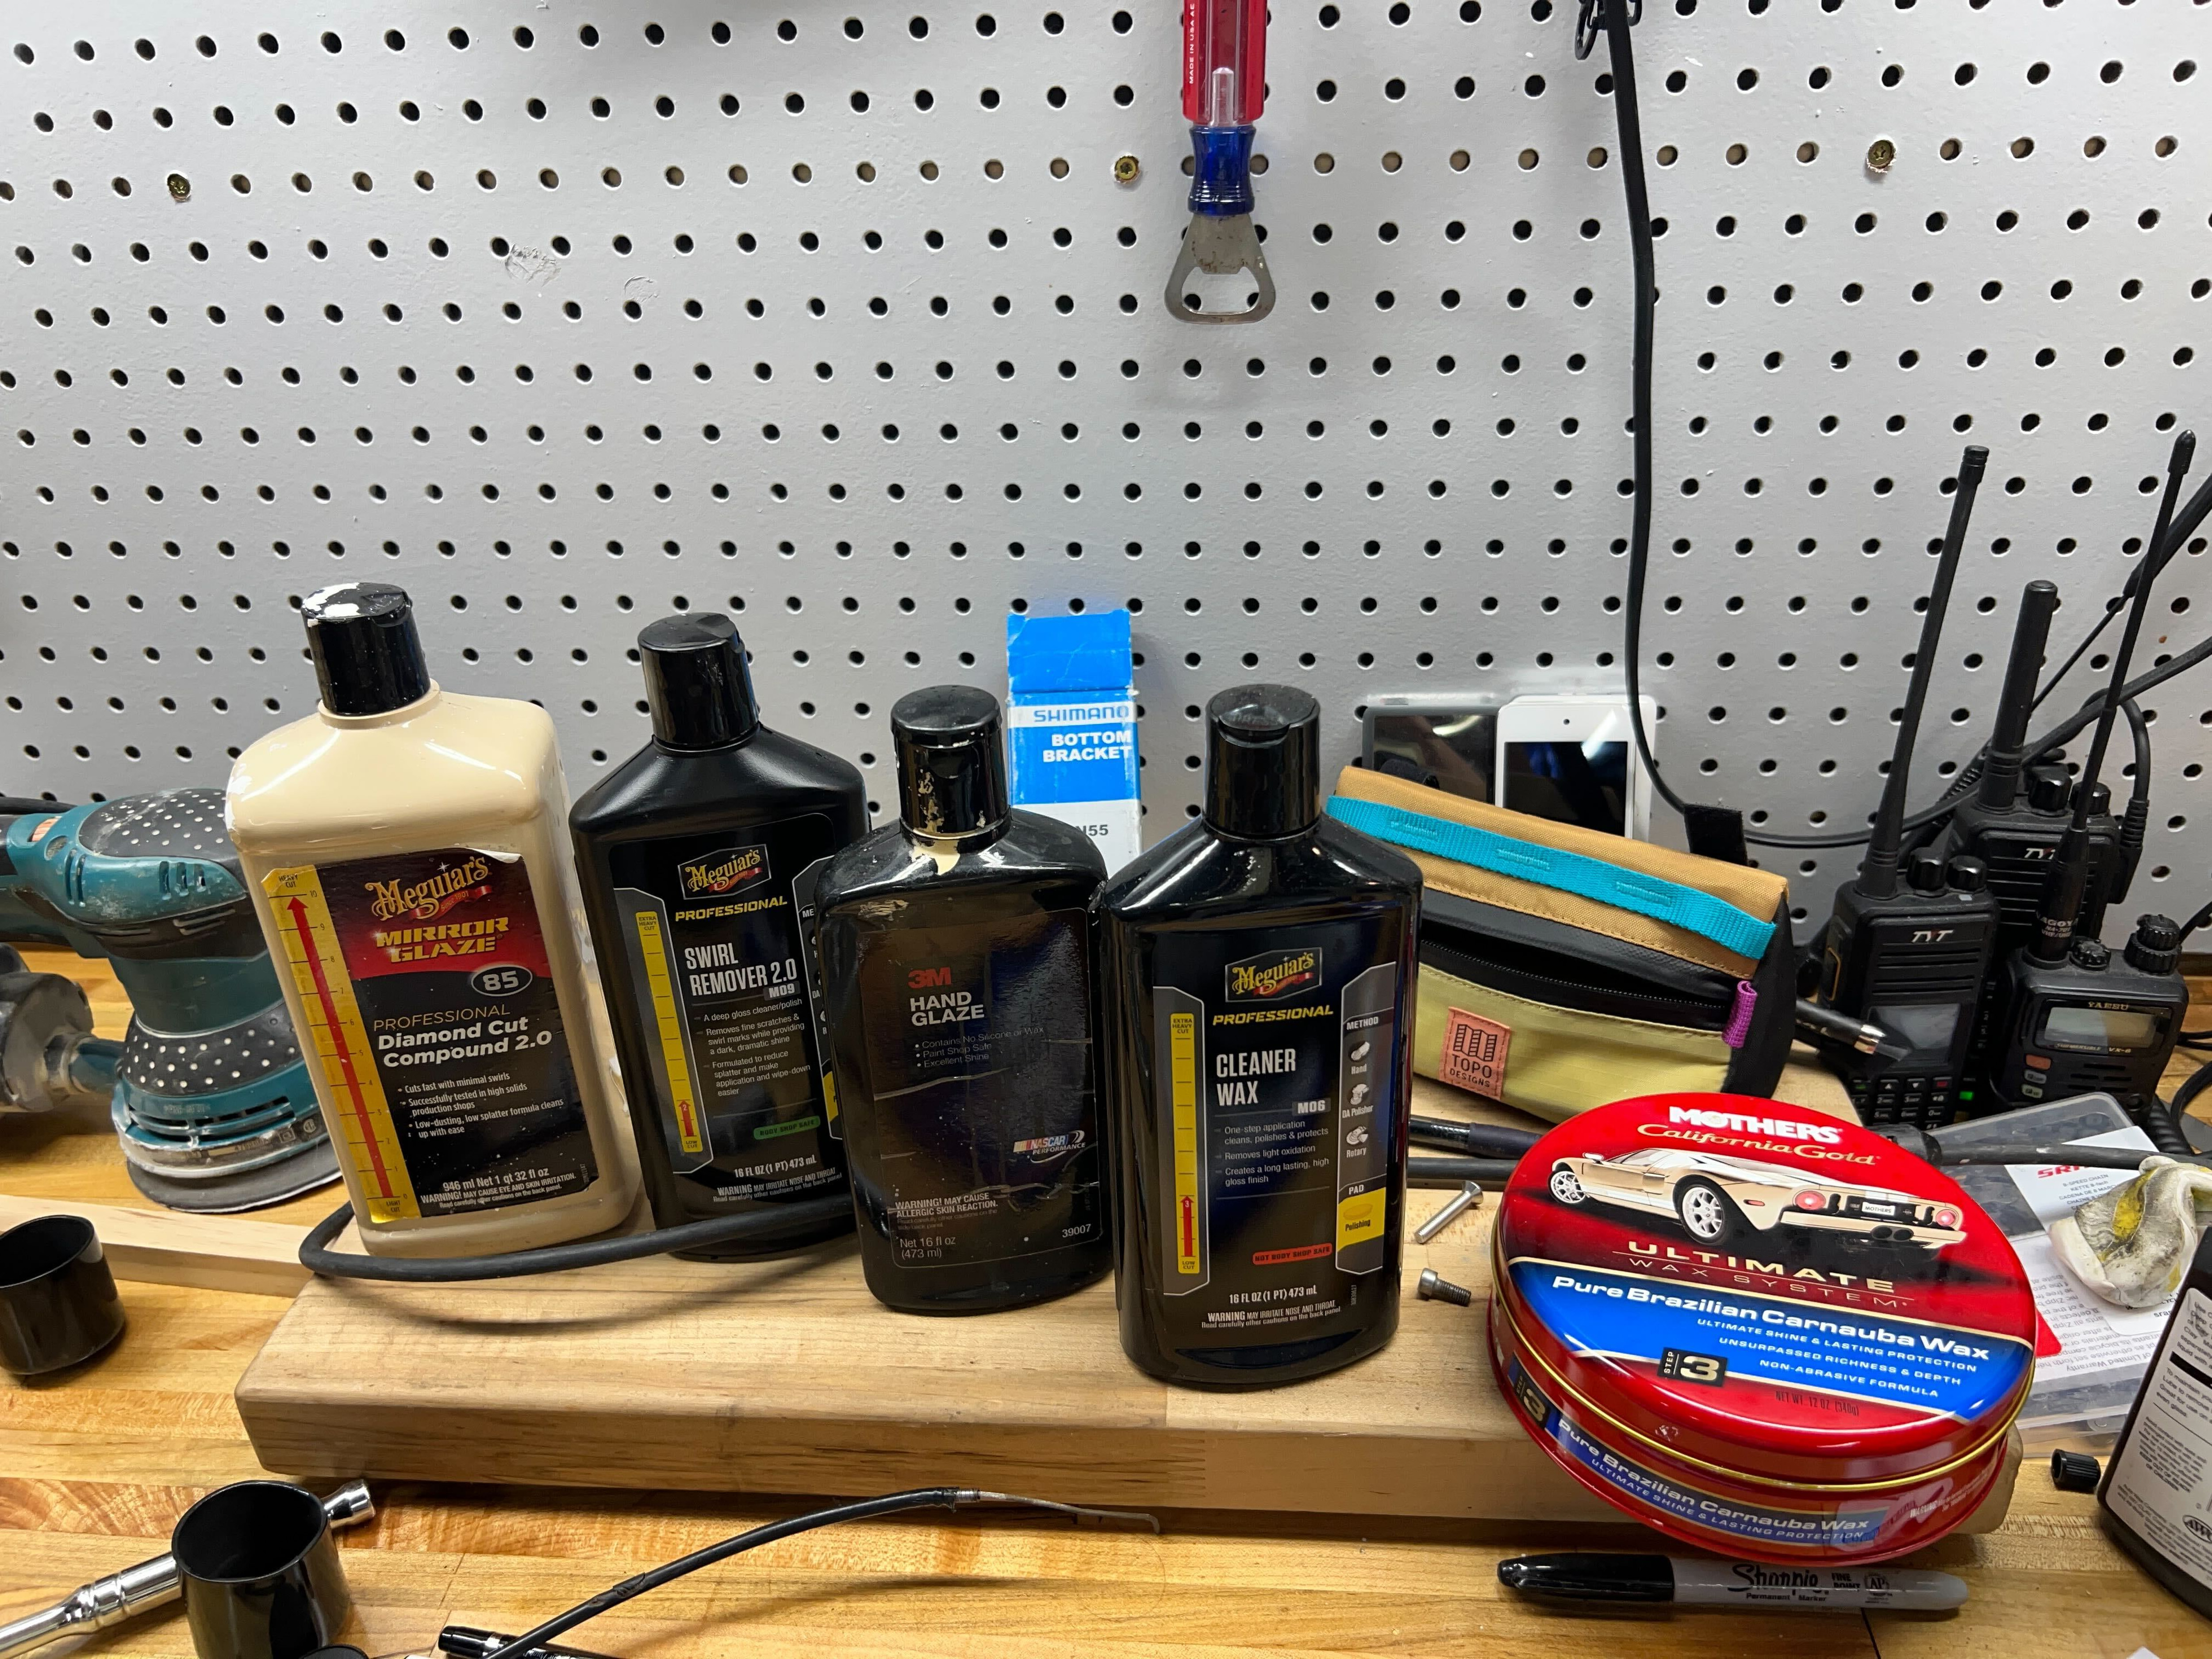
Before I did anything else last night I finished polishing the frame. I cleaned it sporadically over the last 4 months and shined up the front half, and finished the rear triangle last night. It’s mostly boring and you can’t really tell how much better it looks in photos but here are some shiny bike pictures. I didn’t go super crazy on it with wetsanding or anything like that, just compound, swirl removed, glaze and wax.
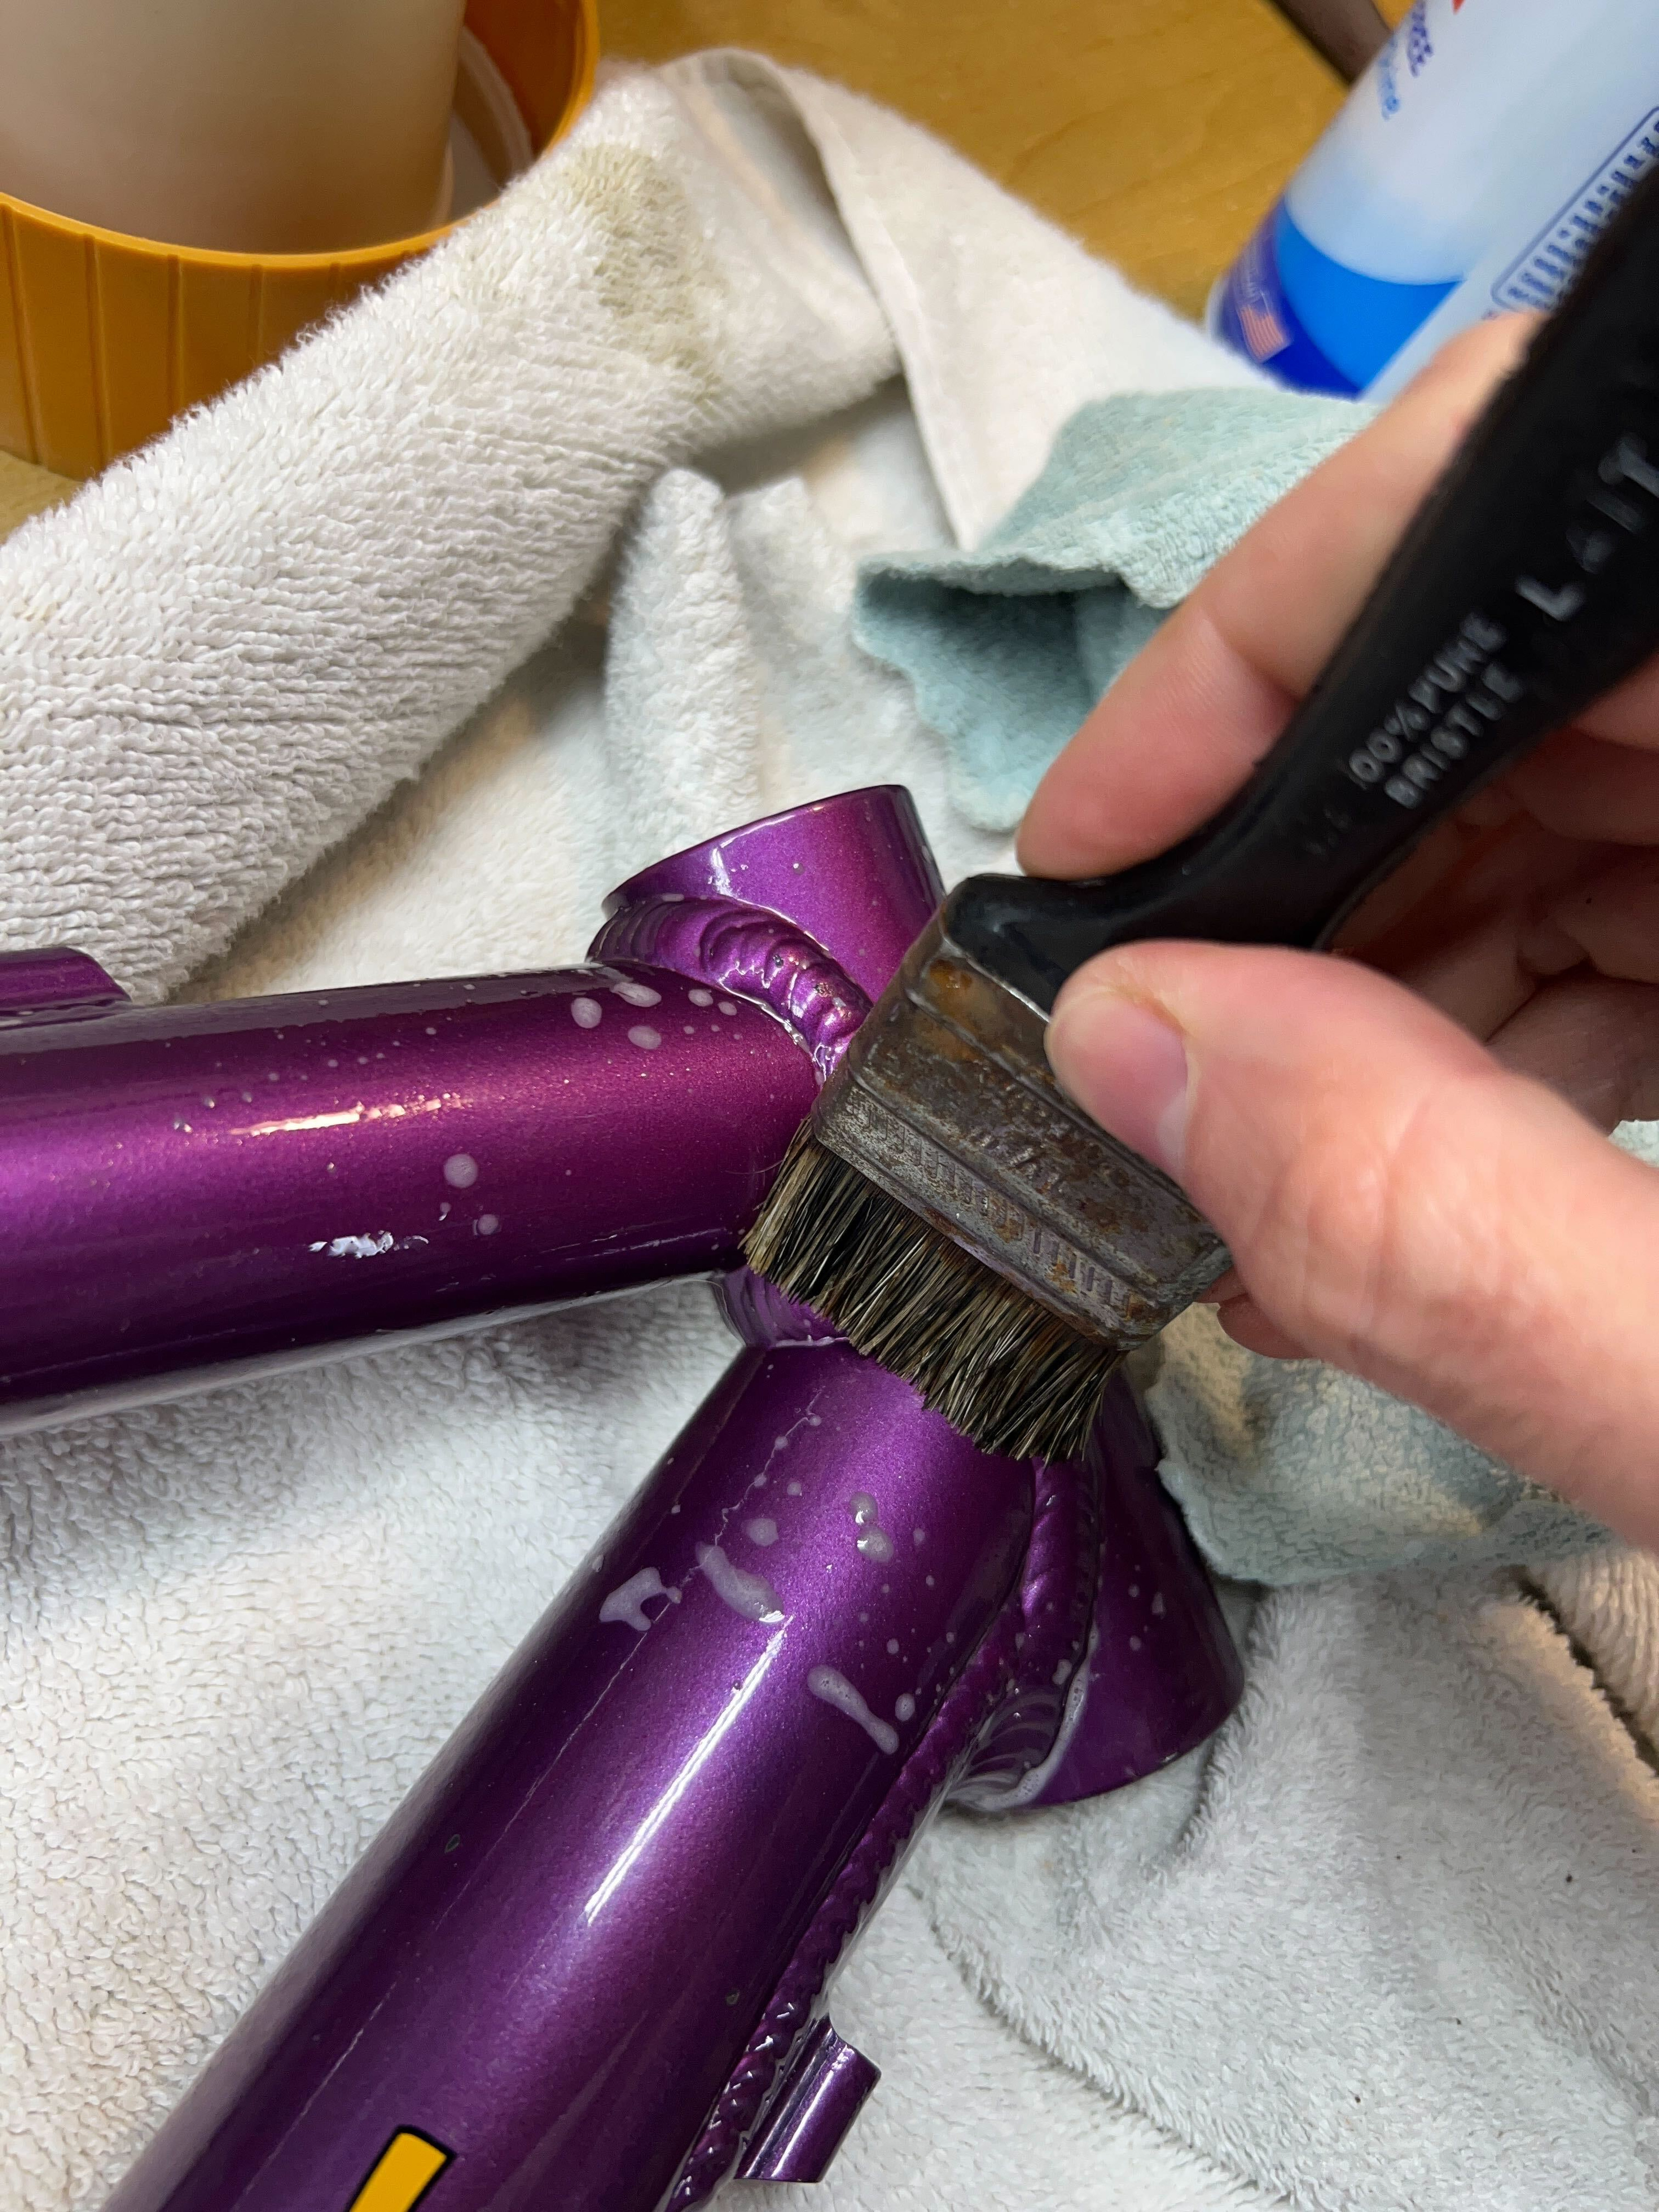
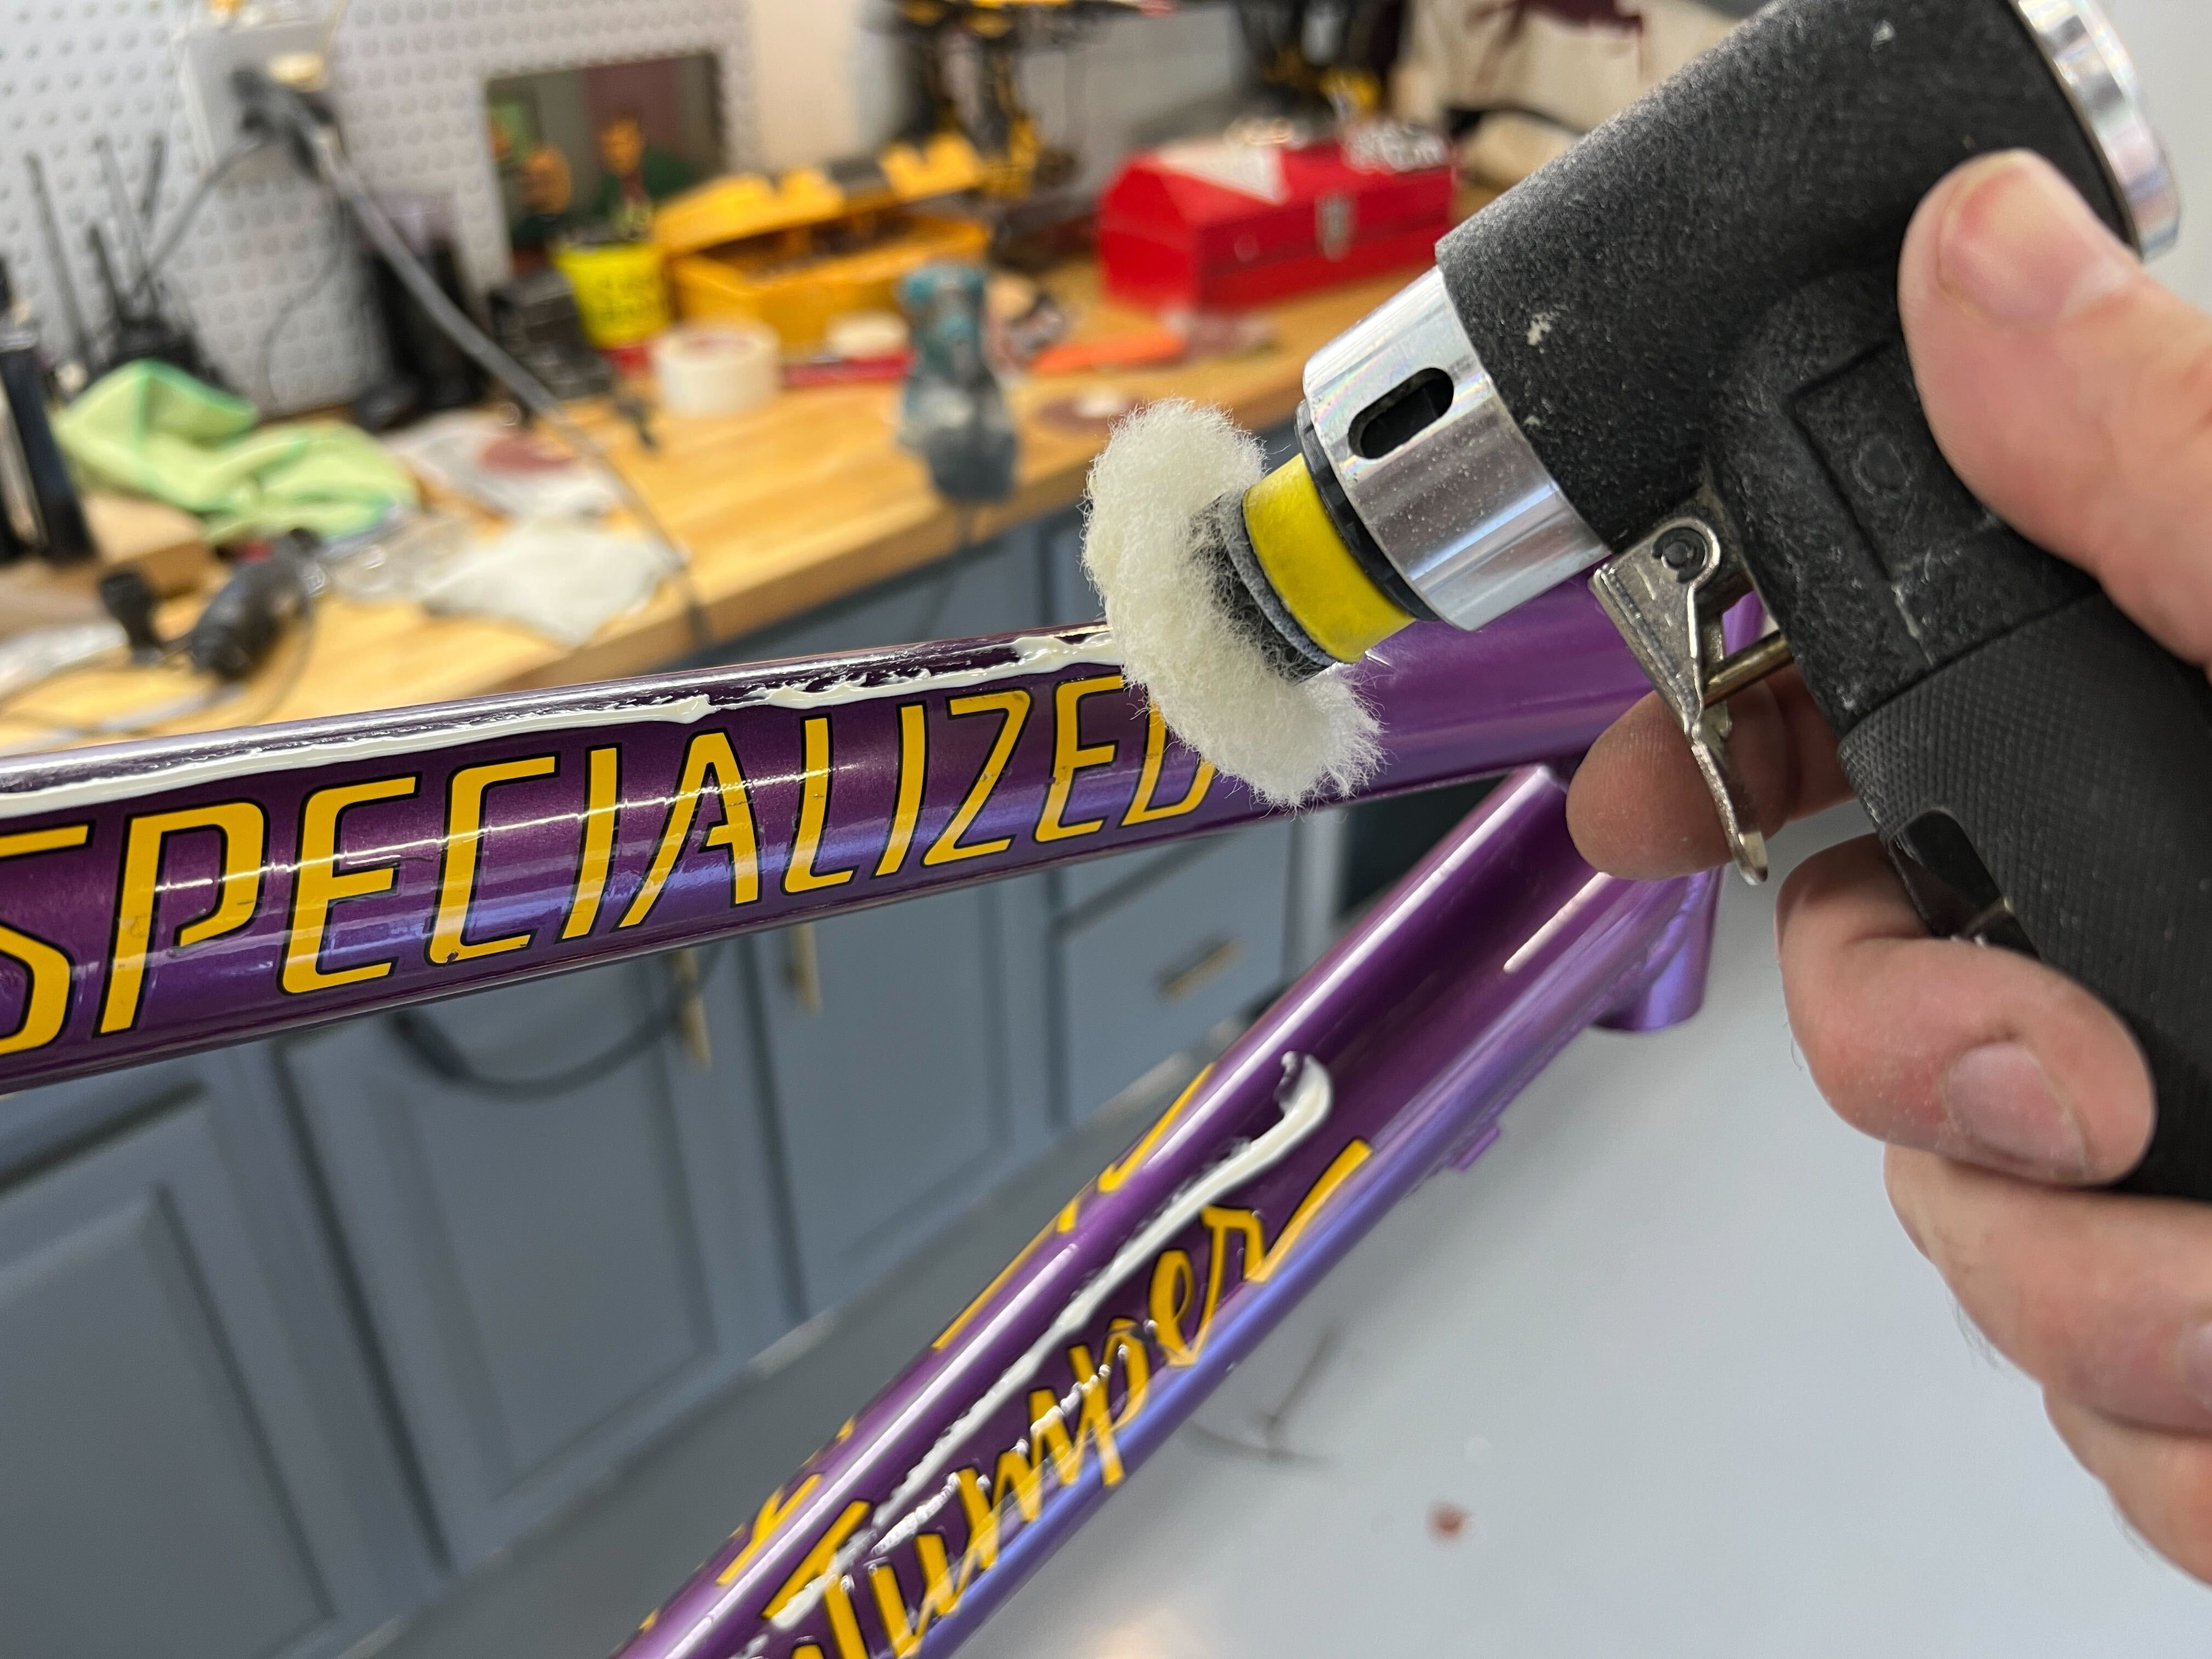
(This didn’t actually work that well - the pad flew right off it. Was funny.)
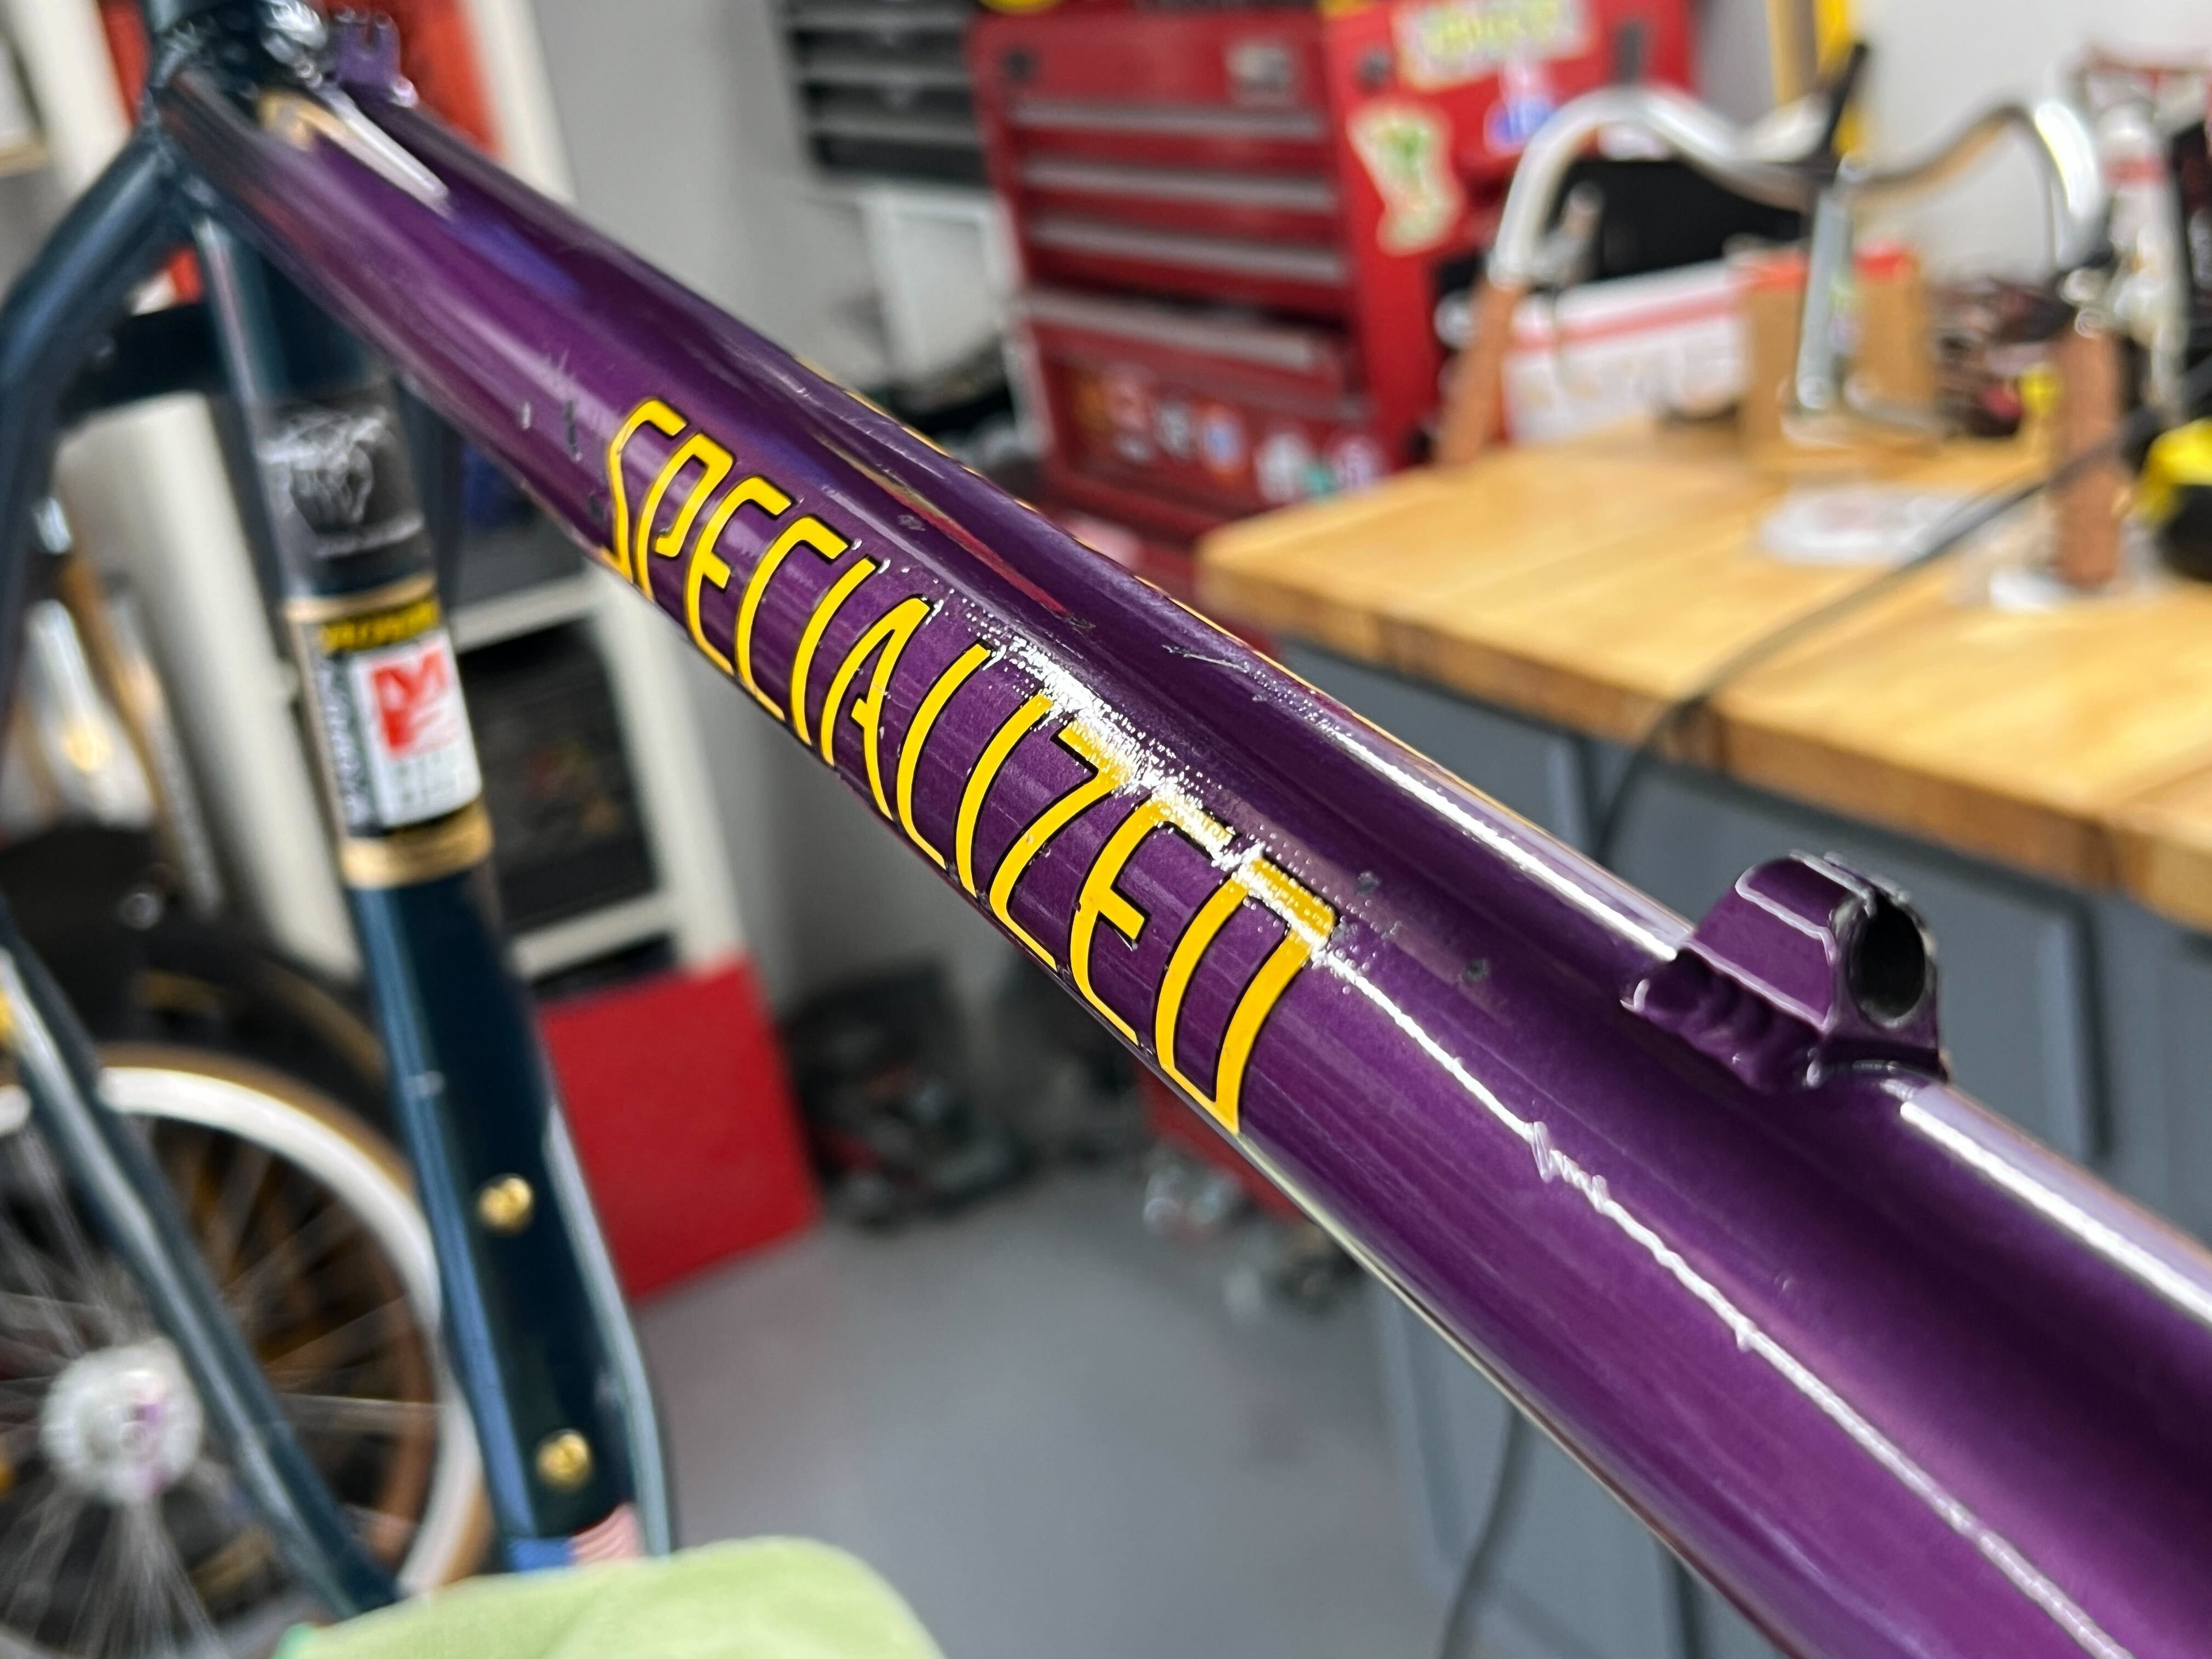
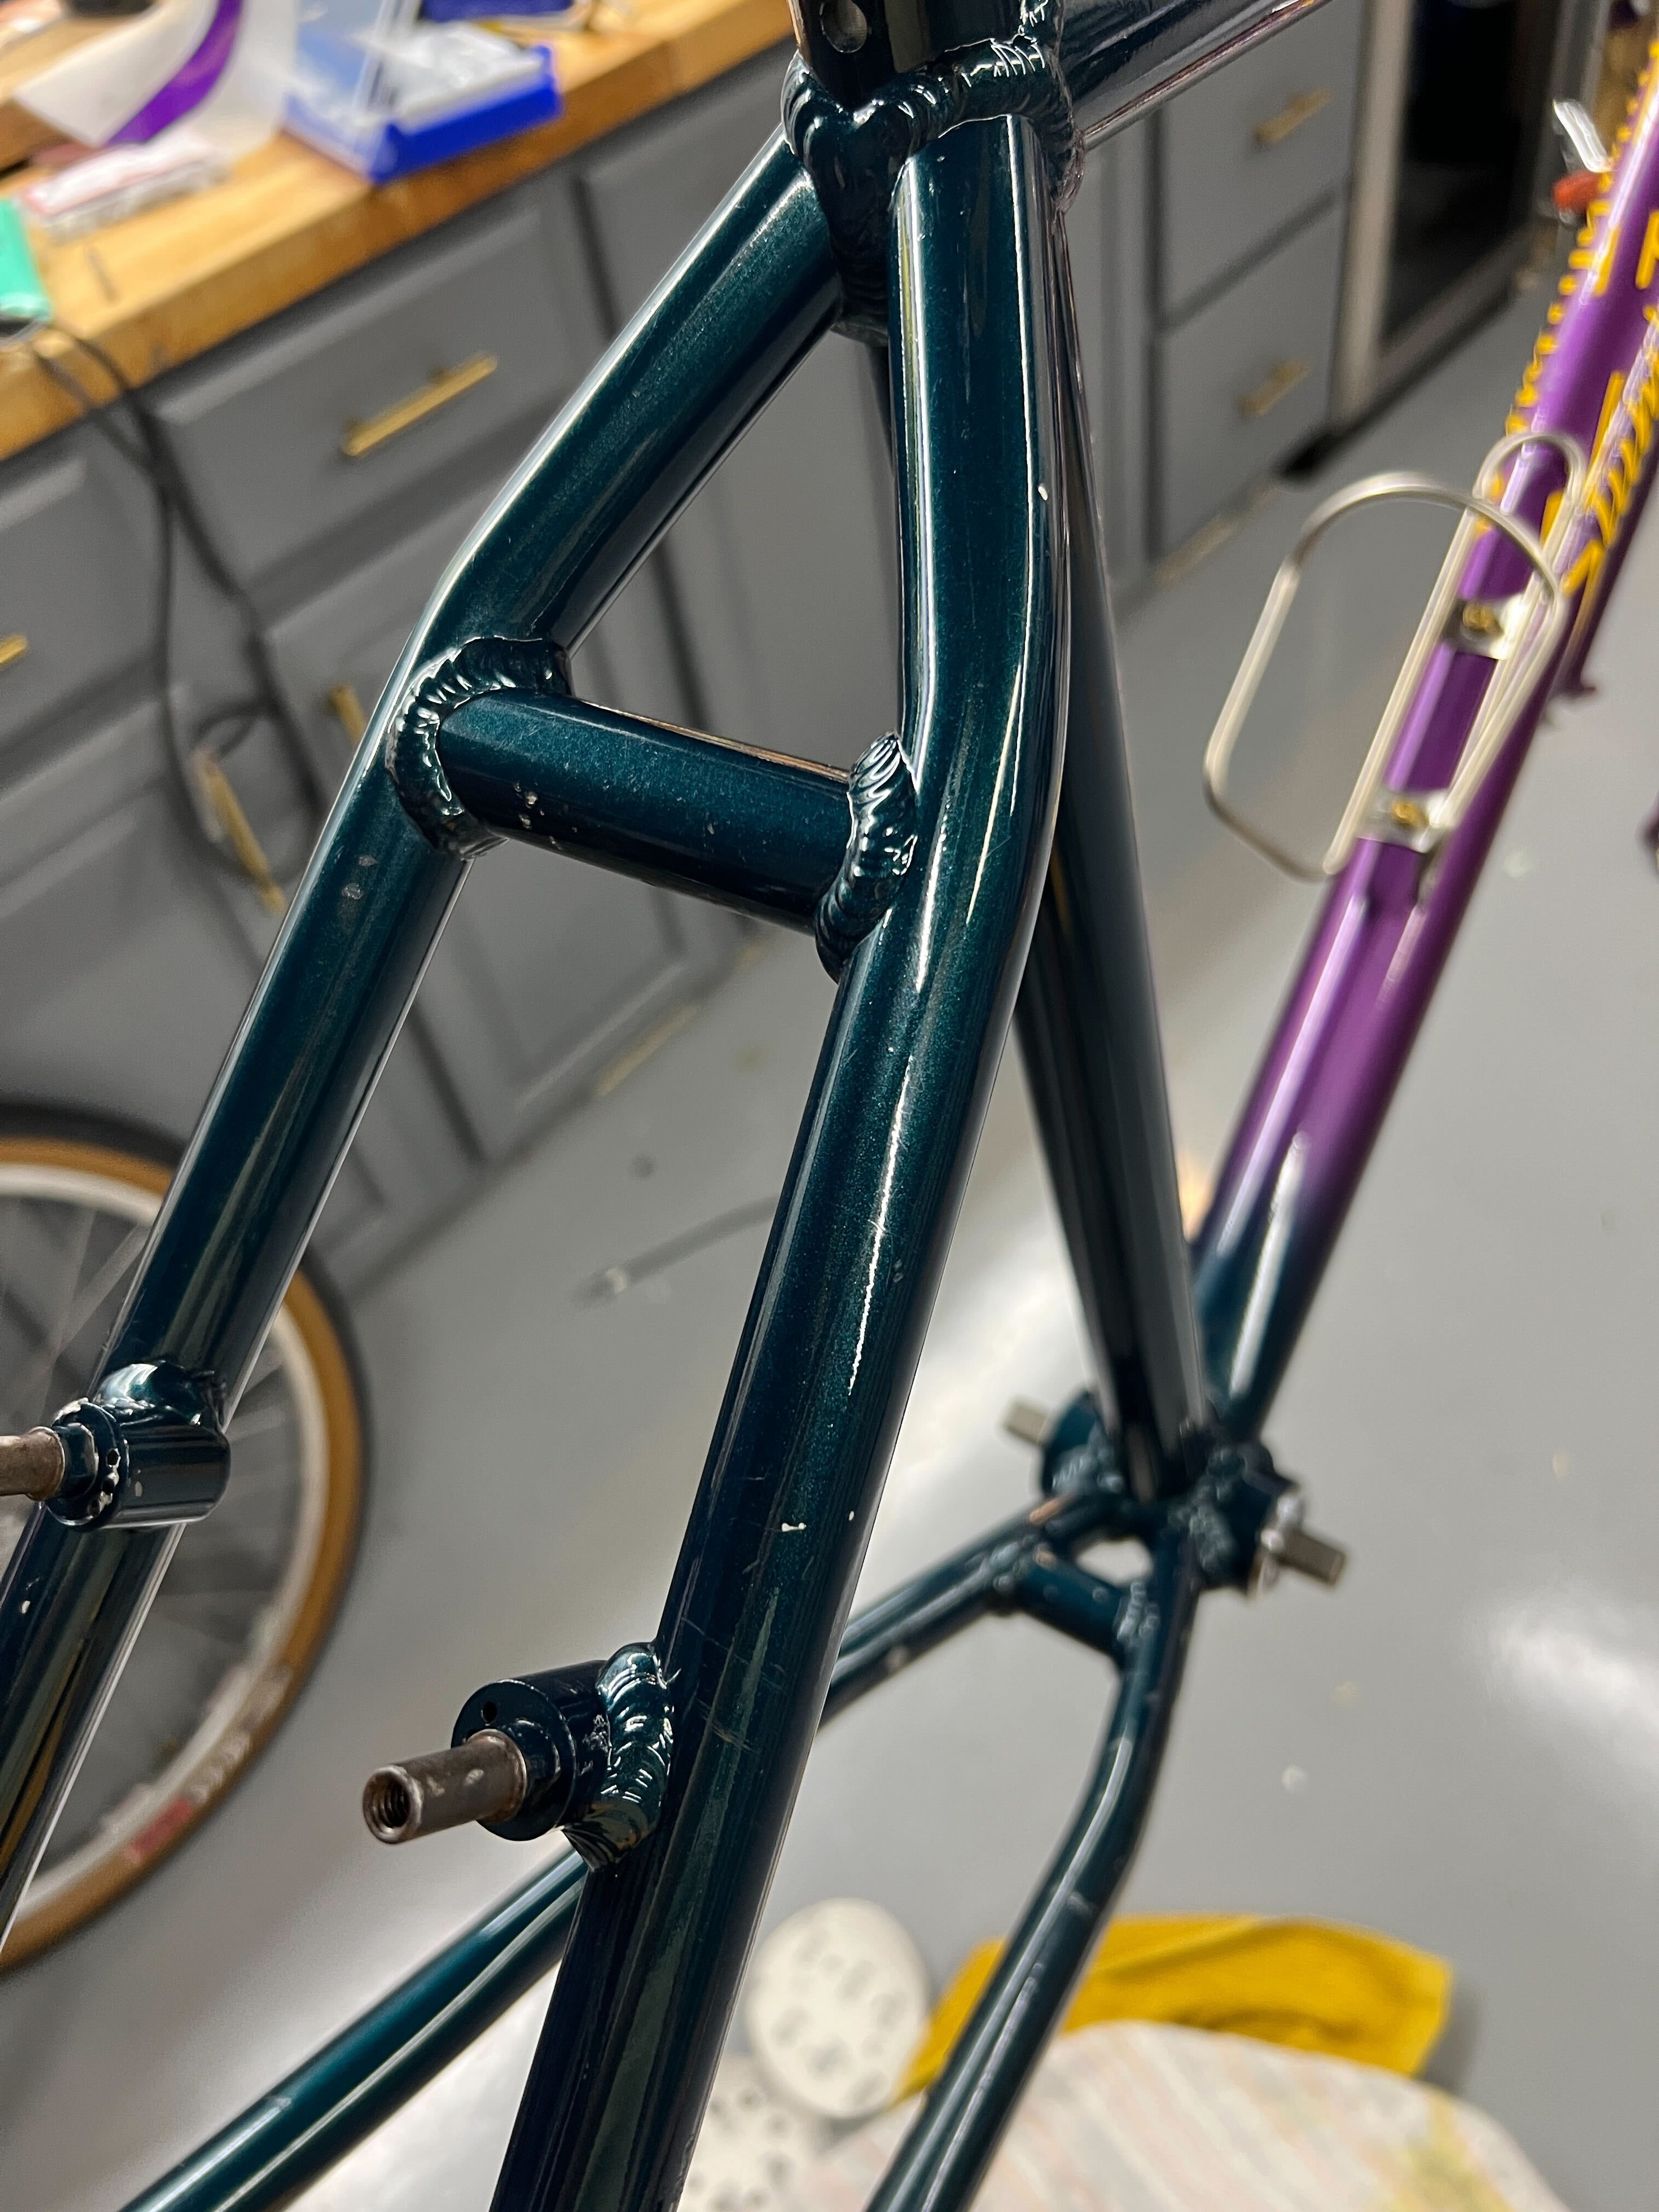
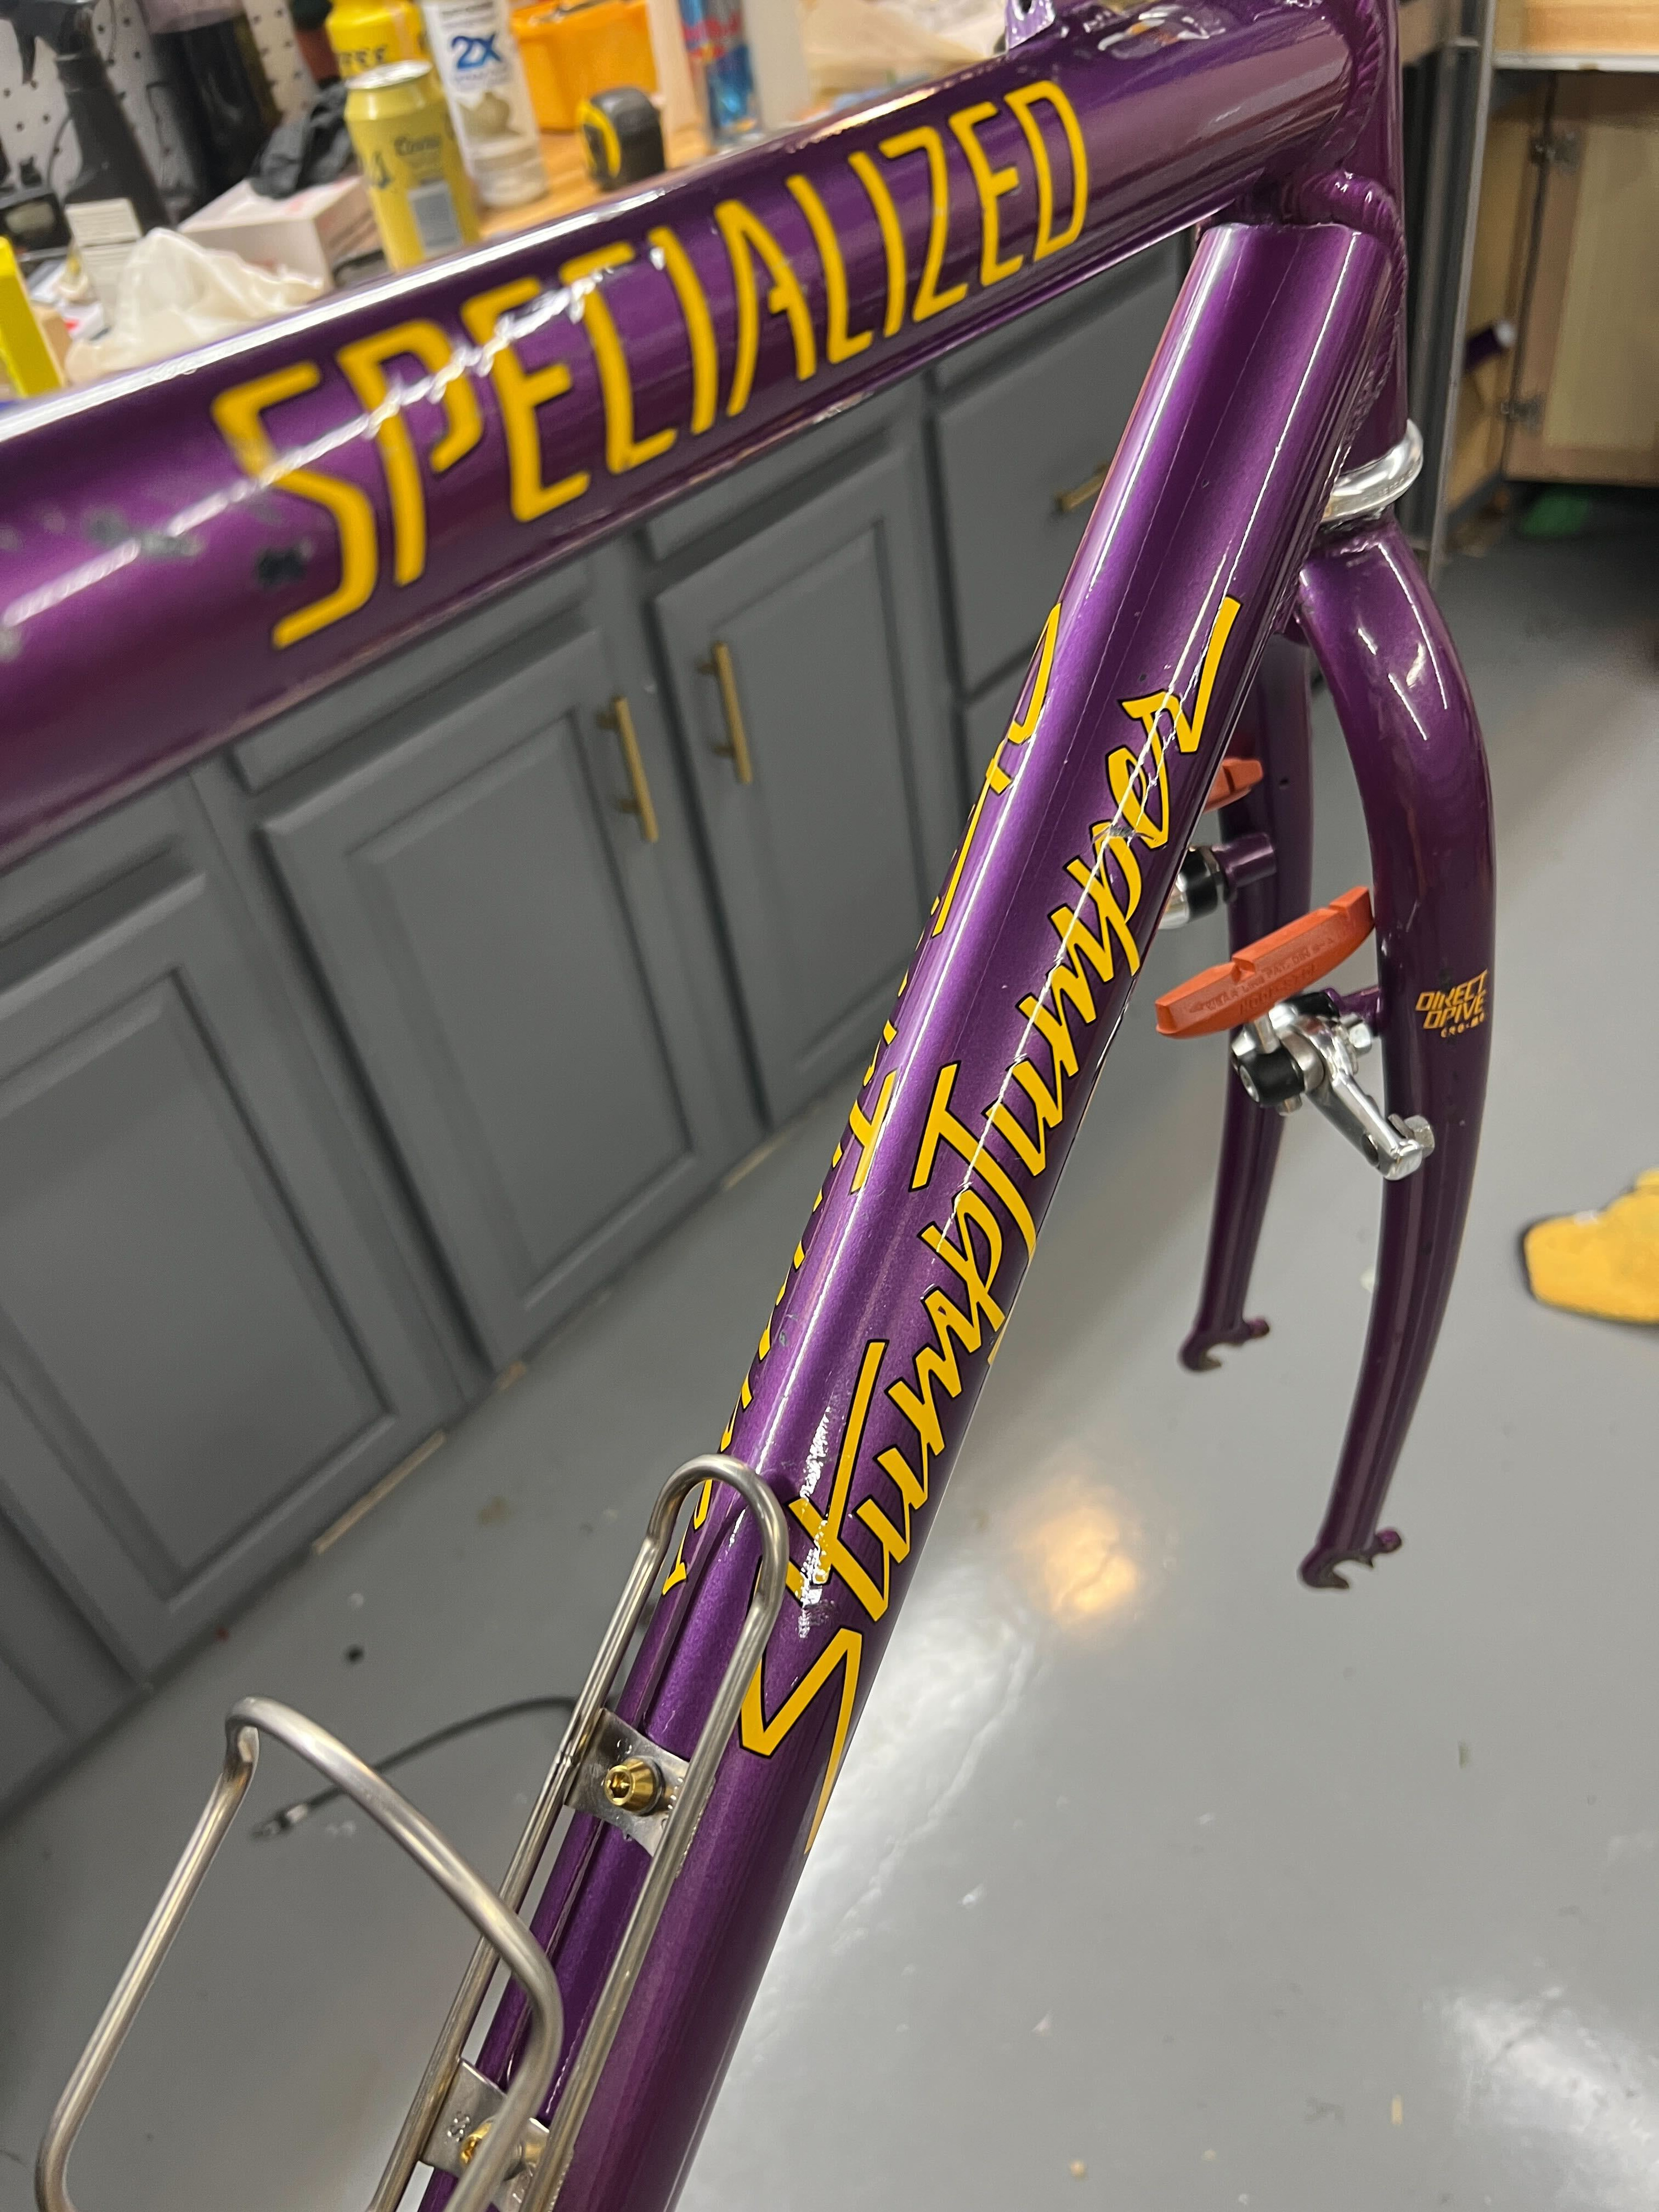
This is the process left to right:
The chainstay has a Stay Tuff protector which I guess was the cool chainstay protector to have in the 90s, but I accidentally rubbed off the Stay Tuff logotype. Kinda sad, but whatever.
After I waxed it, I got the rear brakes on:
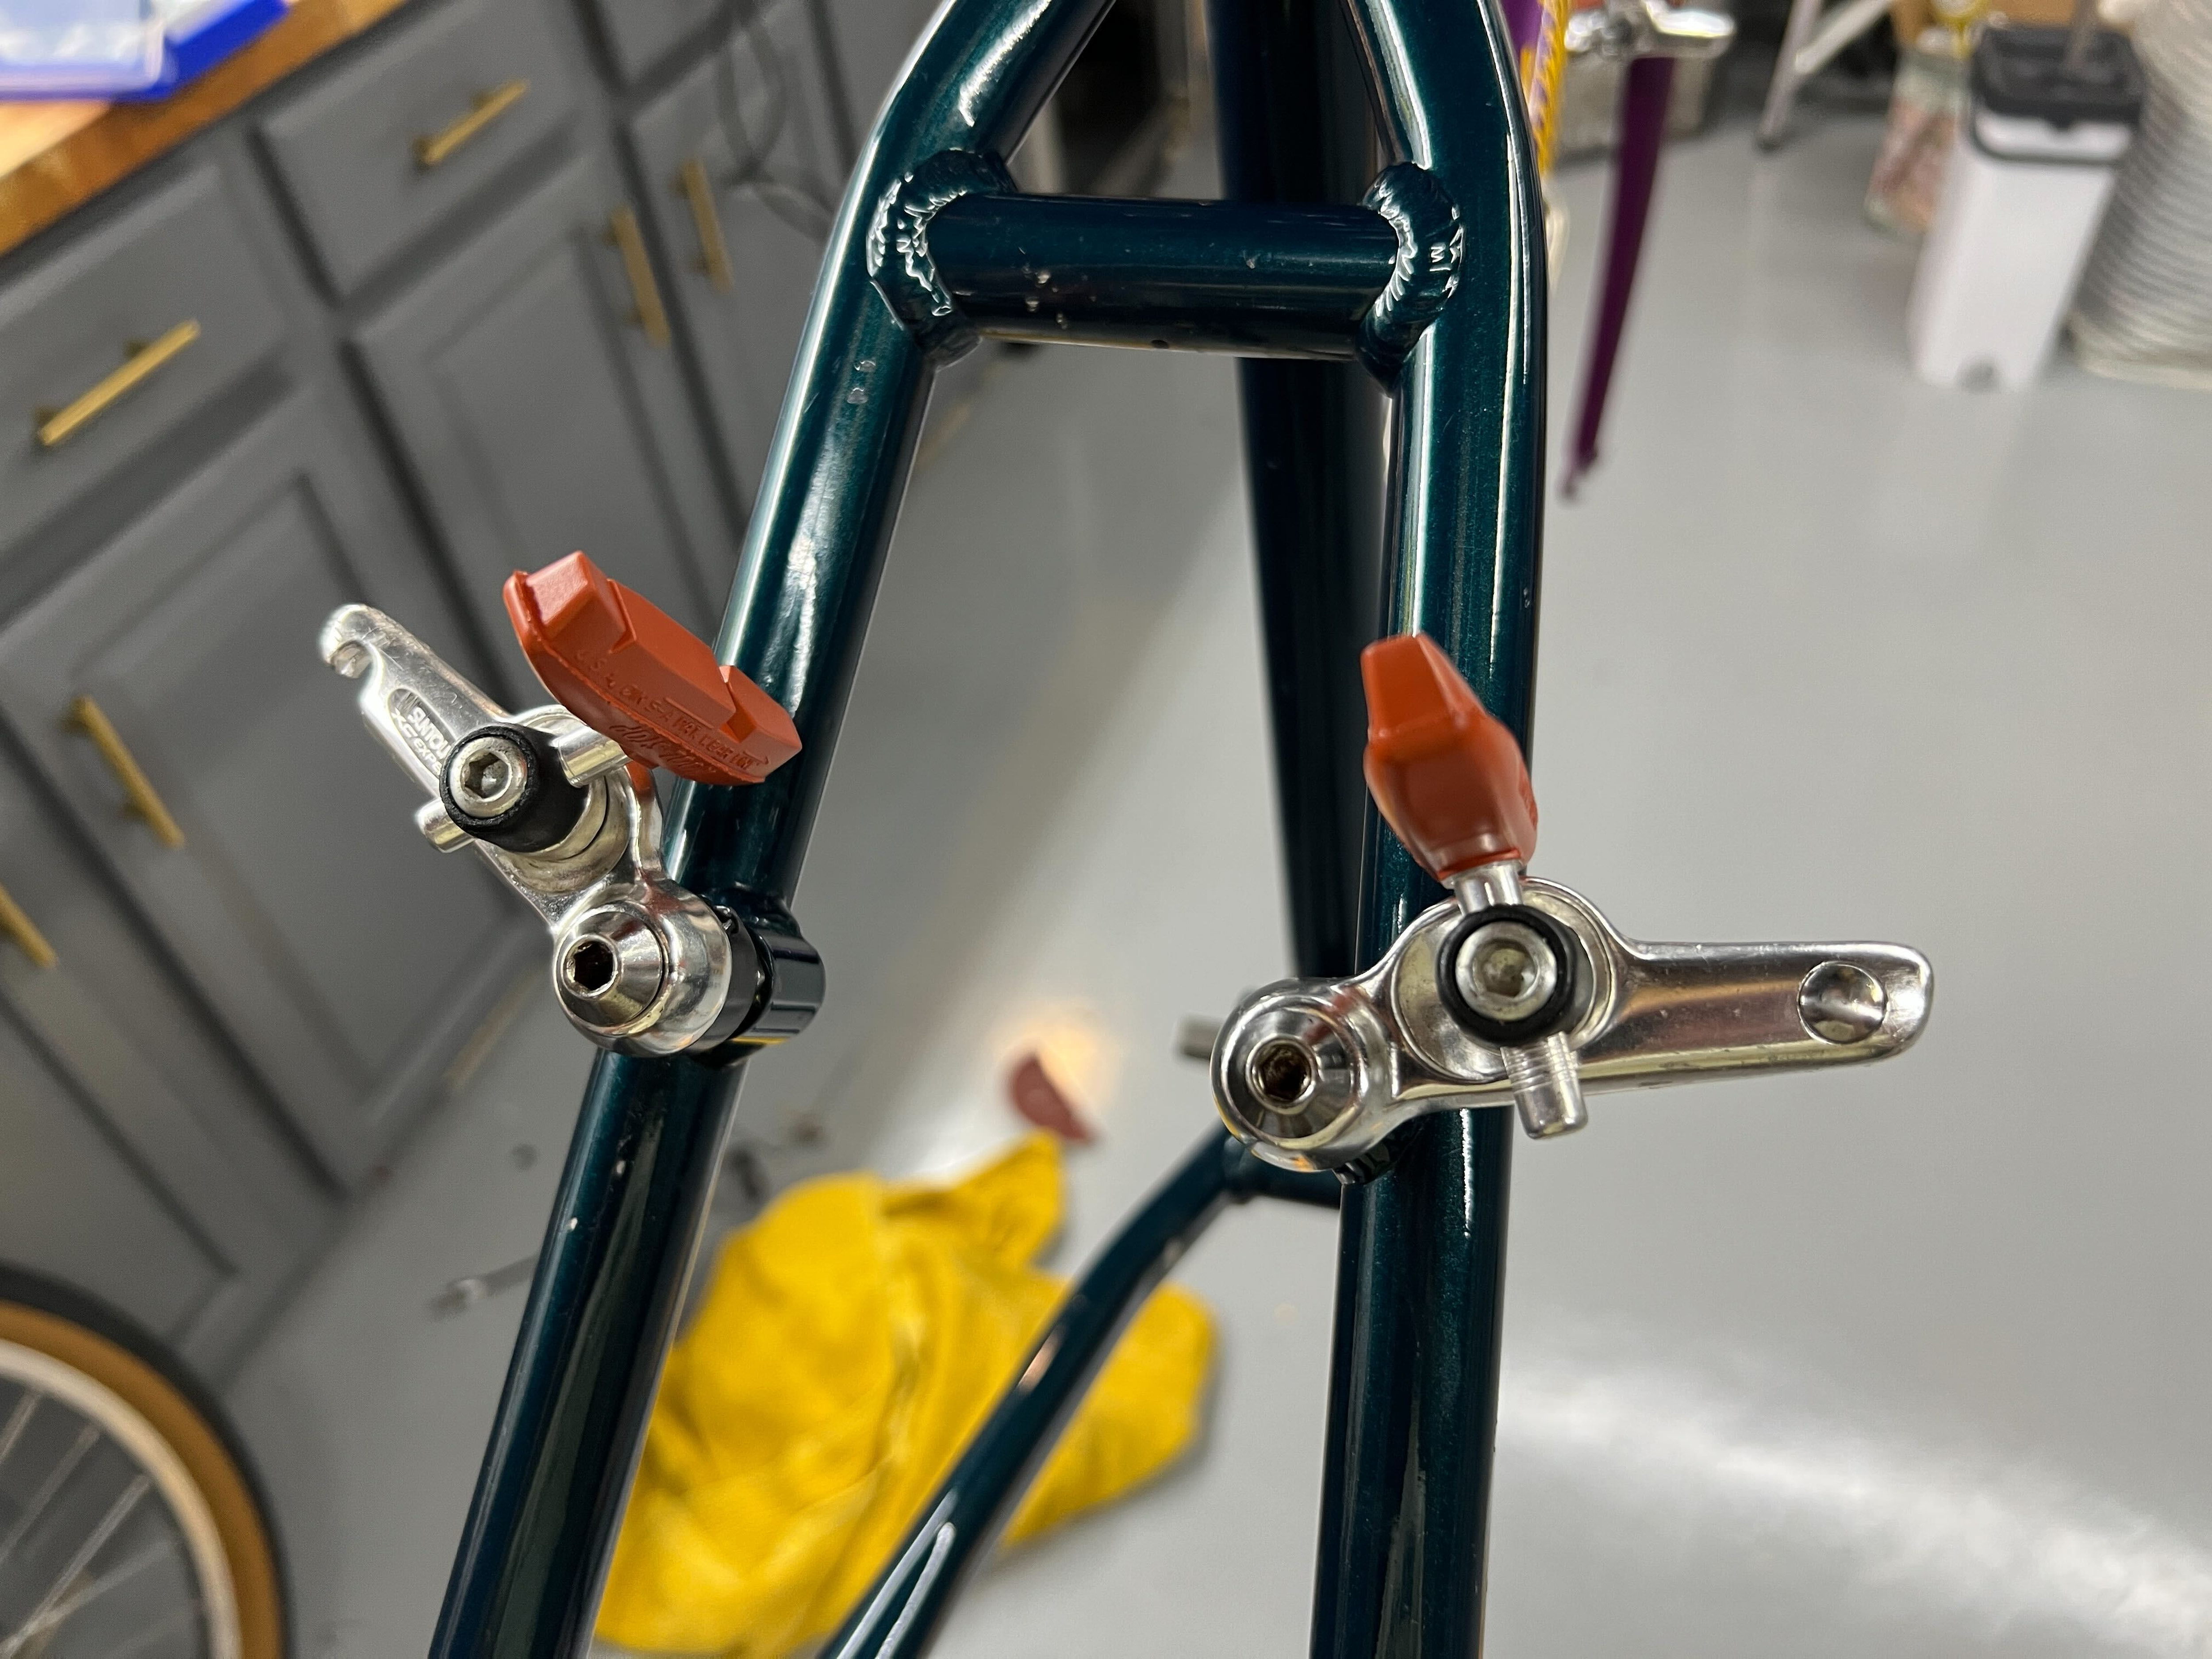
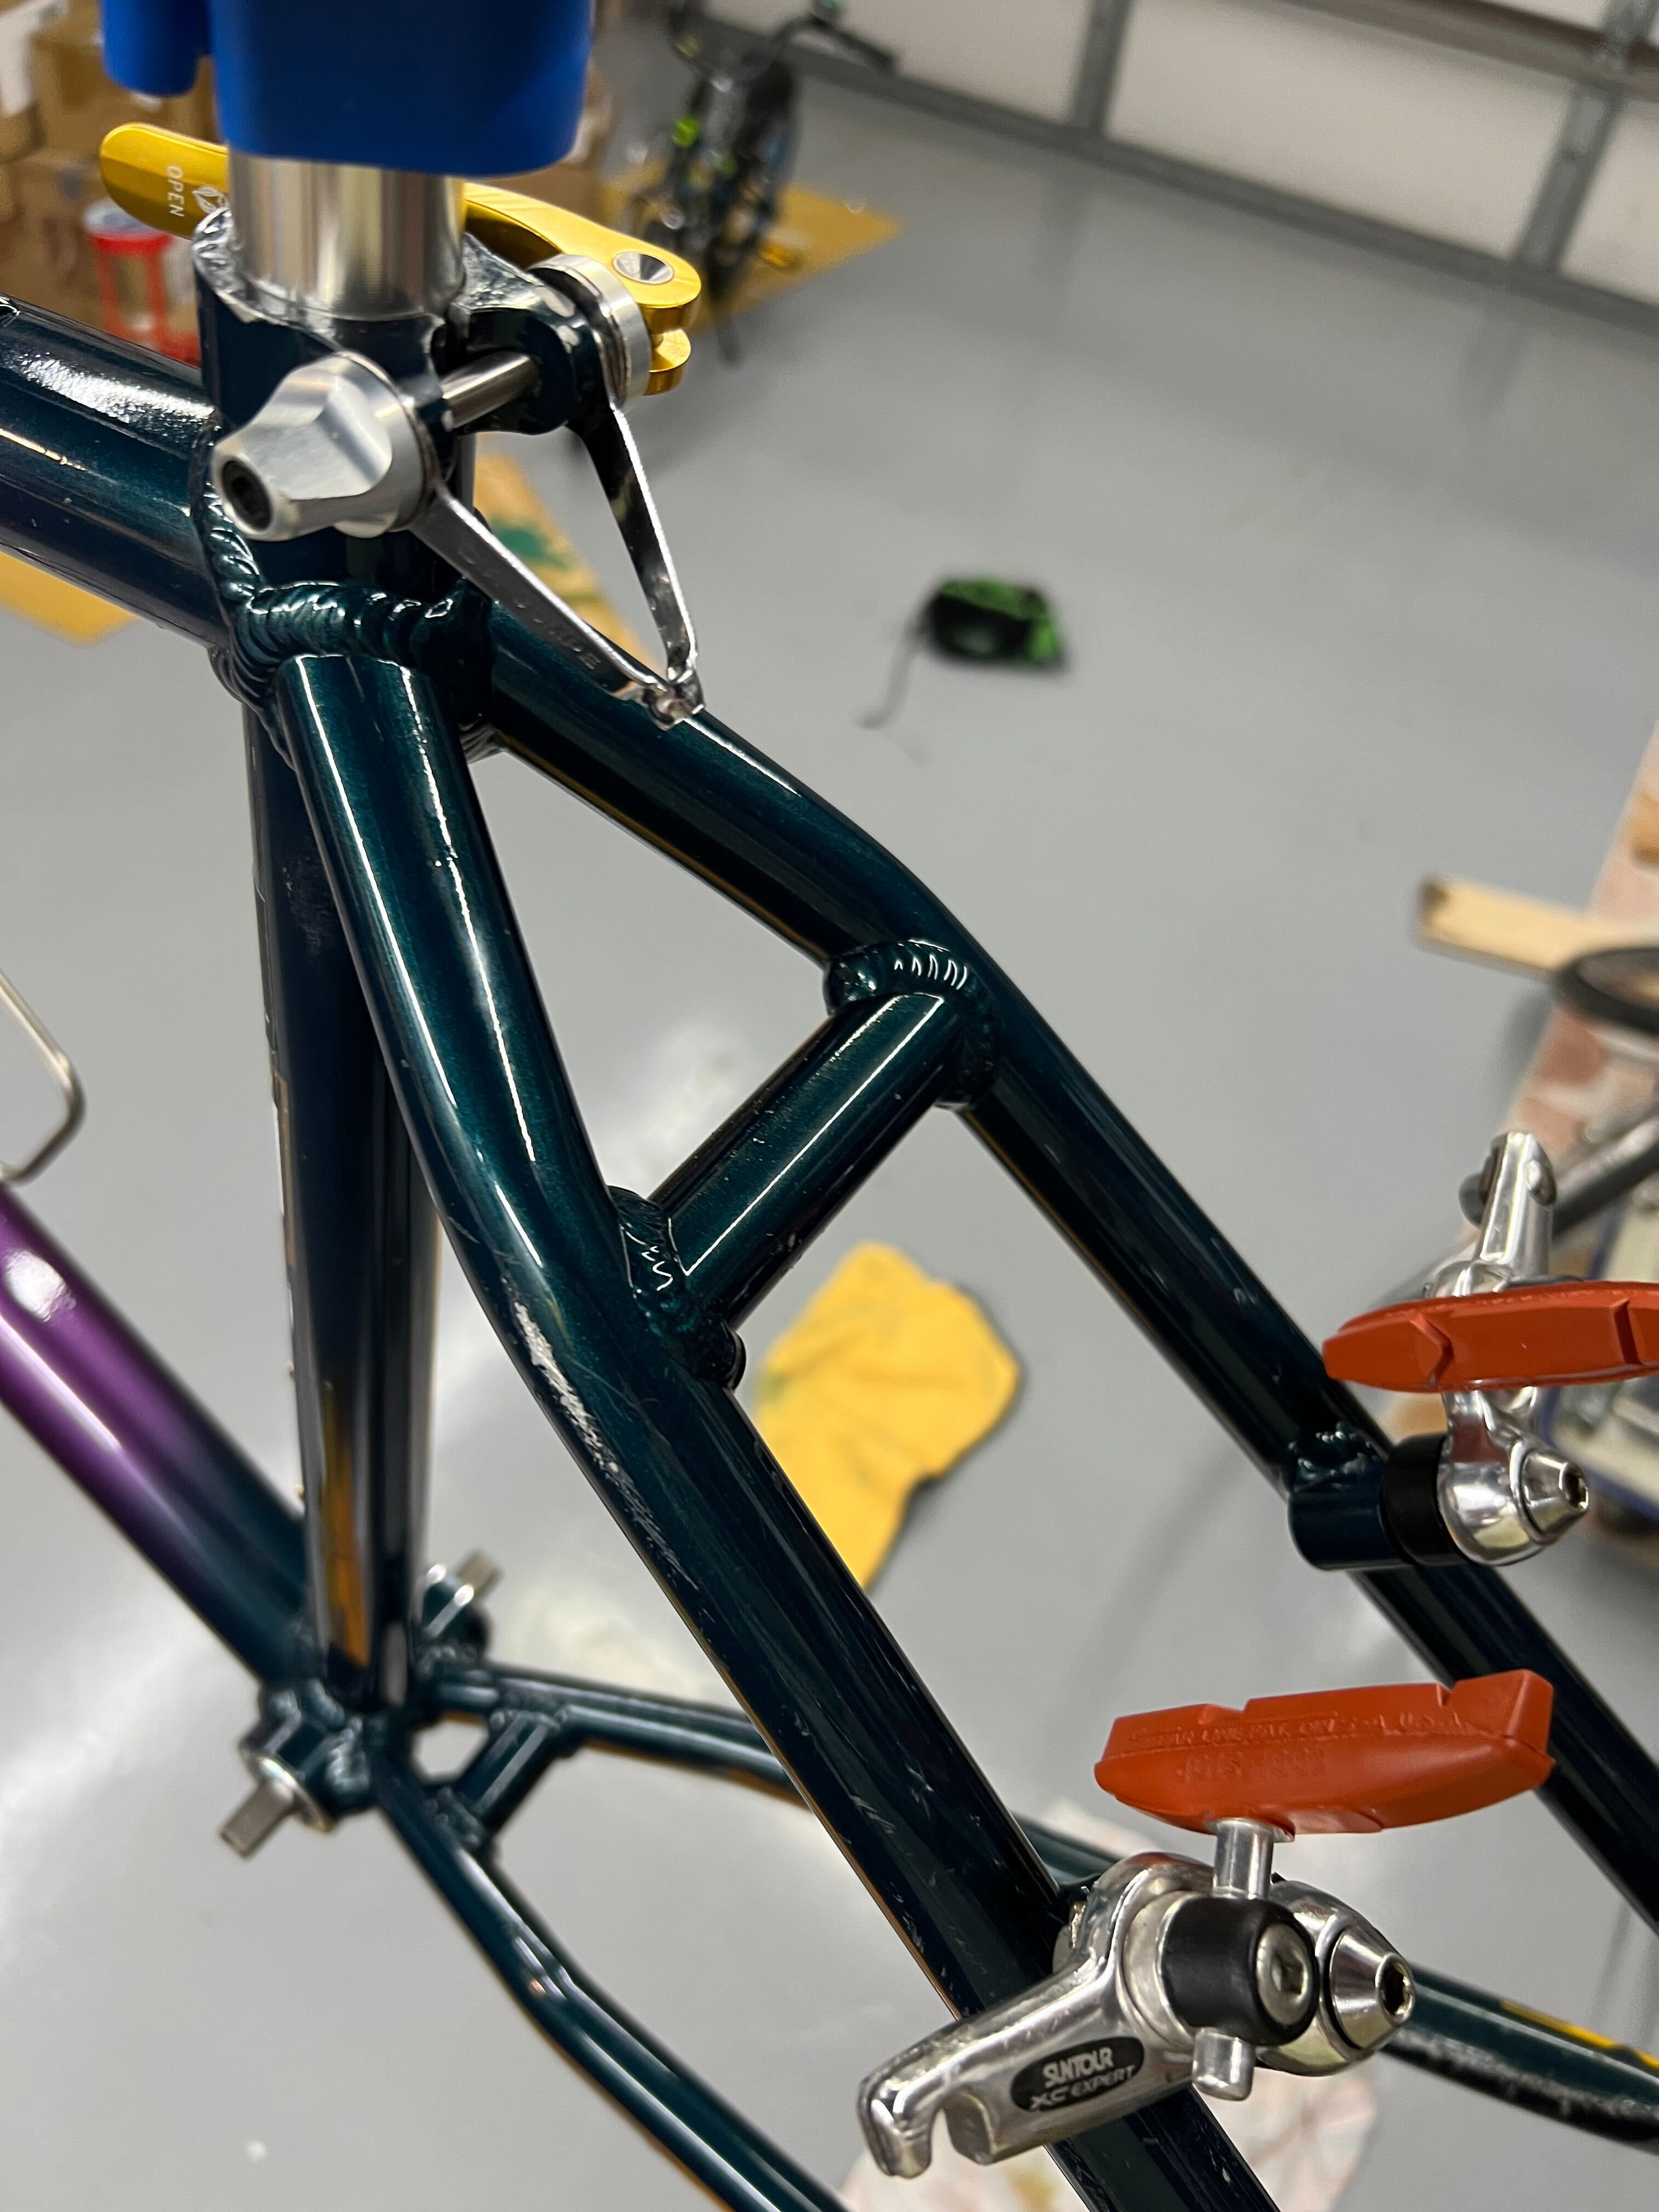

I also wanted to start fitting up the front rack, and got the fork crown bracket on. I mainly wanted to see how it would coexist with the brake. More on that soon.
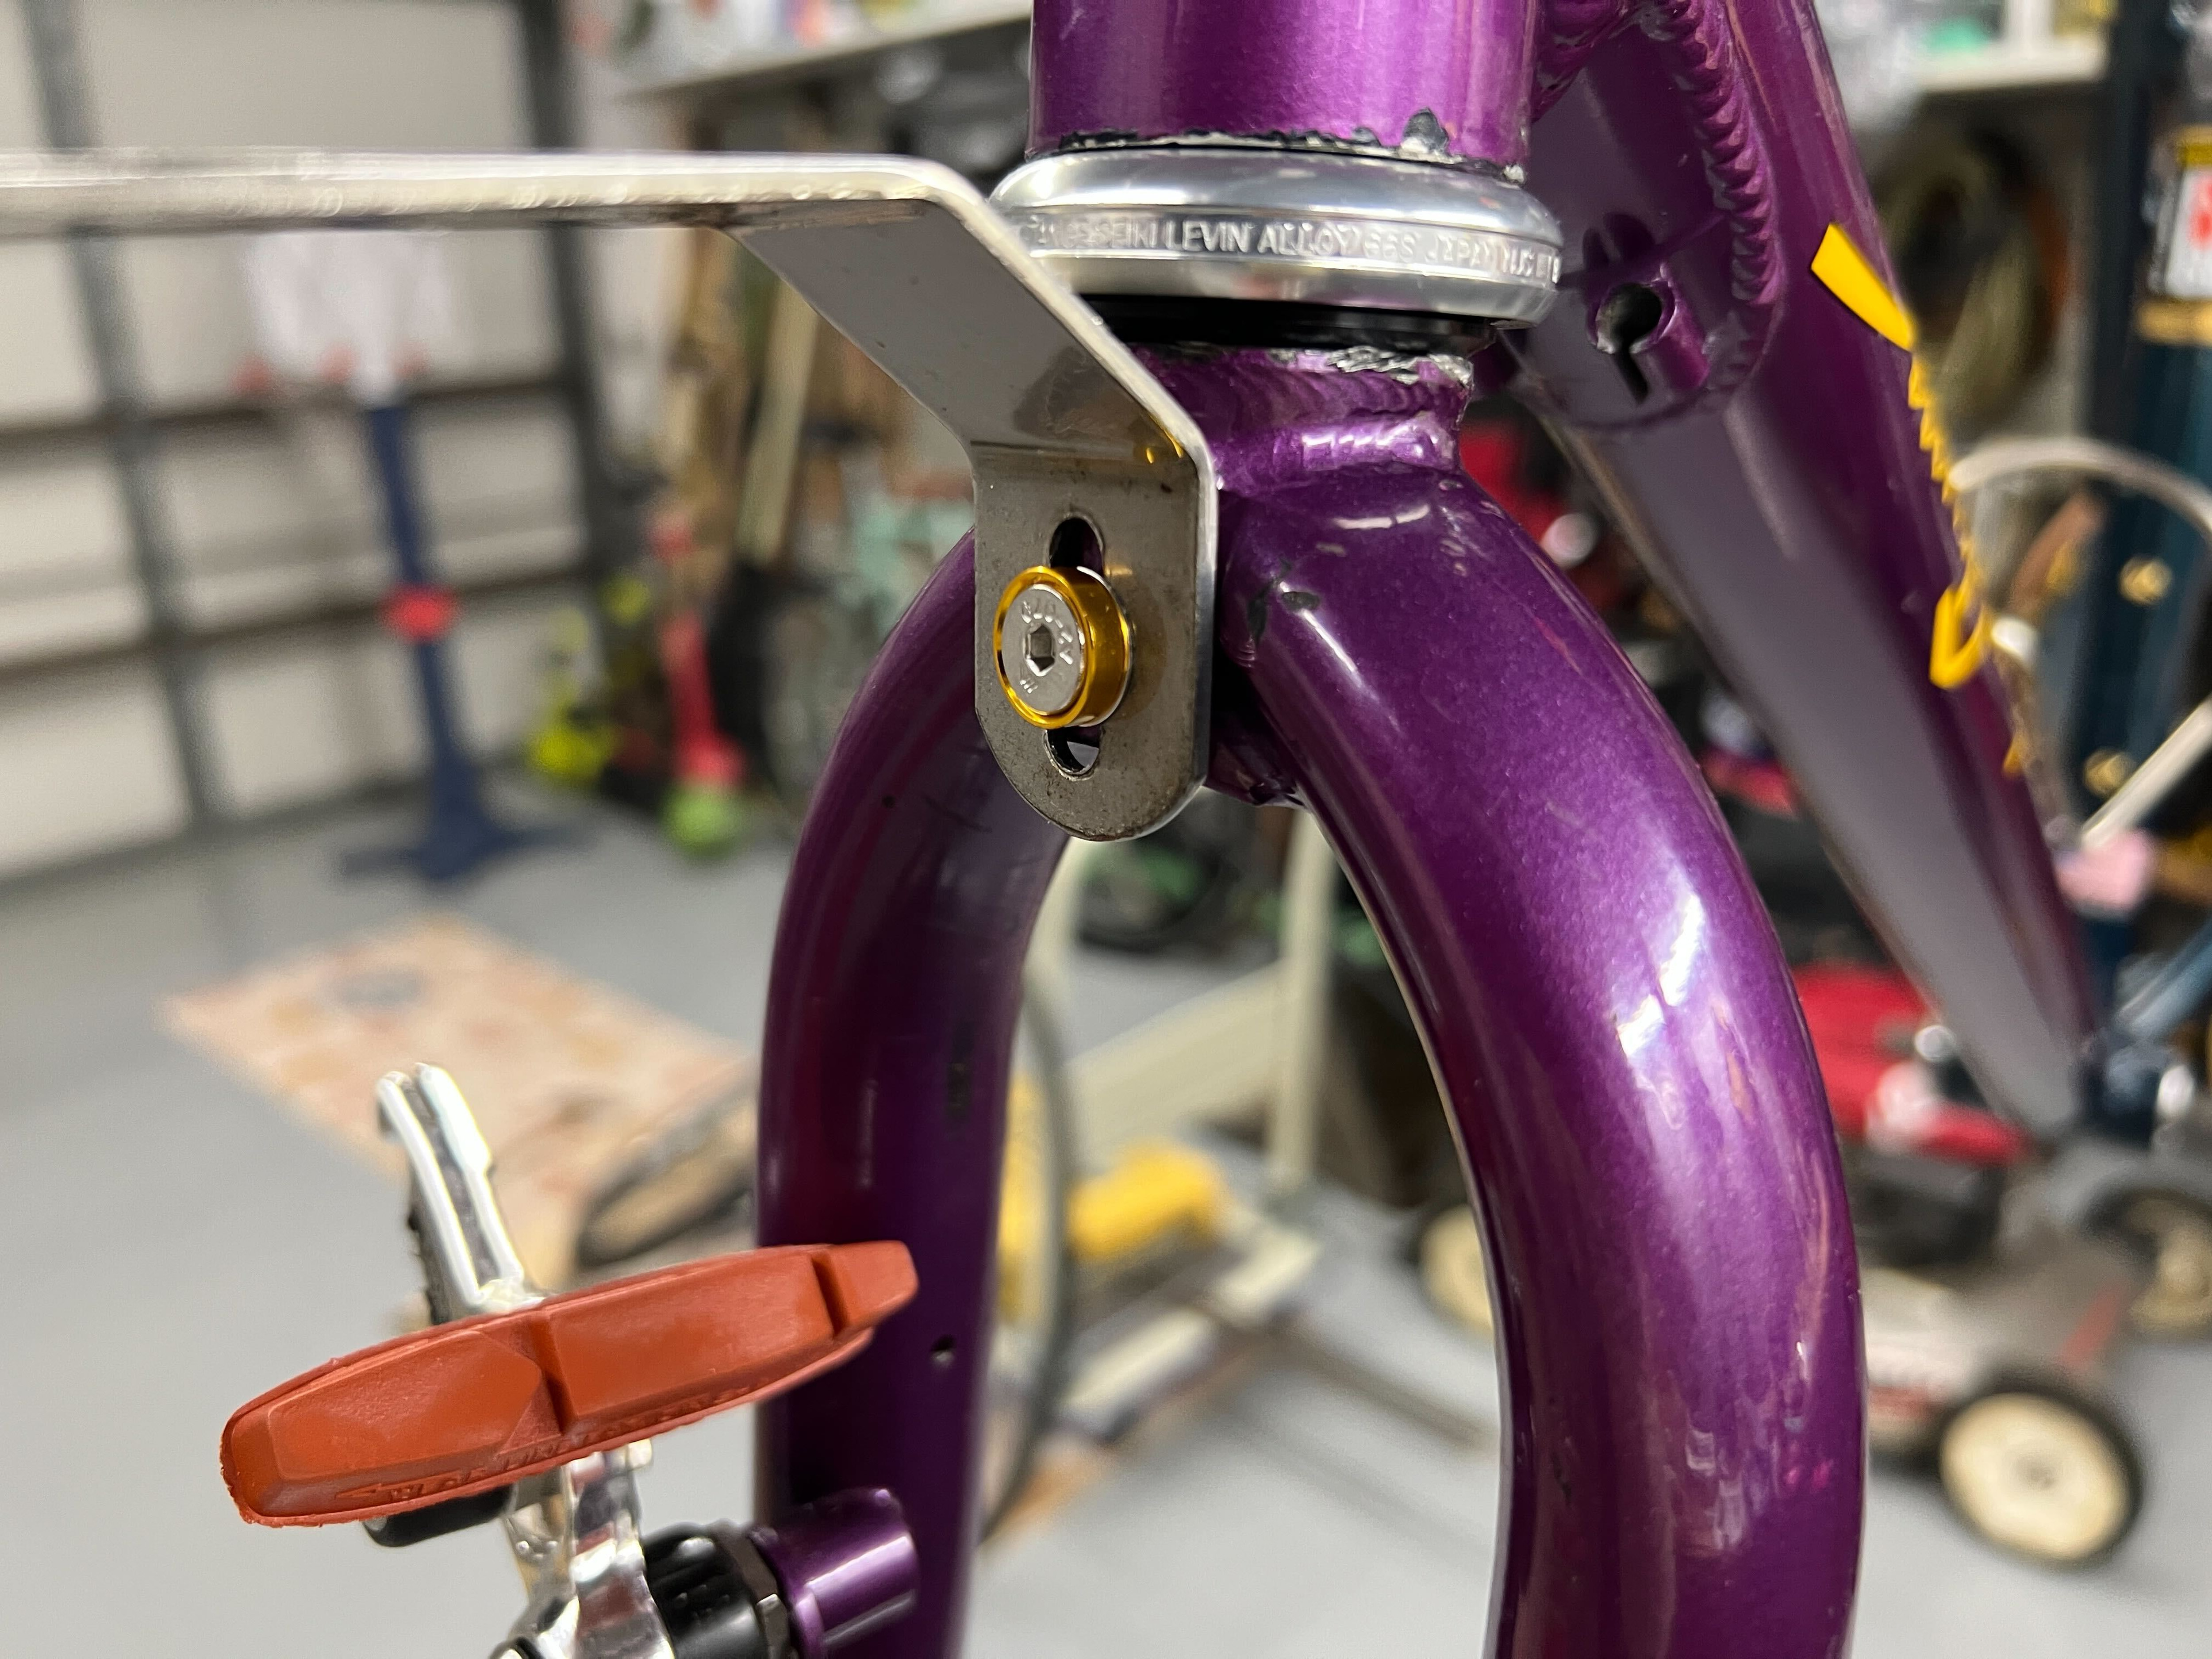
Yeah, the headtube and crown are kinda gnarly, but you don’t really notice it when you’re looking at the whole bike.
This EdSen Coffee Rack came with all M6 hardware which I thought was odd given that most bike things are M5, including fork blade bosses/braze-ons, so I’m like, what do they want you do do exactly? It comes with P-clamps, but what if you have brazeons? I mean obviously you put a washer on the M5 bolt, but it’s just weird that it’s M6 to begin with, and are there bikes that have a 6mm diameter hole through the fork crown?
I had a 4mm hole, I guess for a reflector, and I considered getting a long M4 bolt but I thought it might be too small for this job, and I could see no downside to drilling it to 5mm, so that’s what I did.
In the rear it’s a little wider to accomodate this sleeve nut thing:
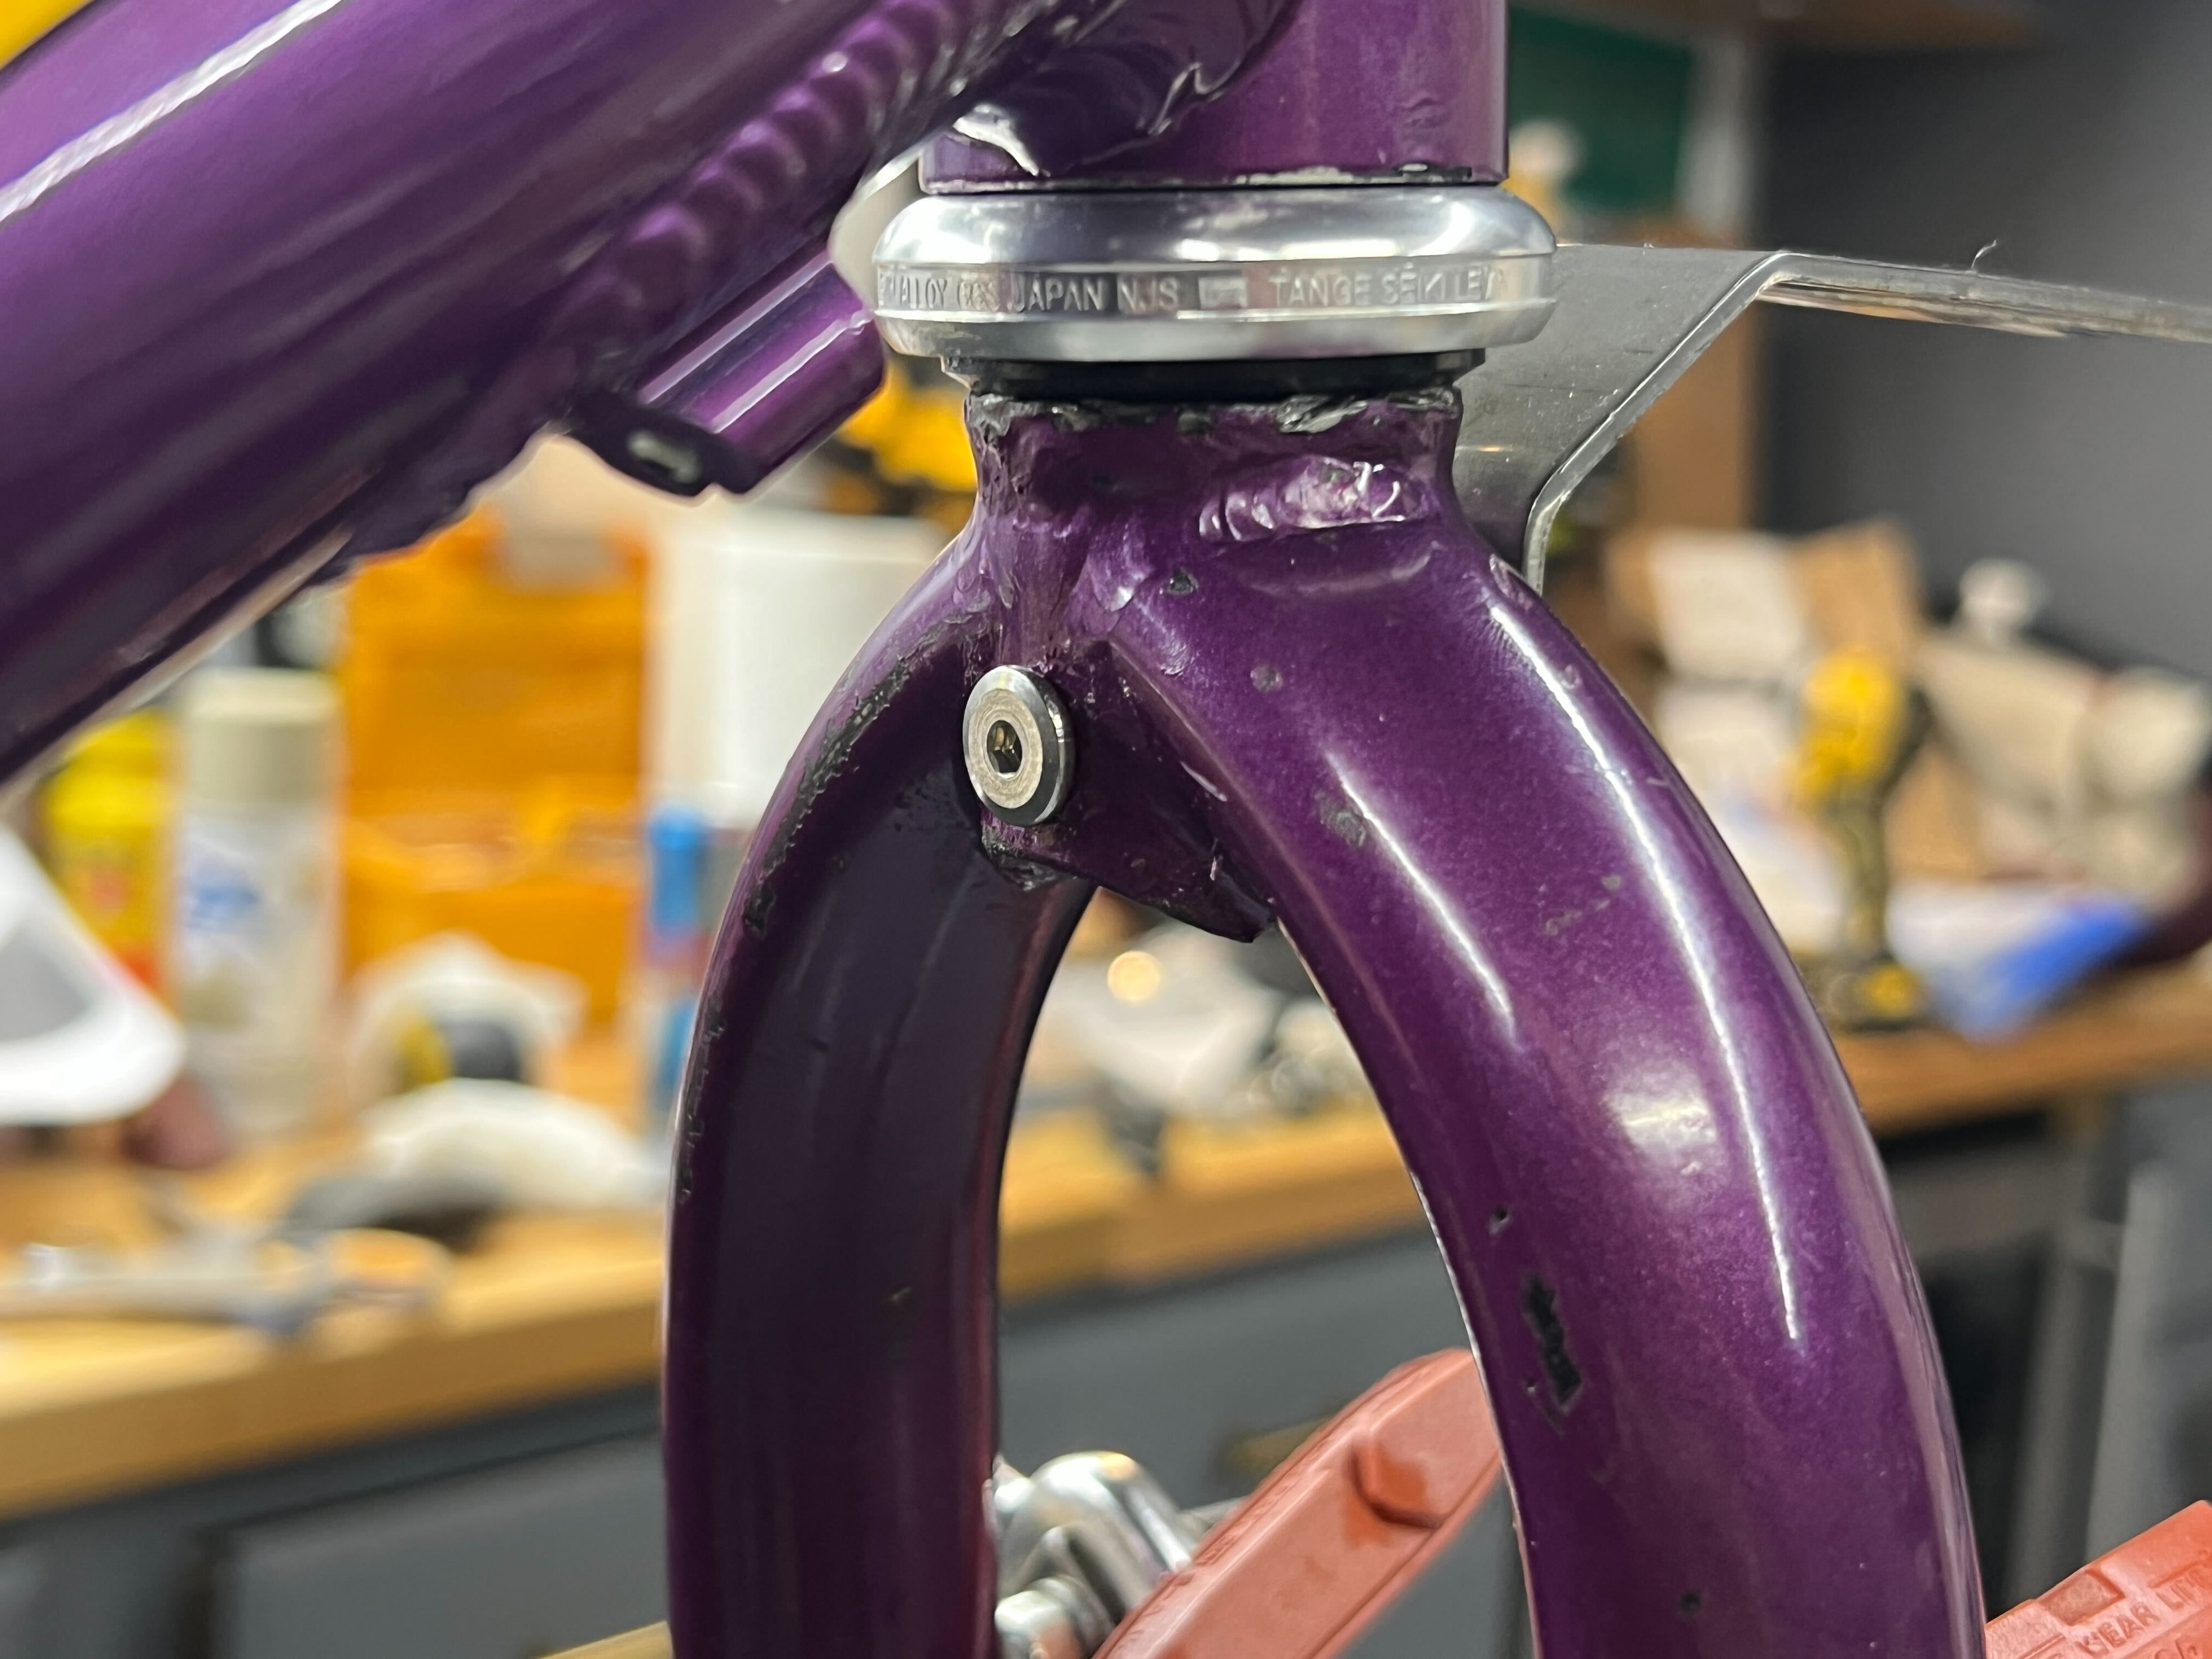
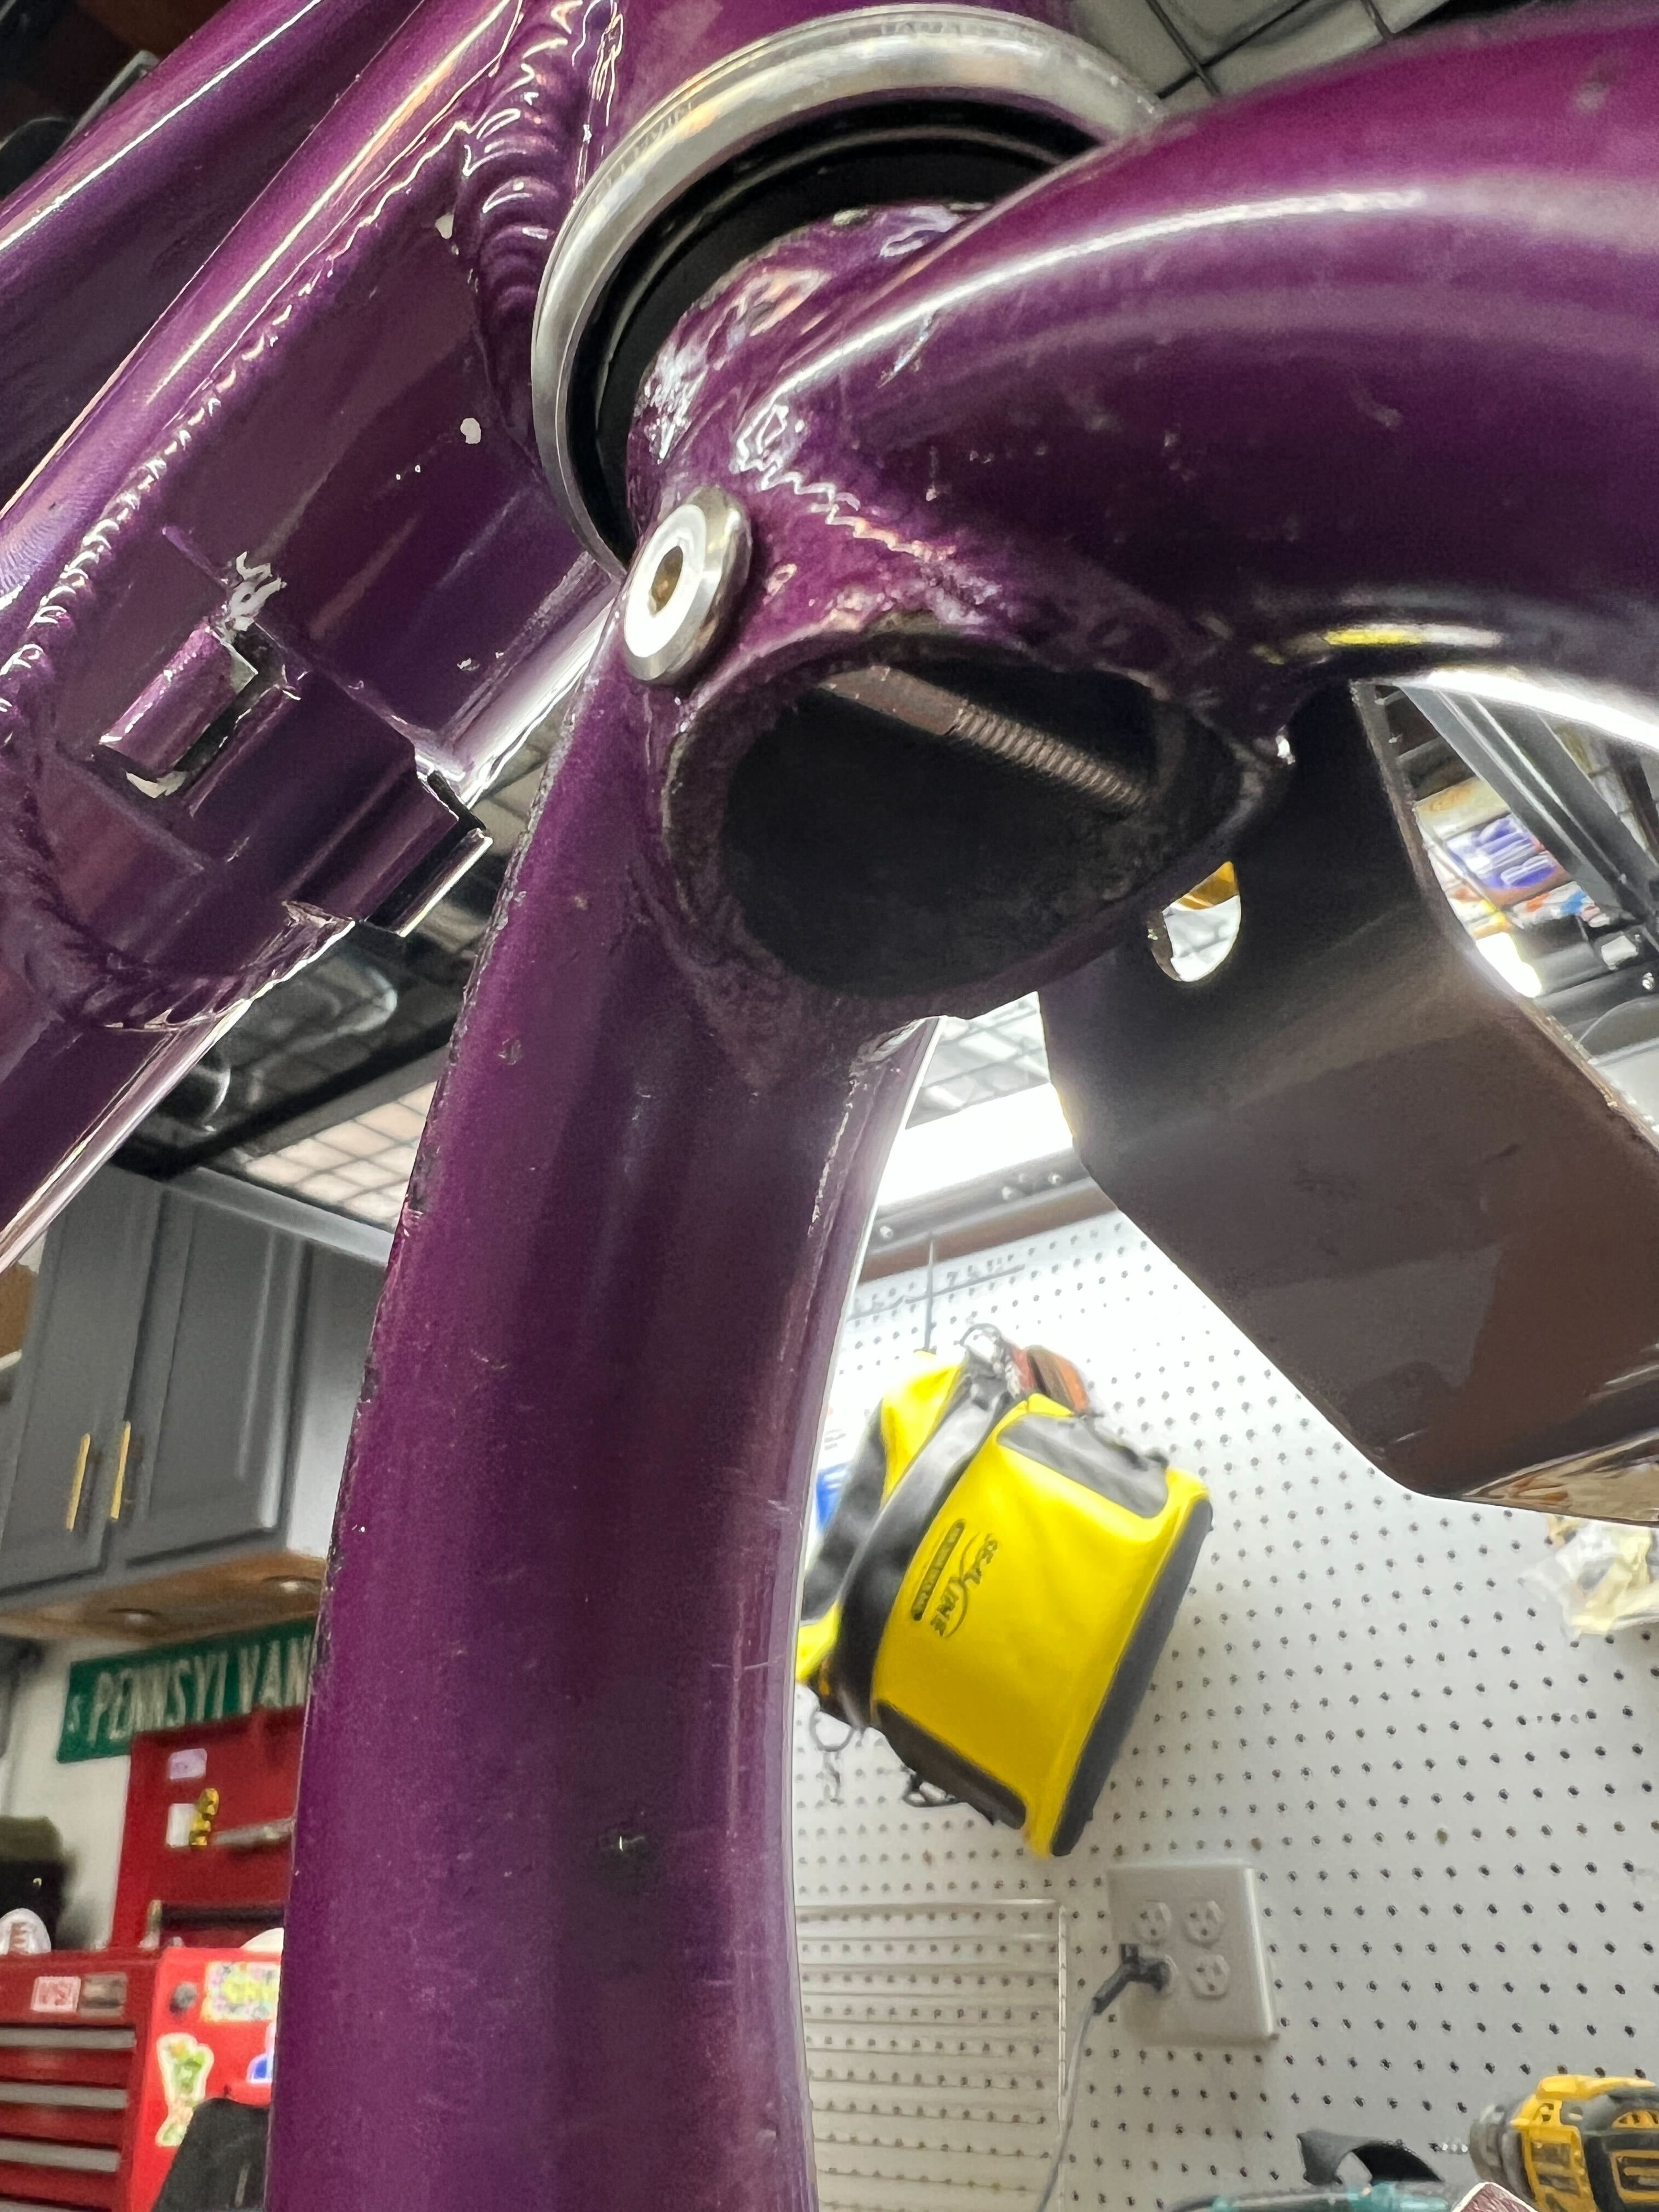
So there you go … no regerts.
Also cleaned the front wheel, installed the decals and mounted the tire.
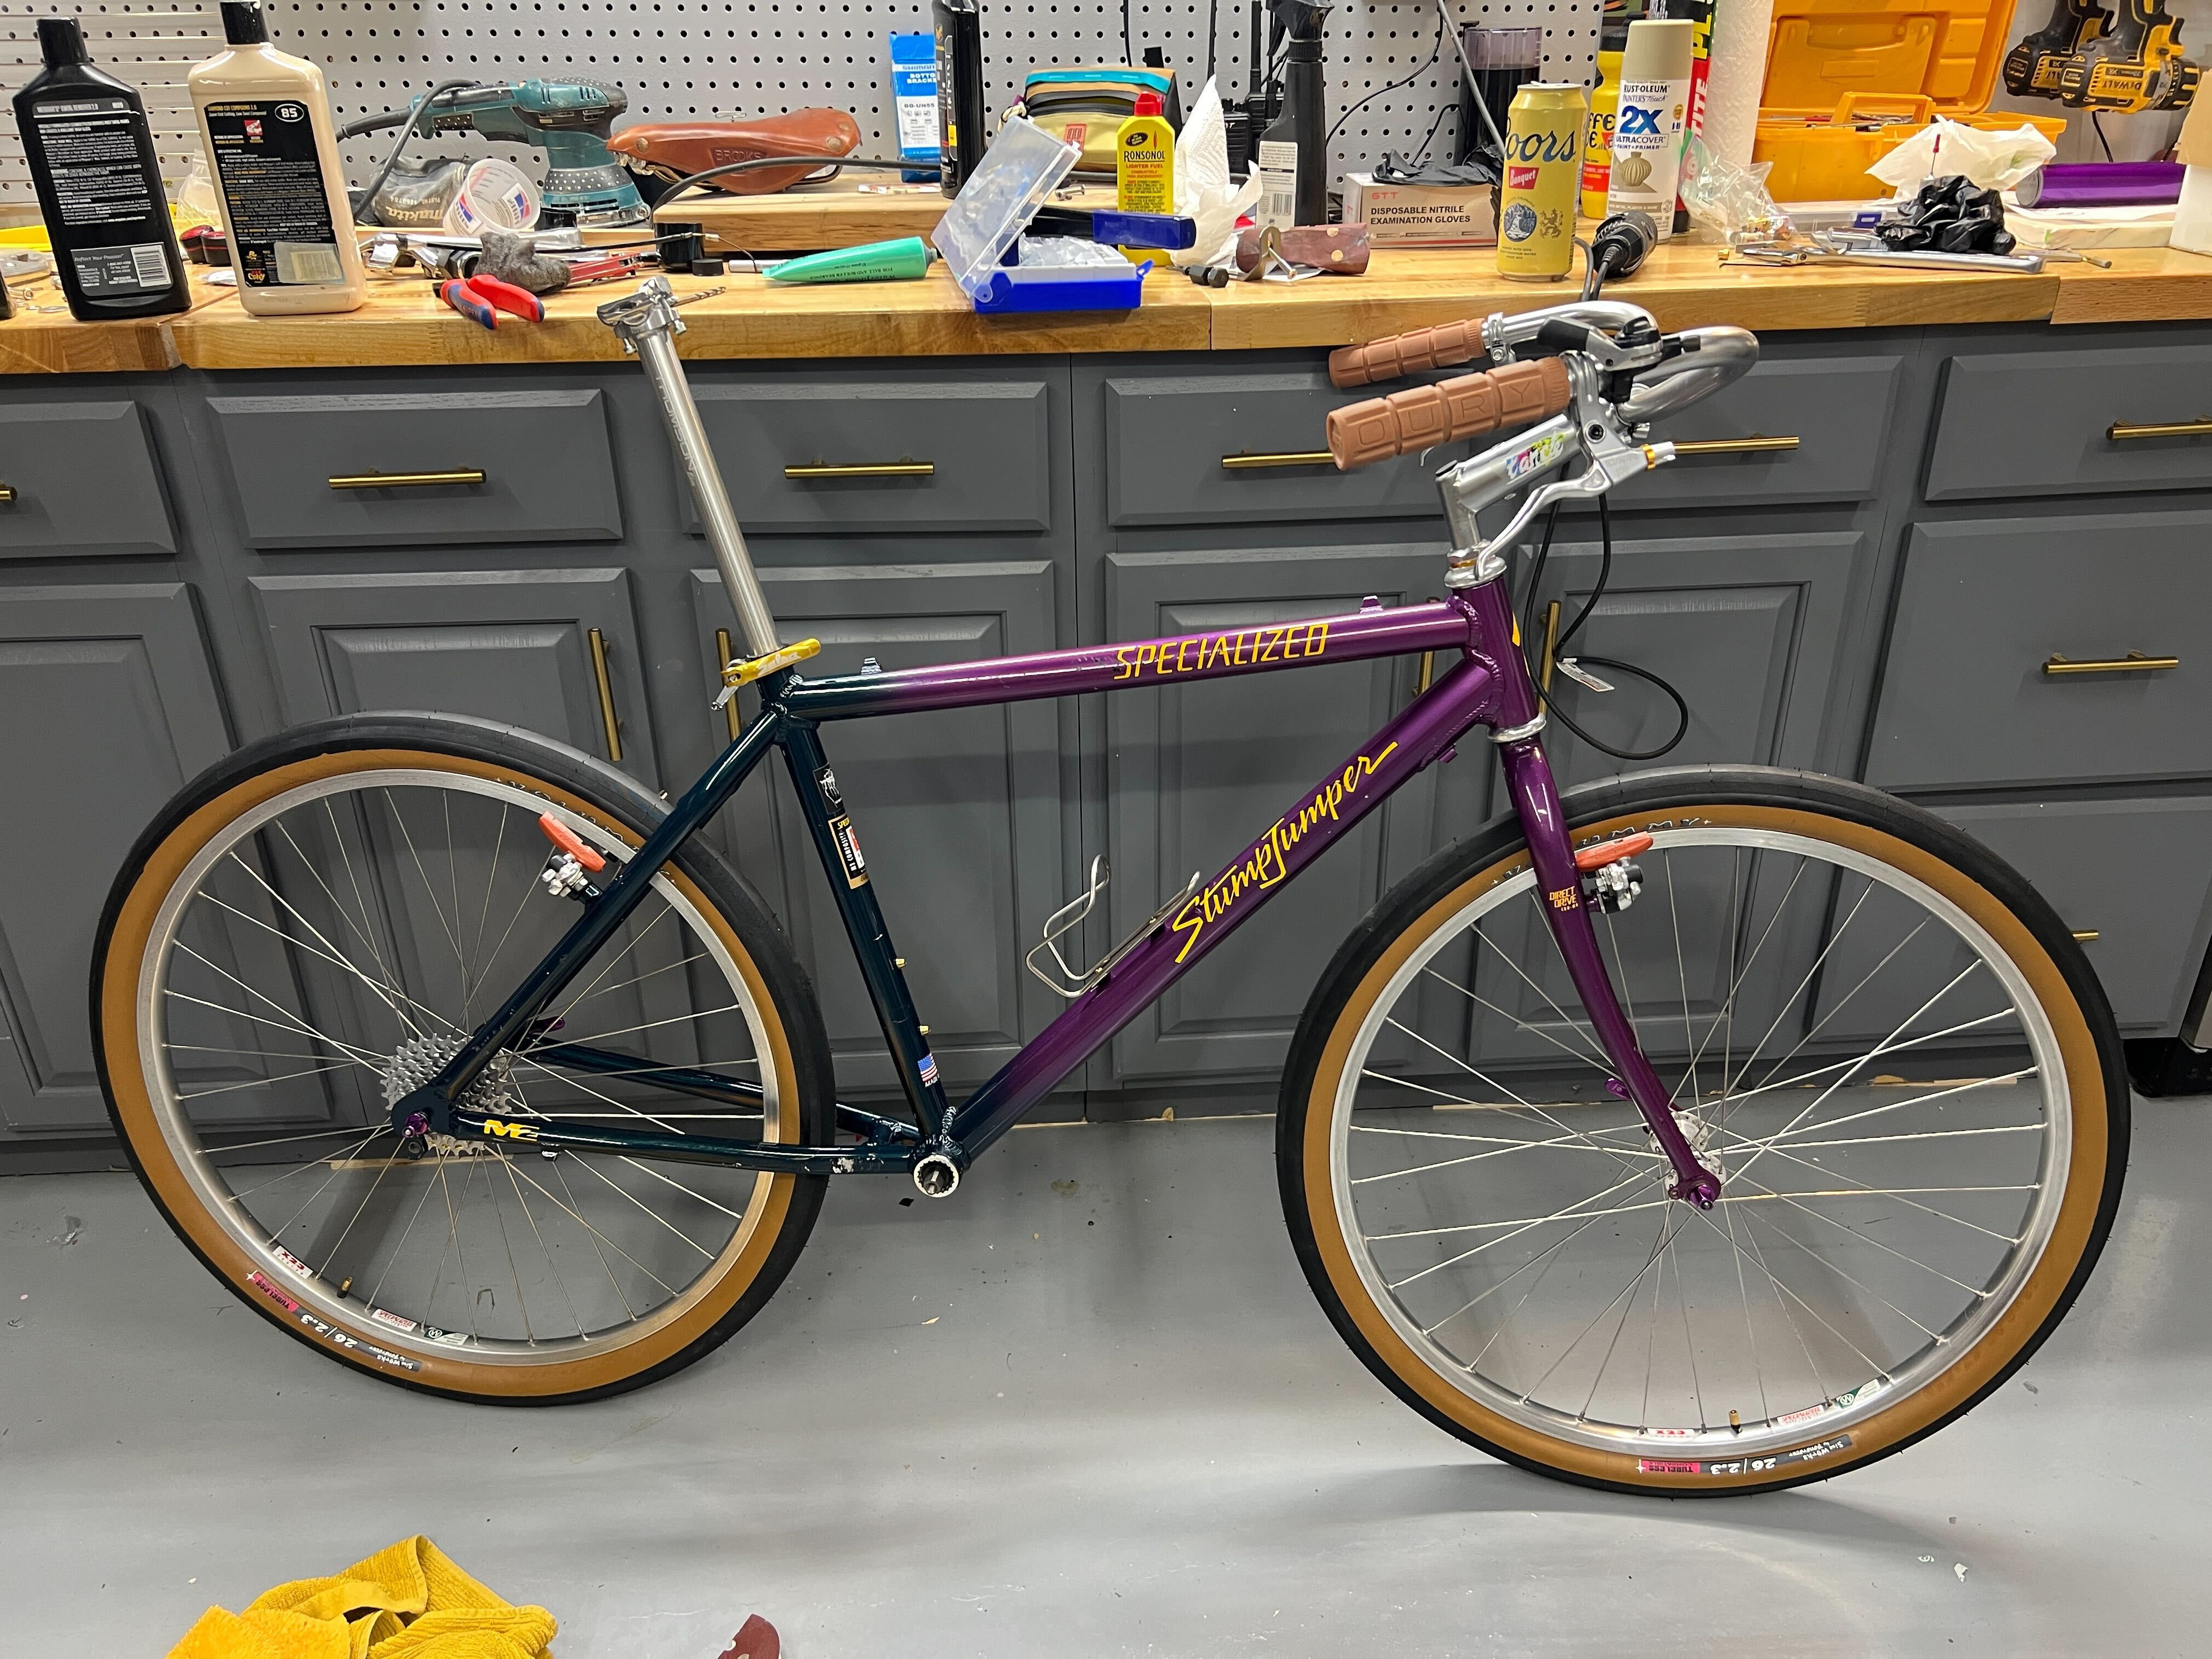
On to seeing how the rack’s fork crown bracket plays with the brakes.
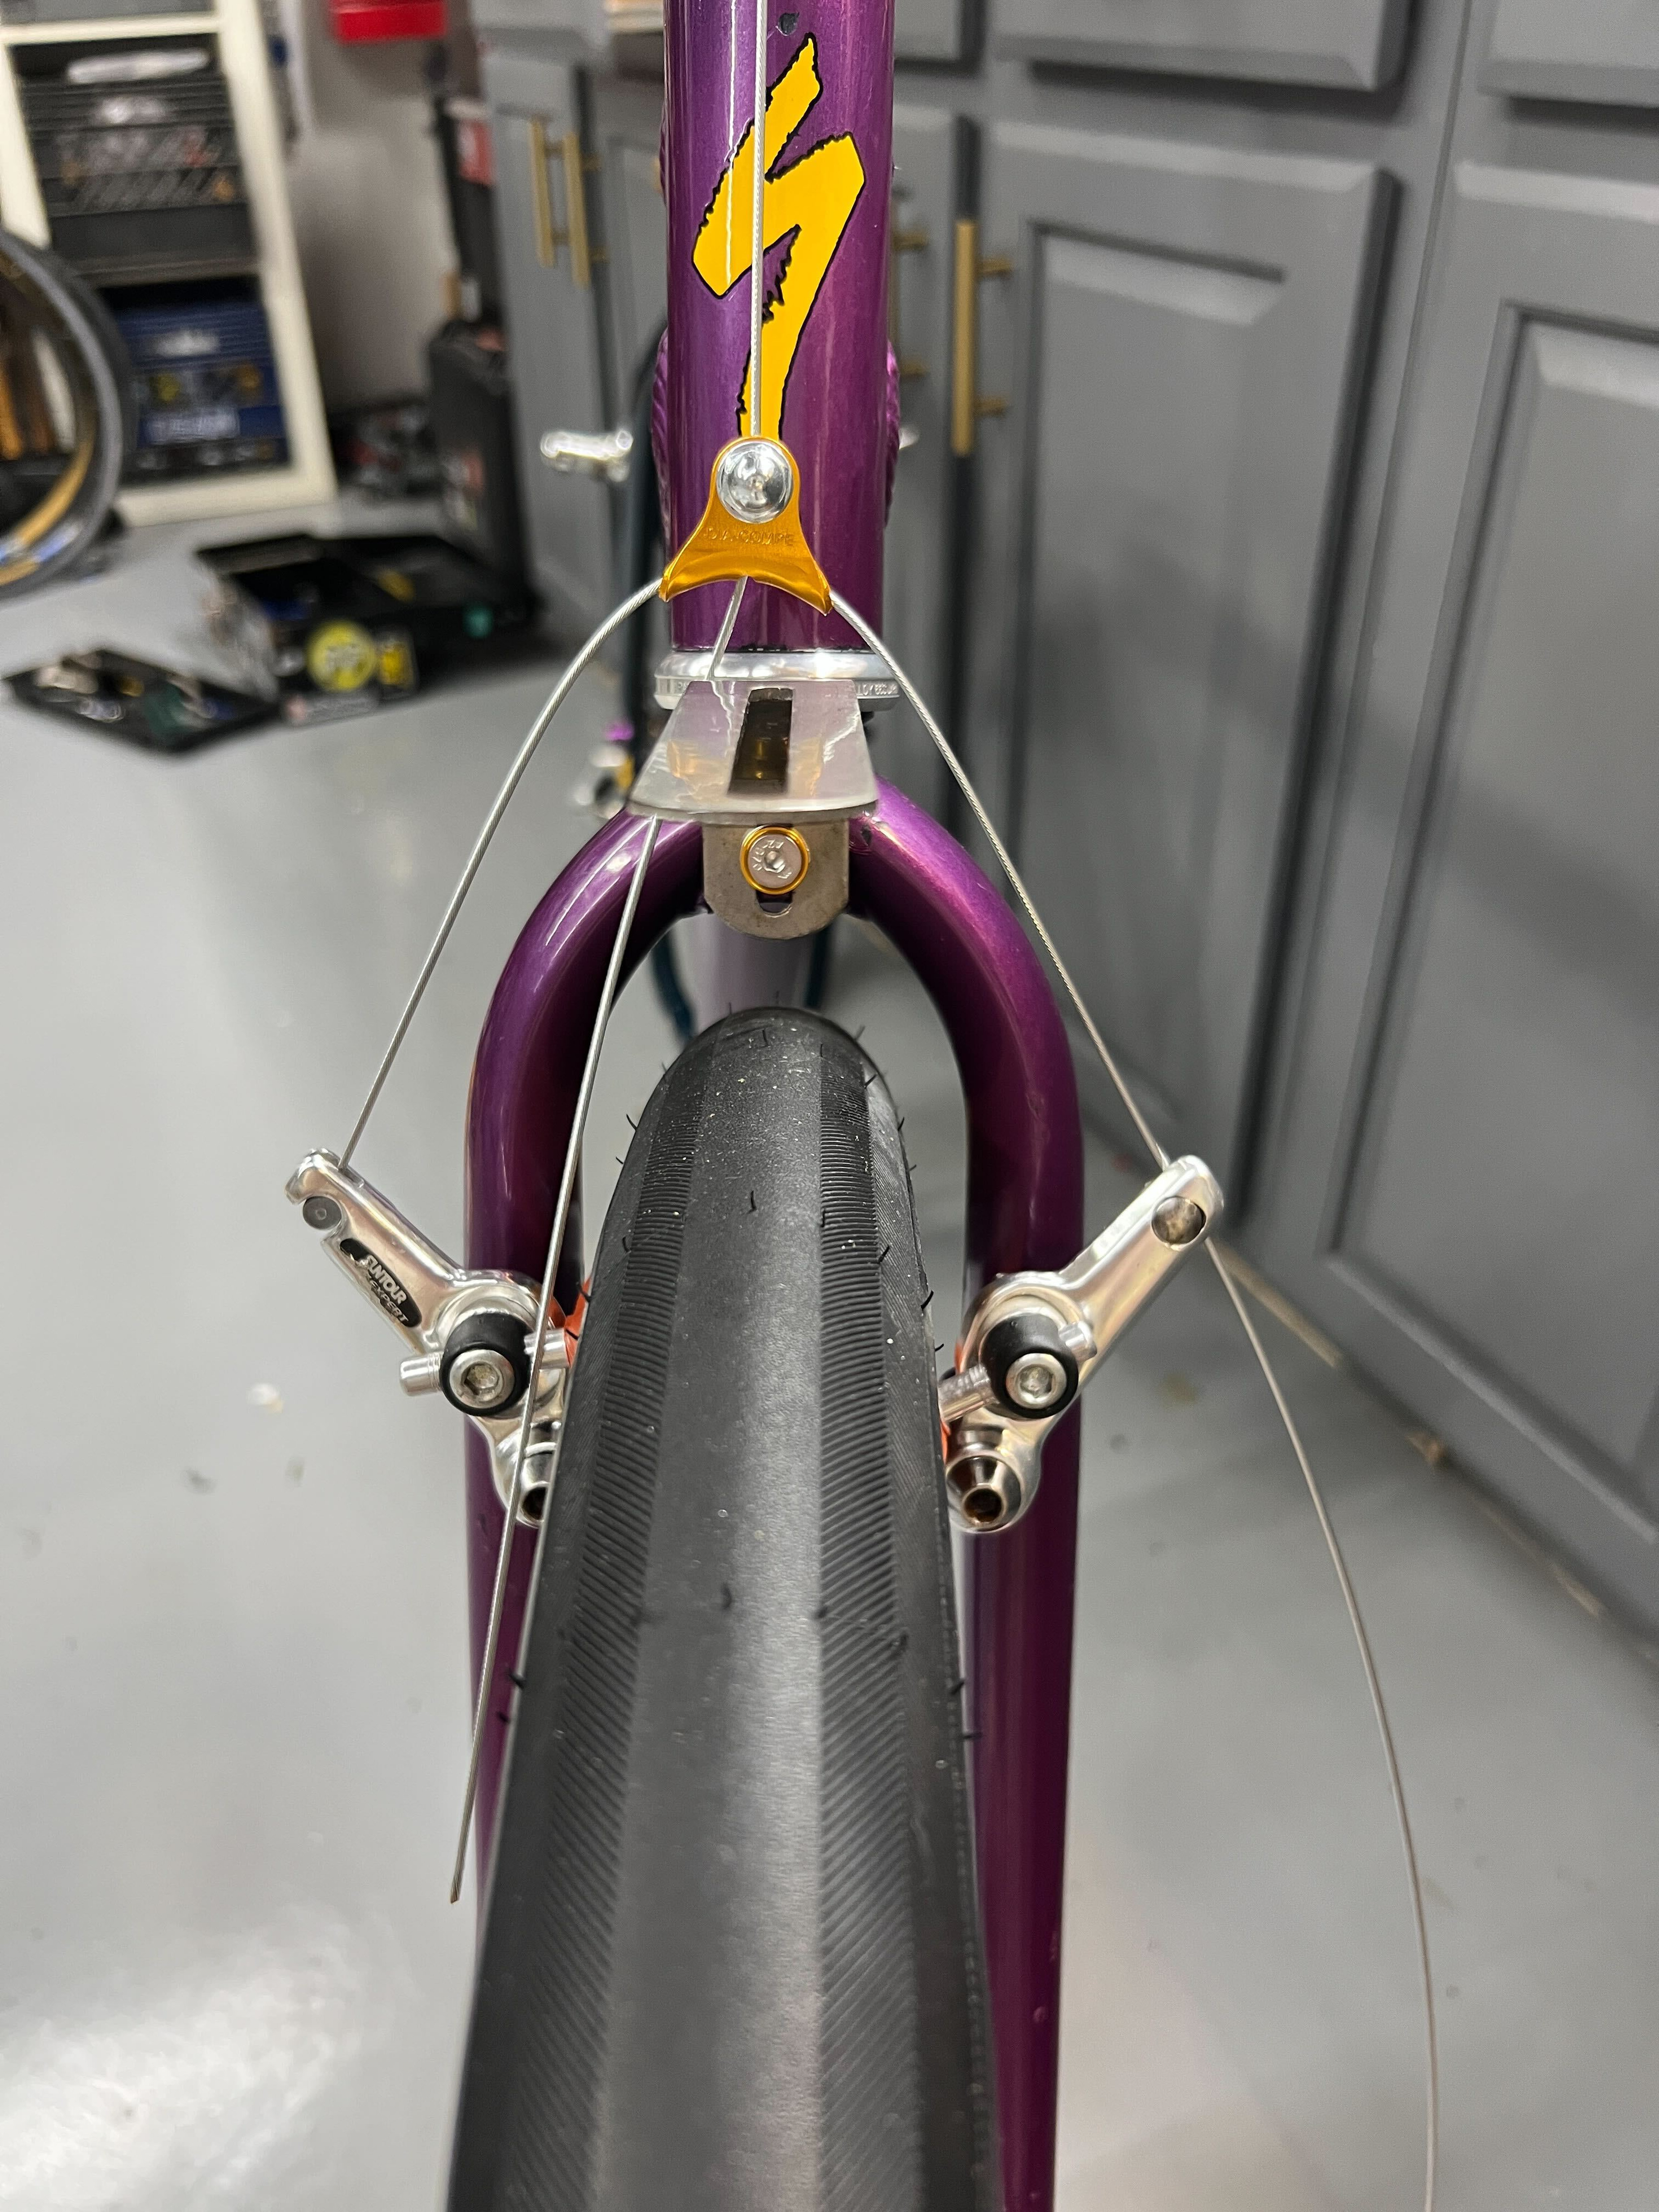
I don’t like that one bit. Obviously it’s nowhere near being properly adjusted, but I think the straddle cable & yoke are going to be WAY too high if I try to have them above this bracket.
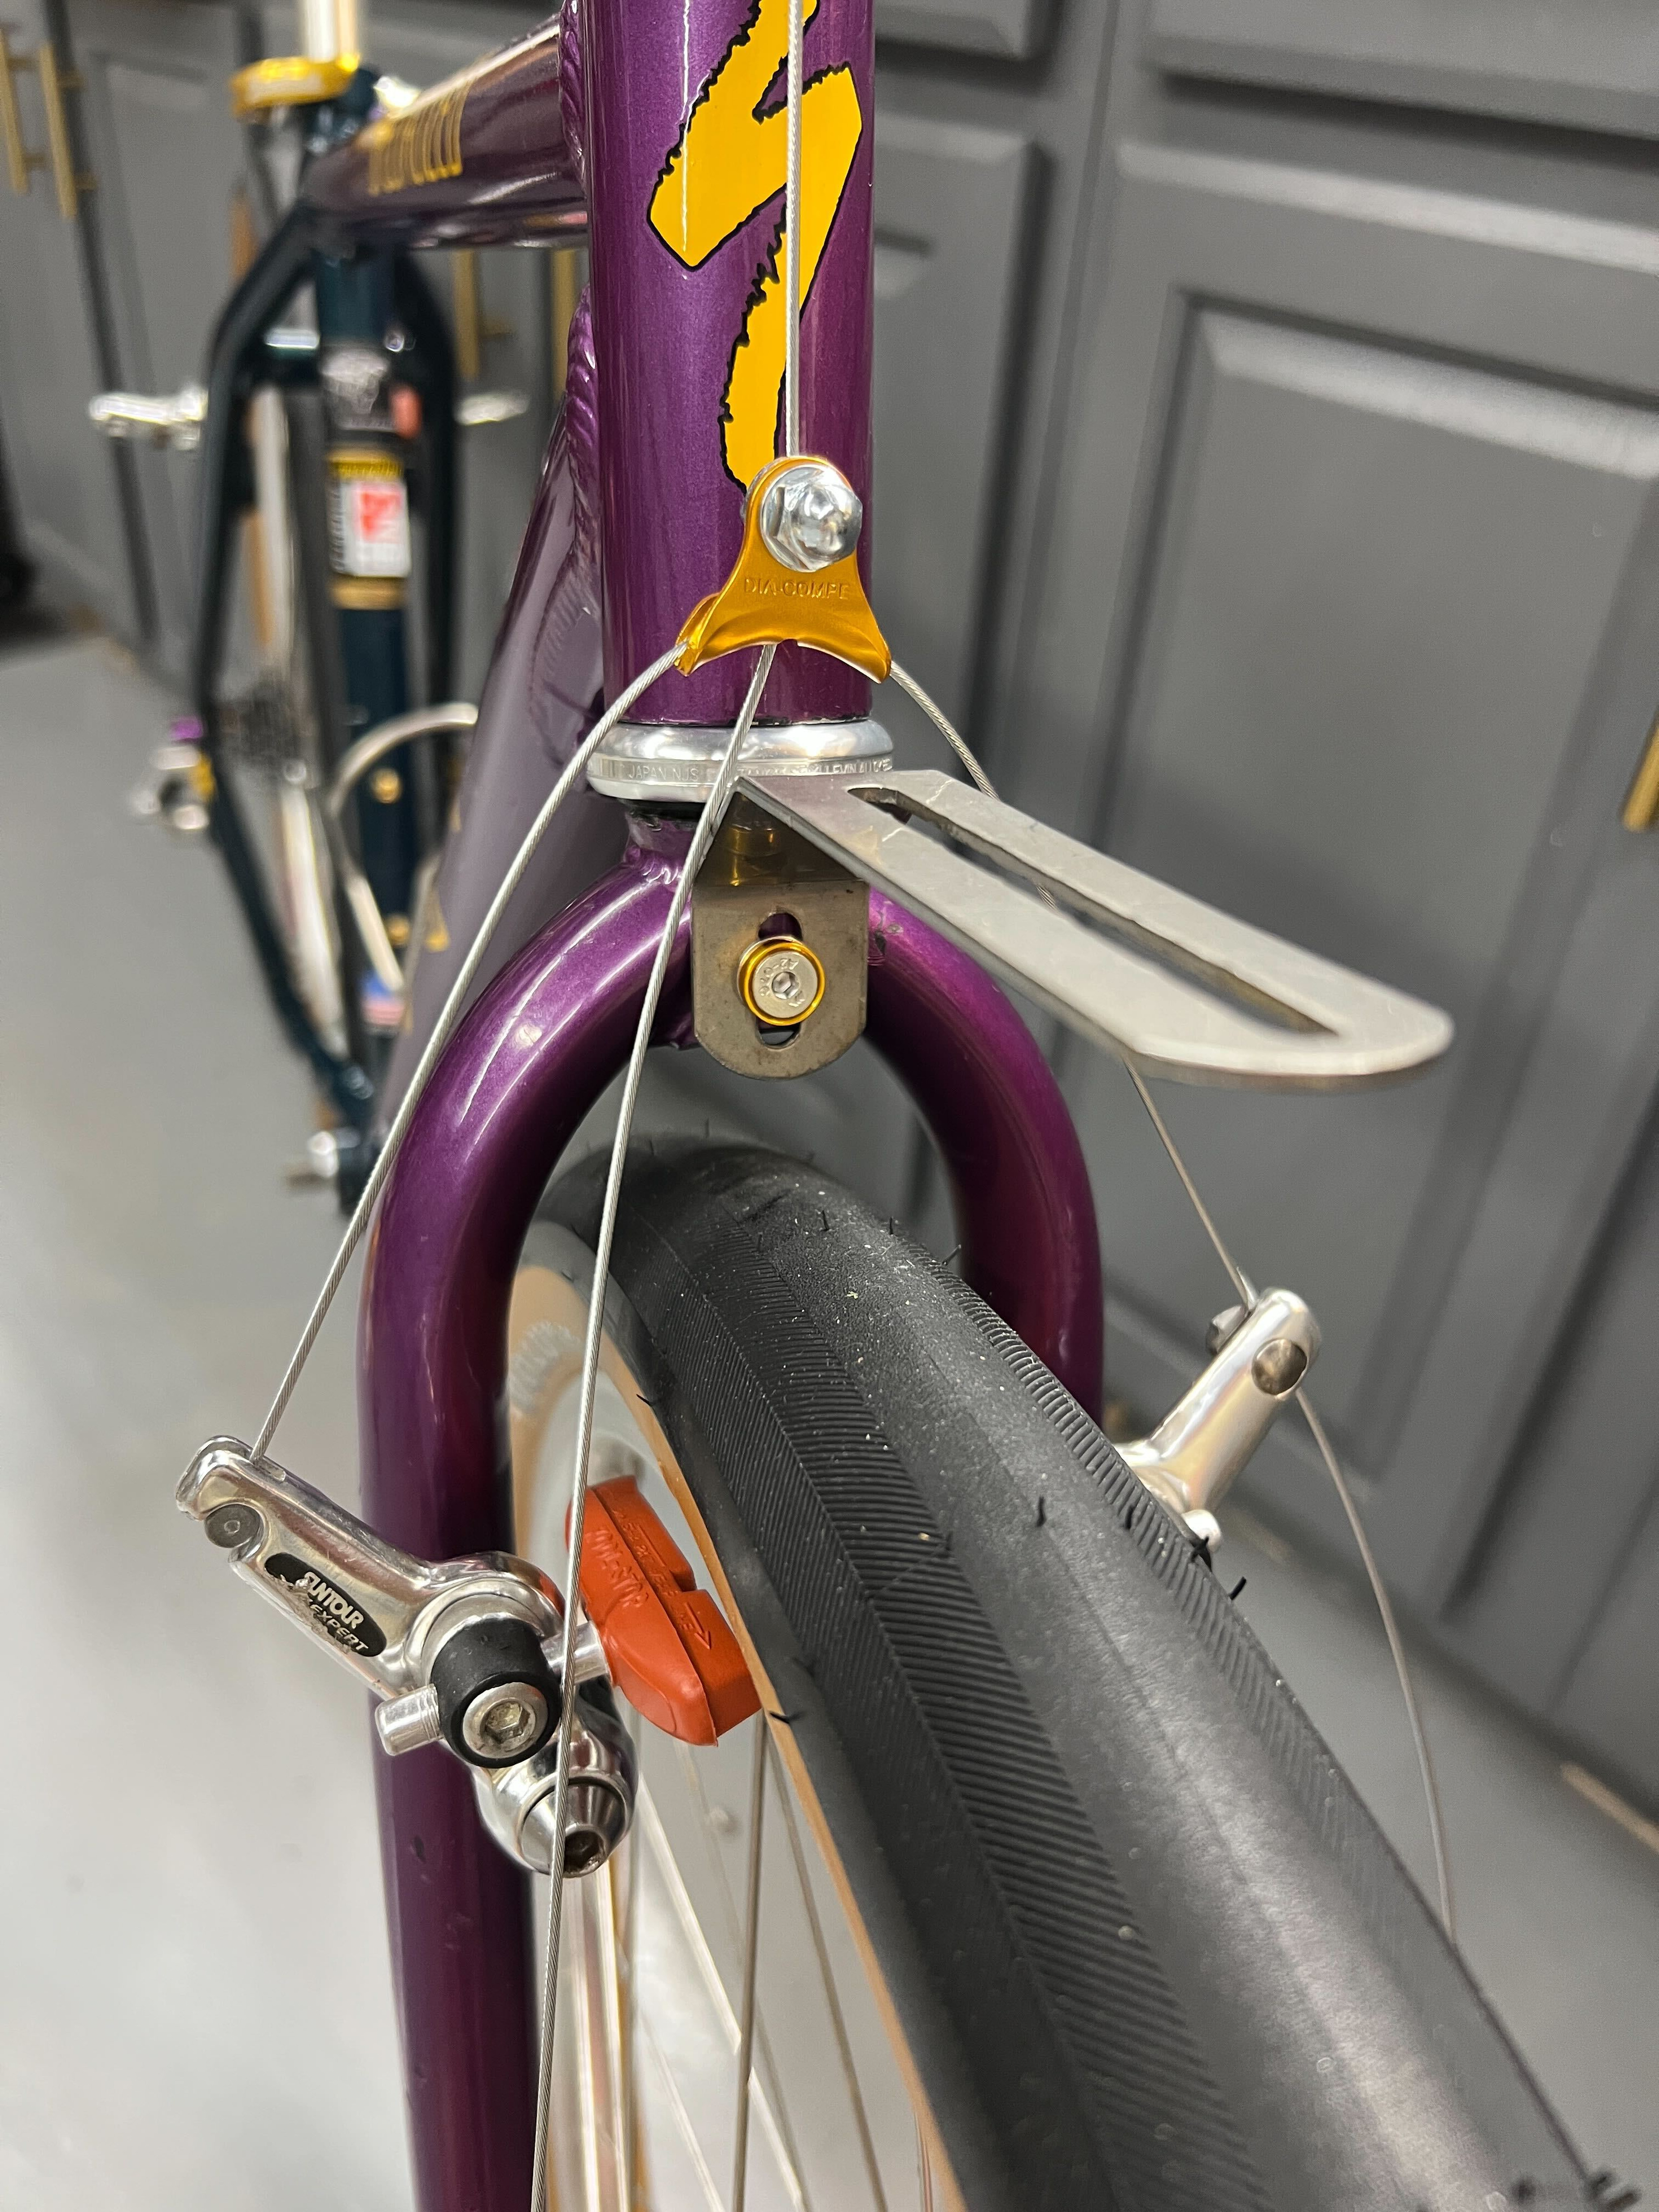
I messed with it some more later on and I can get the yoke down much lower than it is in these pictures, but it’s still not great, so I’m thinking about what to do, and those thoughts include trying Dia-Compe 980 brakes because according to photos like this, they may be more accomodating.
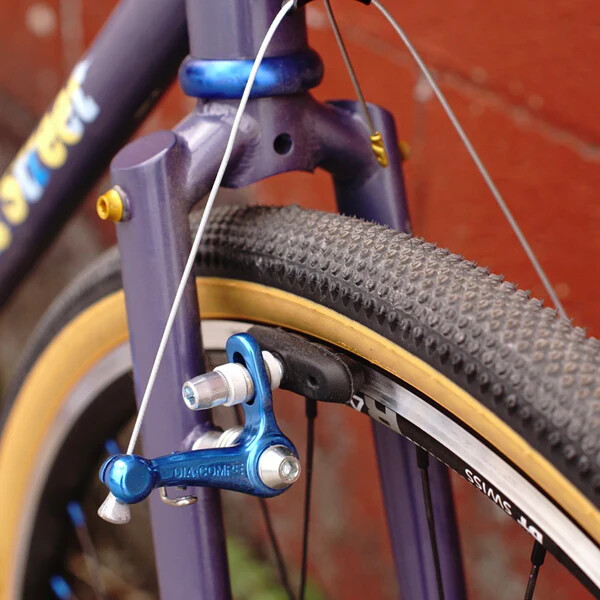
I really don’t want to do that though since I’m invested in the OG Suntour ones and I really want to be done buying things.
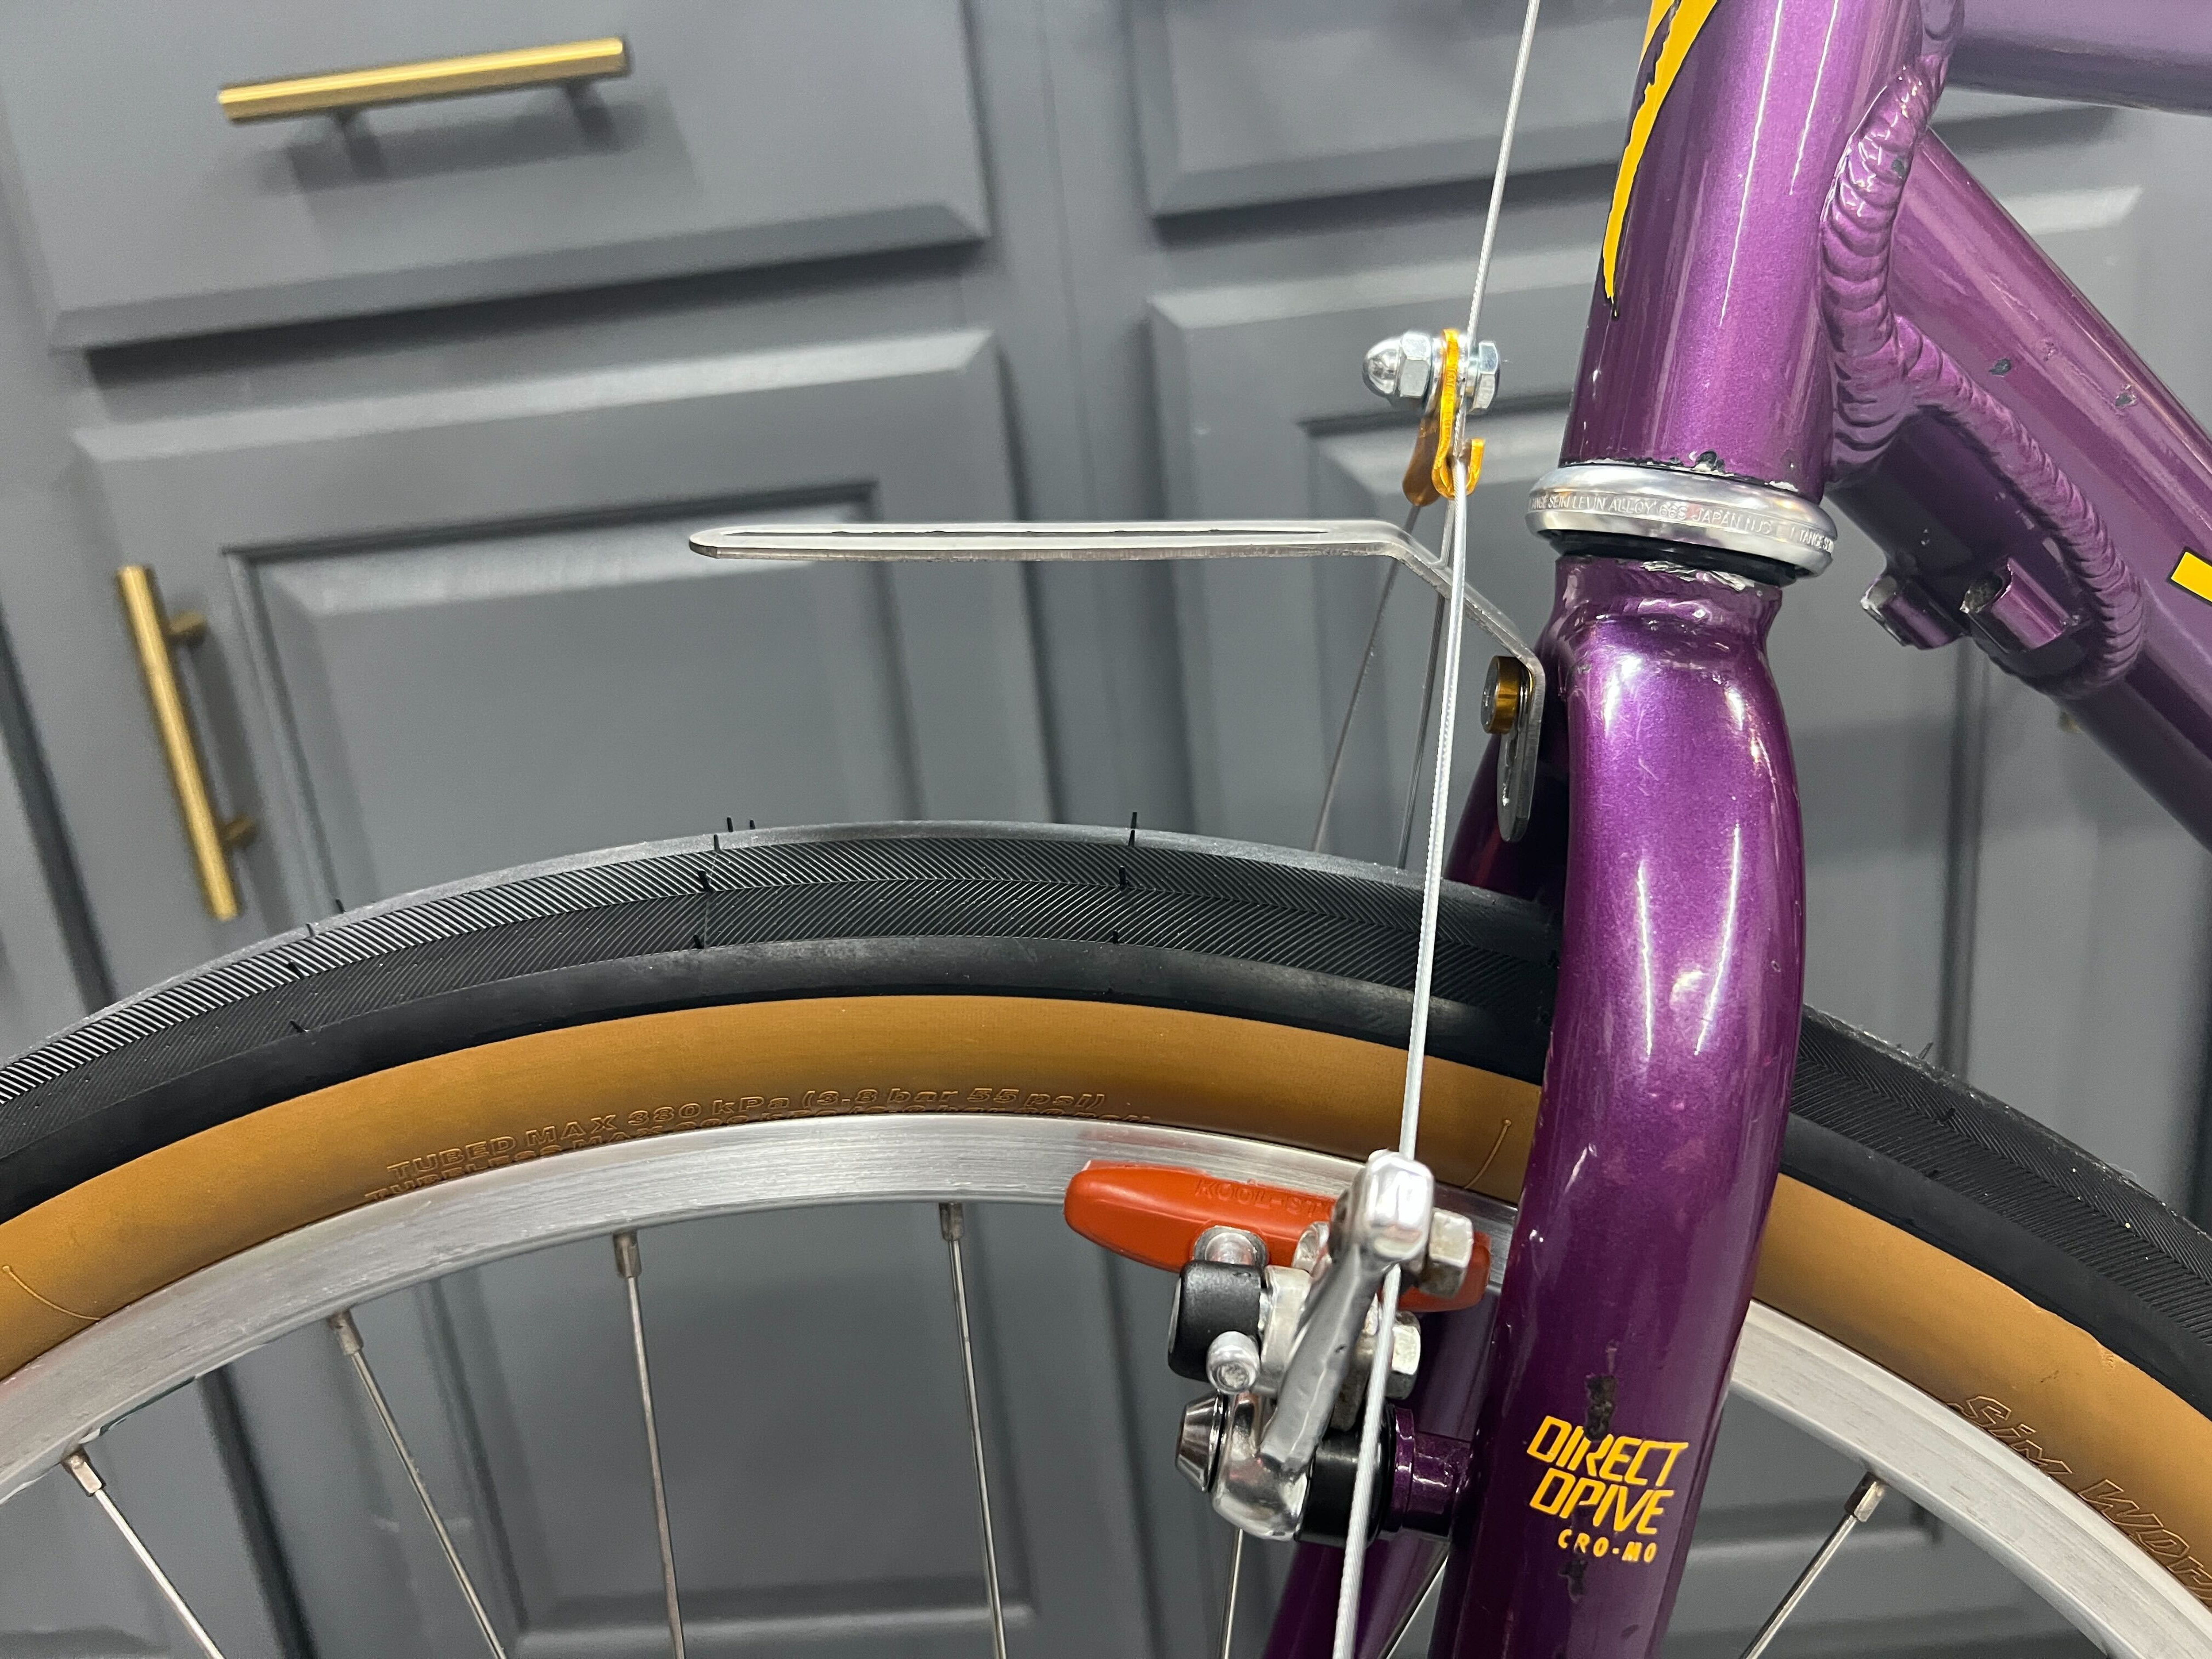
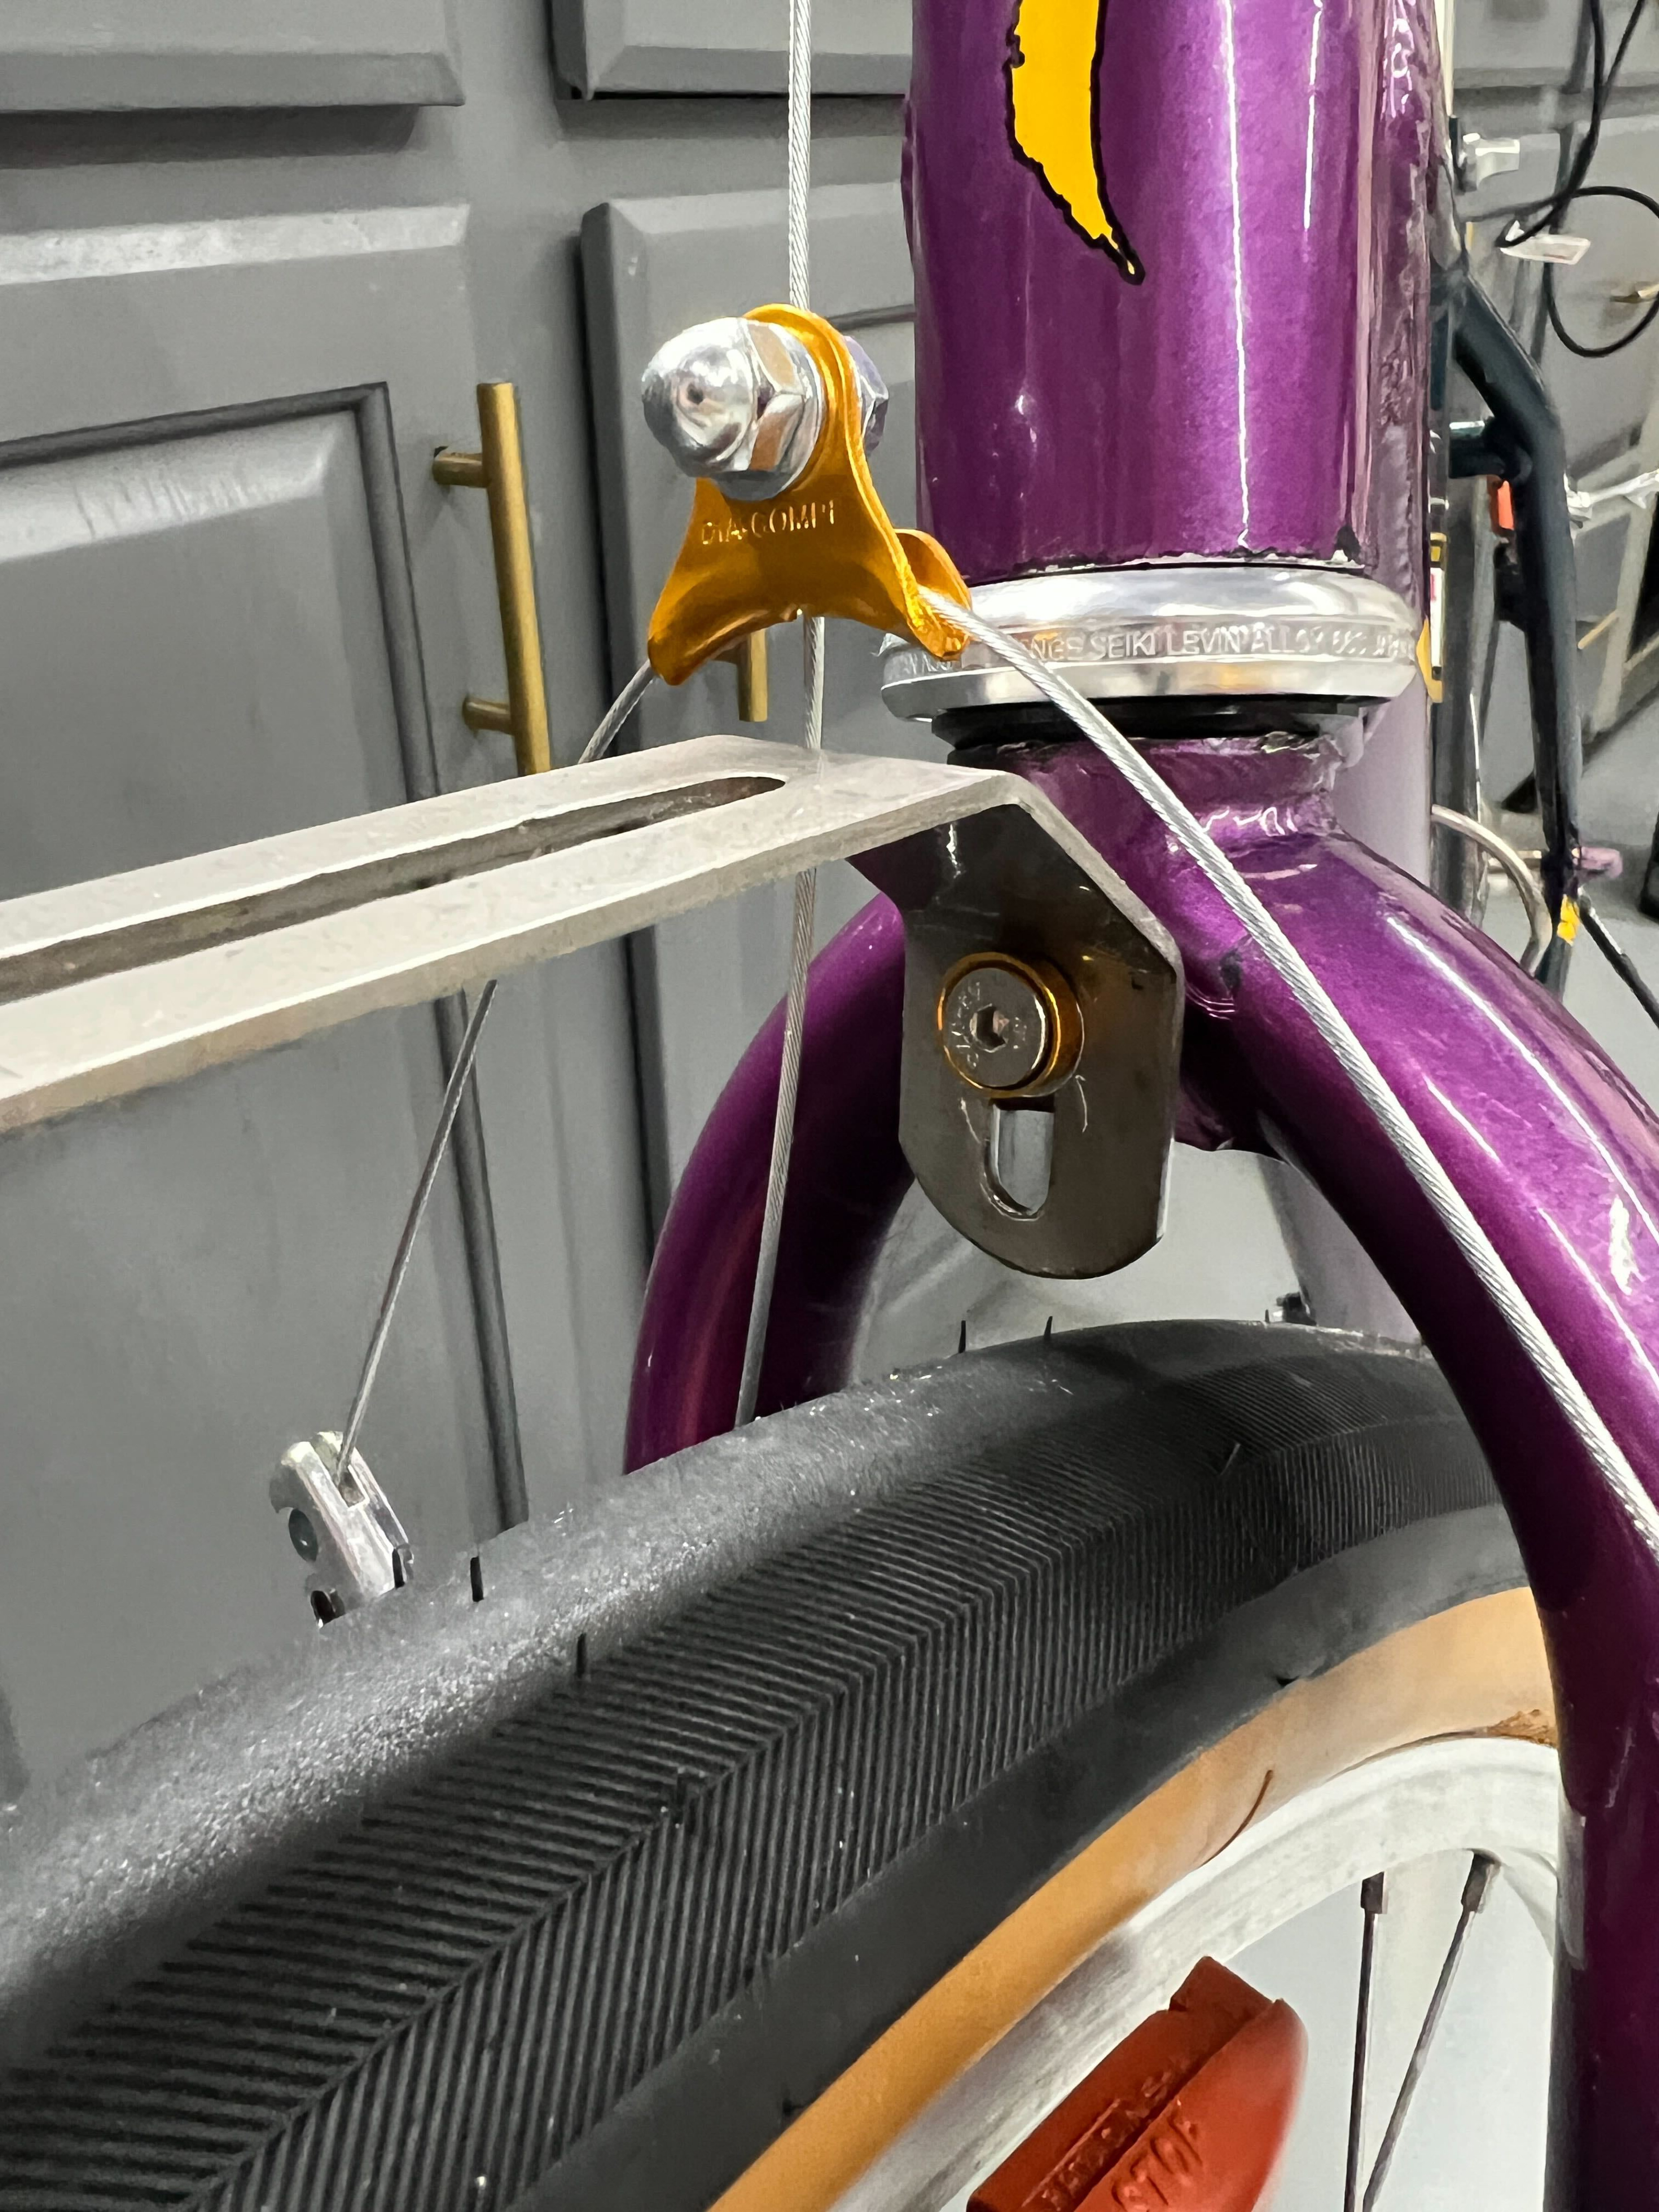
That’s how it is when the bracket is as low as it can go as-is.
I’ll have to play with it some more. Maybe do a long standoff/spacer or something to bring the bracket a bit more forward so the straddle can sit lower. I don’t think I can go under the rack, but maybe. I’d have to bring it more forward for that as well so I can mount it higher and not have the bracket hit the lower headset cup. If the yoke did land under the bracket, I’d have to put a hole in the bracket for the cable, which is fine. Maybe I just make my own bracket.
It would be ideal if it was pretty much straight out and didn’t have that 45° bend. Maybe I can just put it between some wood and smash it flat at the upper bend…
I was getting pretty tired at that point and couldn’t remember which brake lever is “supposed to be” the front one. Wifebike has it on the right side, but I think we did that because she’s left handed, or it came like that.
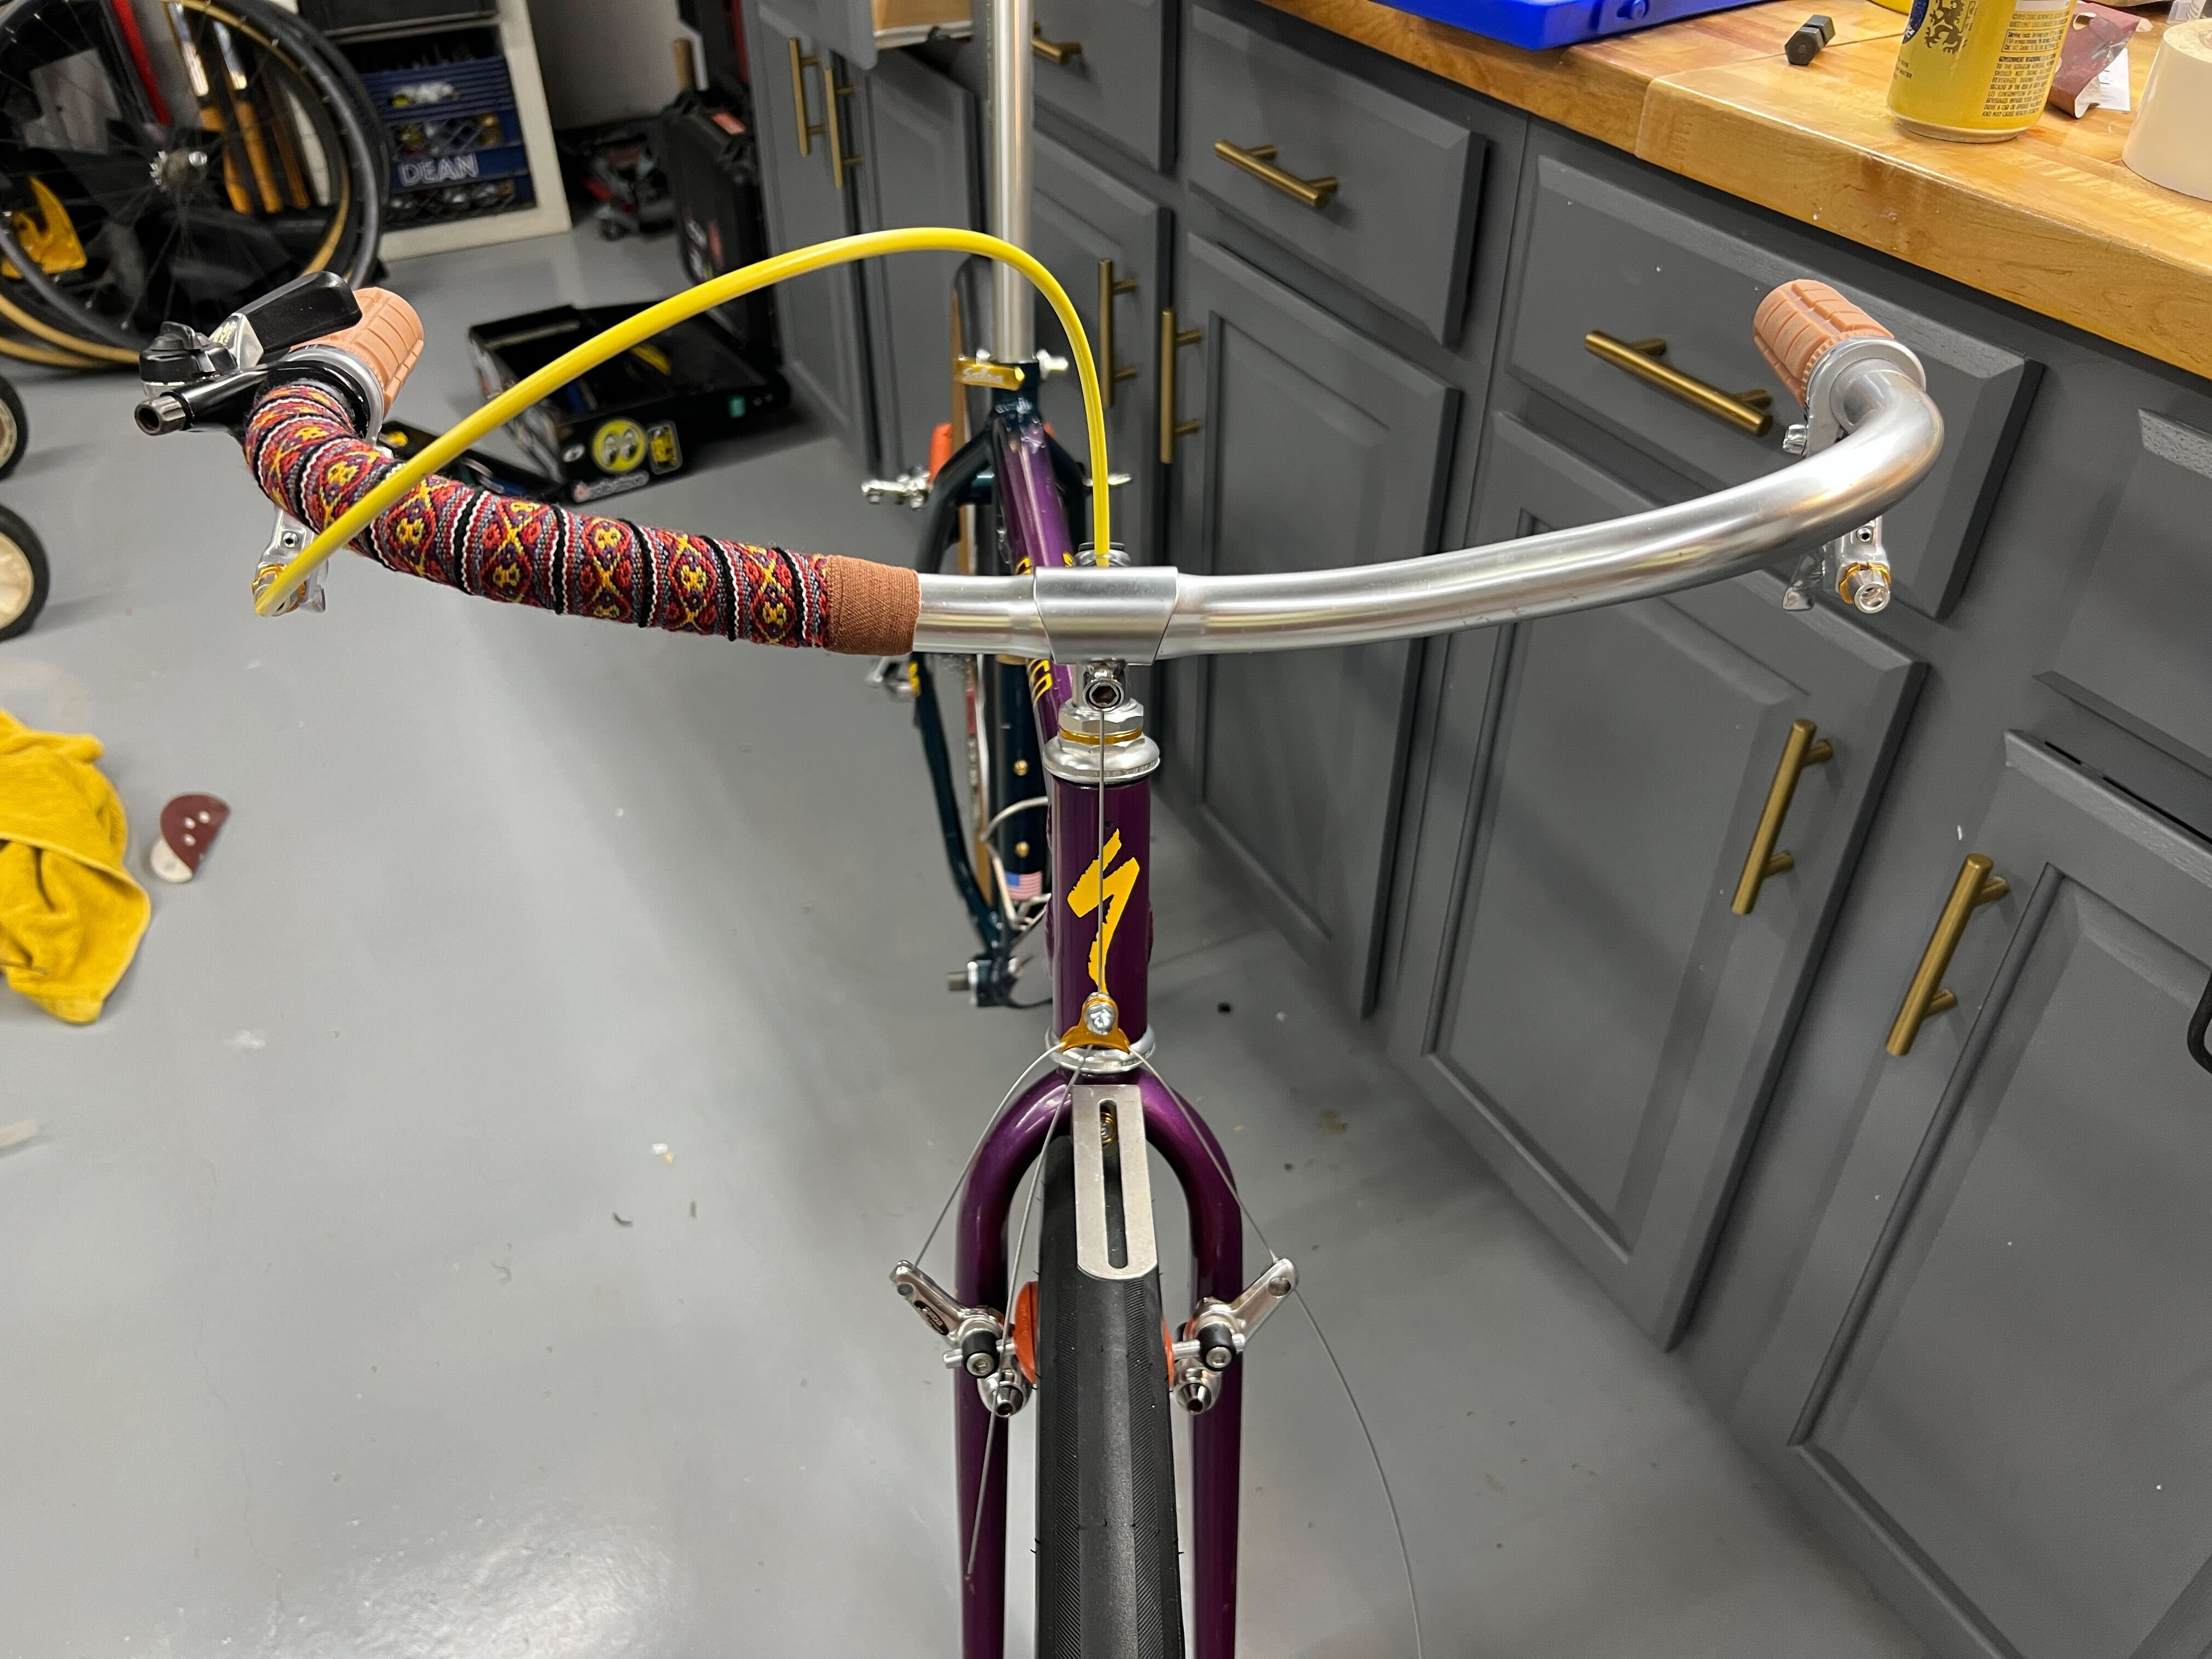
I’m going to swap it to the “proper” way (at least here in the USA), but is this how it is when the cable goes through the stem? It just seems wacky.
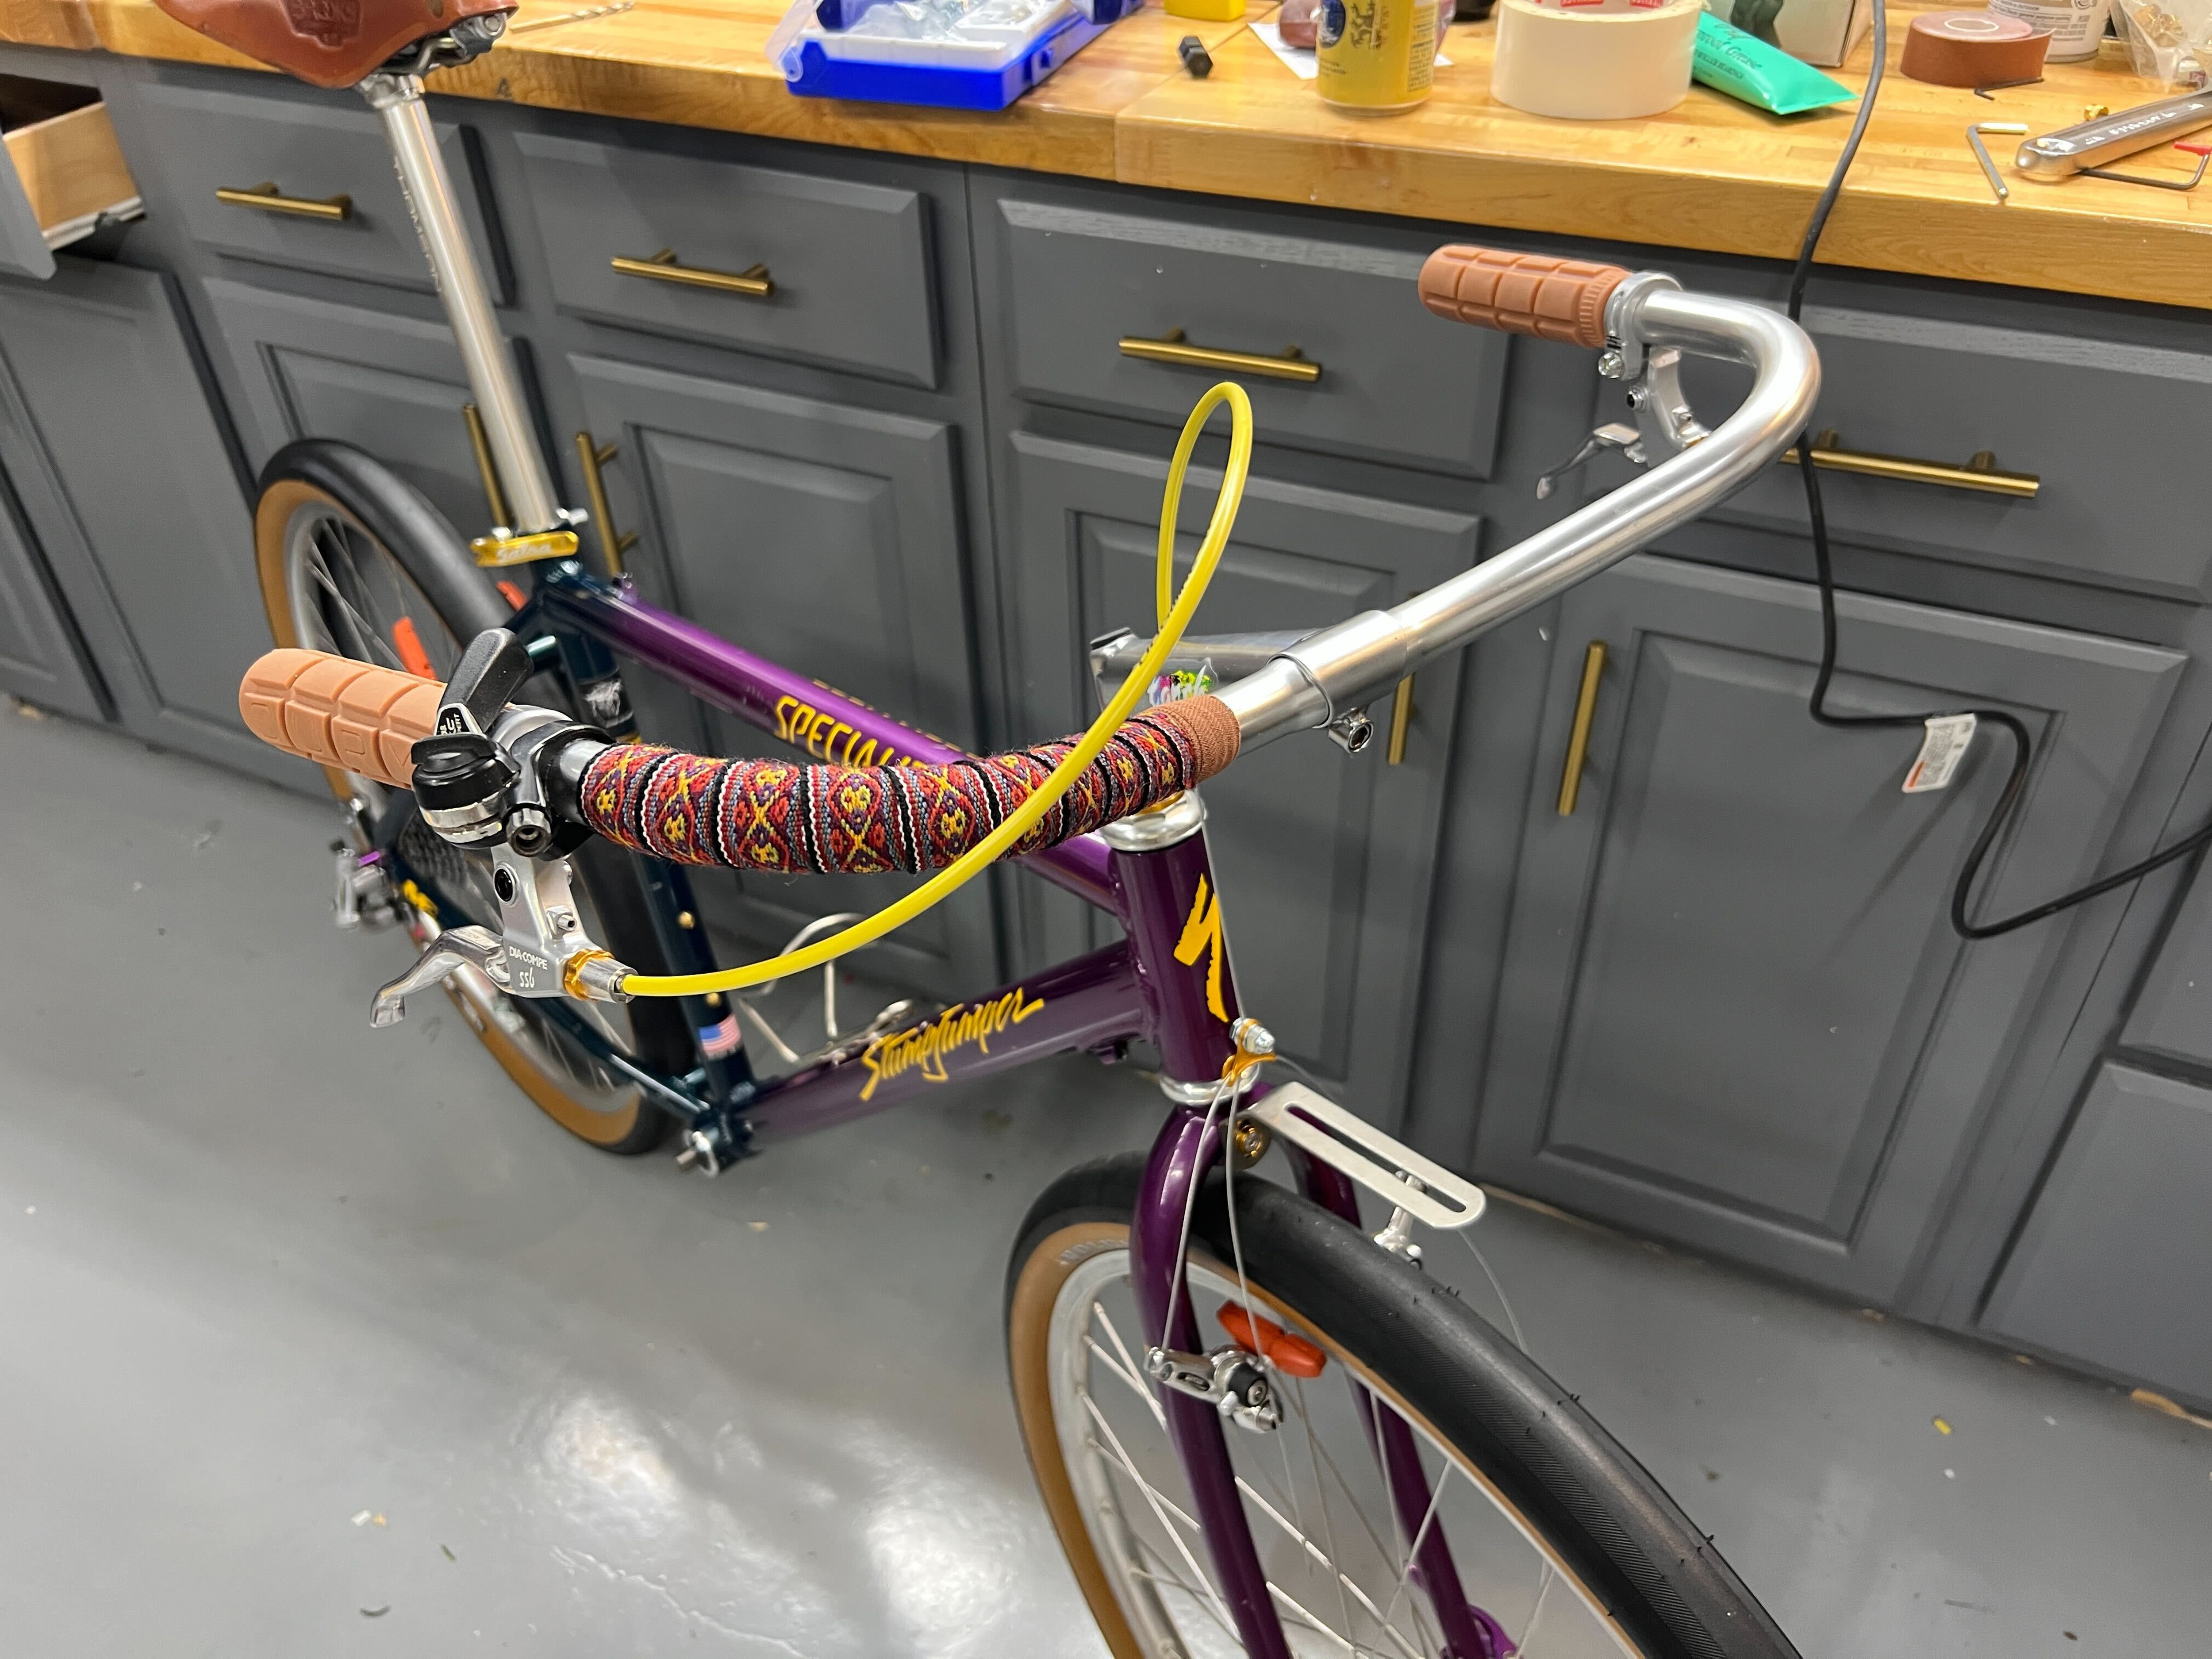
I am also auditioning woven bar wrap. I have two others that I like, but can’t decide. I’ll put the other one on the other side, but what’s on there now is artisan Alpaca wool wantana/chumpi ribbon from Peru.
It seems like this is a thing people do on bars like this, and I thought it was kinda cool … add some flair and make it a nice additional hand position (which I’ll likely never use). I was going for kind of a falsa/drug rug/granola look, and of course I got down a rabbit hole with that. I probably looked at every single woven bar tape design out there from every brand, but then I discovered it was just jacquard ribbon with a backing on it. That stuff is *super * cheap by the yard, and it’s the exact same stuff used on all the BTP, Serfas, etc. woven tape.
Suddenly I had decision paralysis. I spent hours looking at them. I did have that style I wanted though which somewhat helped, and I managed to stumble upon some Andean/Inca patterns which really fit the vibe. My dad traveled extensively in South America when I was a kid - especially Peru and Chile, so we had lots of Andean trinkets and things he brought back, and we learned a lot about the Inca culture. I’ve been down there too, so that made it a little less random.
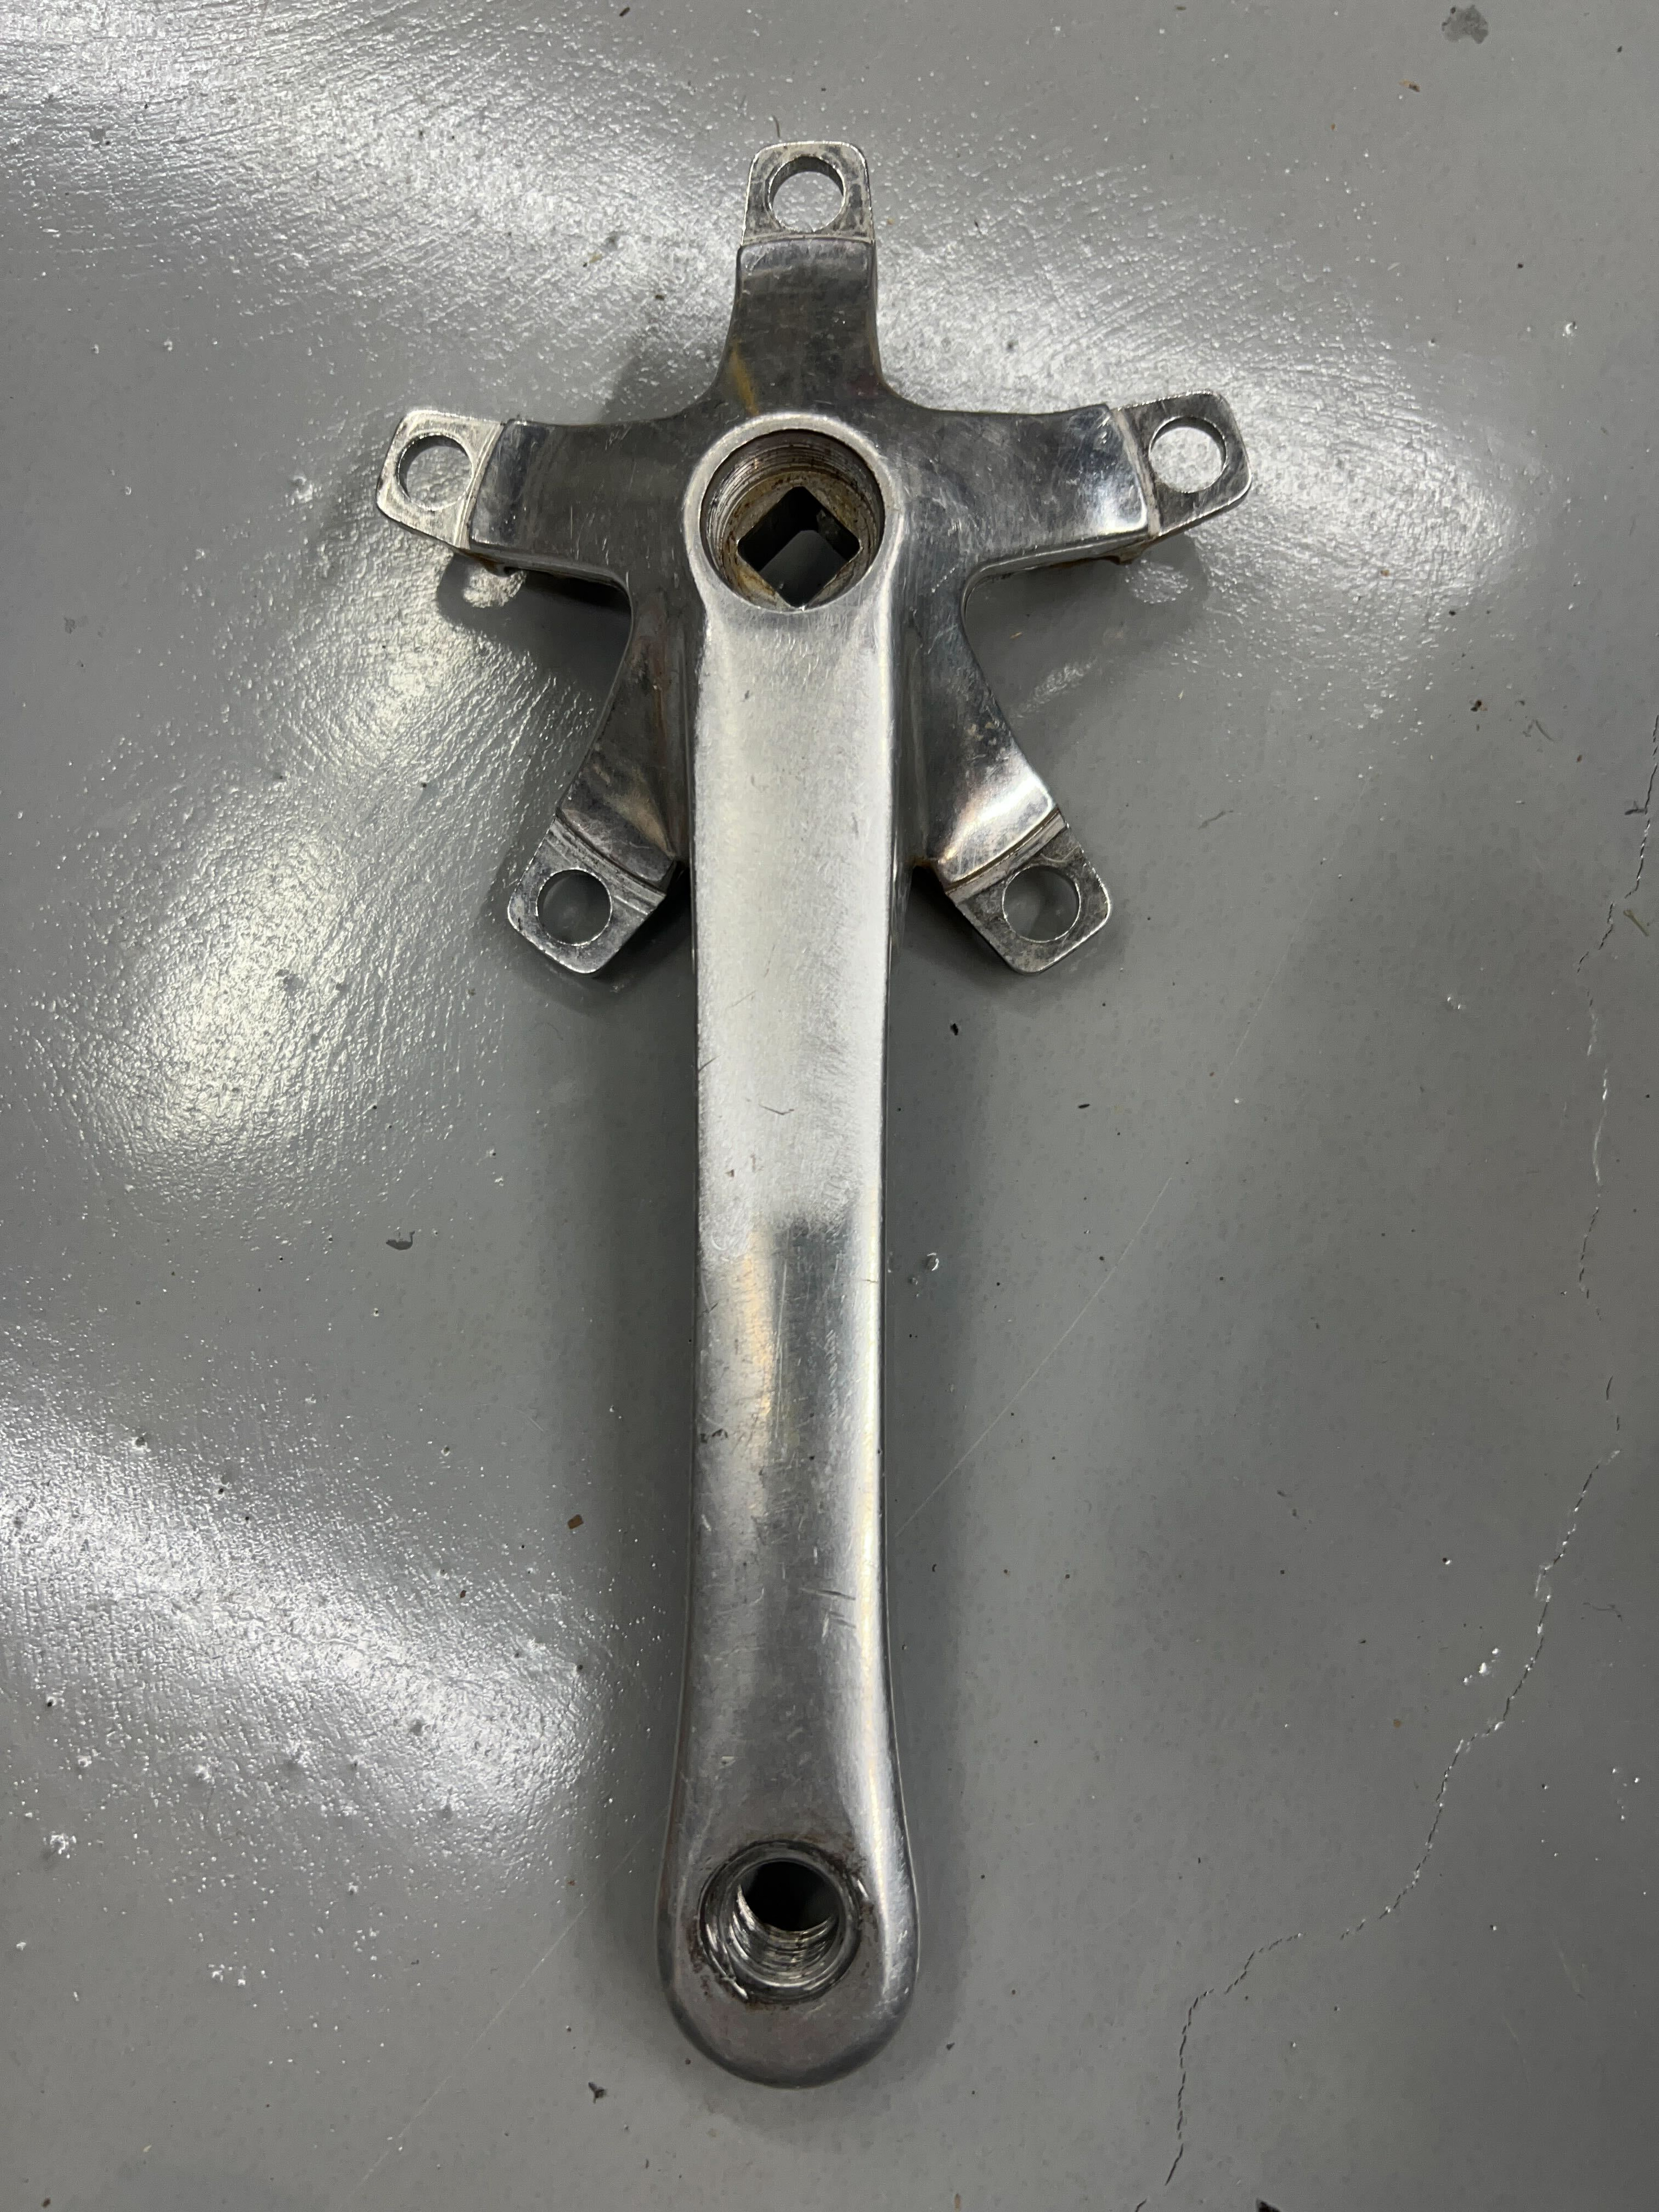
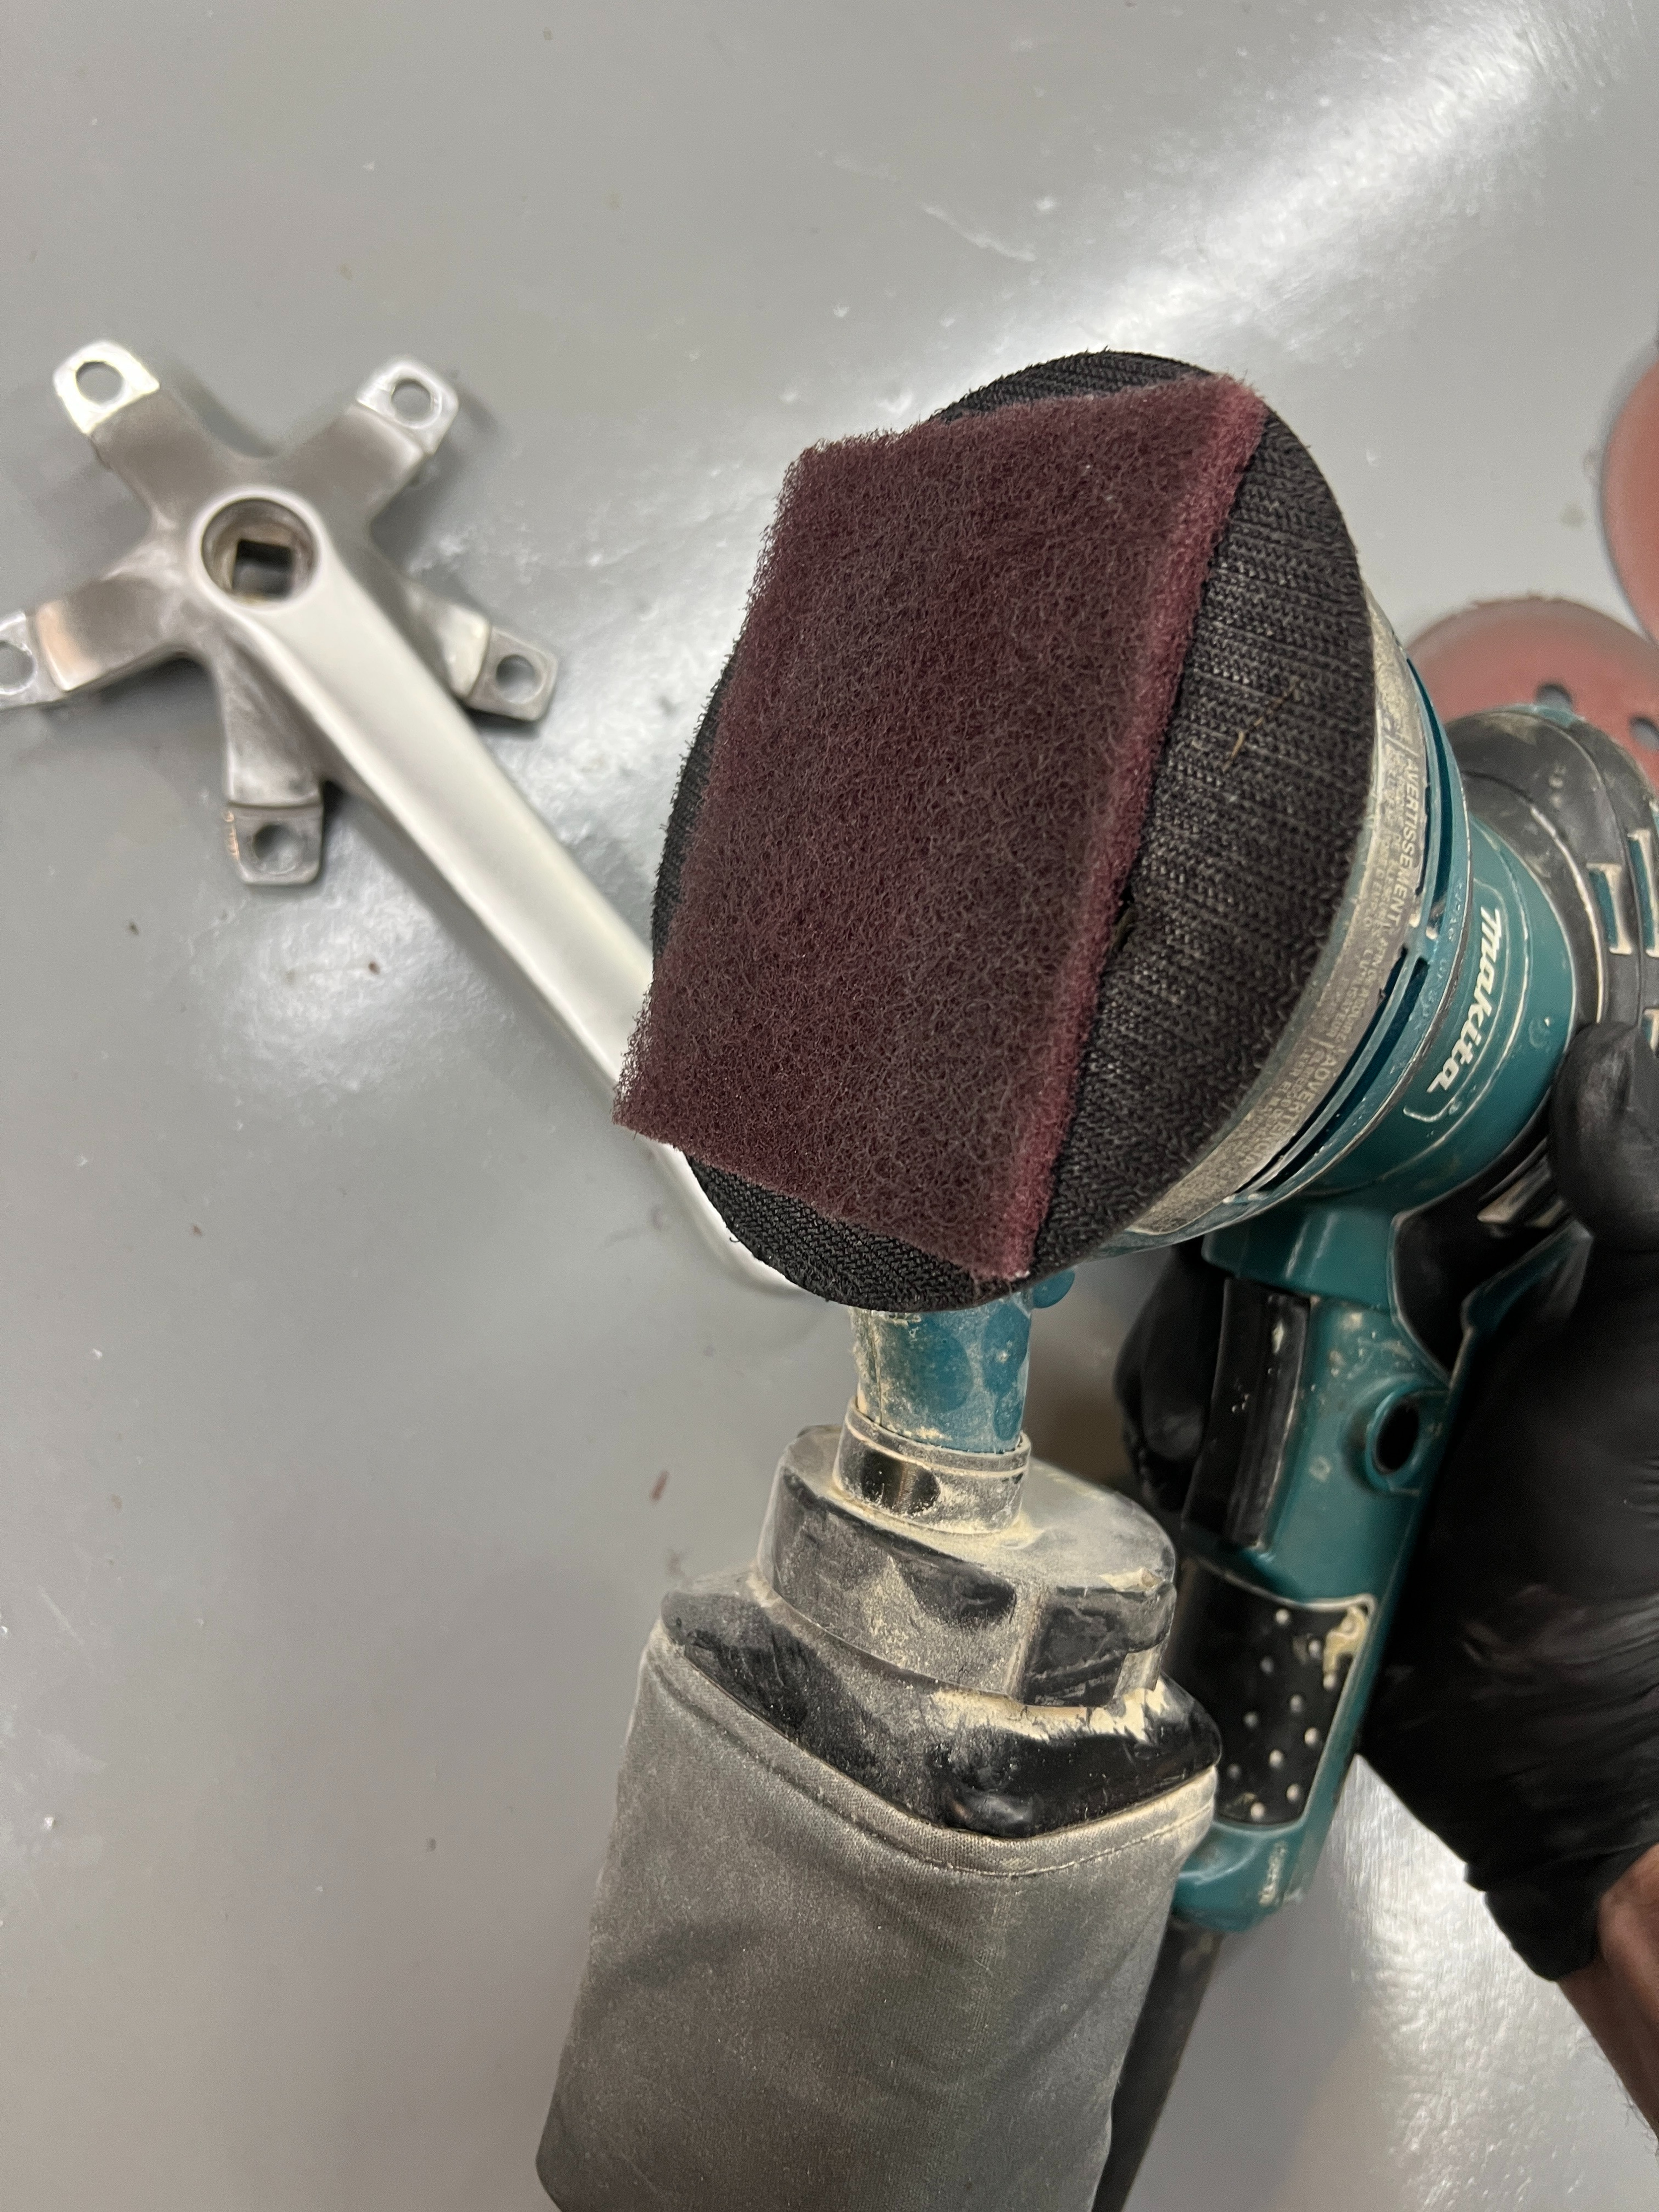
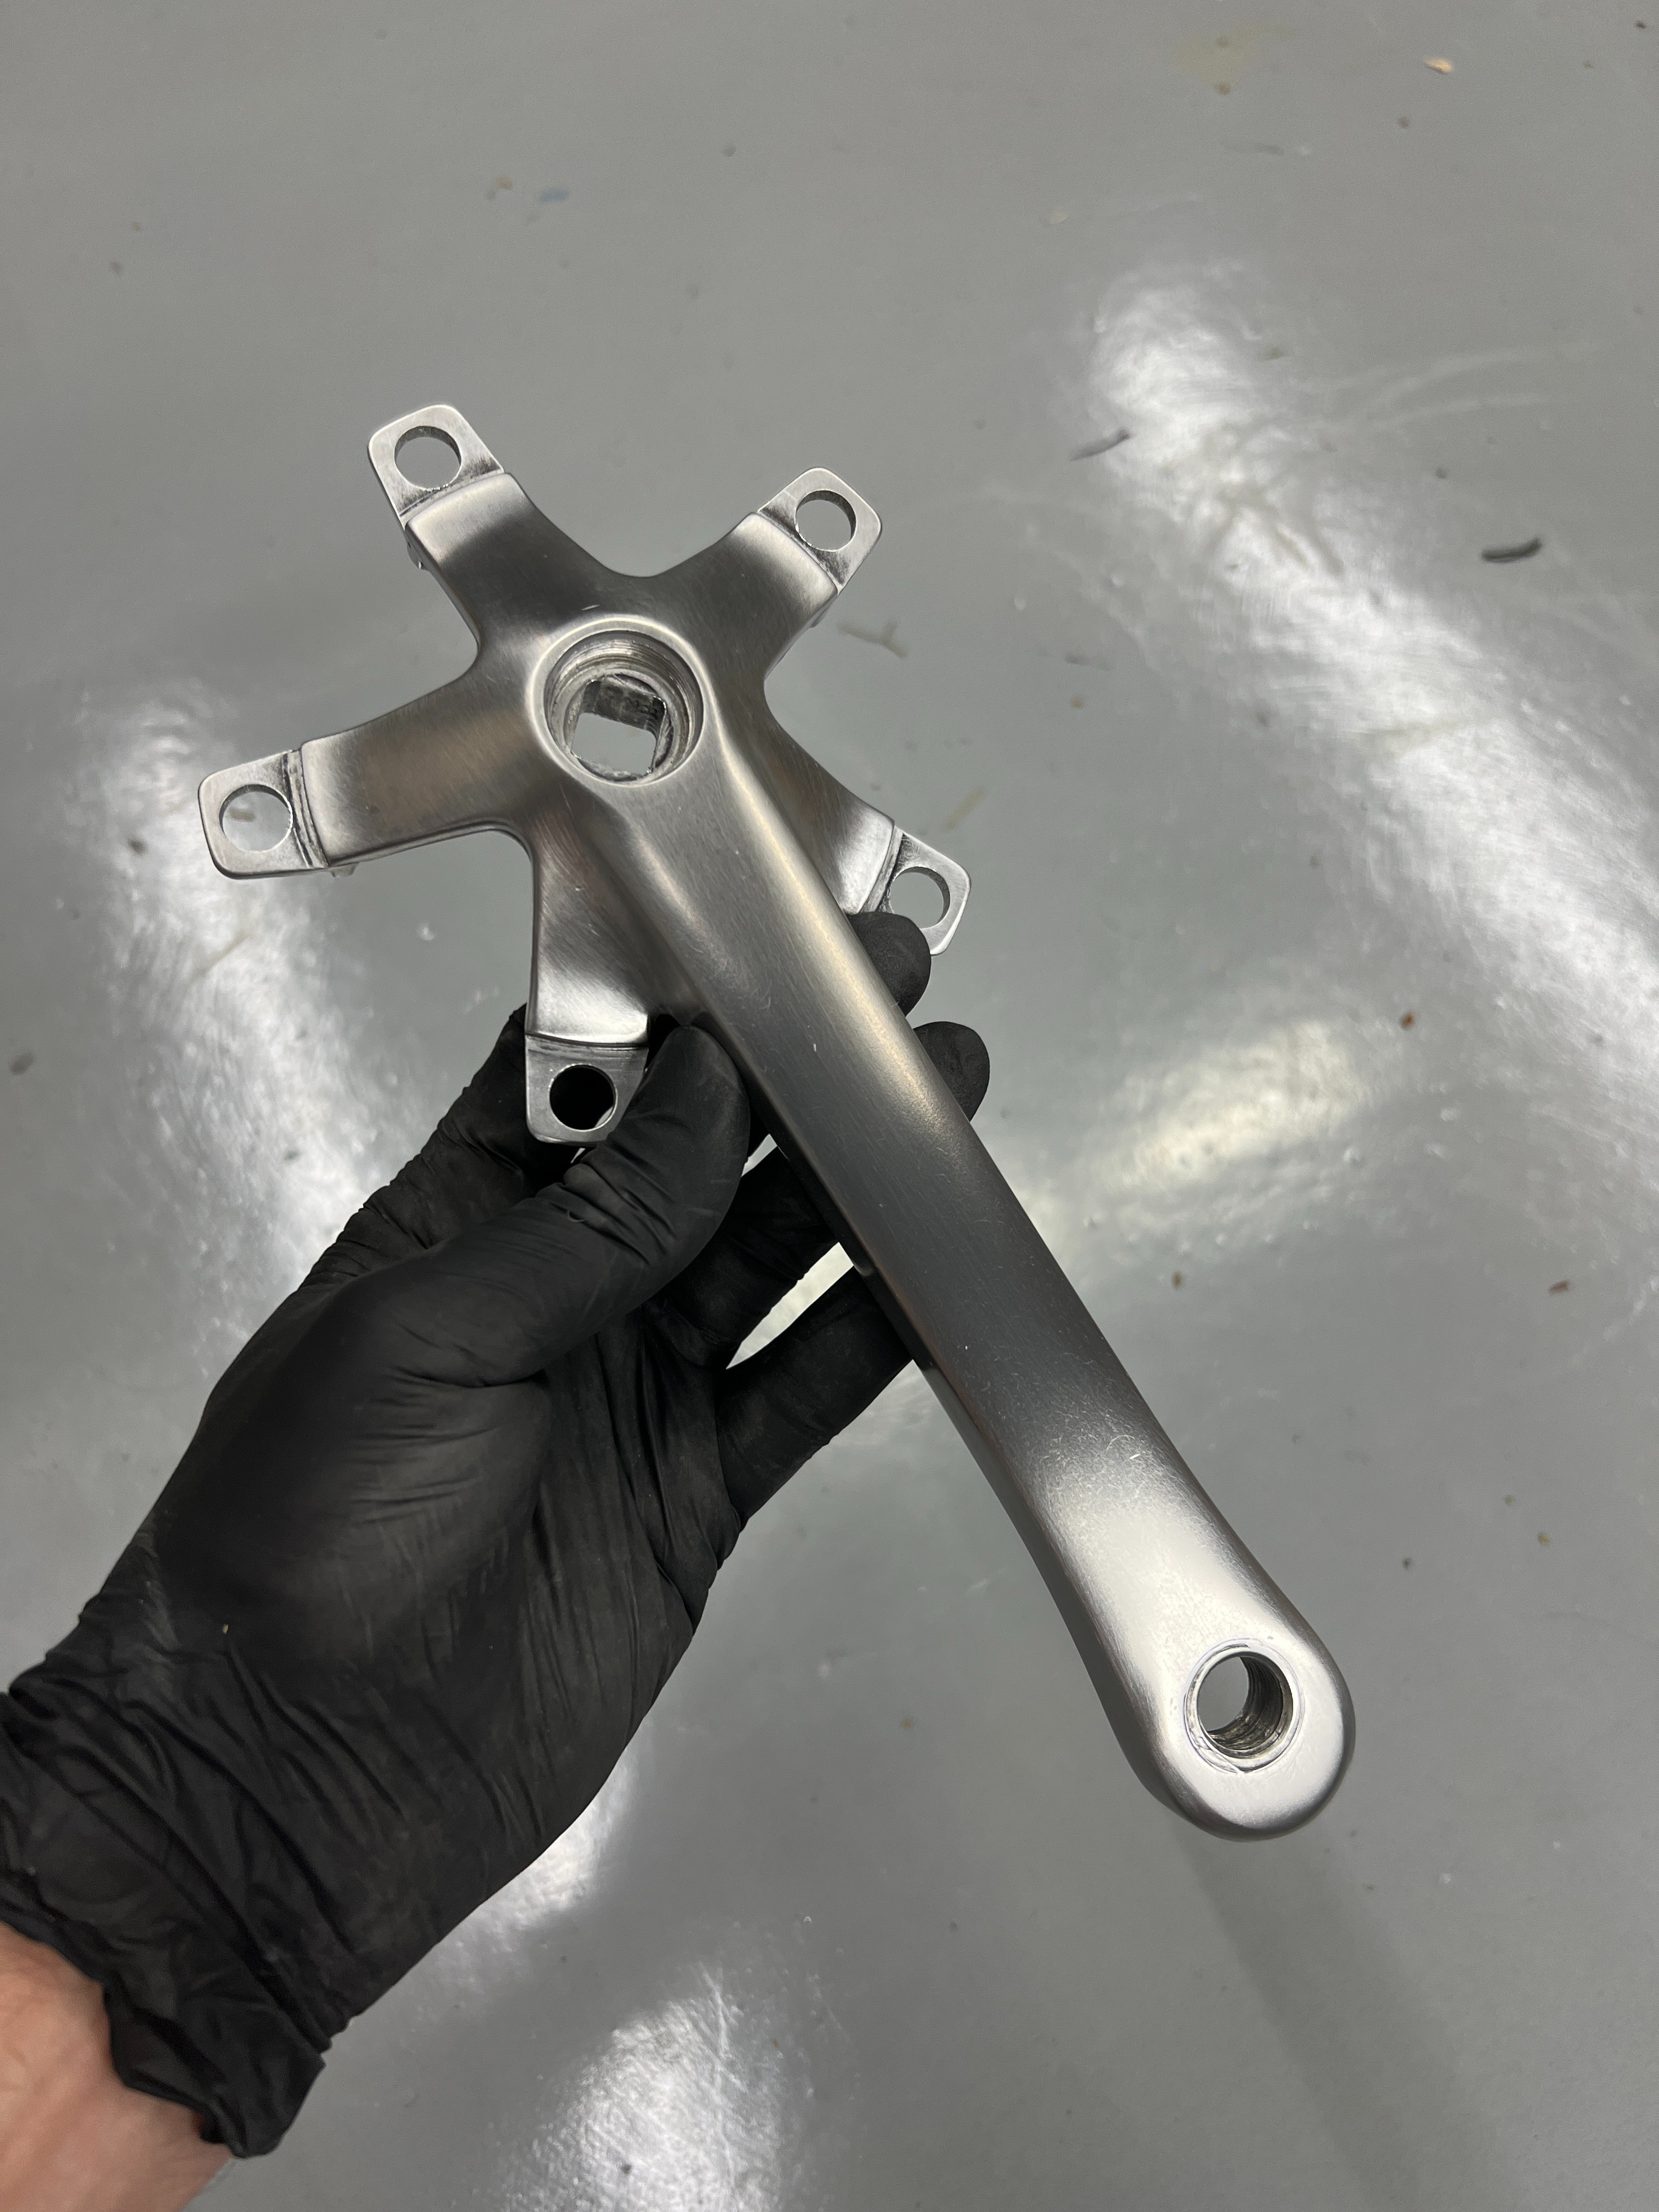
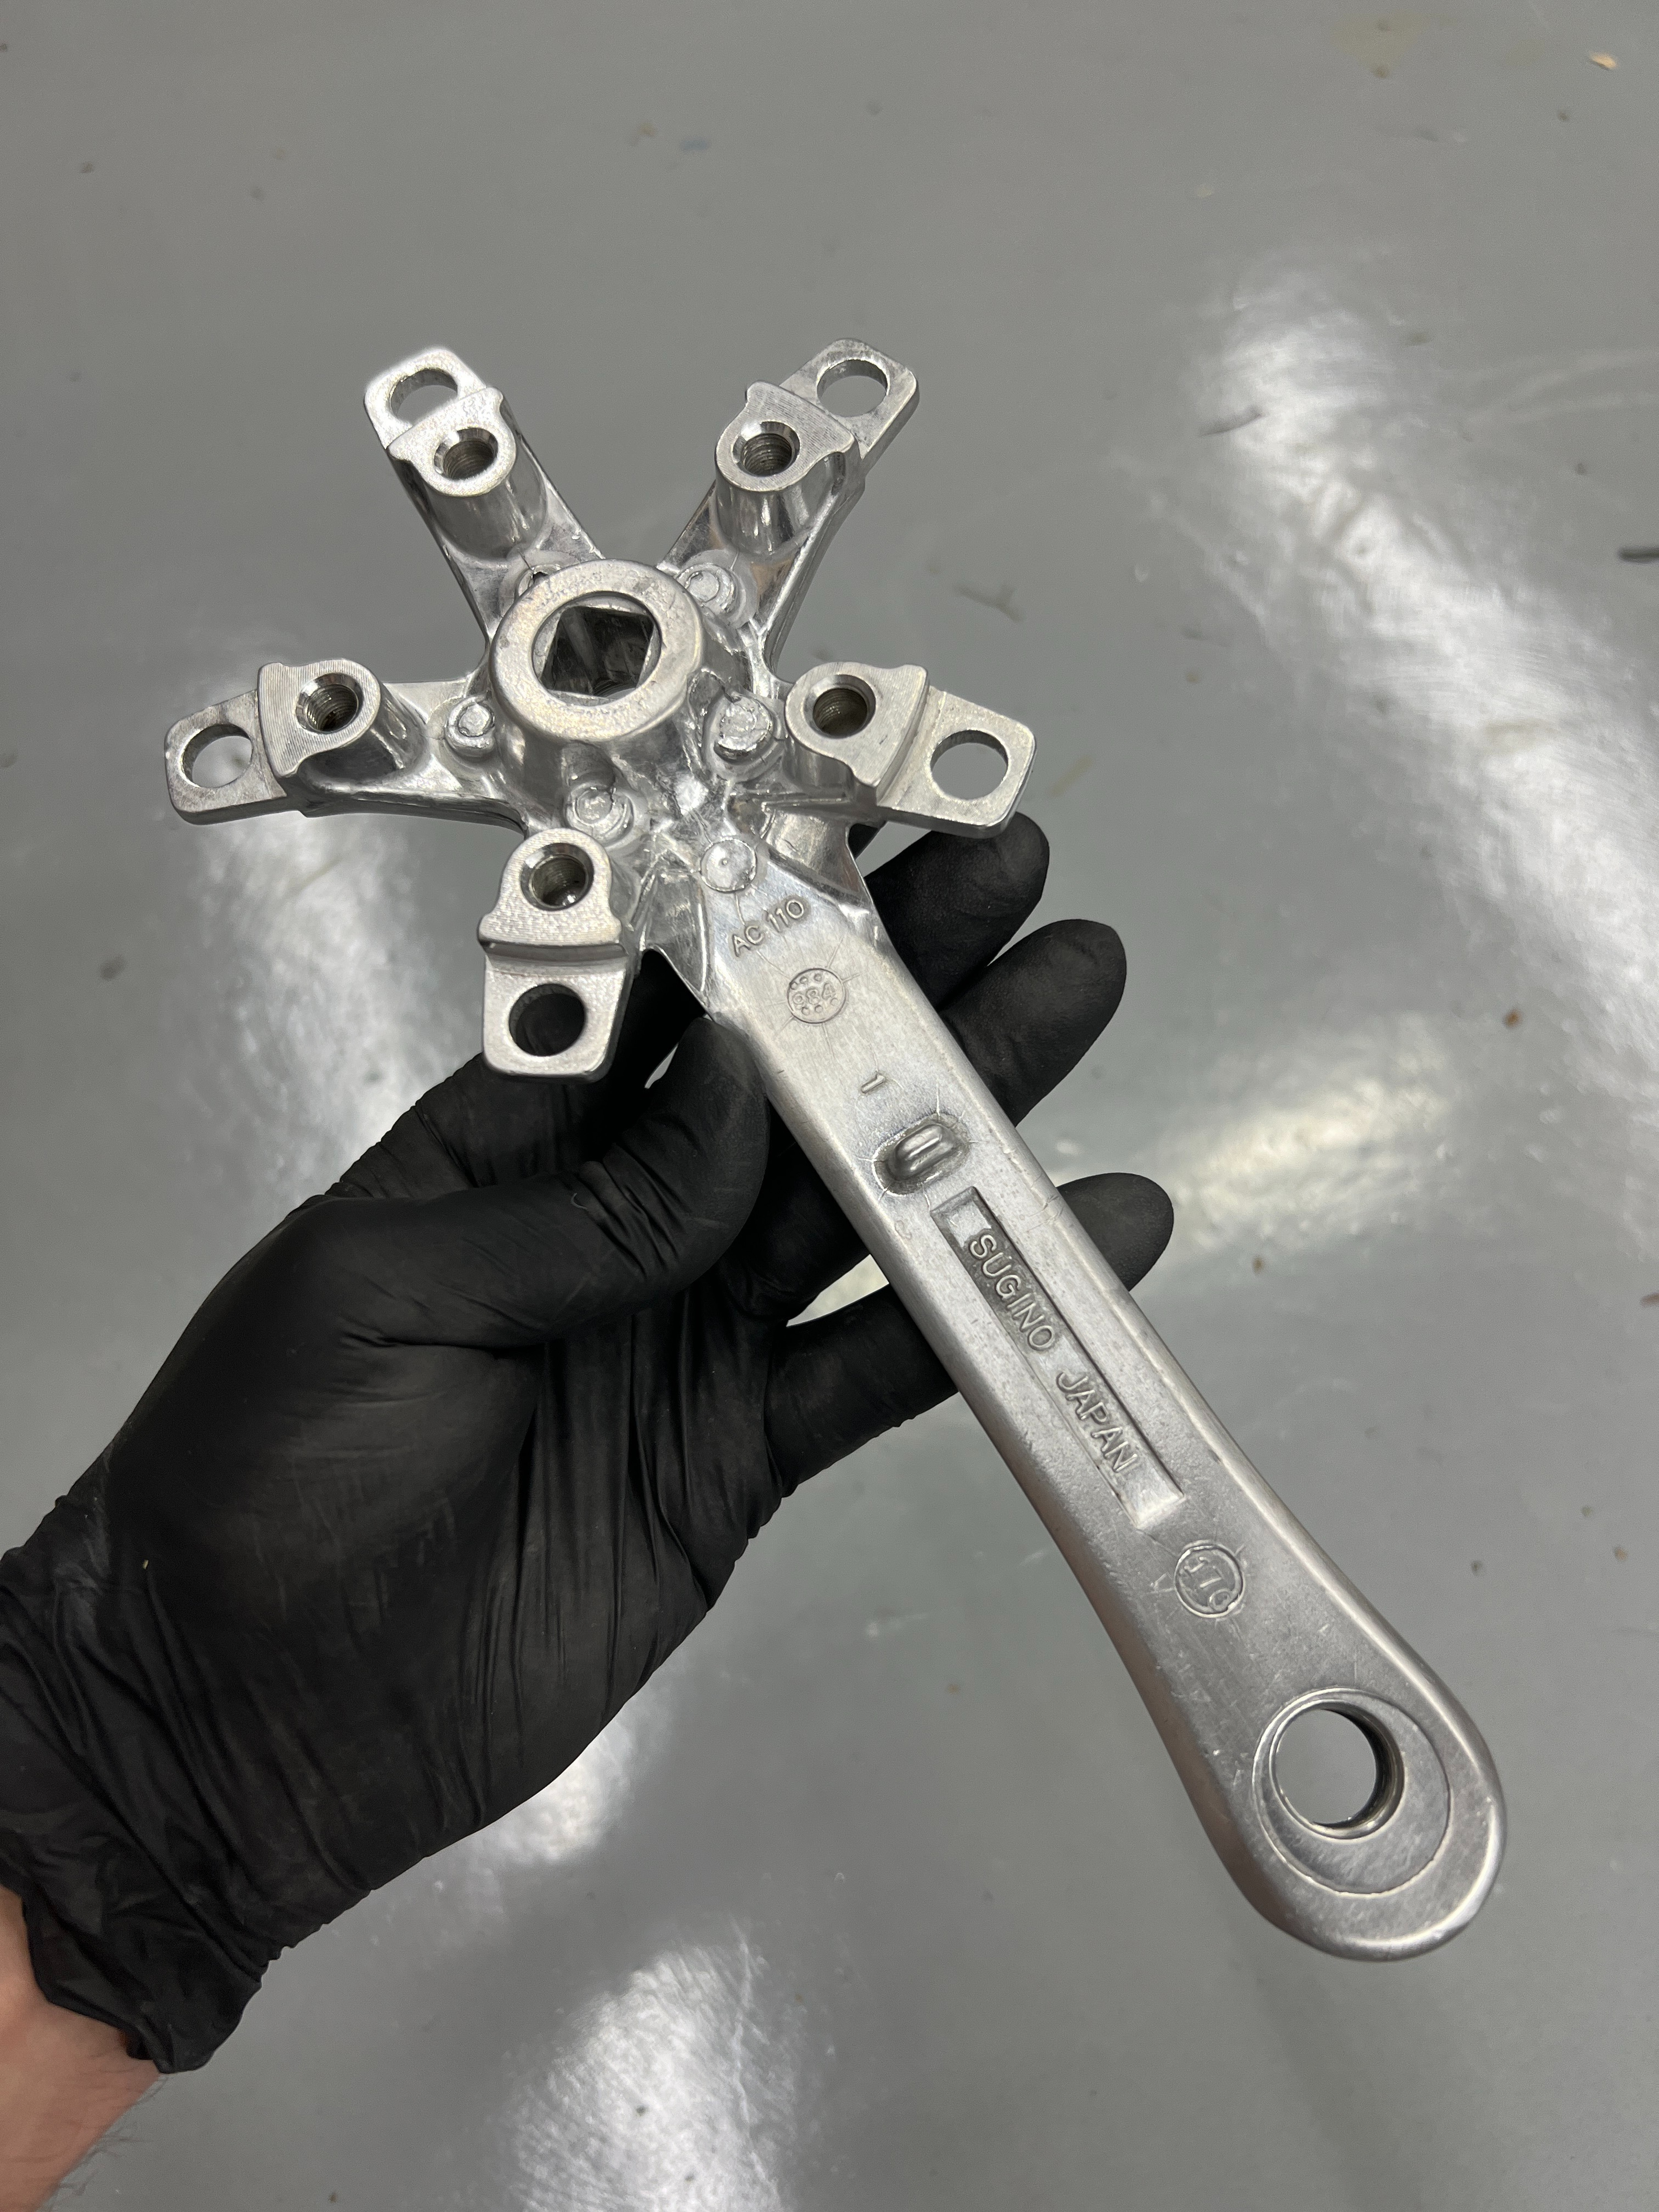
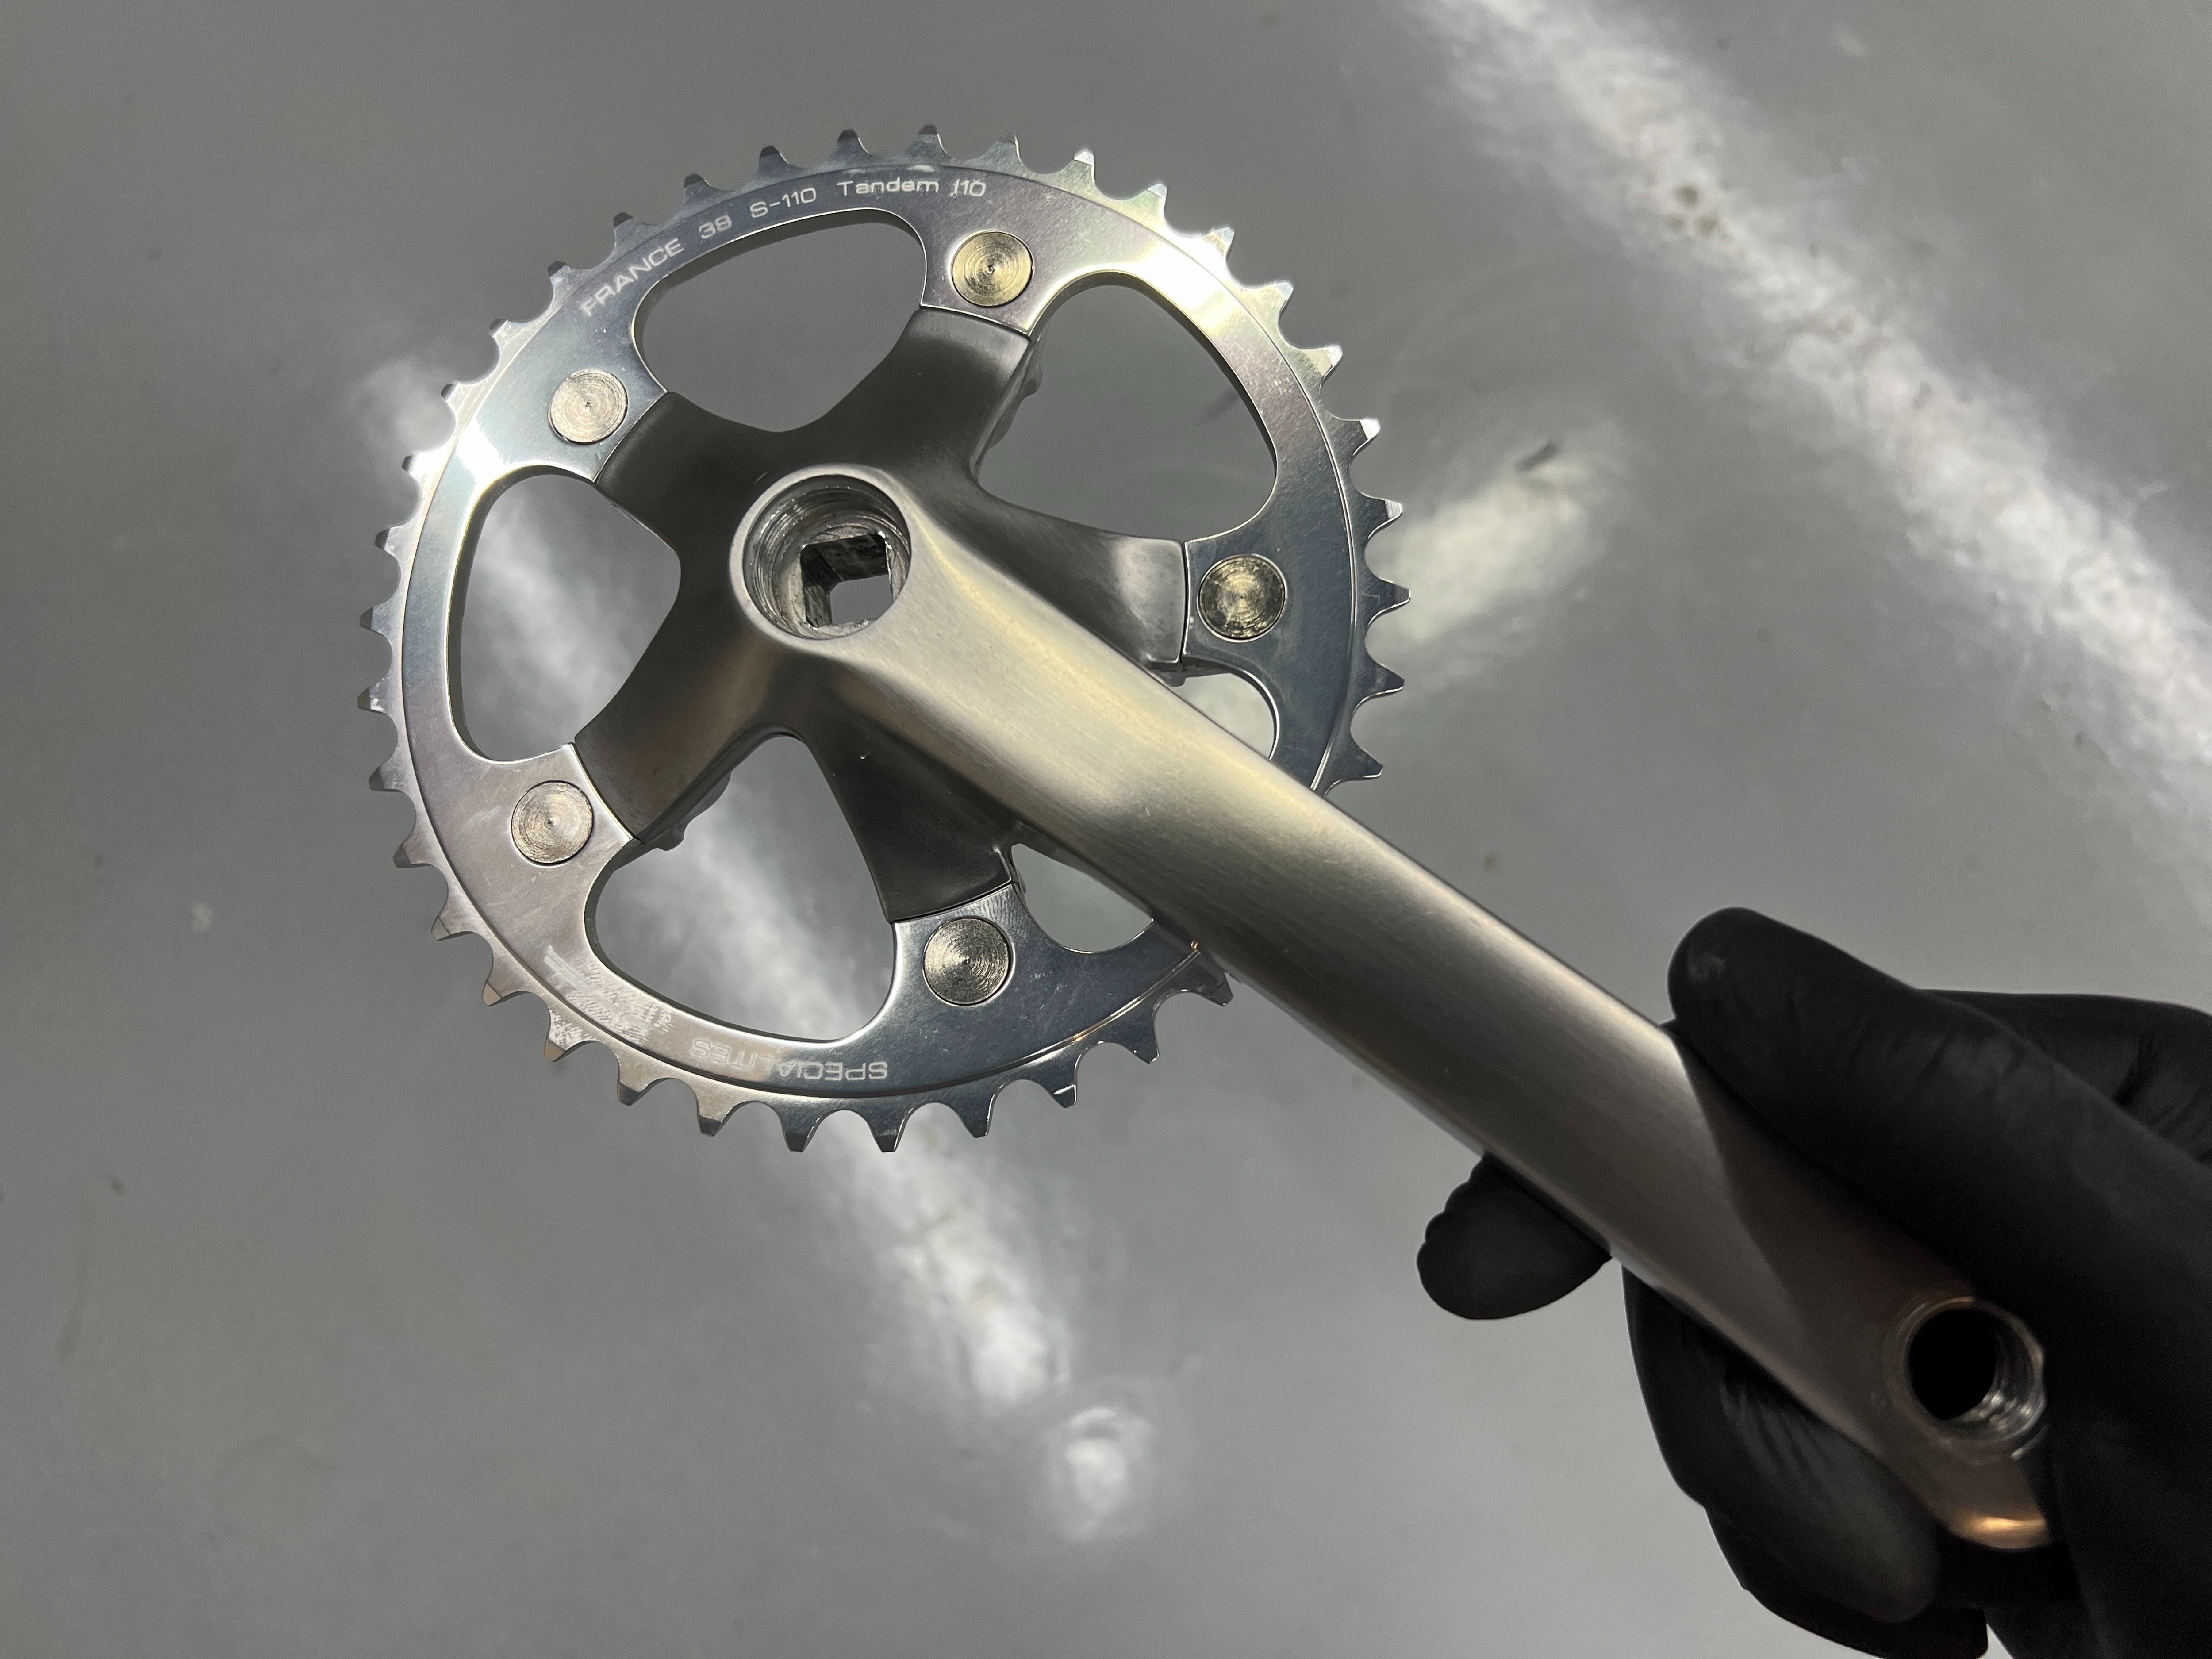
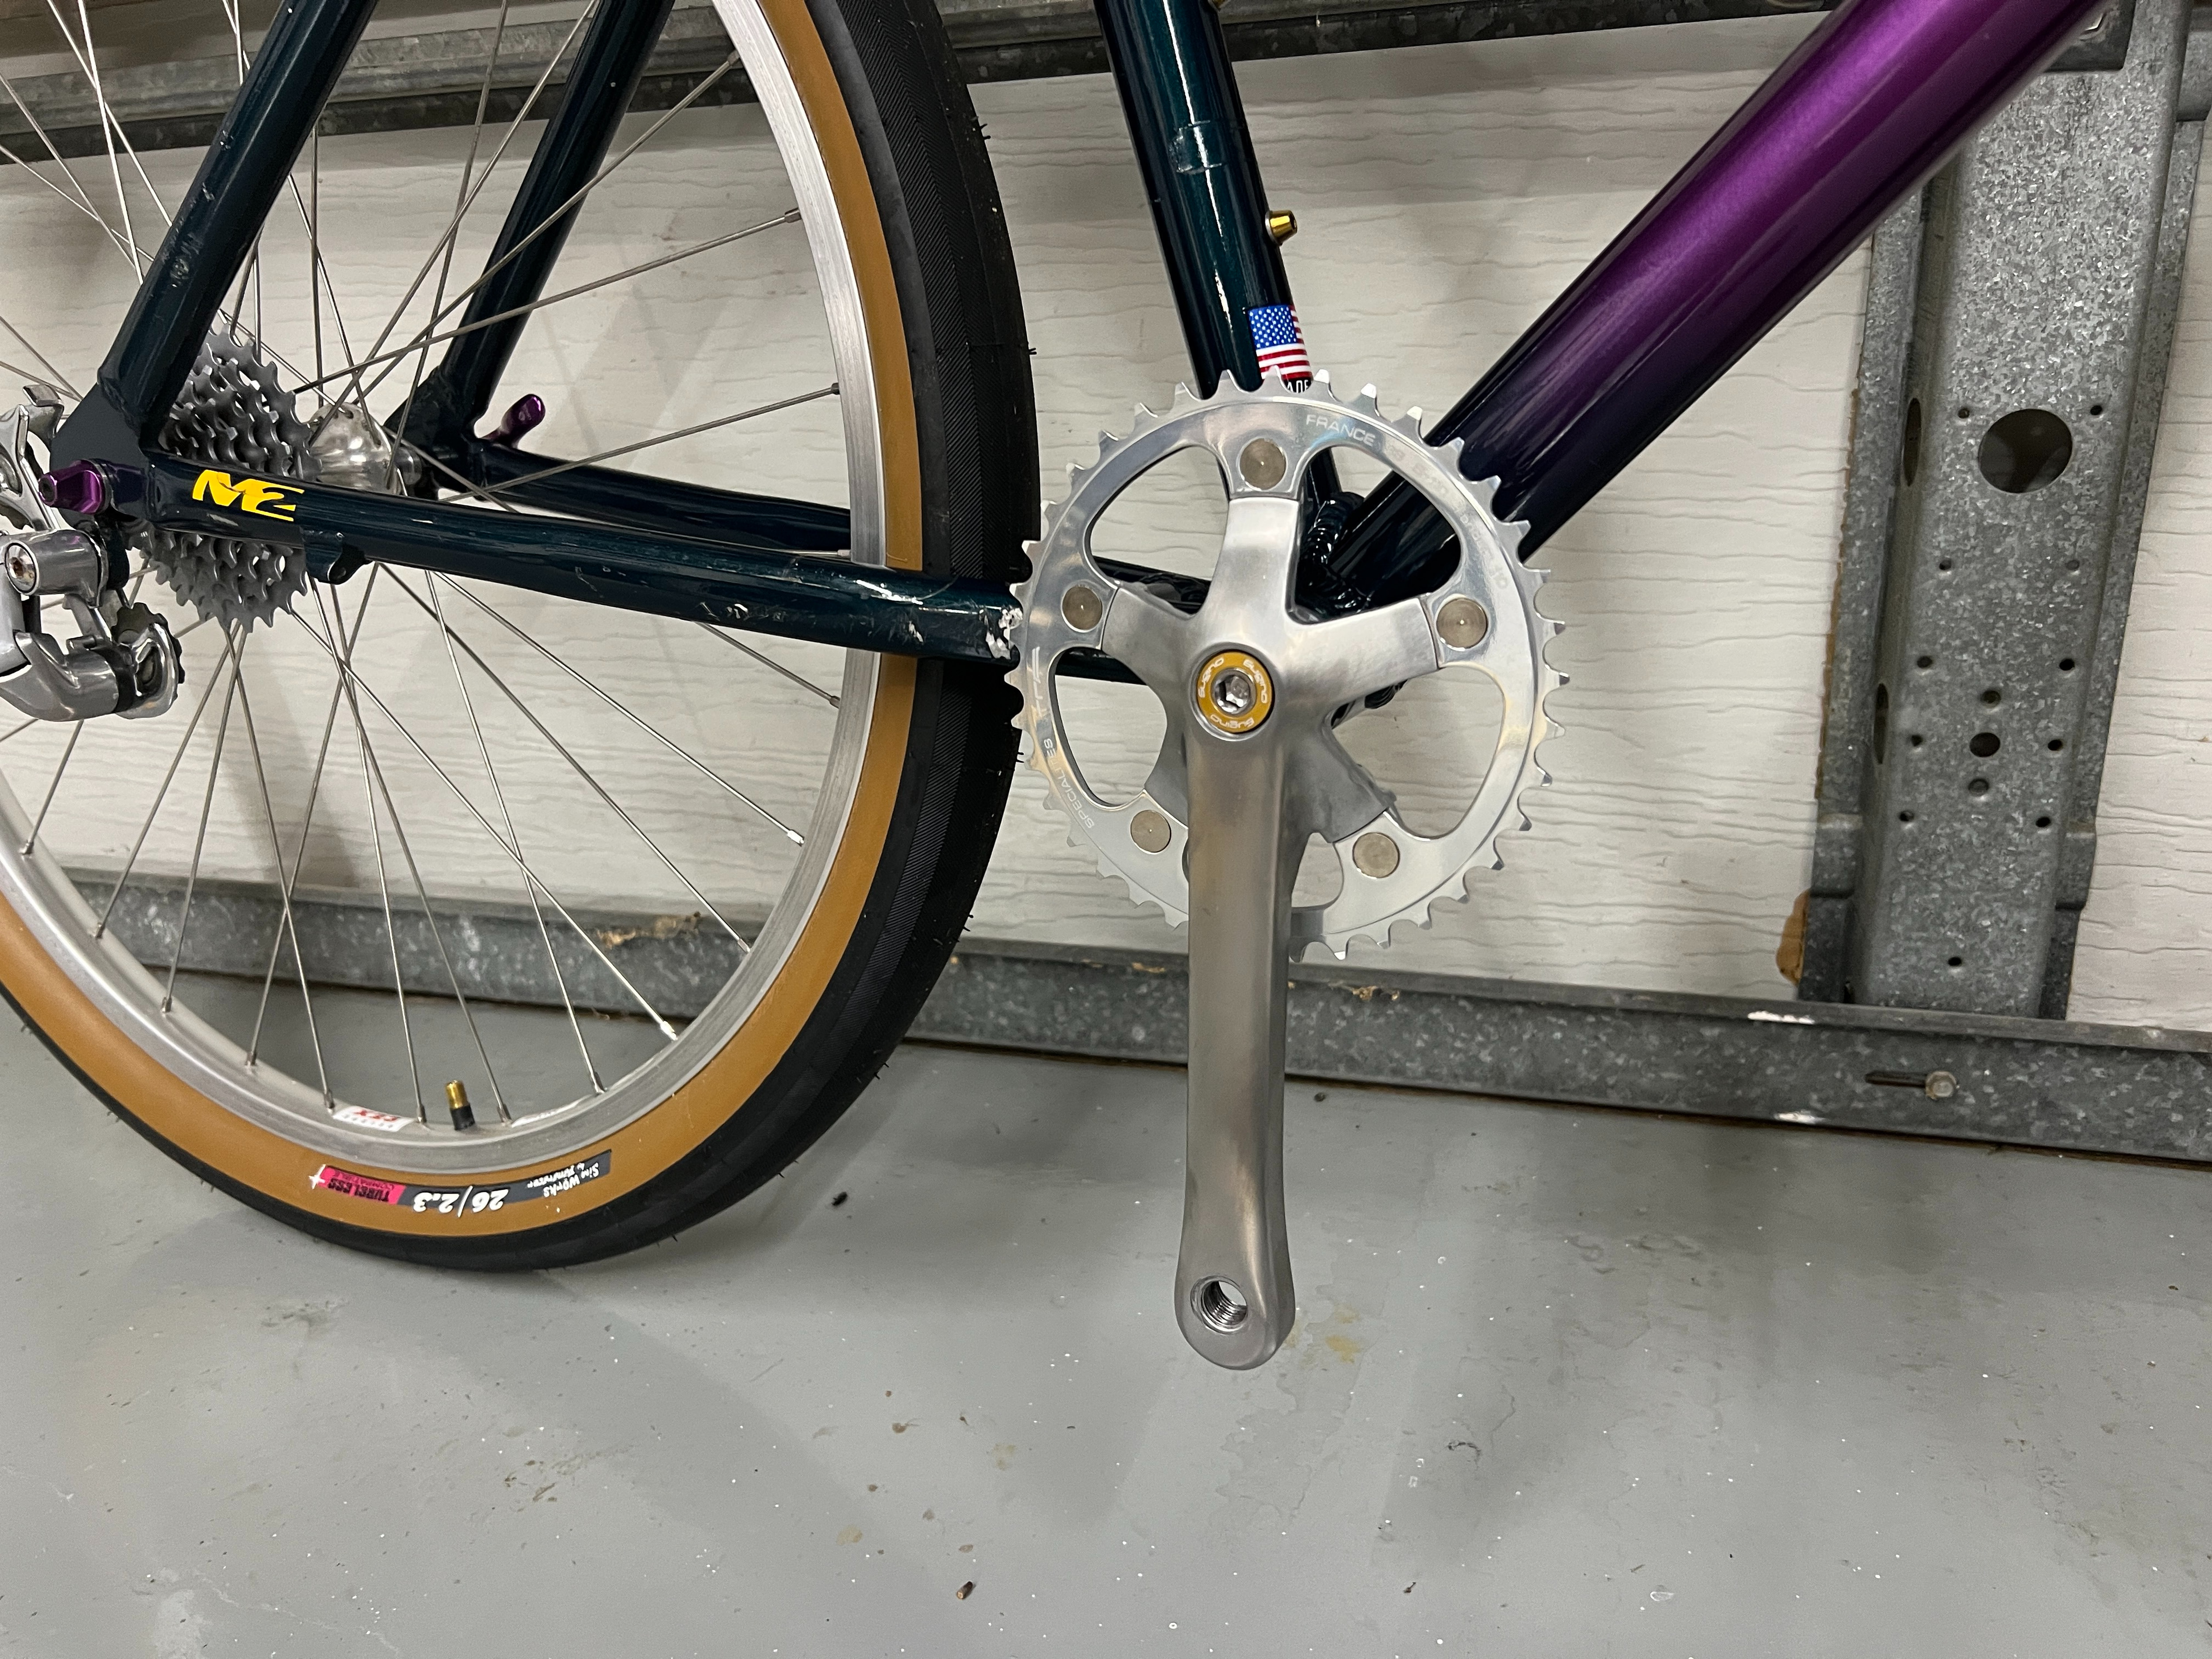
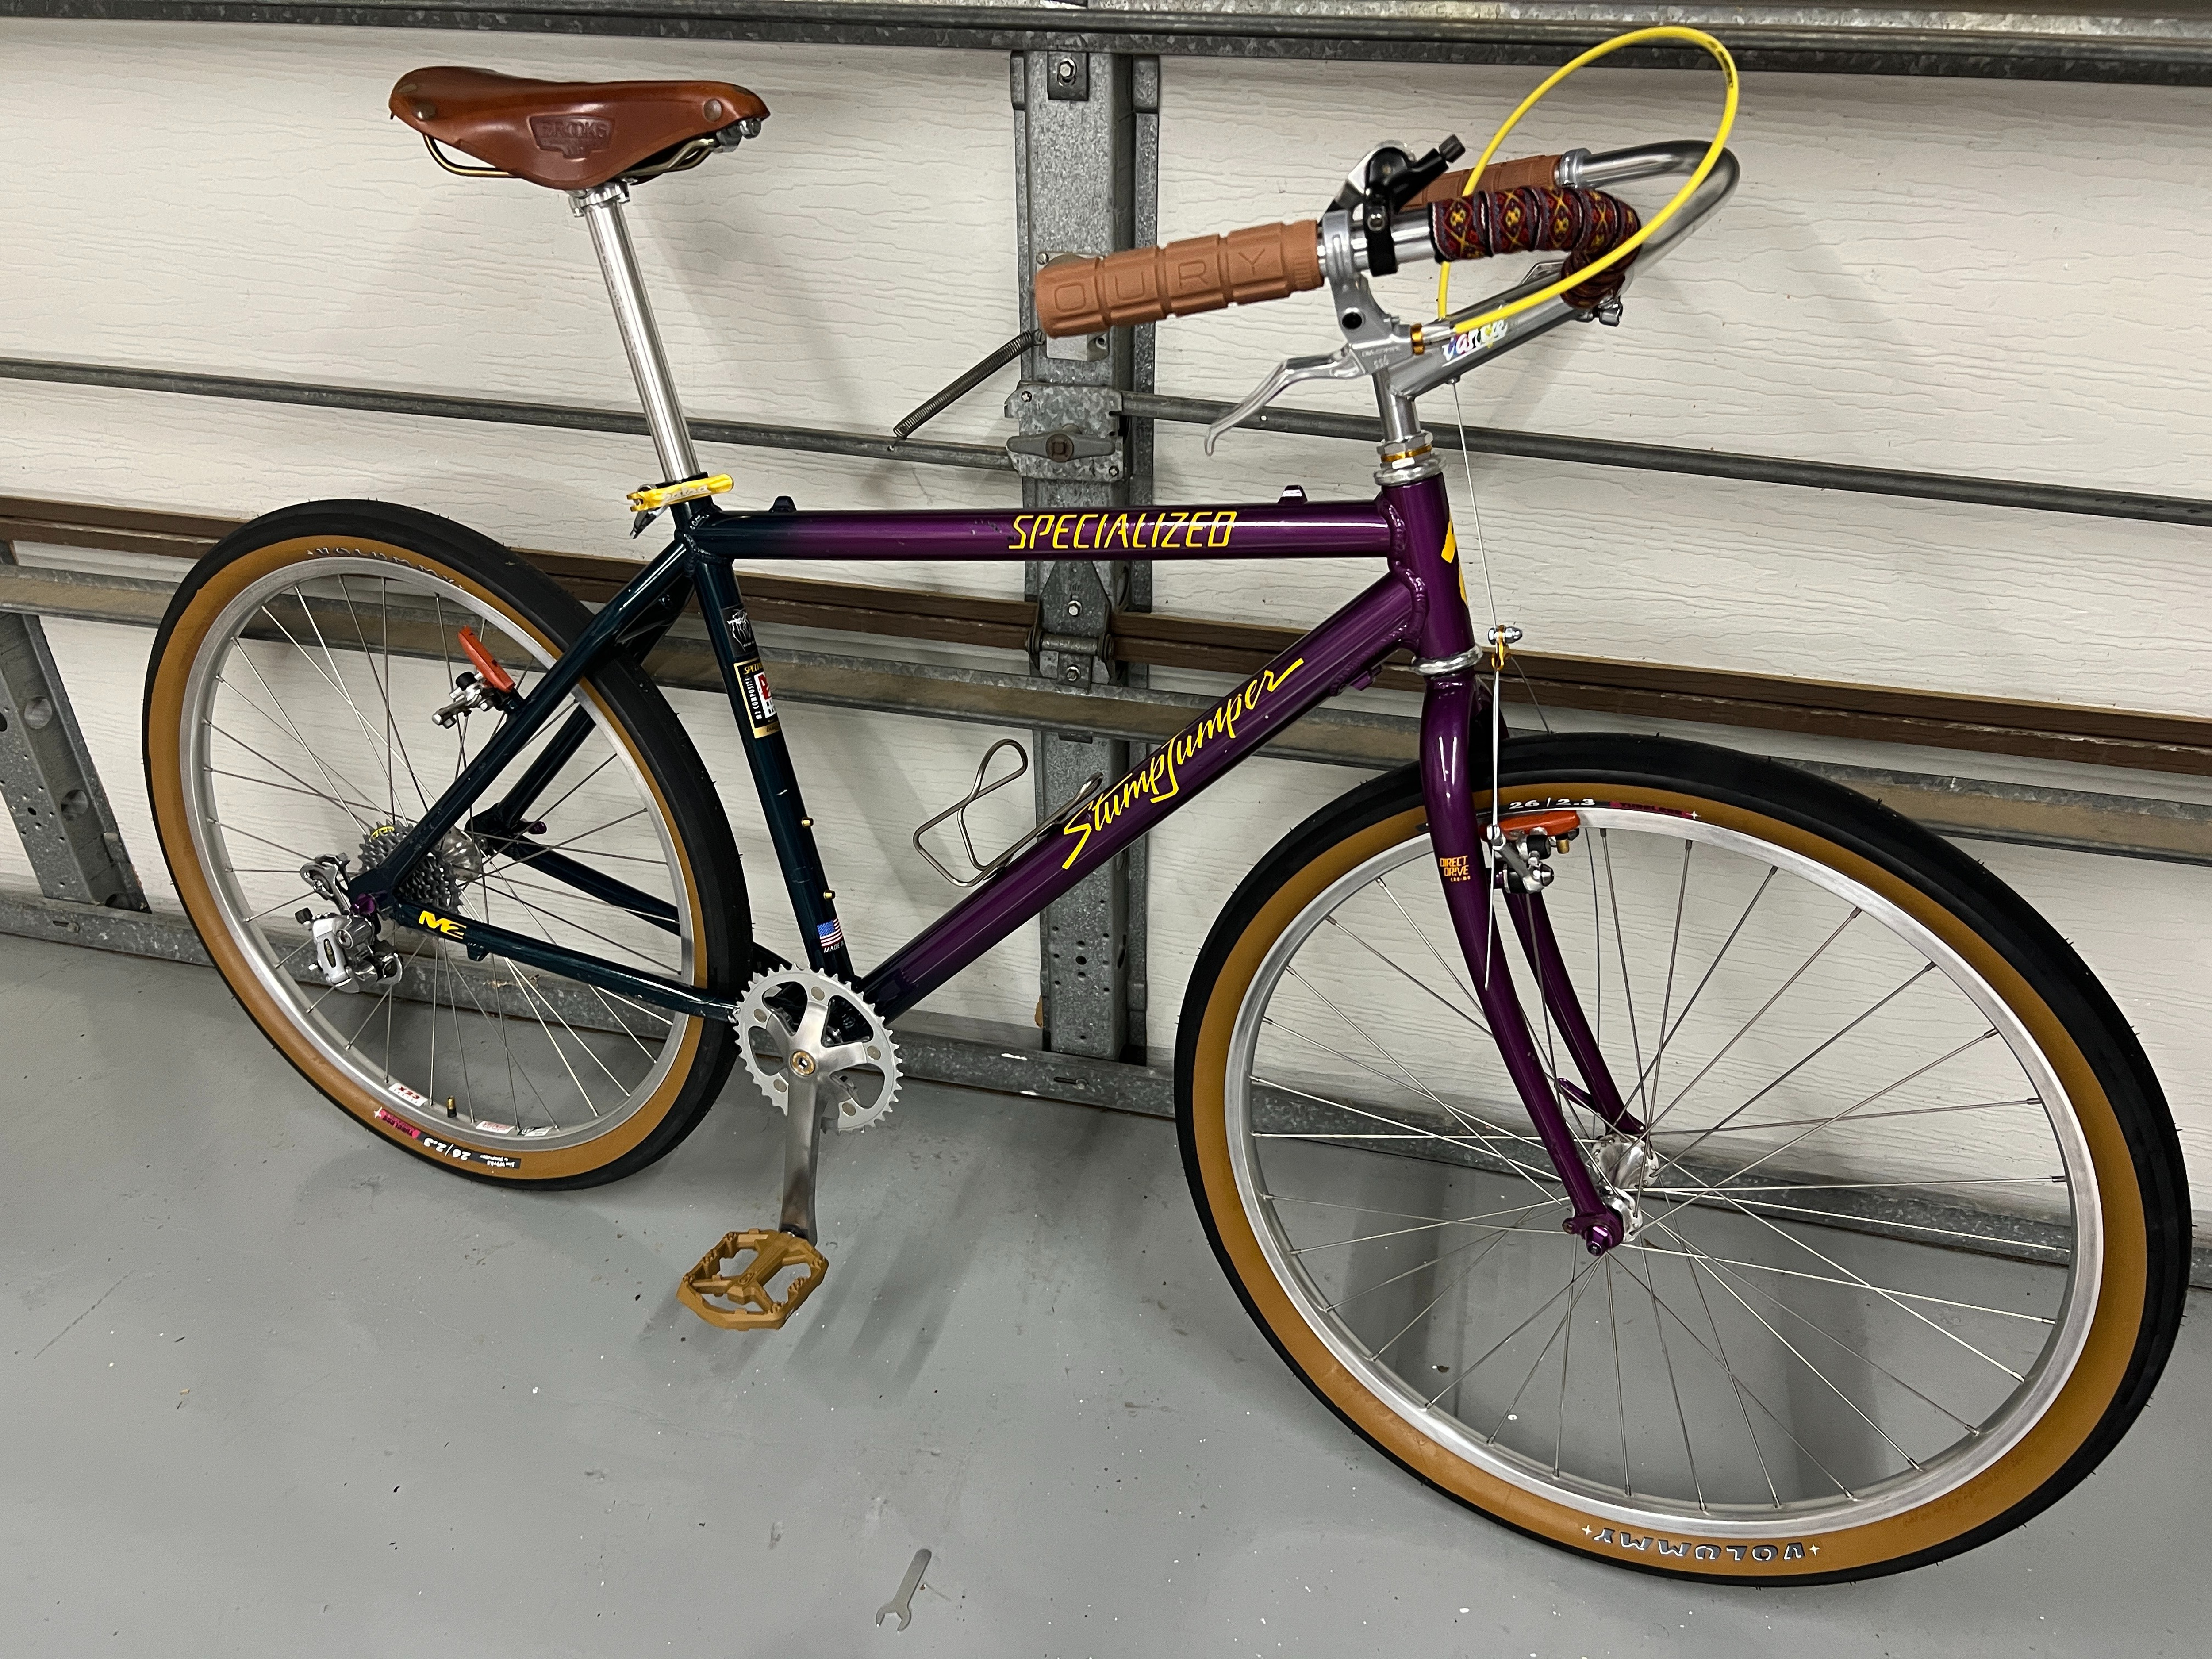
Tonight my plan is to take a break from the brakes and restore the crankset.
2 Likes
are you using anything under the woven bar type to absorb vibration?
Nah. I have some double-sided carpet tape under it. It’s highly unlikely that I’ll actually put my hands there, but it also feels fairly decent as-is, at least for occasional use.
I’ve seen people use “alien tape” or nanotape or whatever and I thought about that, but didn’t see a need.
Can you flip the rack bracket?
Can you bend it or find another to bend?
2 Likes
Flipping gets it a bit too close to the tire, but yes technically. And I’m sure I could bend it. I’m only hesitating because it has a pretty thick clear coat on it which would likely crack if bent, but now that I’m typing this, I’m realizing it would never be seen since the rack has a solid piece that sits on top of it.
I’m leaning more towards doing something like that and having the straddle above it.
It’s times like this I wish I had an anvil.
1 Like
Agree with @LASER_BEIGE ,flip the bracket then bend it to suit. If you’re not doing fenders you could even flip it and bolt it to the back side of the crown, with the bracket running under the crown above the tire and thence up to the rack.
1 Like
I know it’s not much but you will feel better if the weight is lower, that is, the basket closer to the tire
2 Likes
PS yes the vast majority of bikes have a Ø6mm hole in the fork crown, that’s the standard size of a typical road bike caliper brake mount bolt, and lots of MTBs just followed suit with a hole that size too.
(part of why the bracket is shaped like that is to reach up and over a road caliper)
2 Likes
Ah, makes sense then! I really had no idea.
I didn’t really feel any sort of way about enlarging the 4mm hole (because what good is a 4mm hole anyway?), but if I did, I’d feel less bad about it knowing that.
riding the straddle mad high to get around the bracket is going to be at the detriment of the brakes with certainty
2 Likes
Totally. I think the best and obvious course of action is to just set it all up without the bracket and go from there.
Working around a rack is dumb. The rack should work around the equipment that the bike actually needs.
2 Likes
I like this. That made my mind go to “maybe I could just cut an old quill stem short, jam that up in the underside, and run a bolt up through the bracket …”
Might have jumped the gun drilling the fork for that bolt.
Whatever the path, I think the goal is to essentially get to an L bracket of some kind.
Folks have done a star nut up in there with the same idea. Or a “daruma” eyebolt sort of arrangement, but you’d need to make sure it held the fork bracket secure, usually used just for fenders.
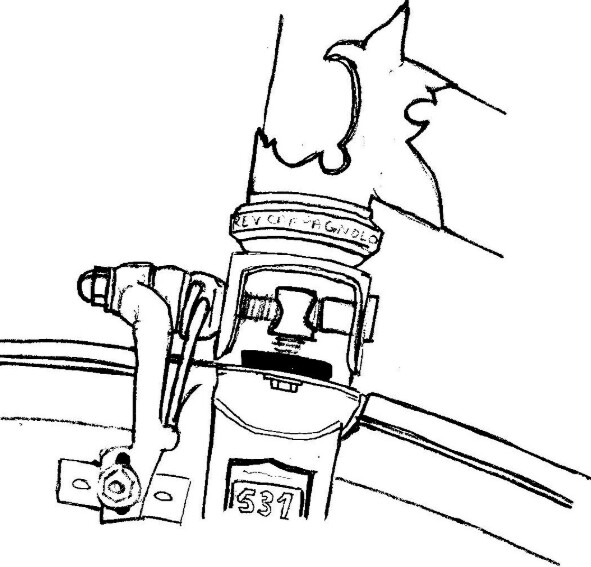
1 Like
Rockbros out front mount!
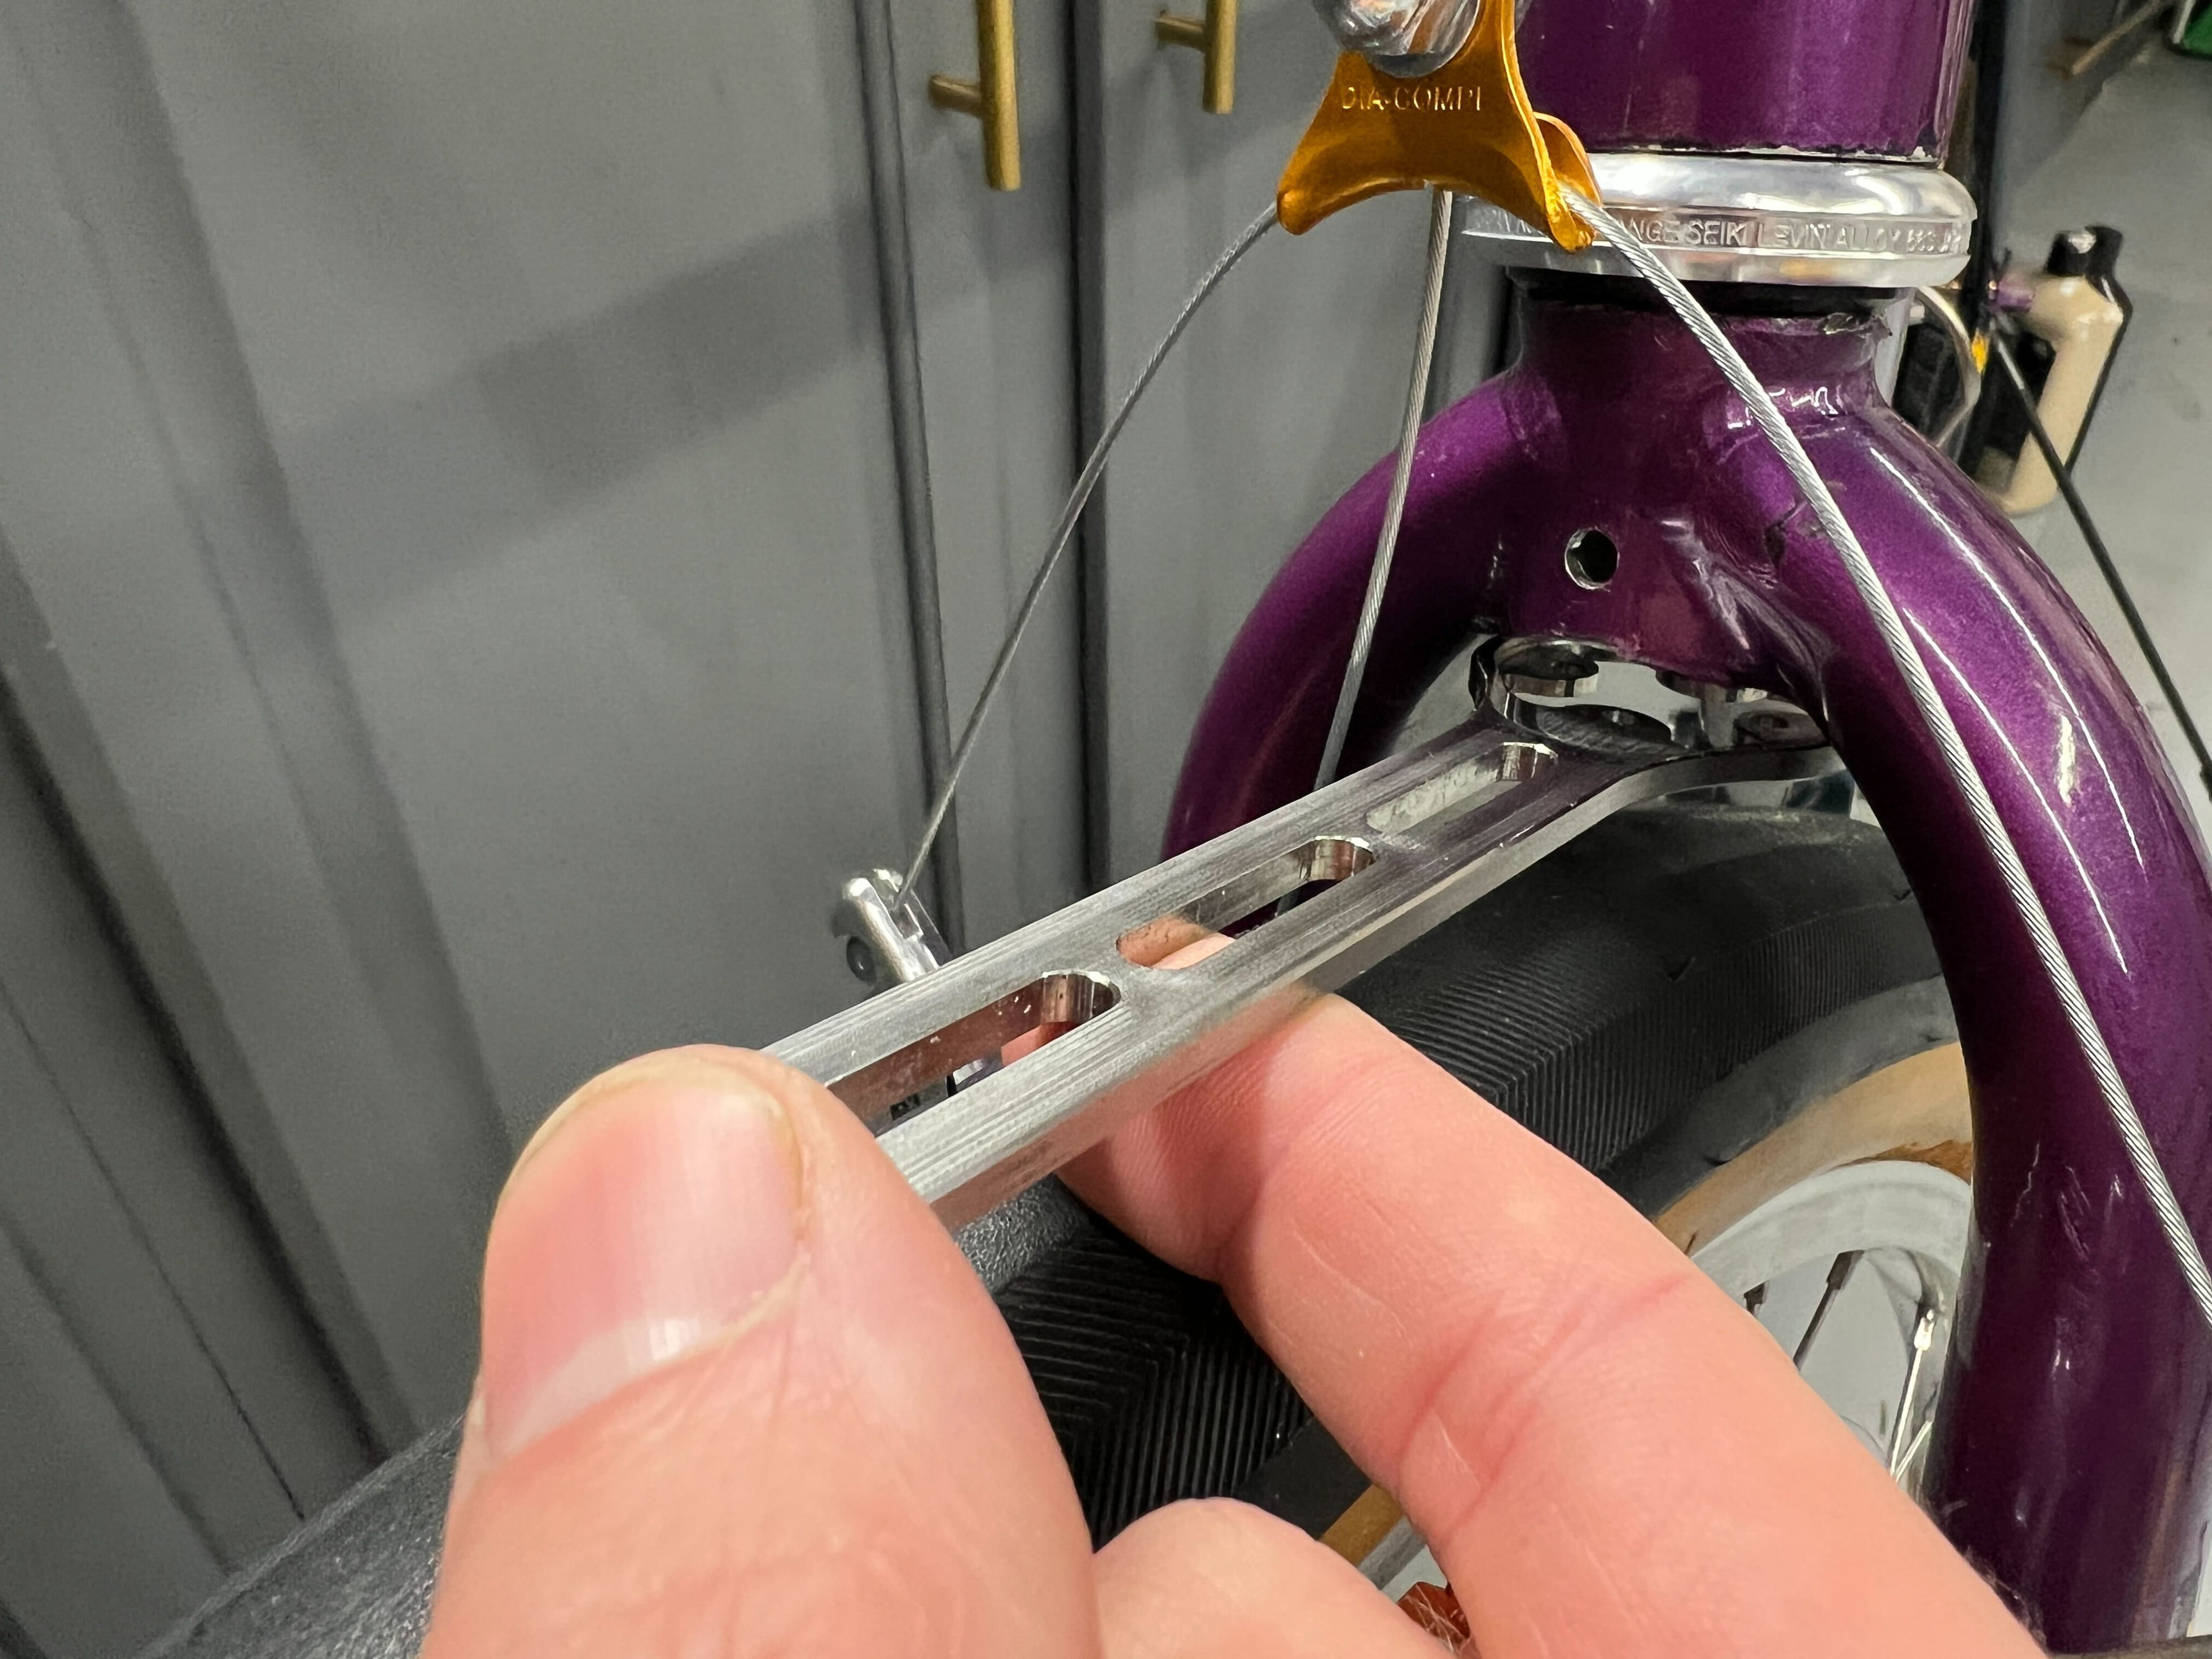
Almost works…
Could cut it though
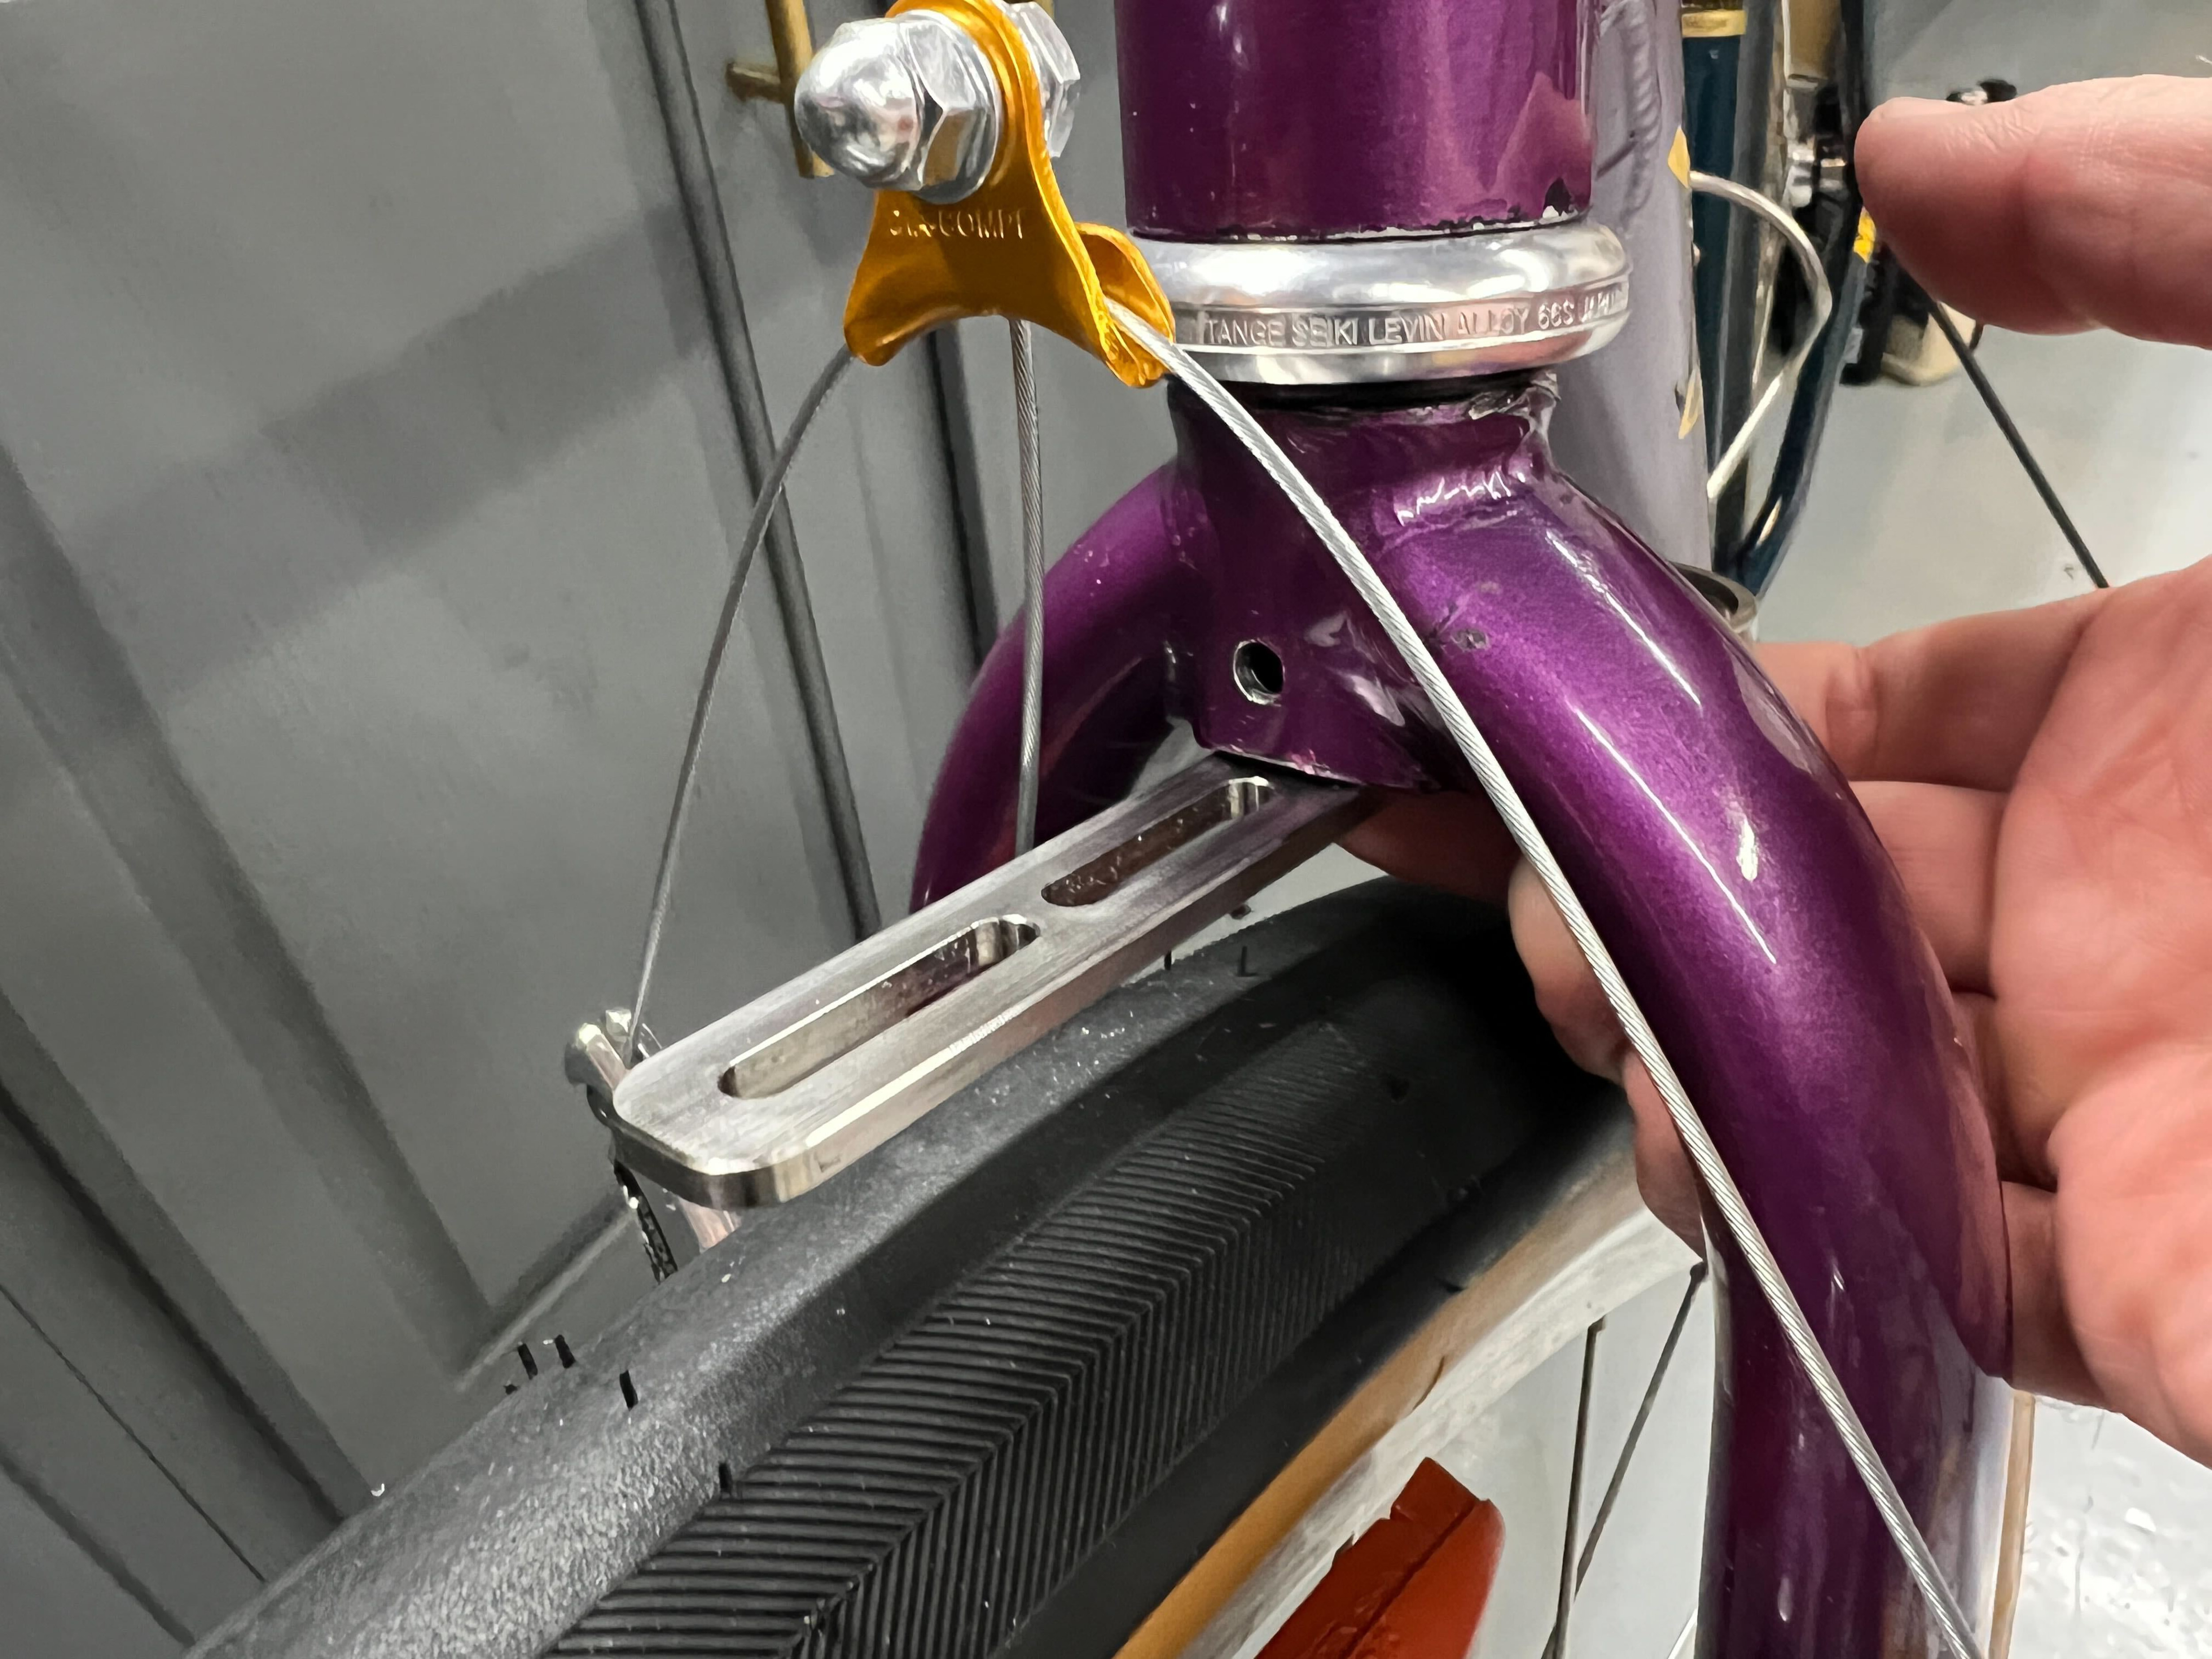
I am very into this. Could maybe repurpose a brake pad eye bolt for the downward one but it might be a tad long.
Edit - Not sure if it would be good to have something that rigid though.
1 Like