Gotta get a vintage seatpost atmo. That Thomson sticks out like a sore thumb.
Looks great otherwise. A+ thread.
Spray matte clearcoat on that
2 Likes
I could see that, thanks for the perspective. Nitto S65?
Honestly it’s highly unlikely that I’ll replace it but you’re right, it is pretty different design language from everything else.
spose it would make more sense if I had a thredless stem and all King/Paul jewelry…
Damn good call sir.
It’s actually not quite where I want it at the moment and I shouldn’t have installed it but it was 2am and I wanted to see it on there.
From 2 feet away it looks great, but I think I can get the satin finish more consistent if I put a small piece of the 3M scuffing pad on my mini pneumatic orbital. Top speed 15,000 RPM!
A Kalloy Uno would be period correct.
5 Likes
Got distracted and did a little accessory side project when a better idea for how to execute it popped in my head.
The end result are “chromies” as we called them when we were kids riding BMX bikes. Otherwise known as maybe novelty valve caps, I guess.
One kid had a PBR one which I always thought was cool, so I tried to see if I could find one, and there’s really not much out there in the way of beer can valve caps.
I found some old Etsy listings and also ran across some cool solid aluminum ones from Billet BMX, but those looked too large.
The Etsy ones though revealed that these small trinket beer cans existed, so I got a grip of them on eBay for like $10.
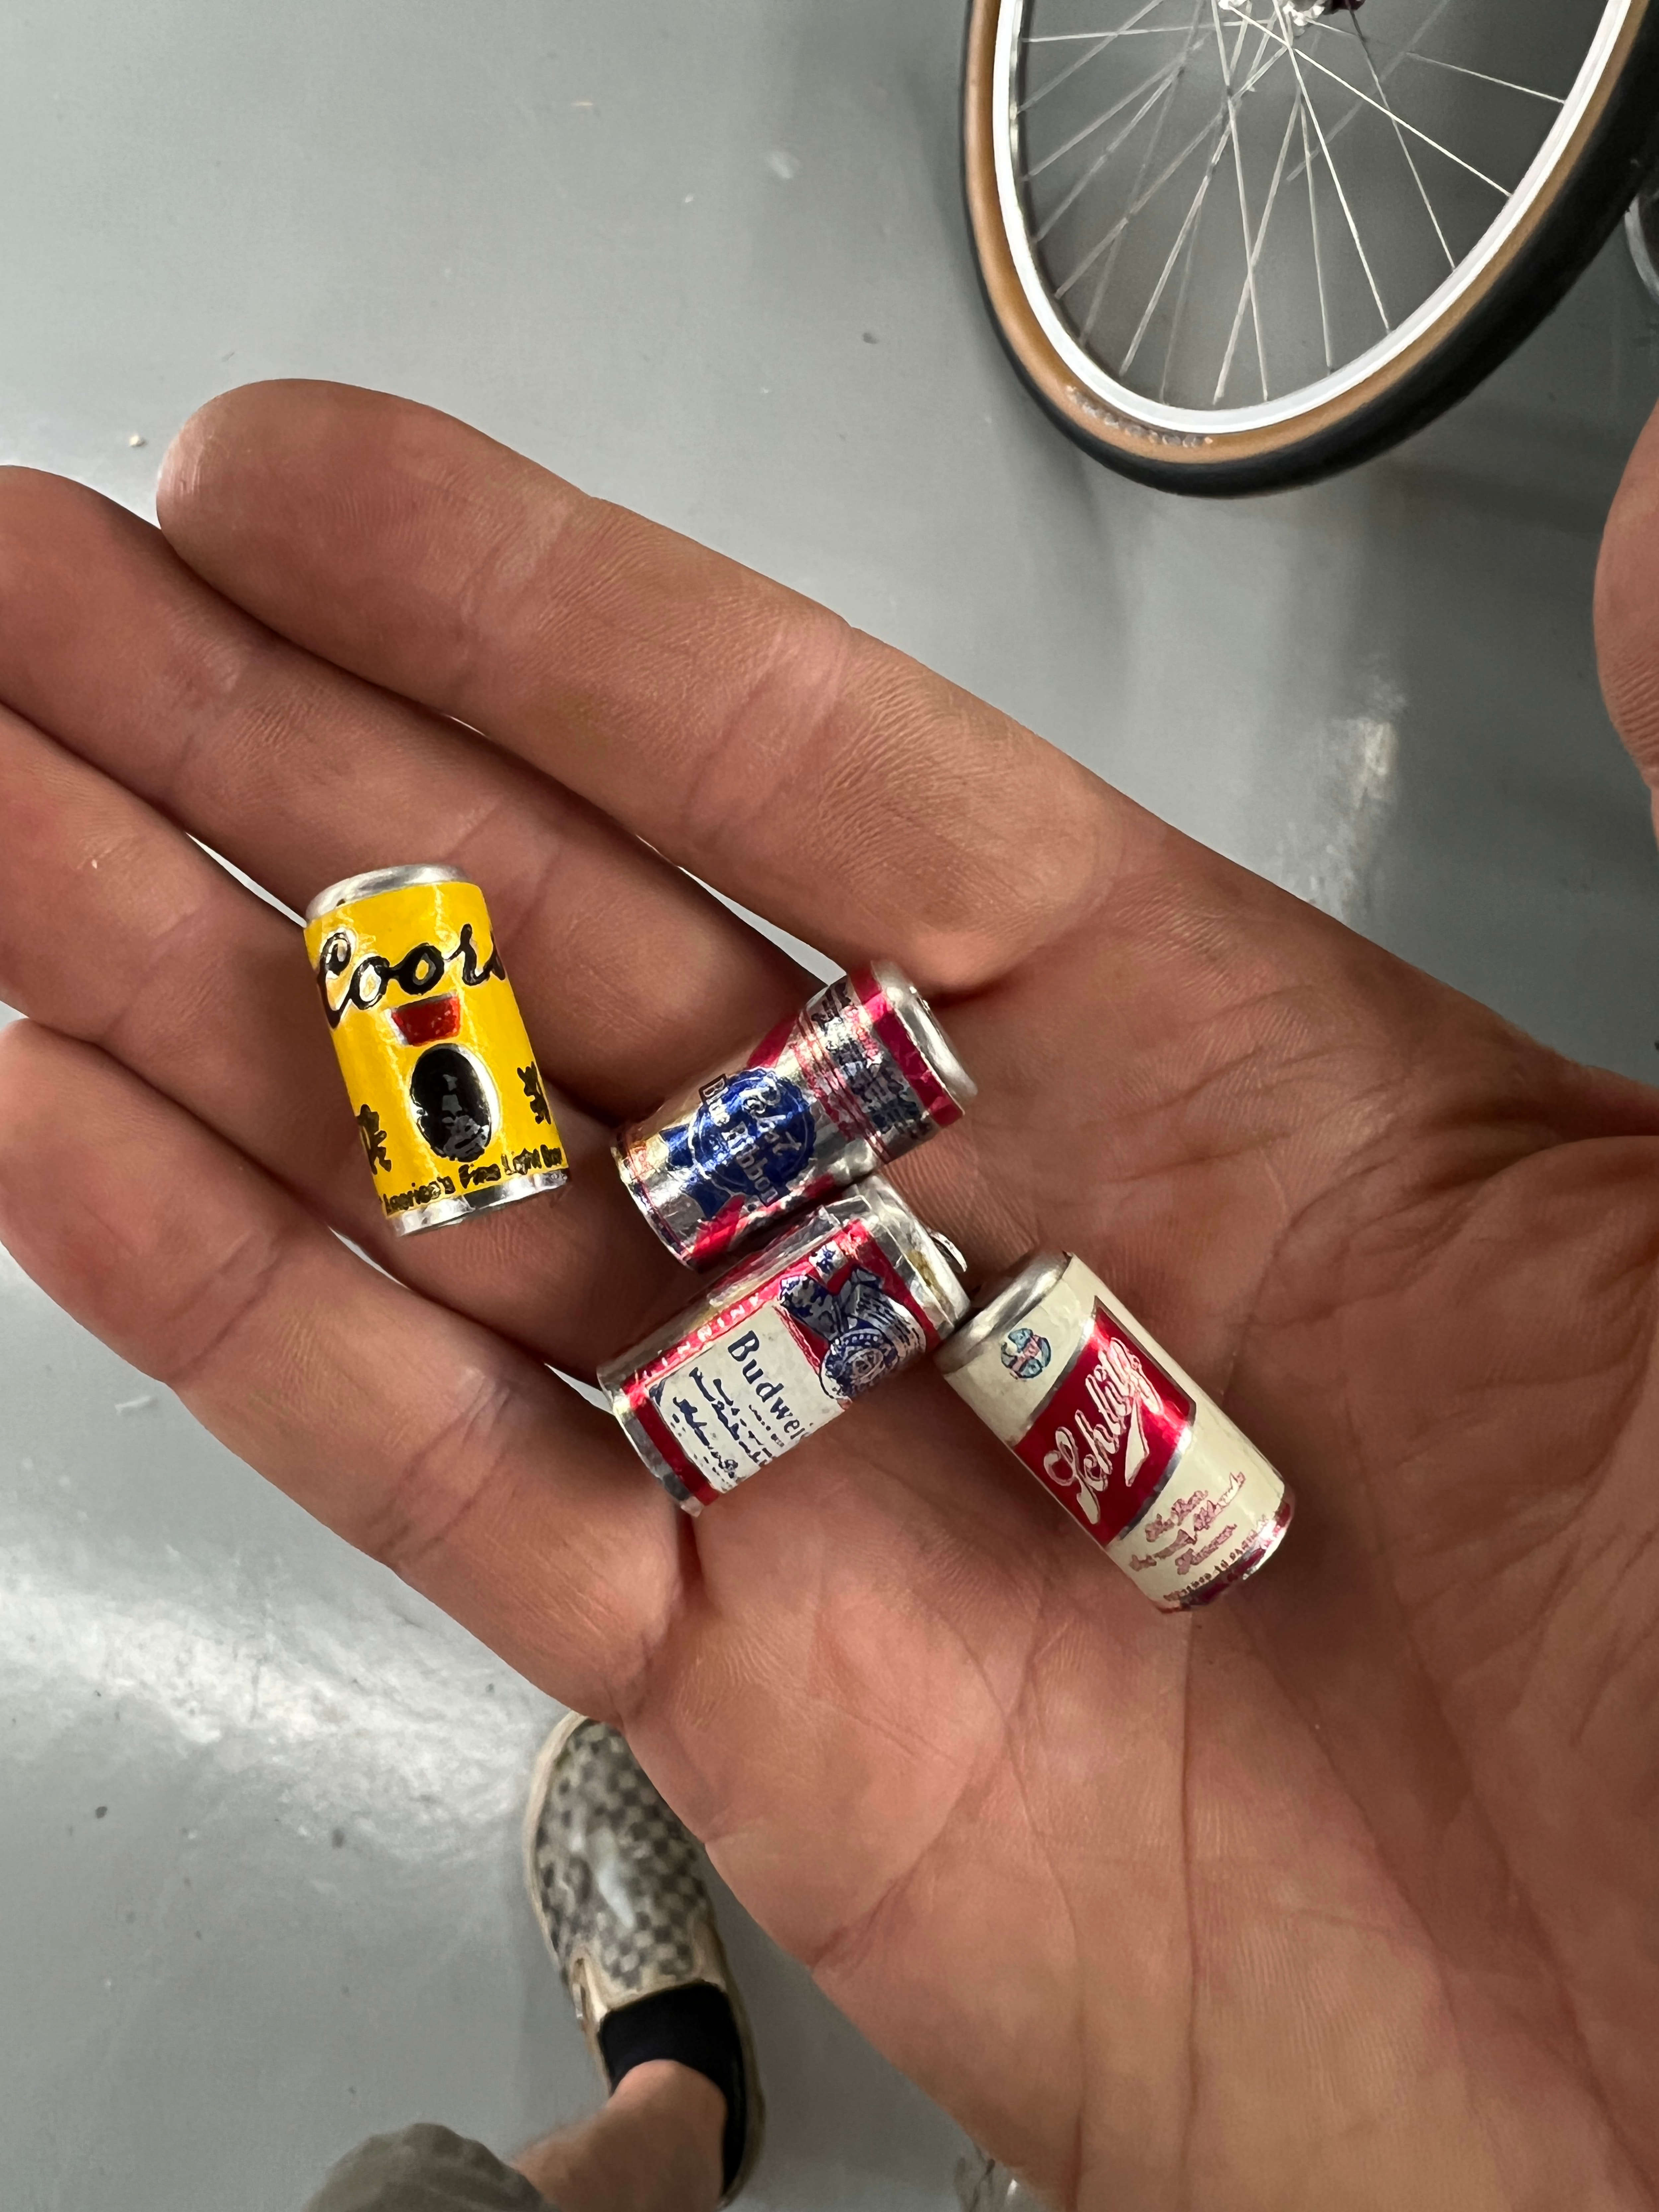
There are two of each except for Schlitz - there were 3, so that was my test one. I’ll likely do all of them.
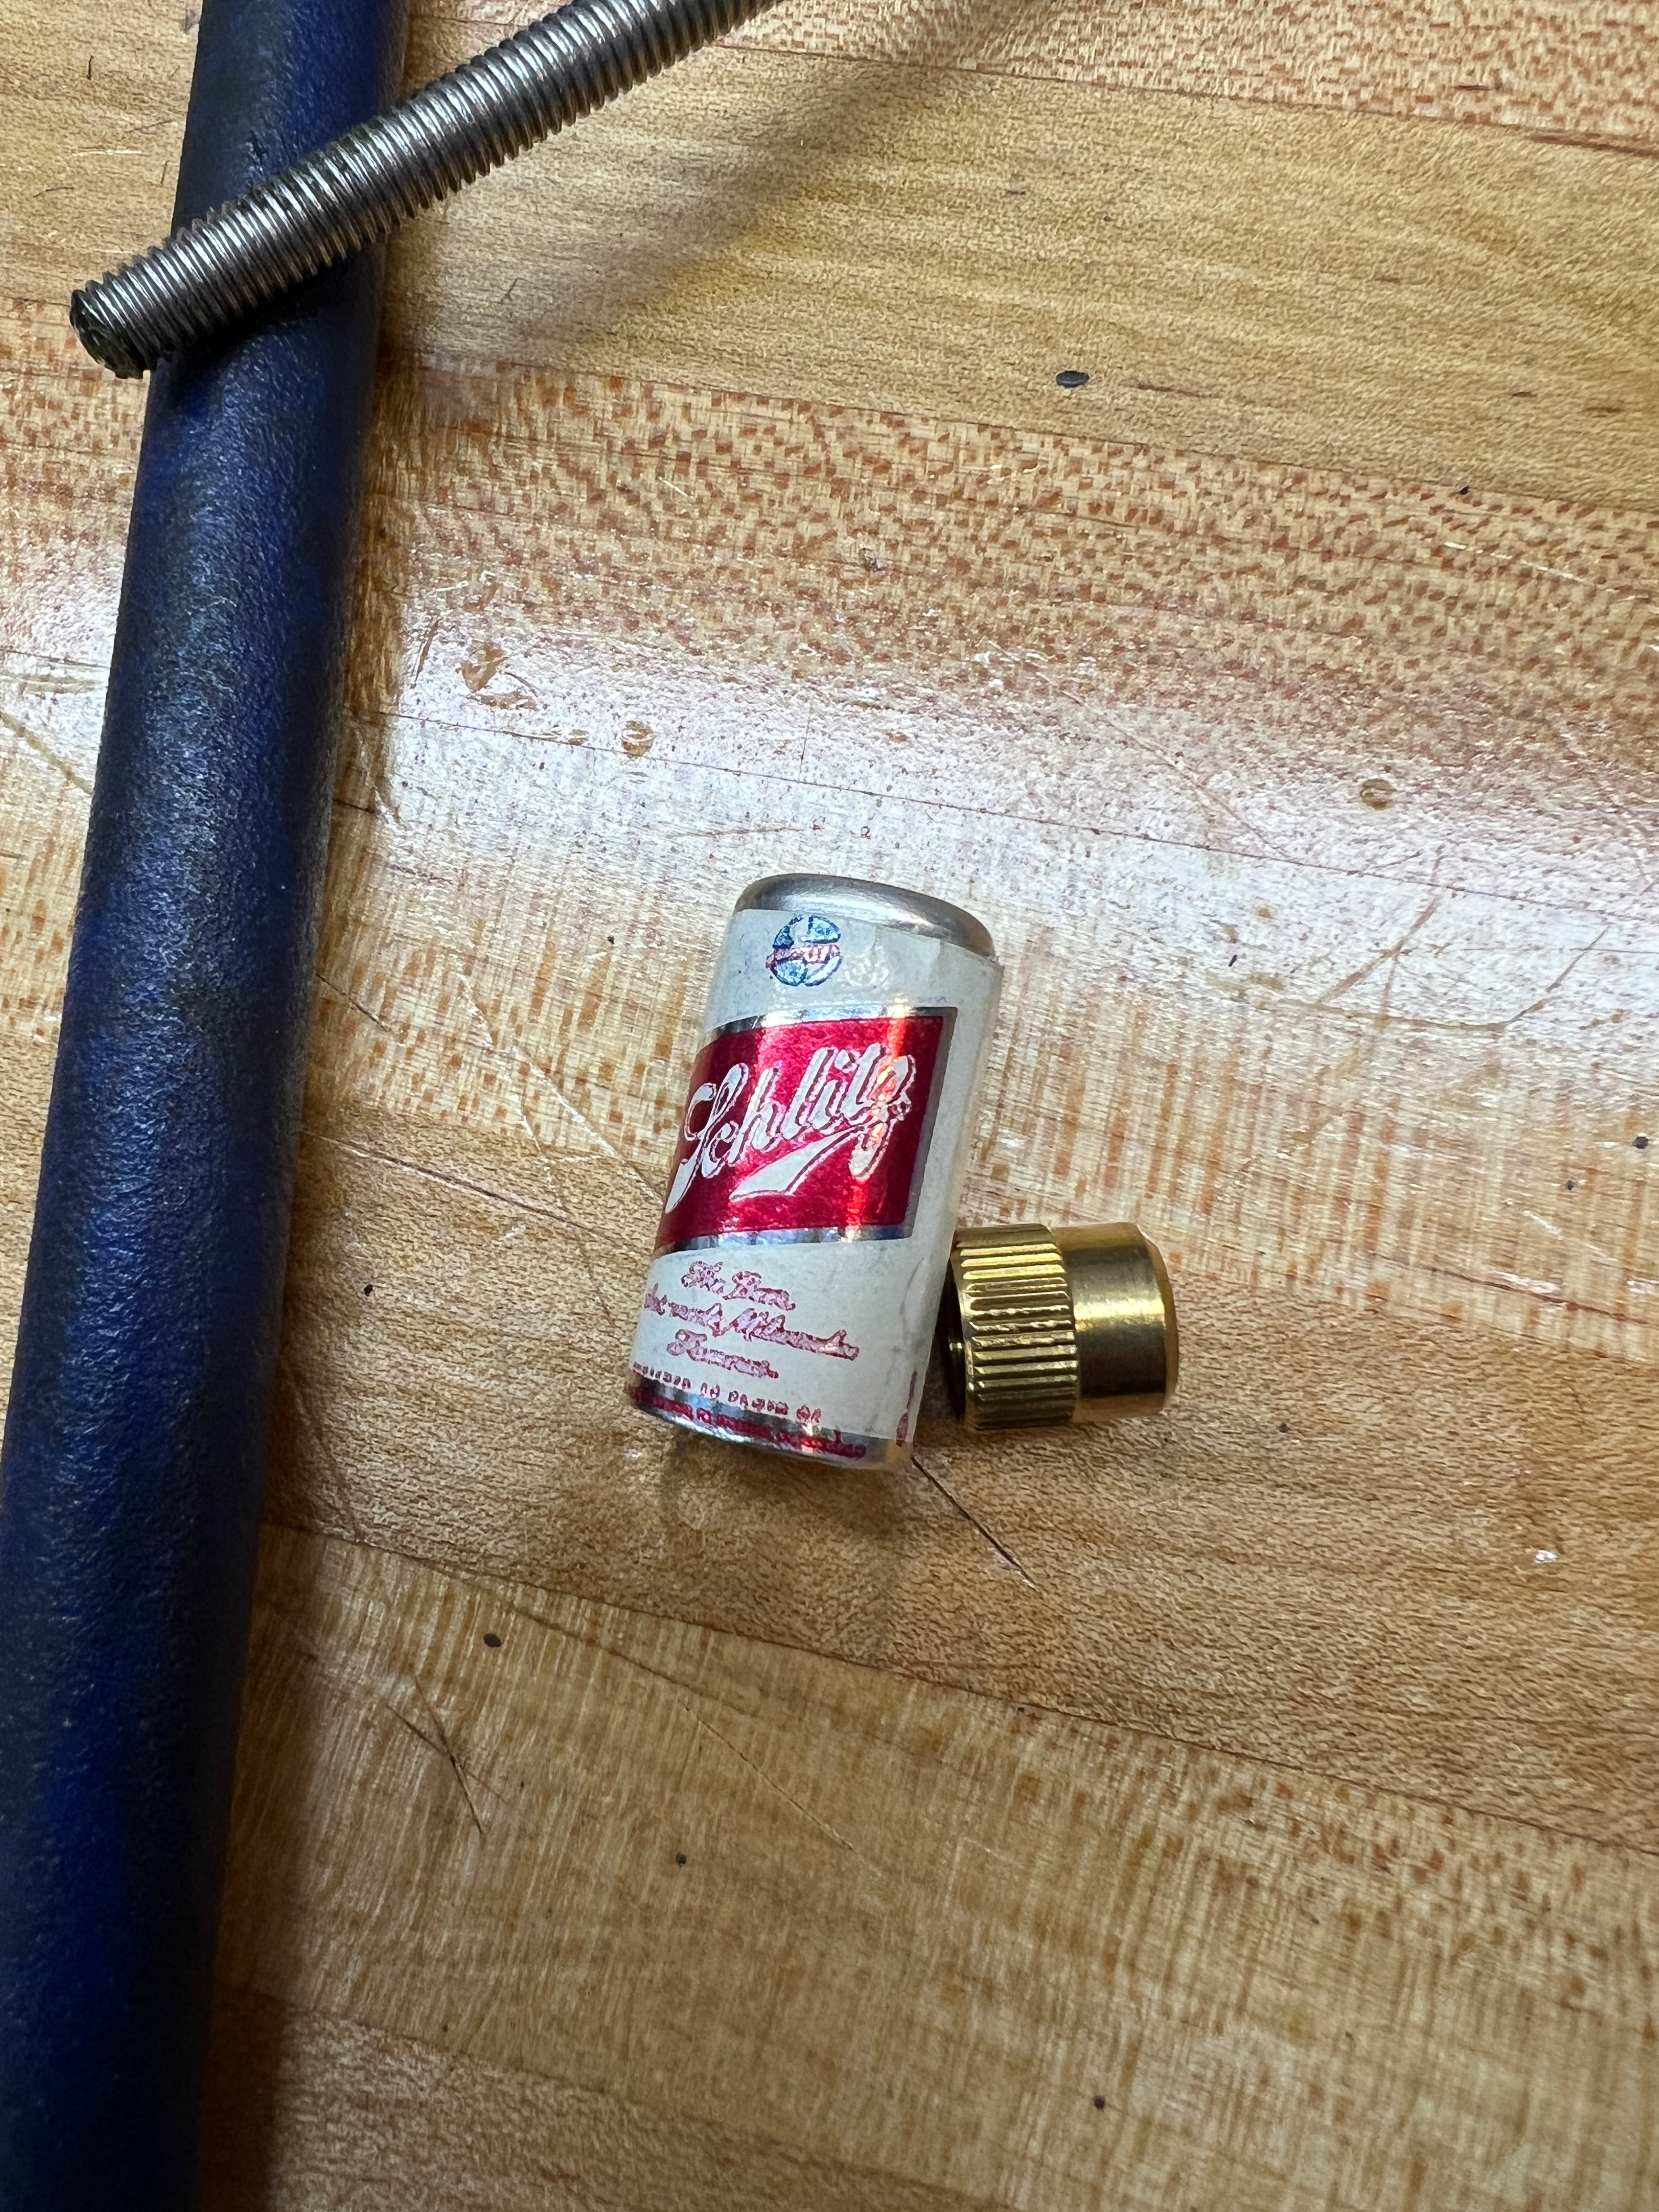
So yeah it’s just a brass cap shoved into the can, which is plastic, but the top is metal.
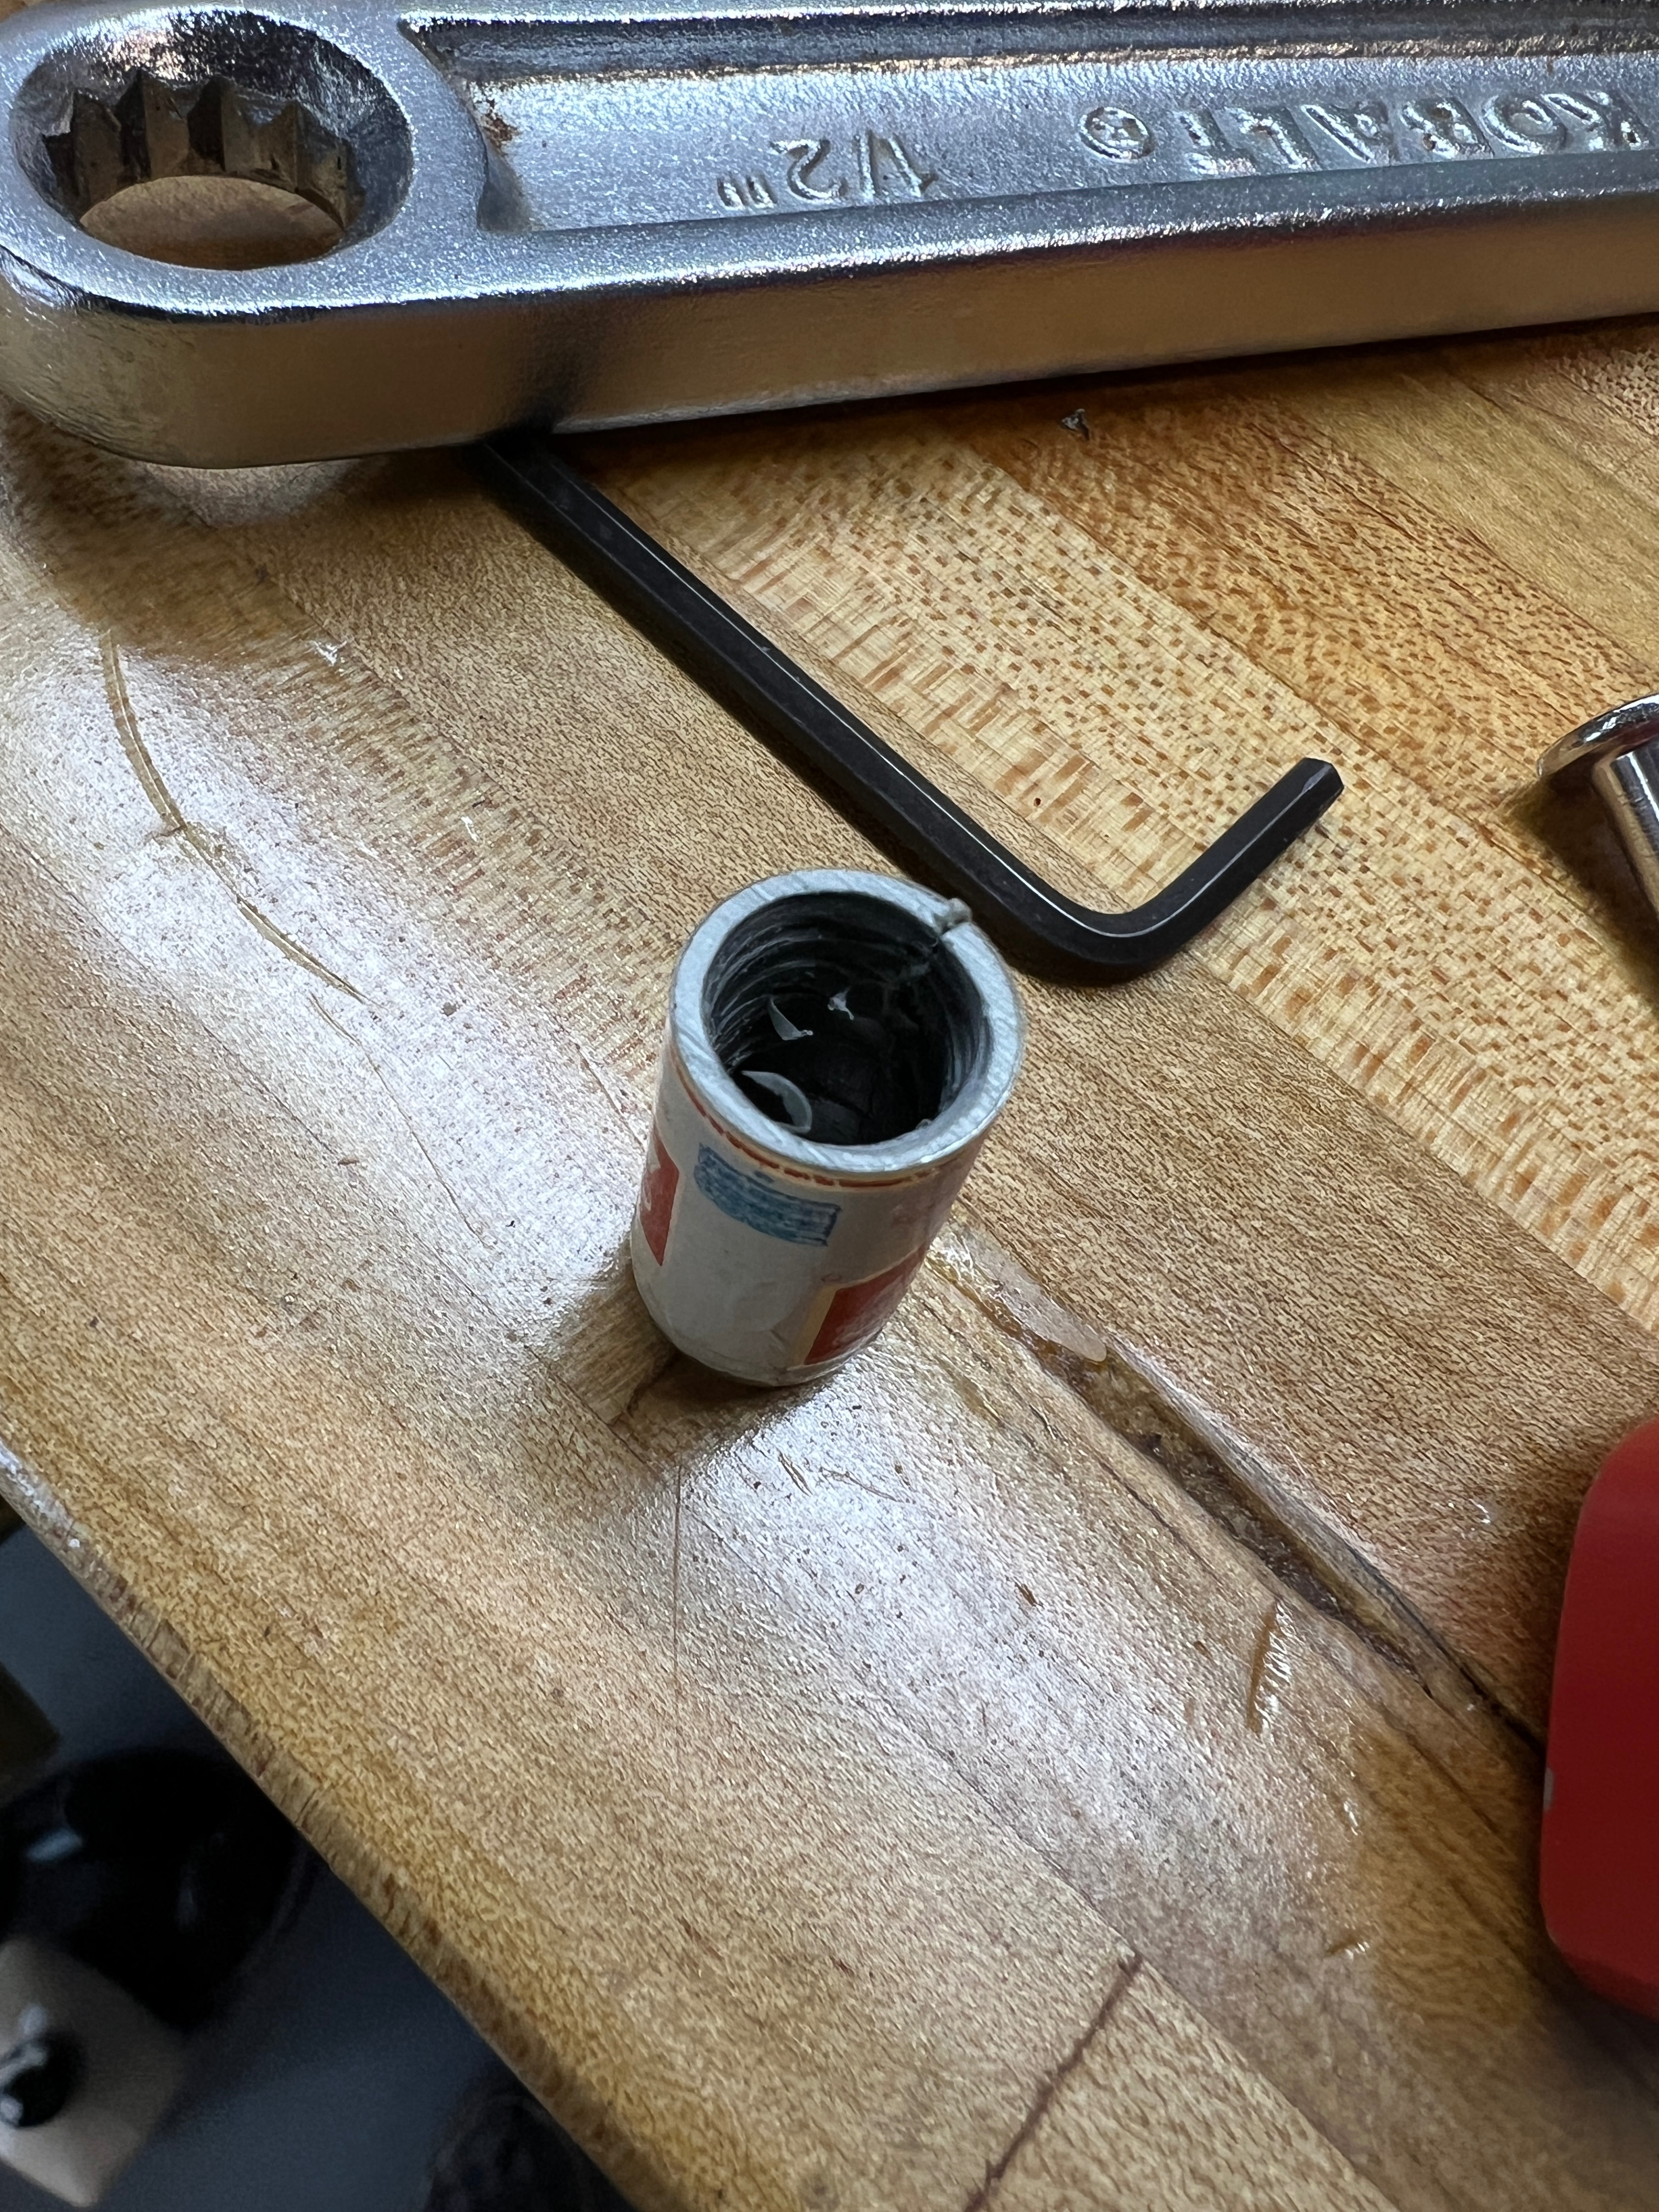
Drill out the bottom
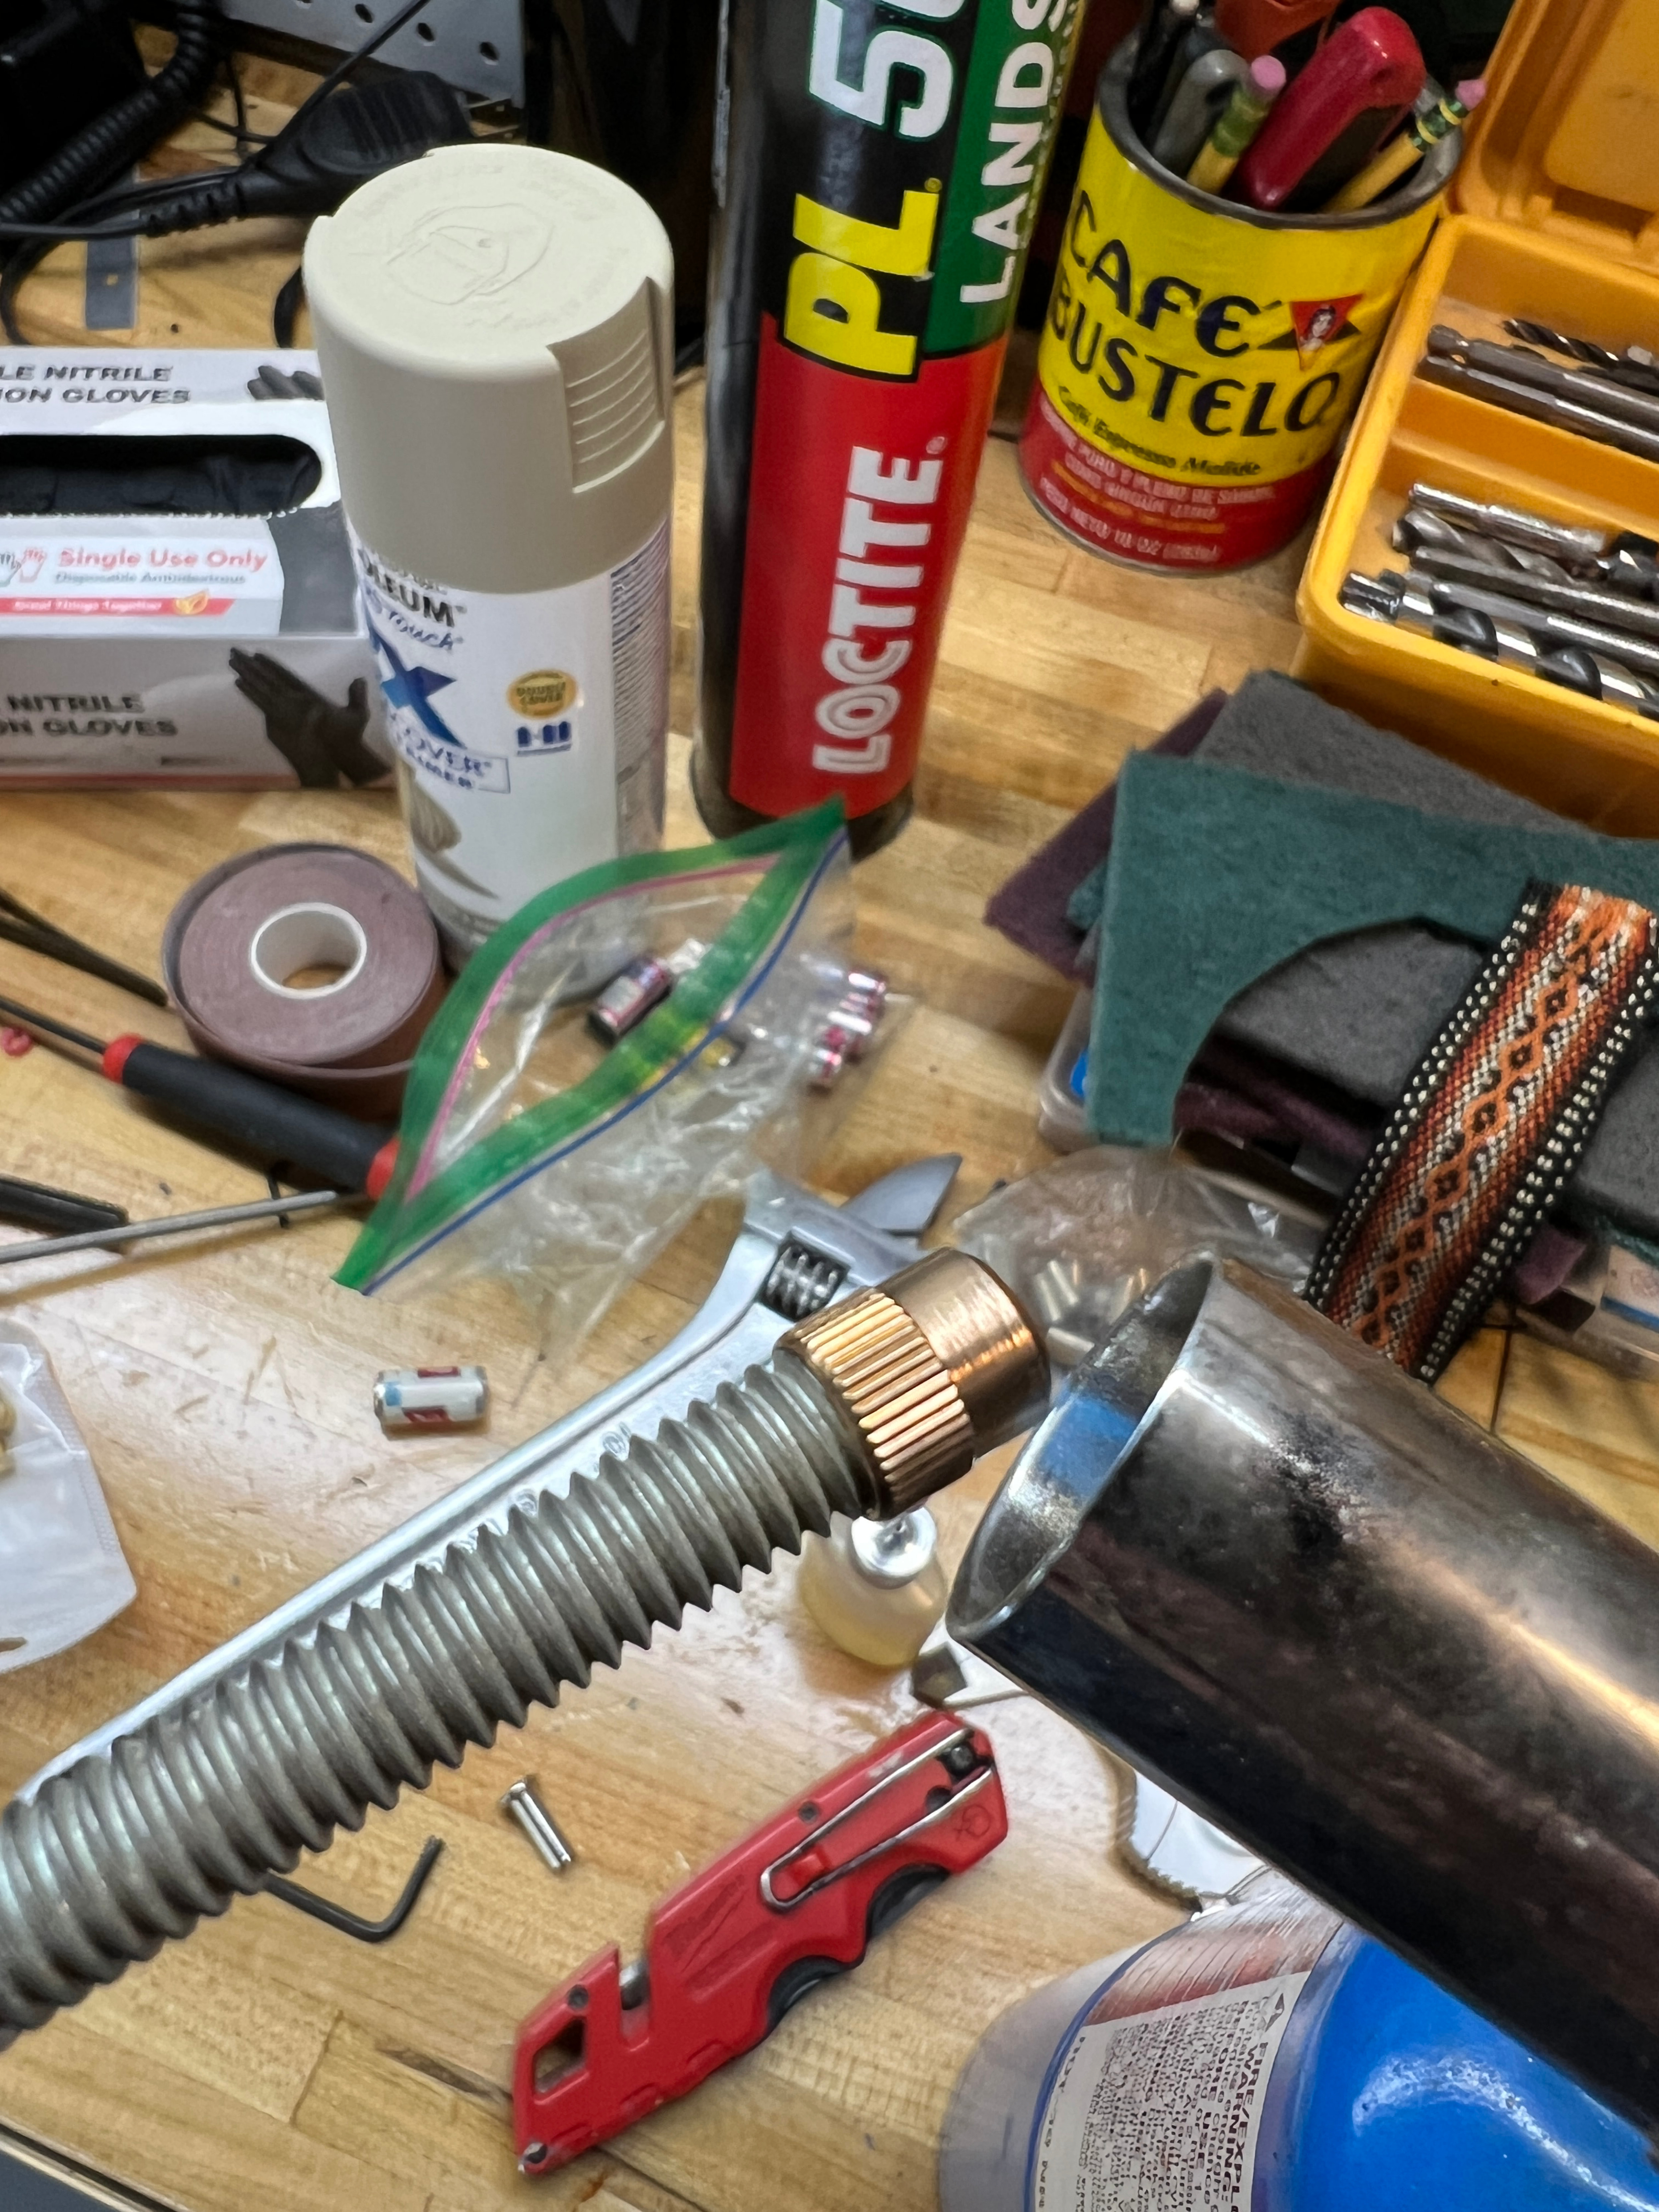
Heat up the brass valve cap
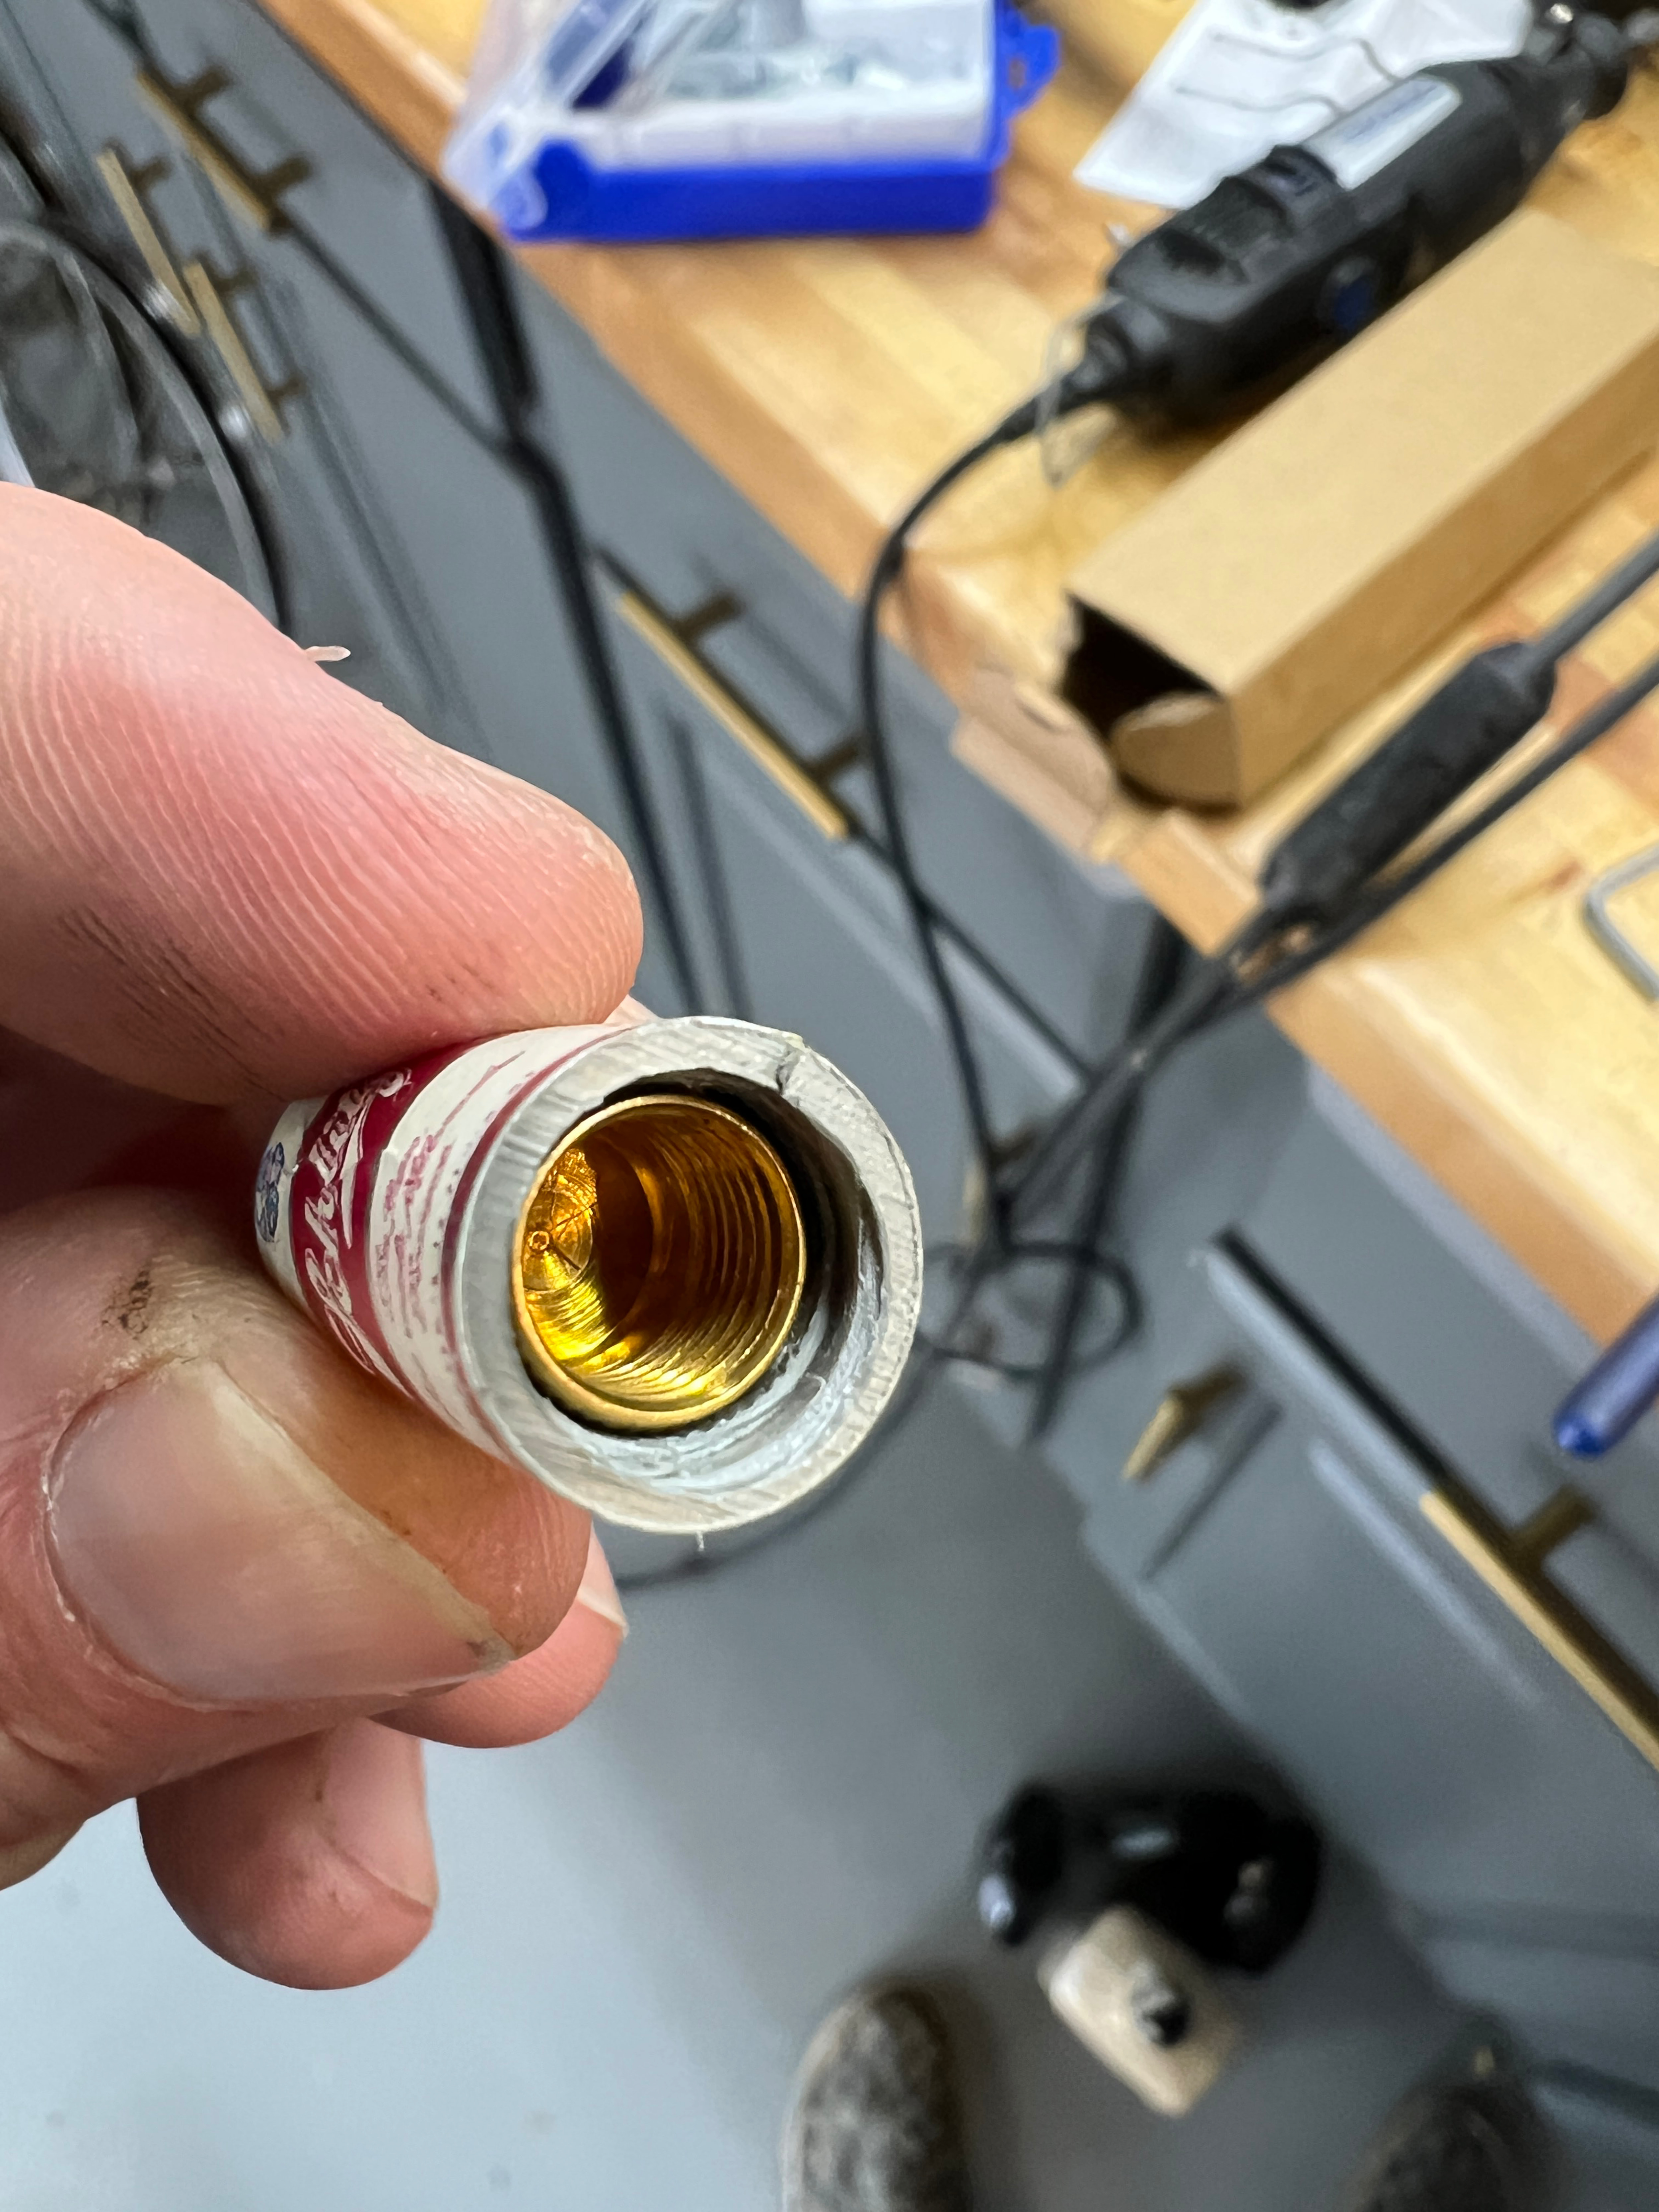
Shove it in and let it cool
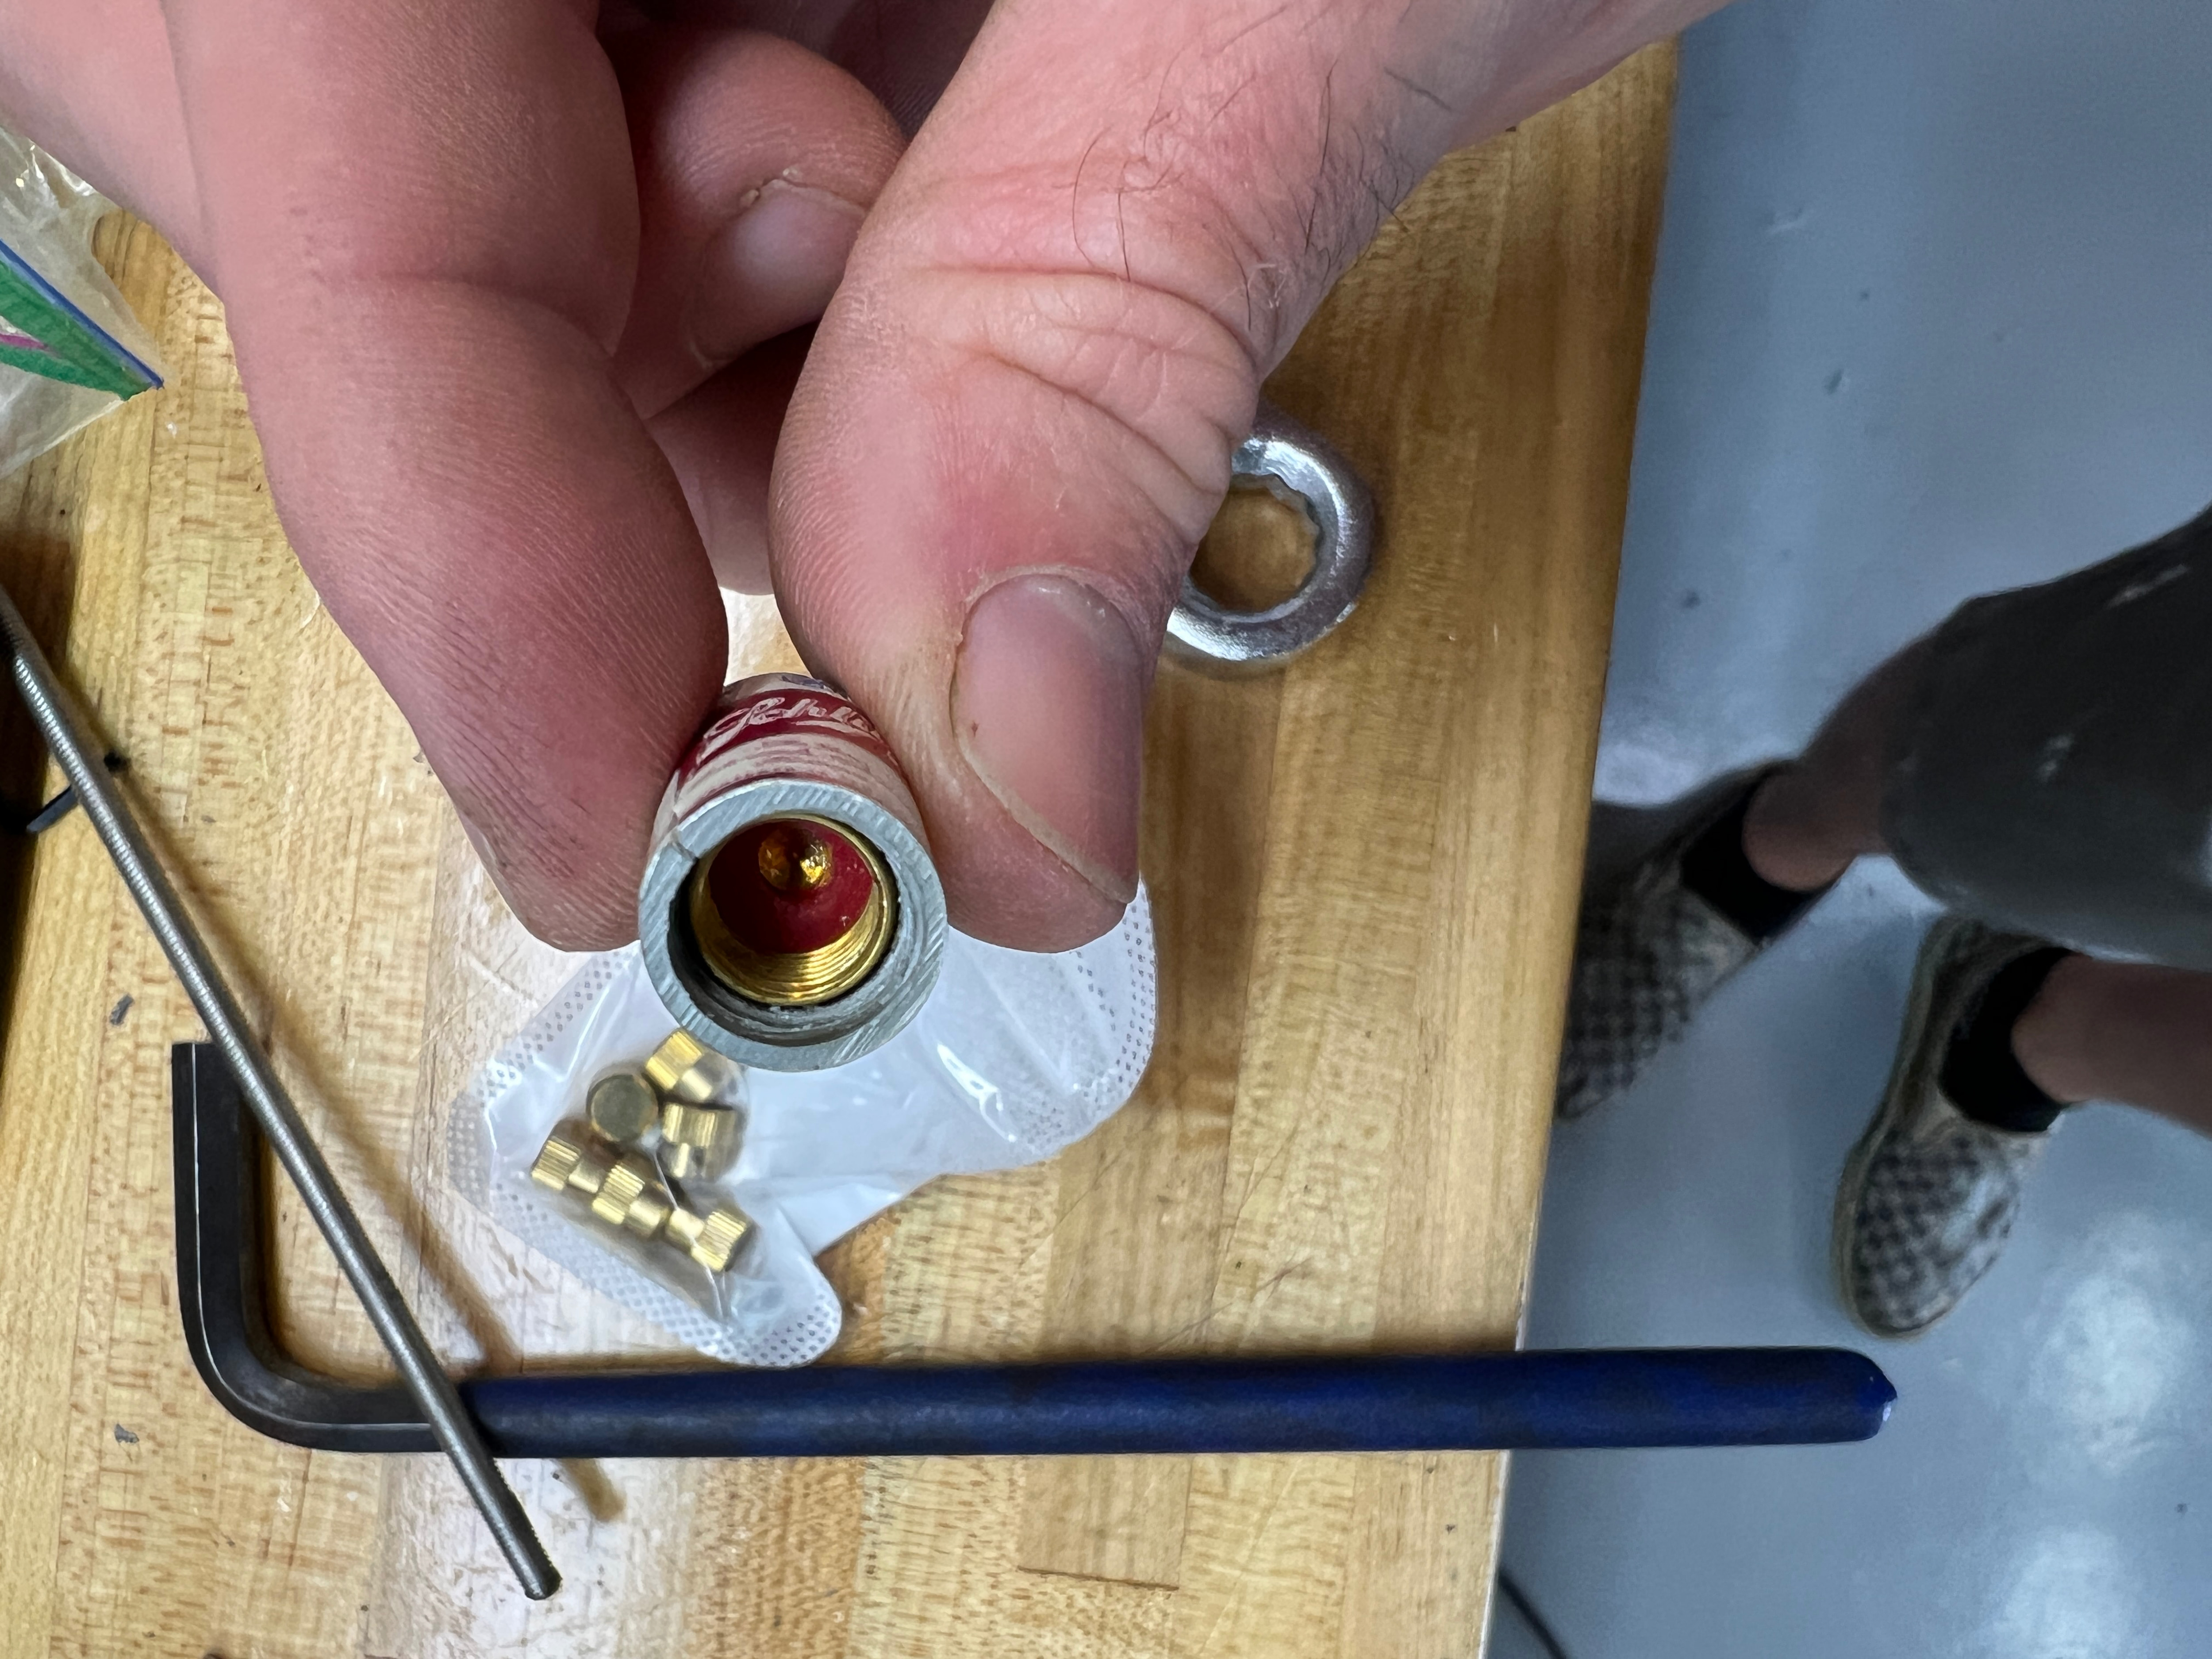
Put the seal back in
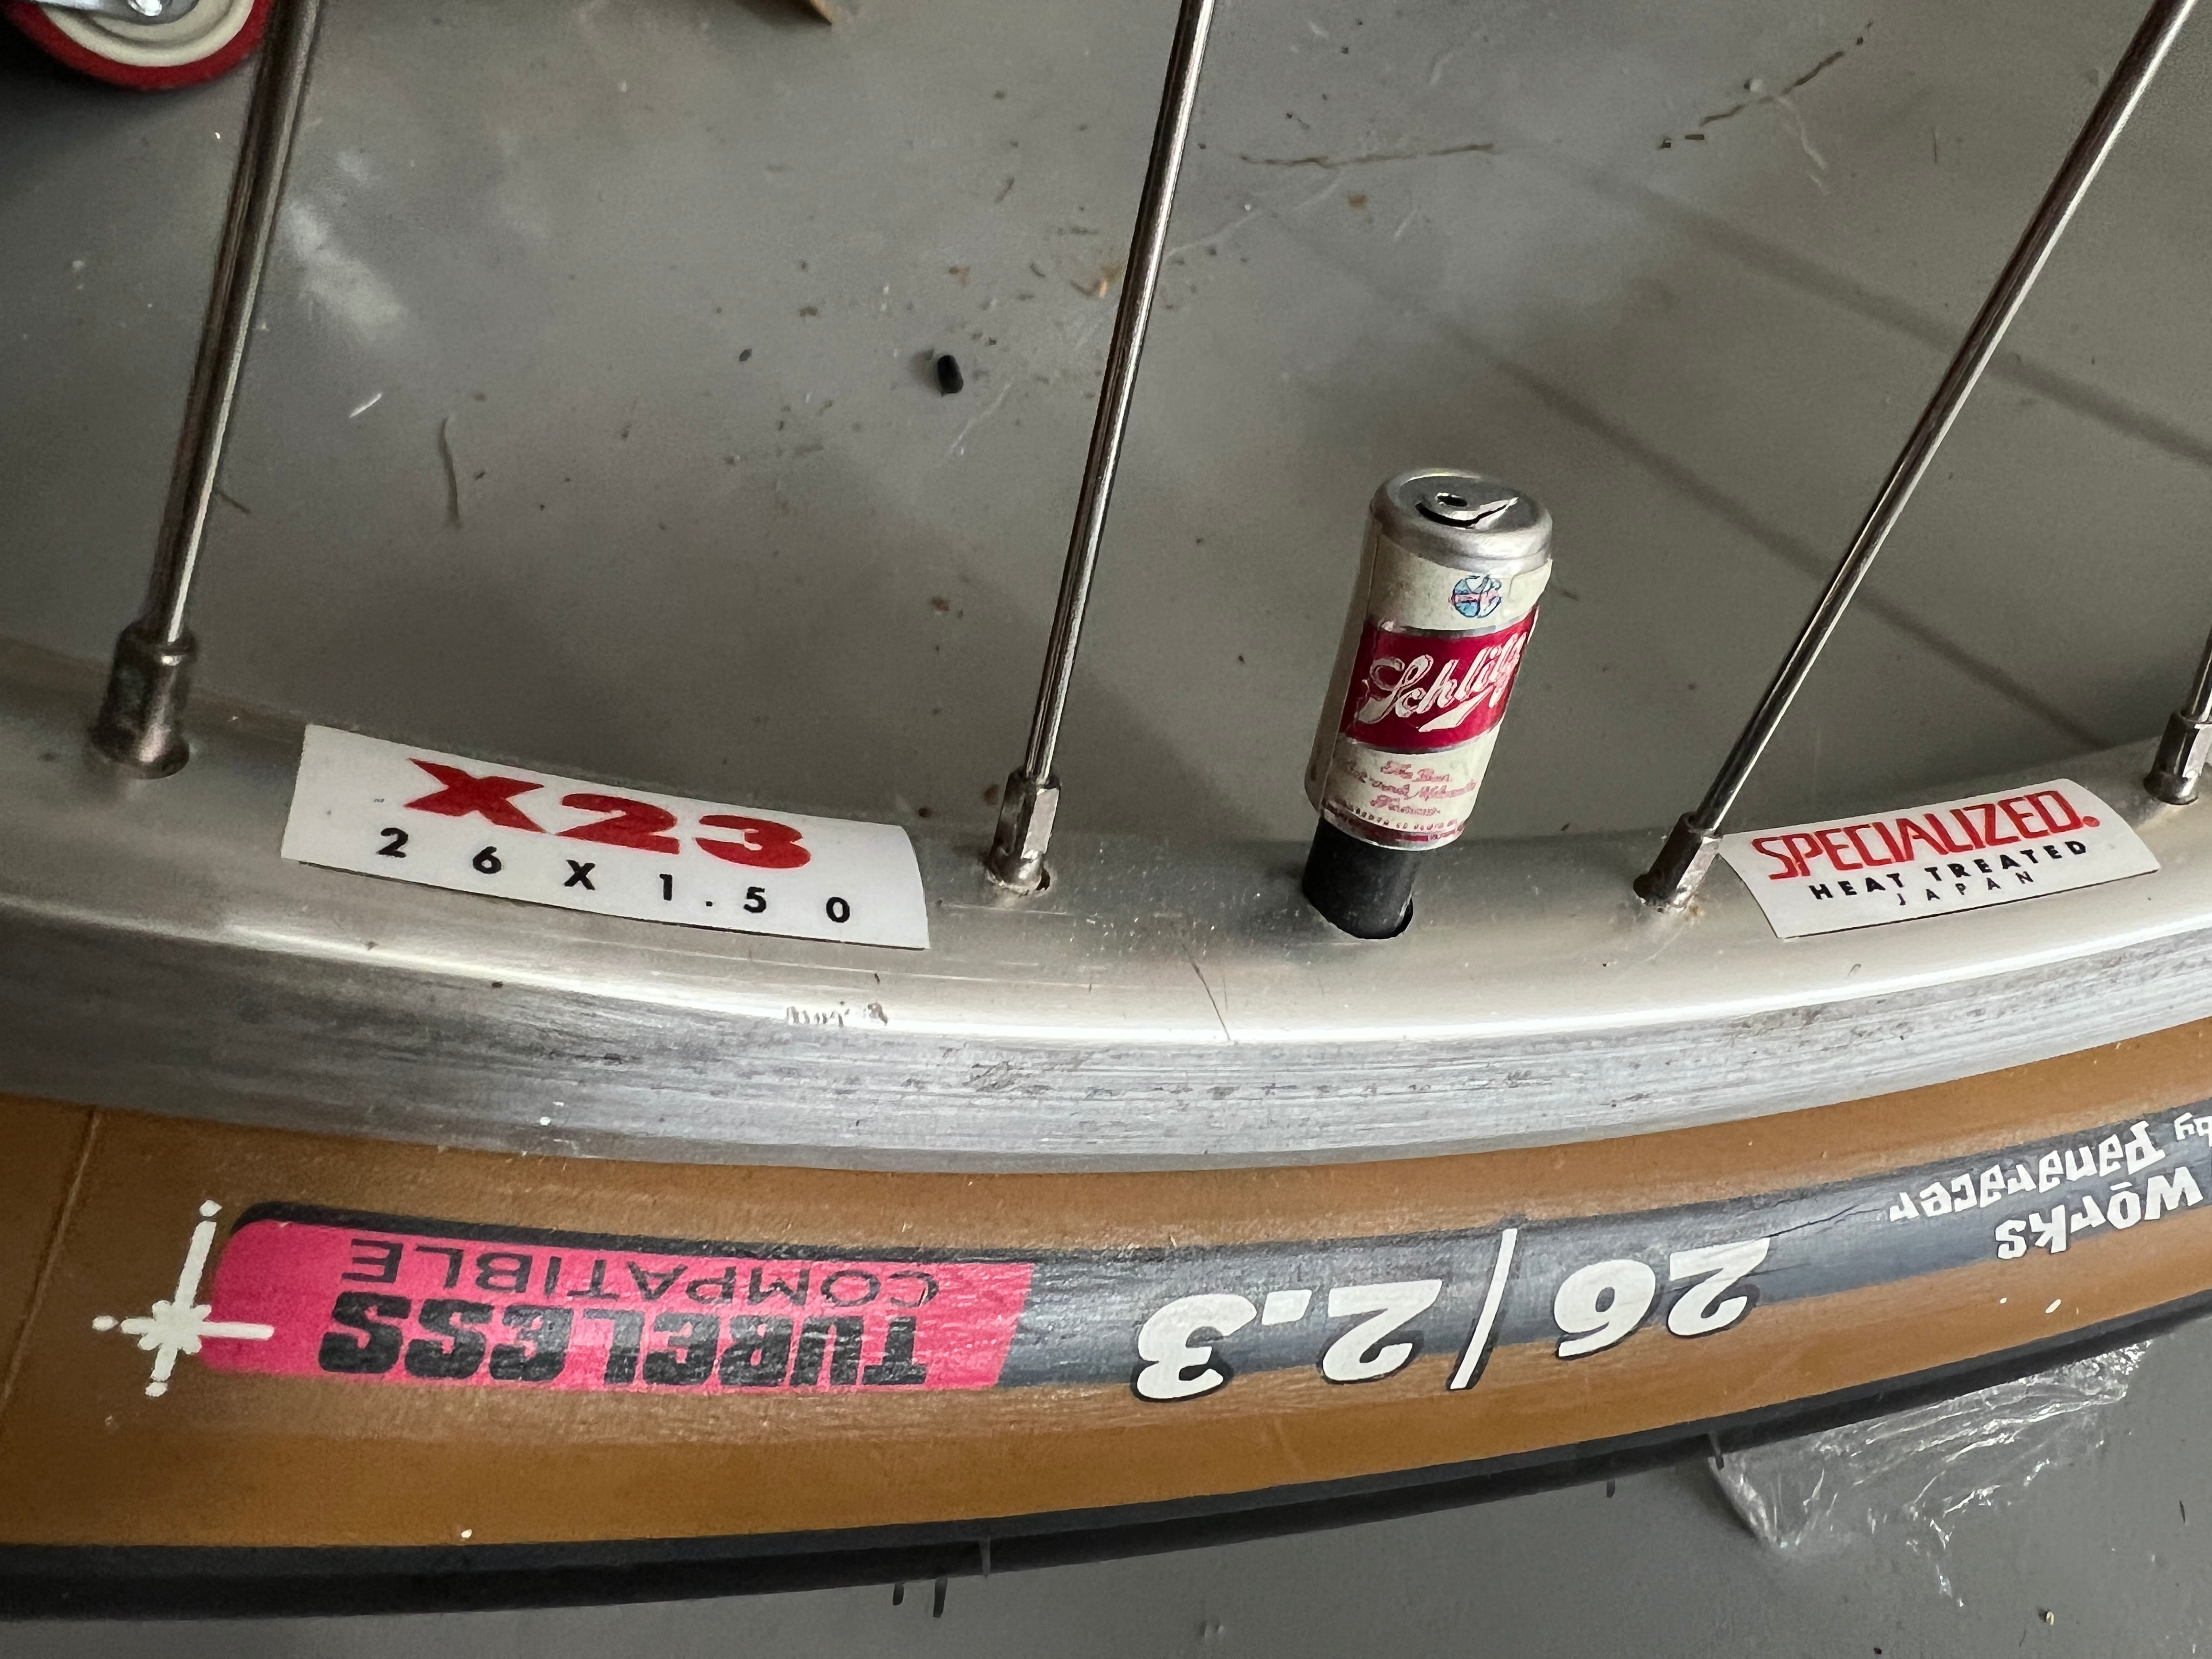

Install
Originally I was going to kinda press-fit the brass caps into the cans along with some epoxy, then last night I was like, why not just melt it in? Worked beautifully.
I wanted to run the Coors ones since that’s my favorite cheap/macro beer but they look kinda hokey … probably still will though.
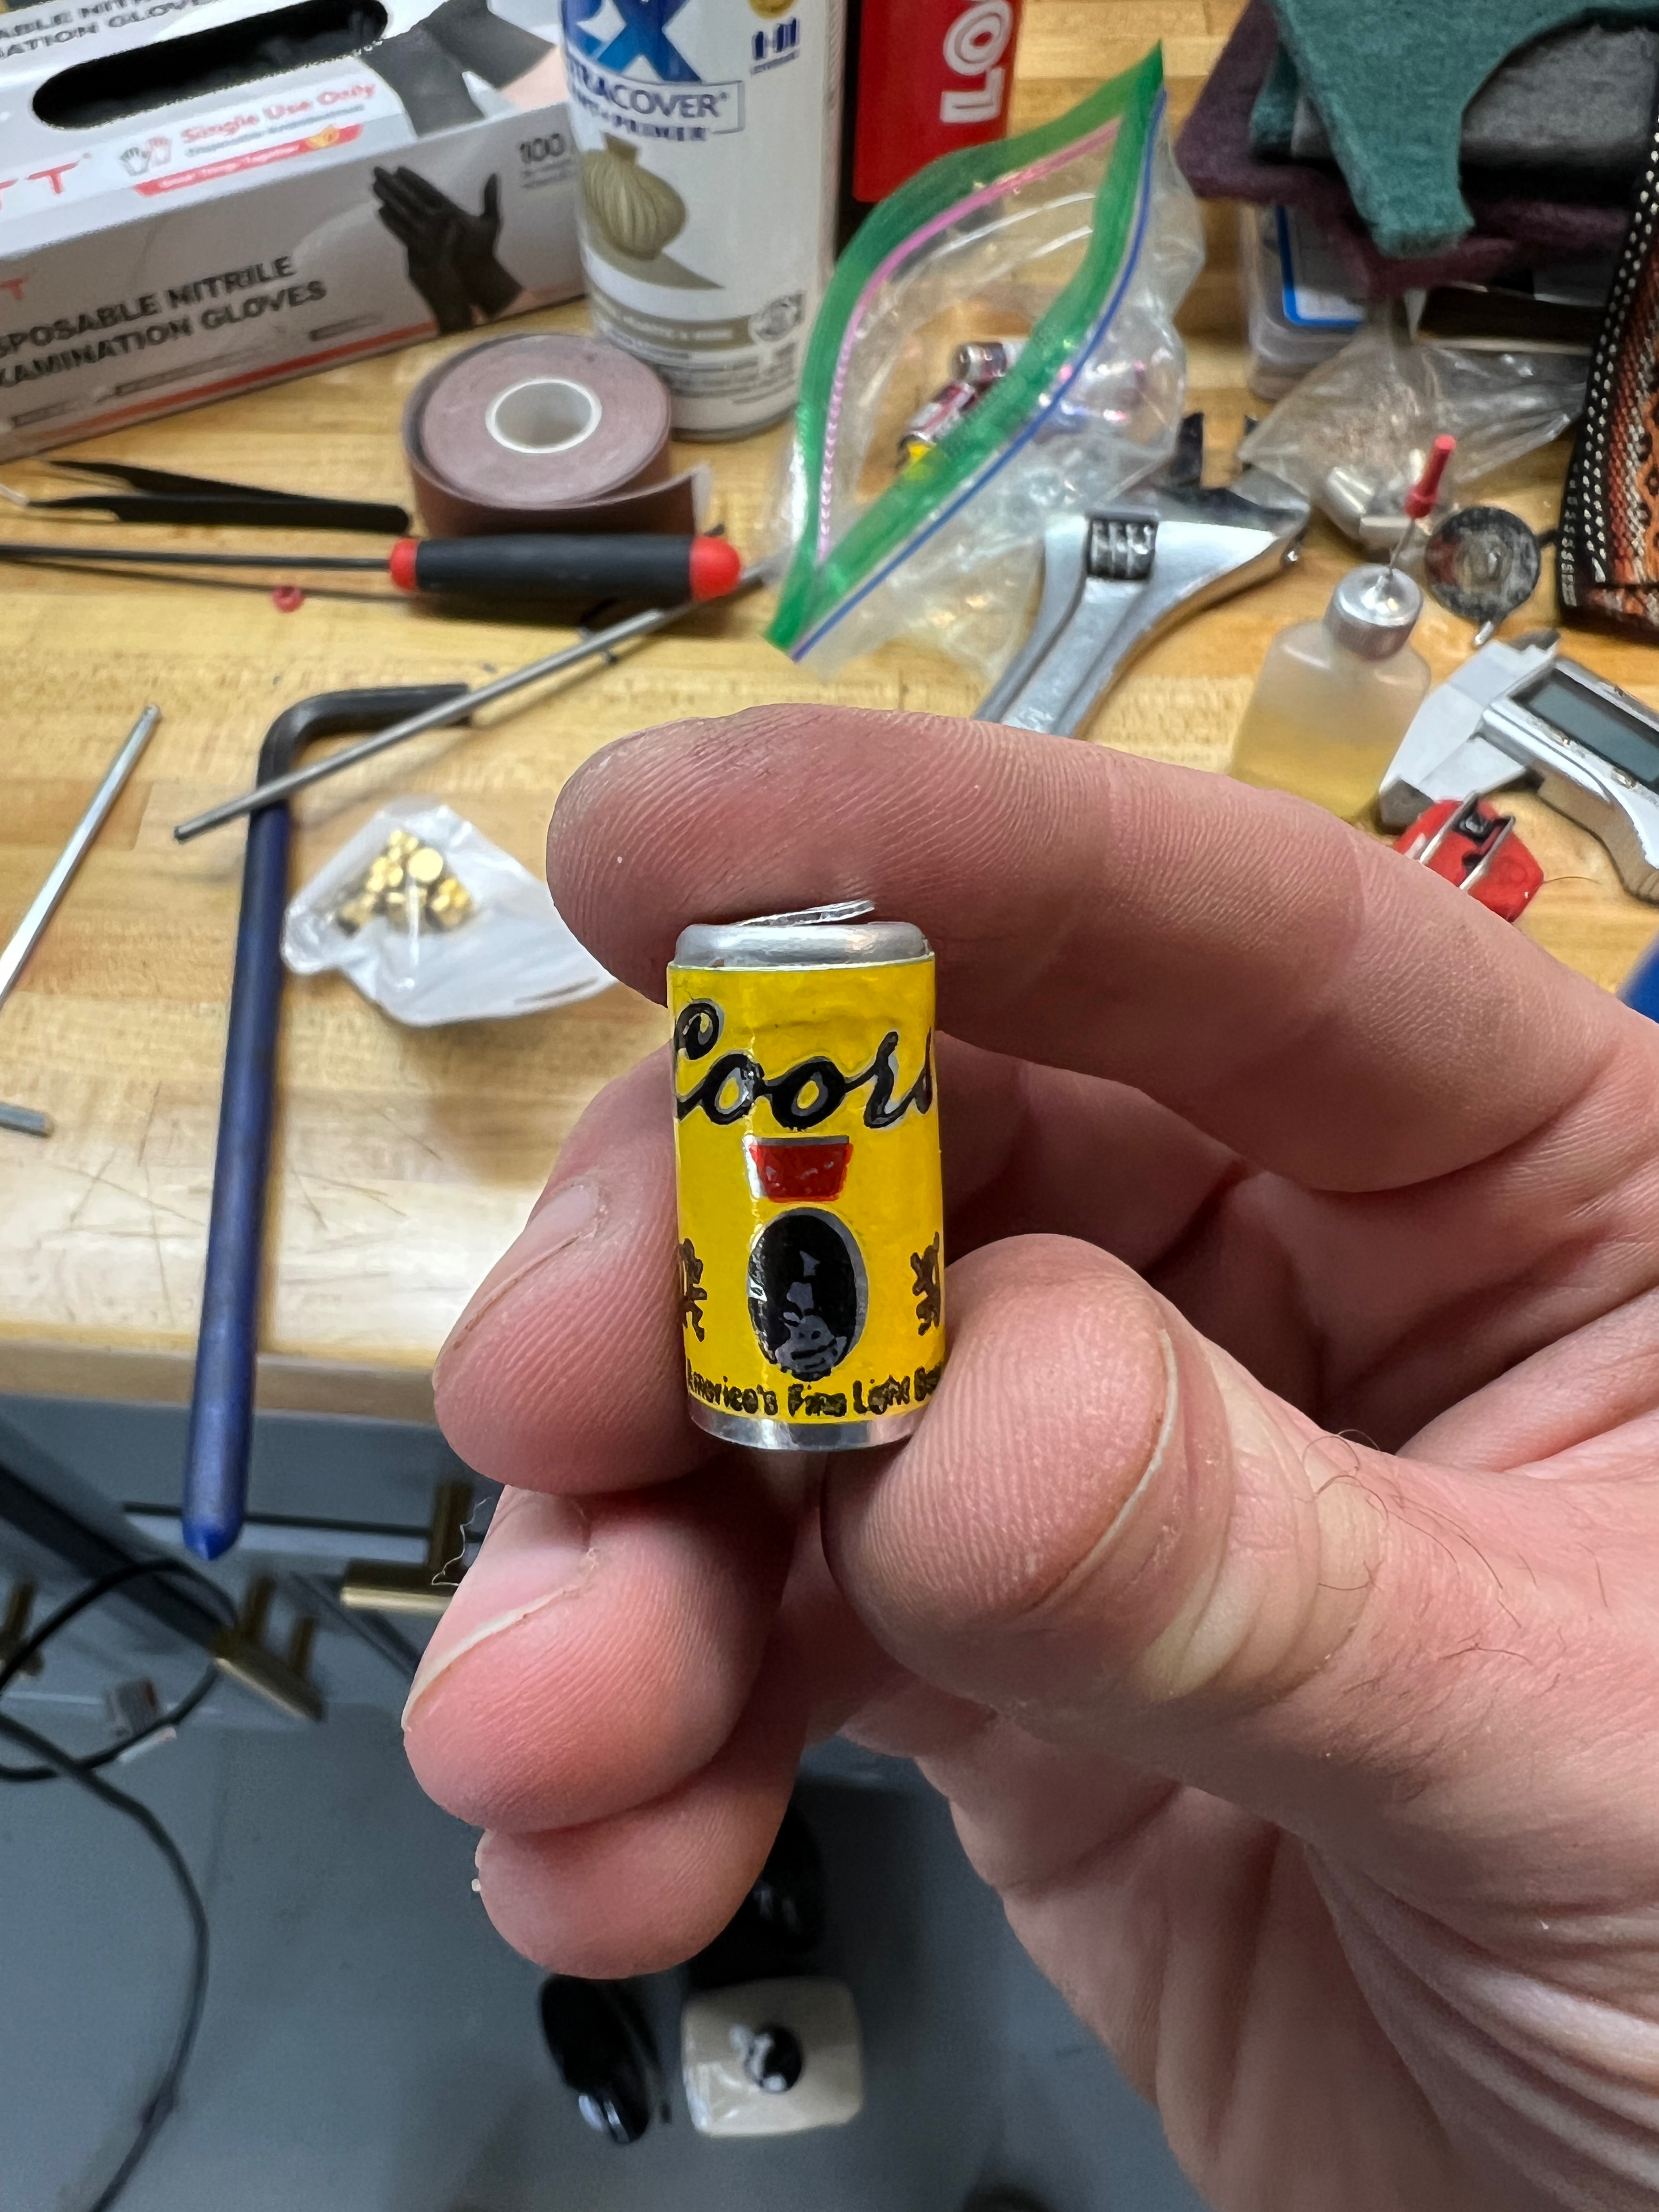
I will totally drink a Schlitz though too. That one is probably the most accurate looking can out of the 4.
10 Likes
Link?

4 Likes
Search for miniature or dollhouse beer cans
Quick lunchtime BB swap, Part 1.
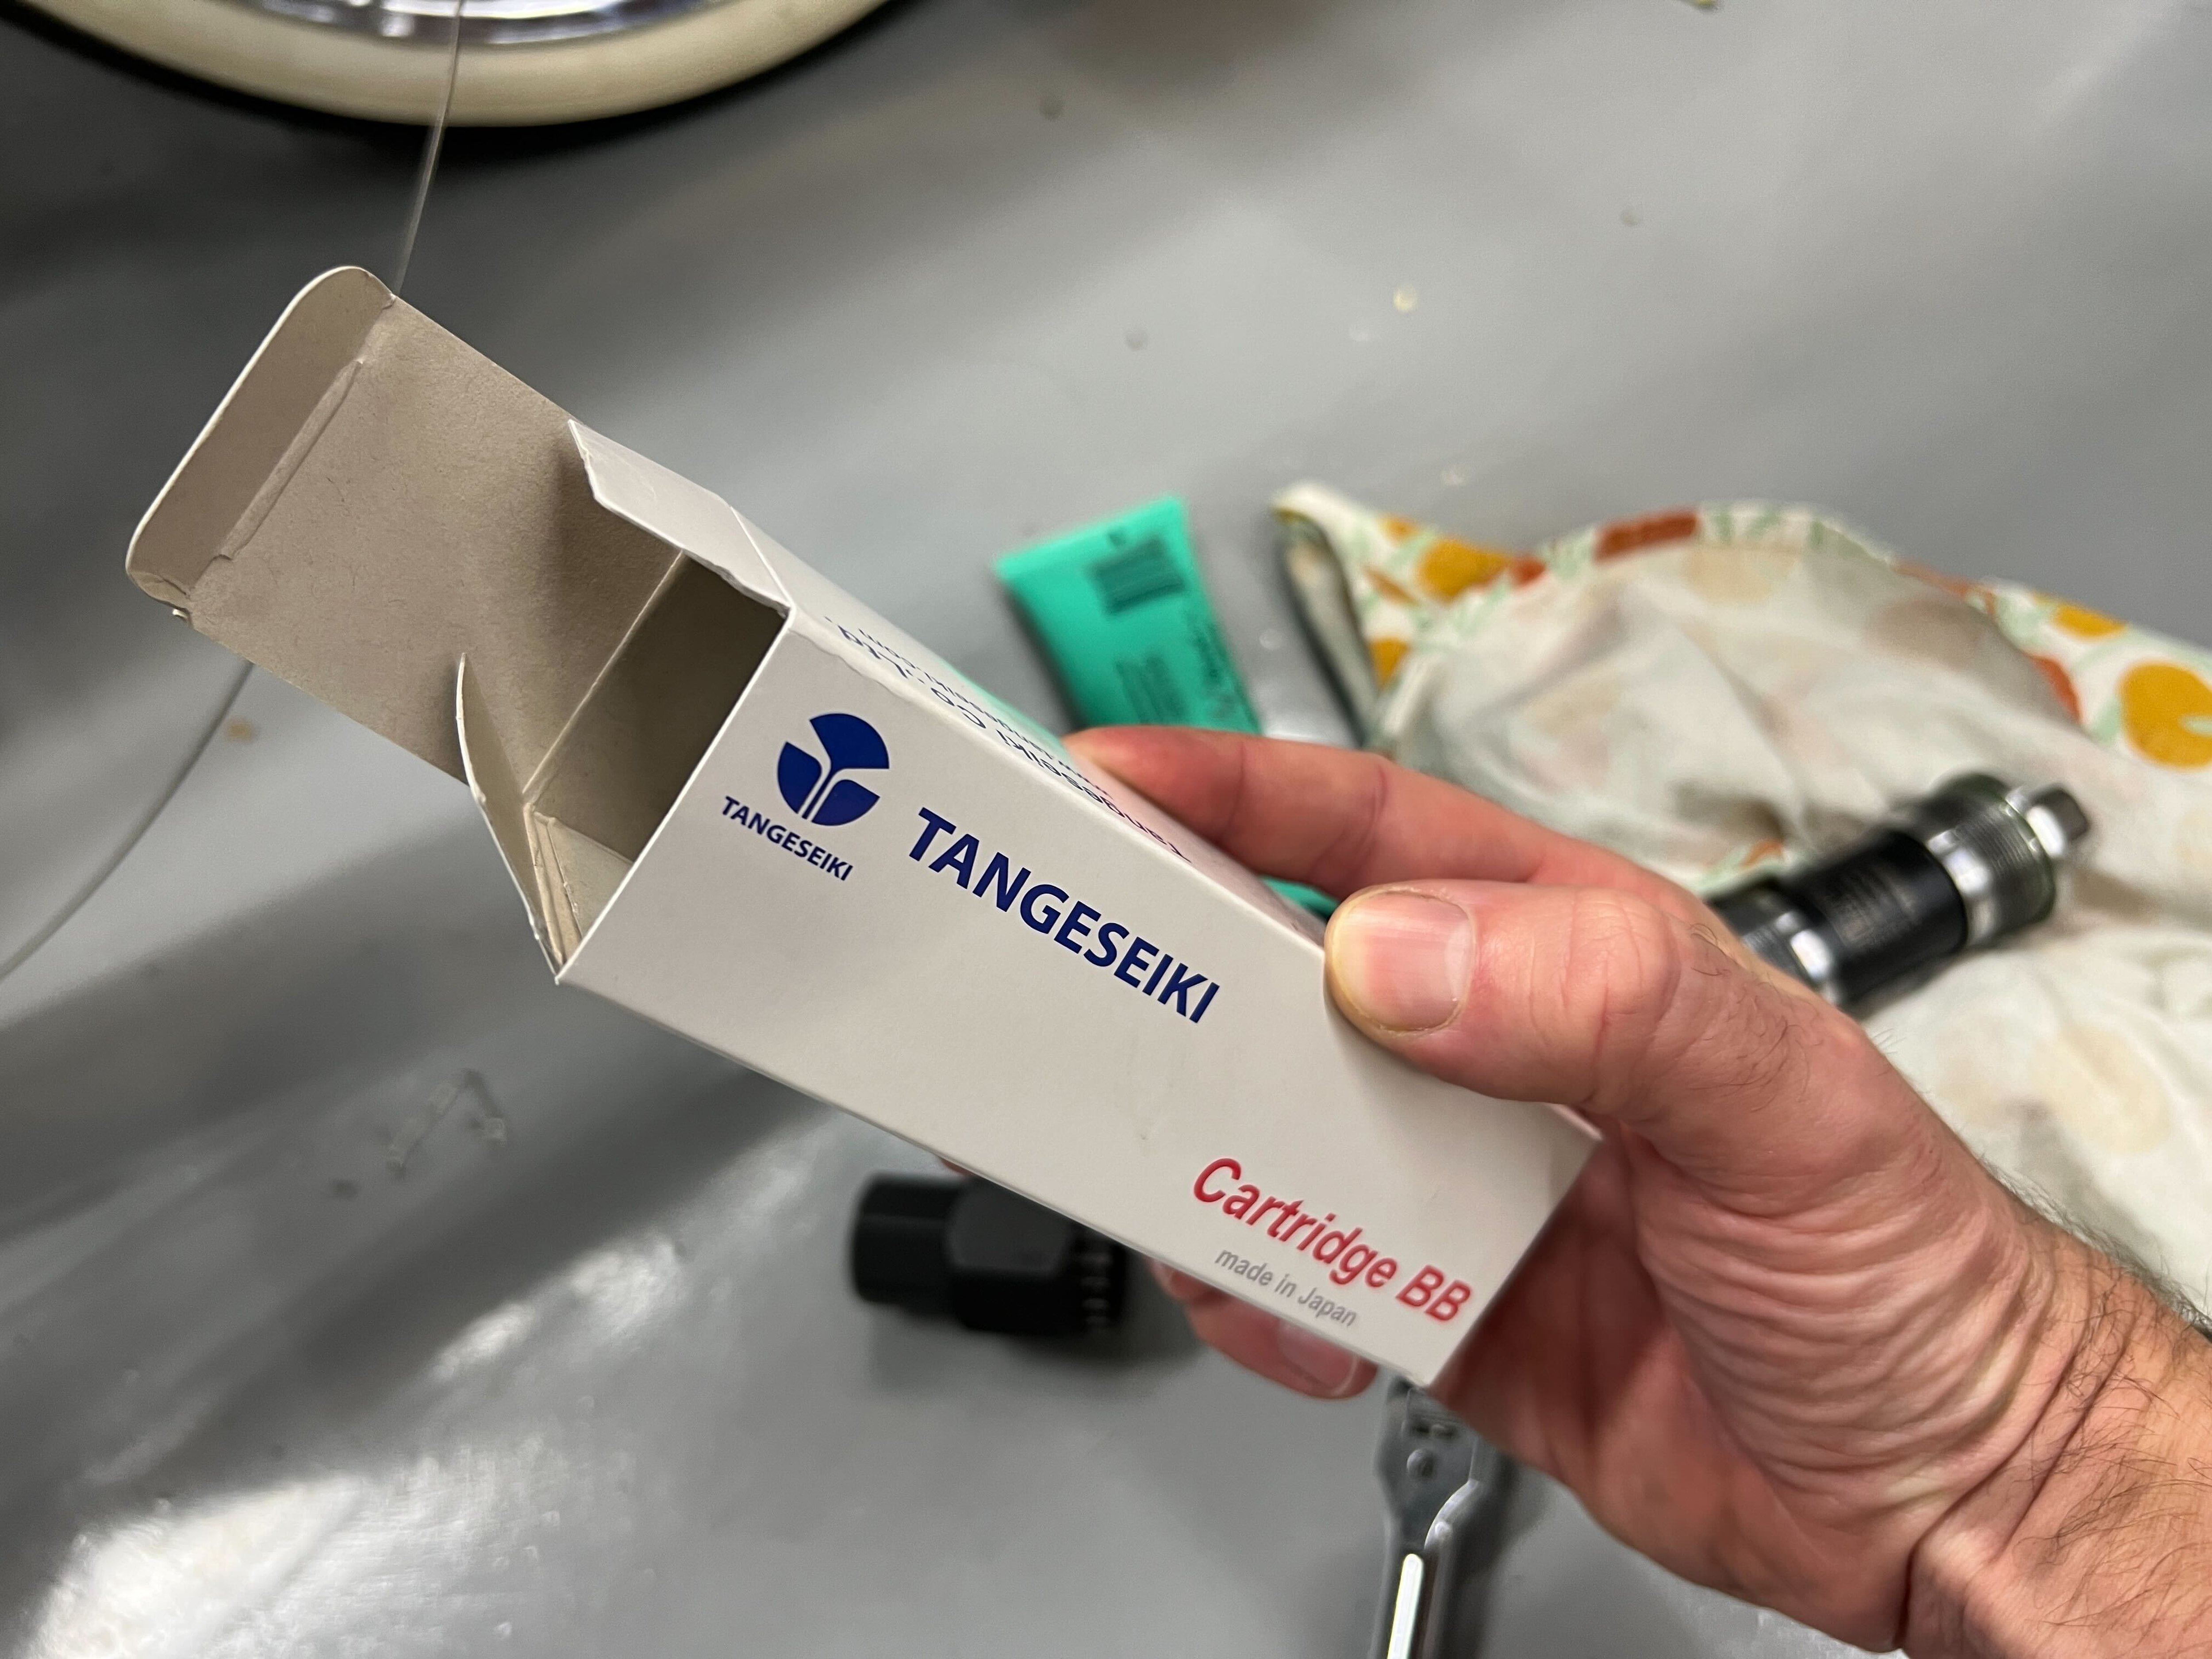
The Tange LN-3922 is quite nice. Just a little better overall than the UN300, which is not a surprise.
Threaded in SO much easier. The UN300 was not cross-threaded or anything and I greased the threads of course, but it was not the smoothest install. I was able to get the Tange in there almost all the way by hand.
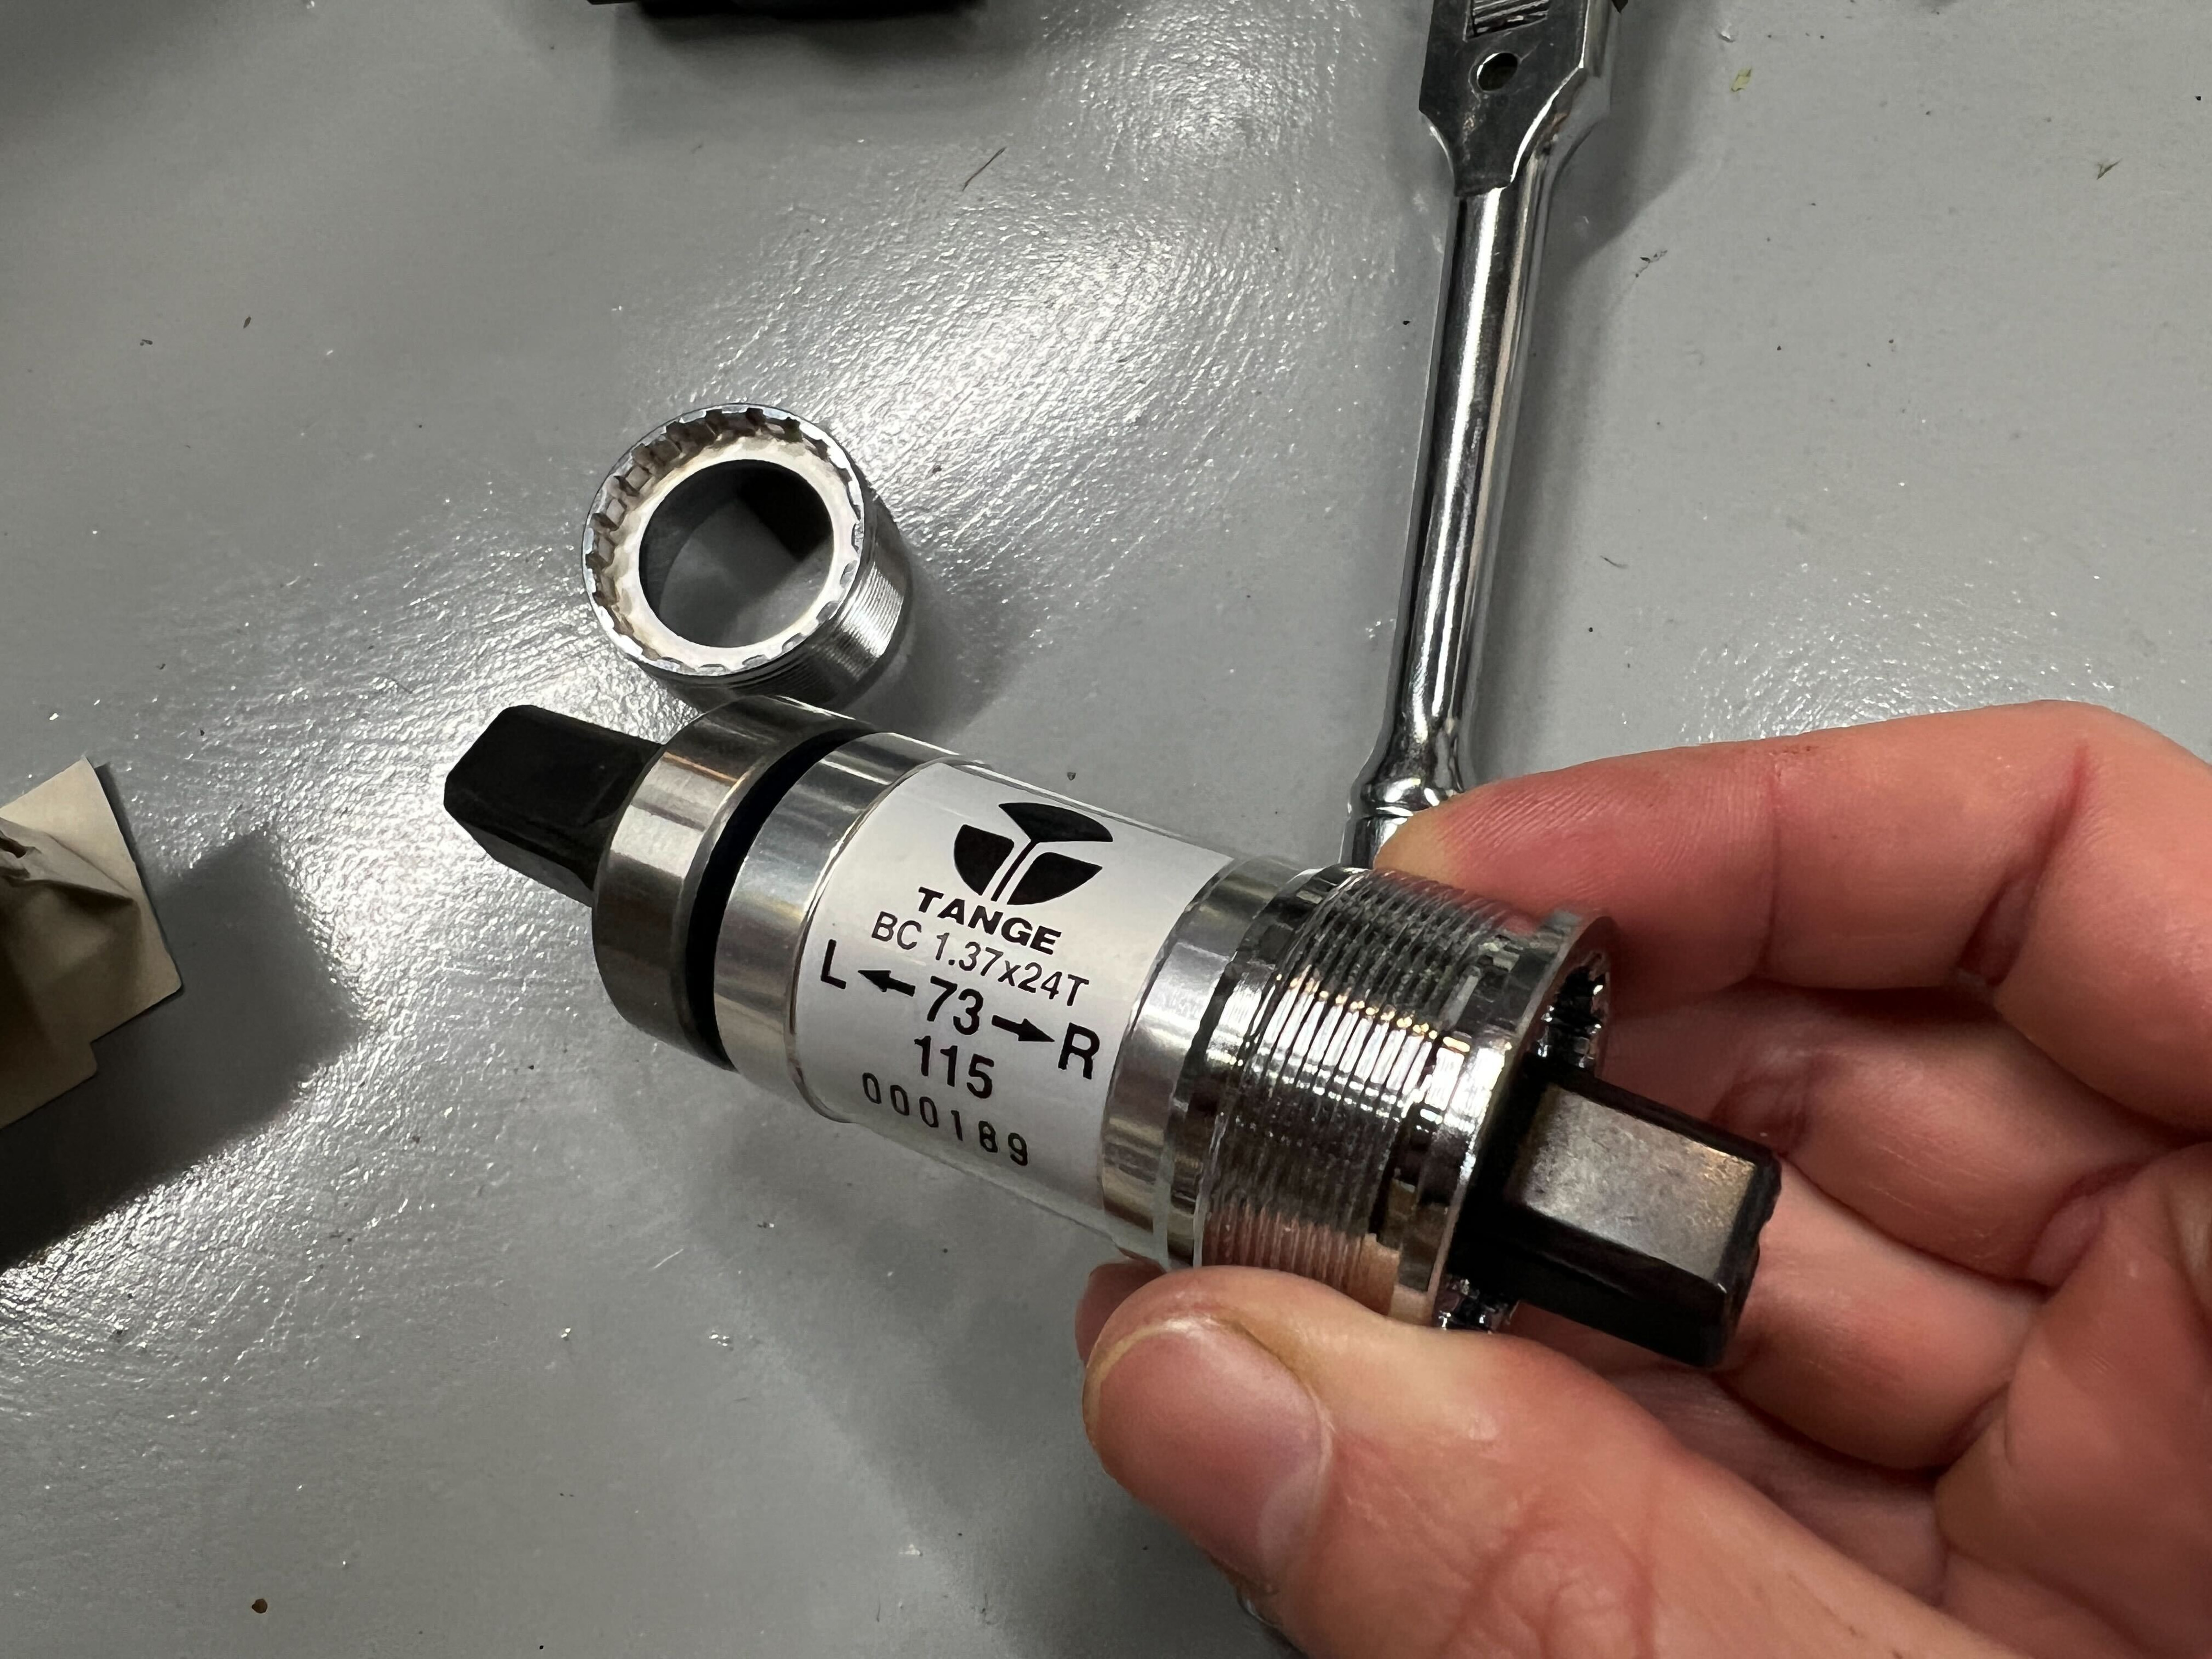
So I get it in there, and eagerly put the NDS crank arm on, and there’s like NO difference!
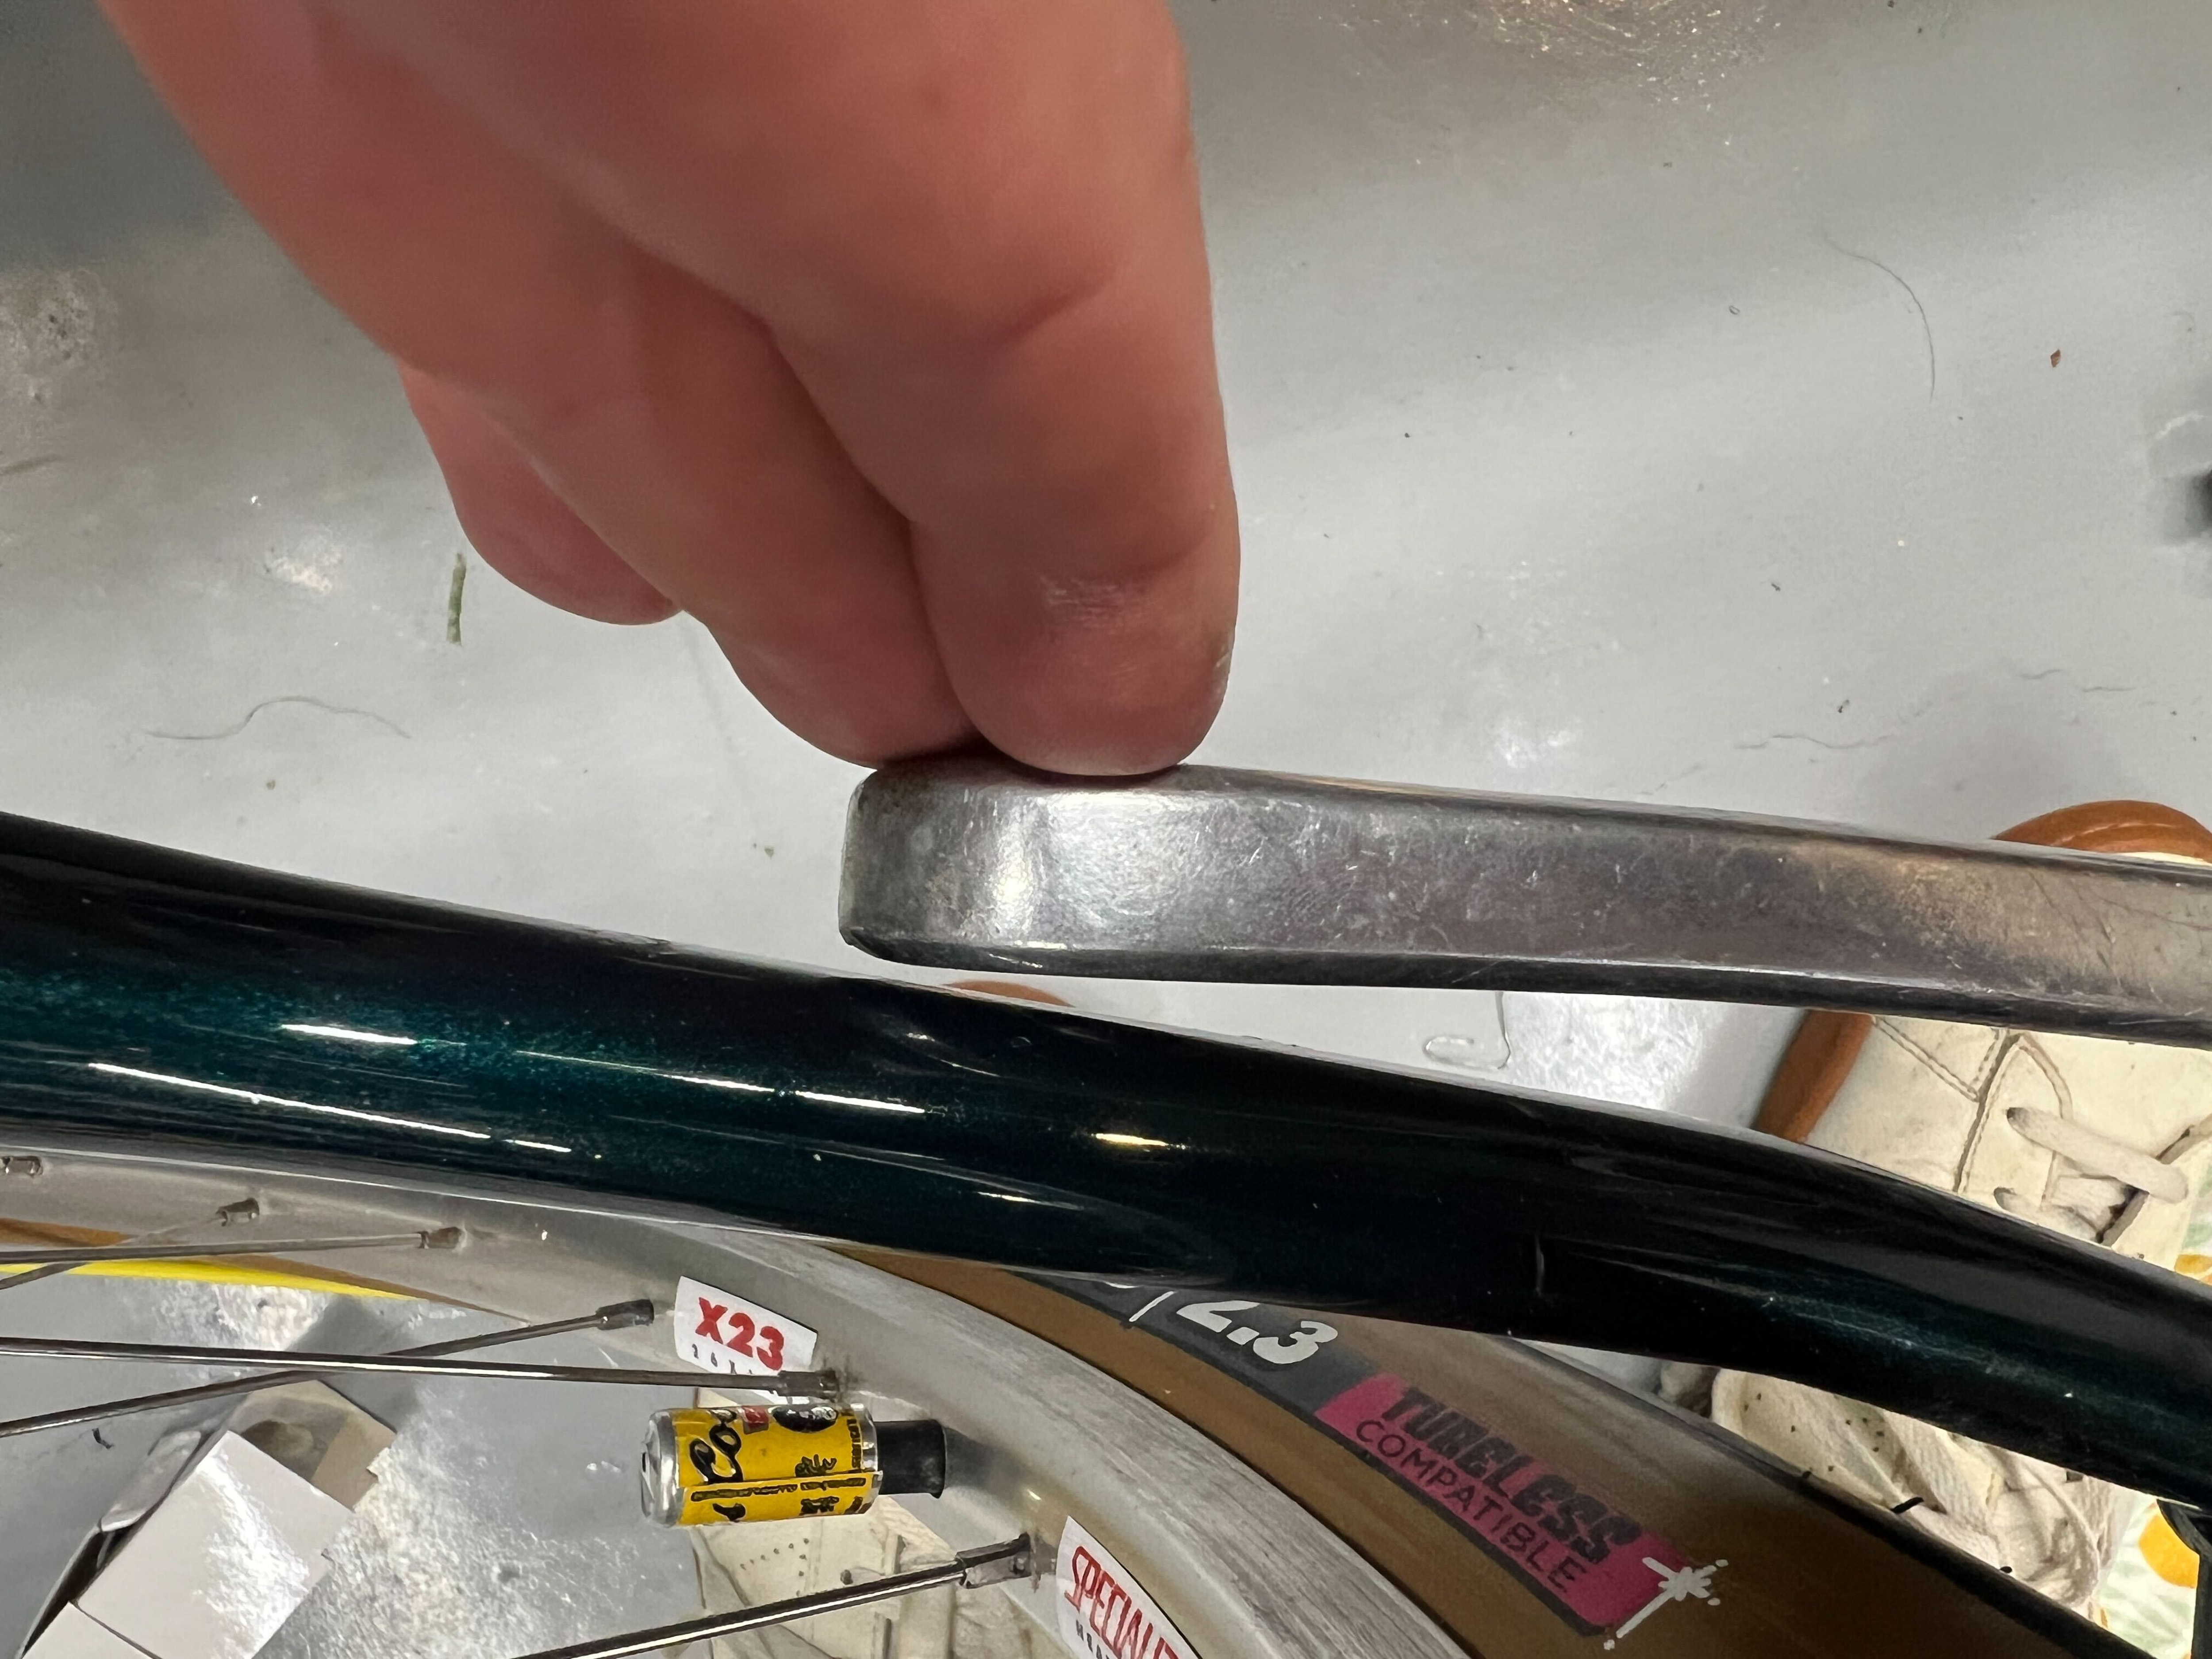
I mean technically there is more space, but turns out it’s like 0.4mm. I was like “What the hell?” and put the calipers on the UN300. It measured like 114.2 rather than 113 like it says. When I buy something that says 113mm on it, I expect it to be 113mm, not 1.2mm more than that. Shame on me for expecting that kind of tolerance from a bottom-of-the-barrel BB.
The Tange is pretty dead-on 115.
So basically I already knew how close the arm would be with a 115mm spindle, I just … didn’t know it.
The 118mm UN55 is going in next. Stay tuned!
2 Likes
BB Install Part 2: UN55 Boogaloo
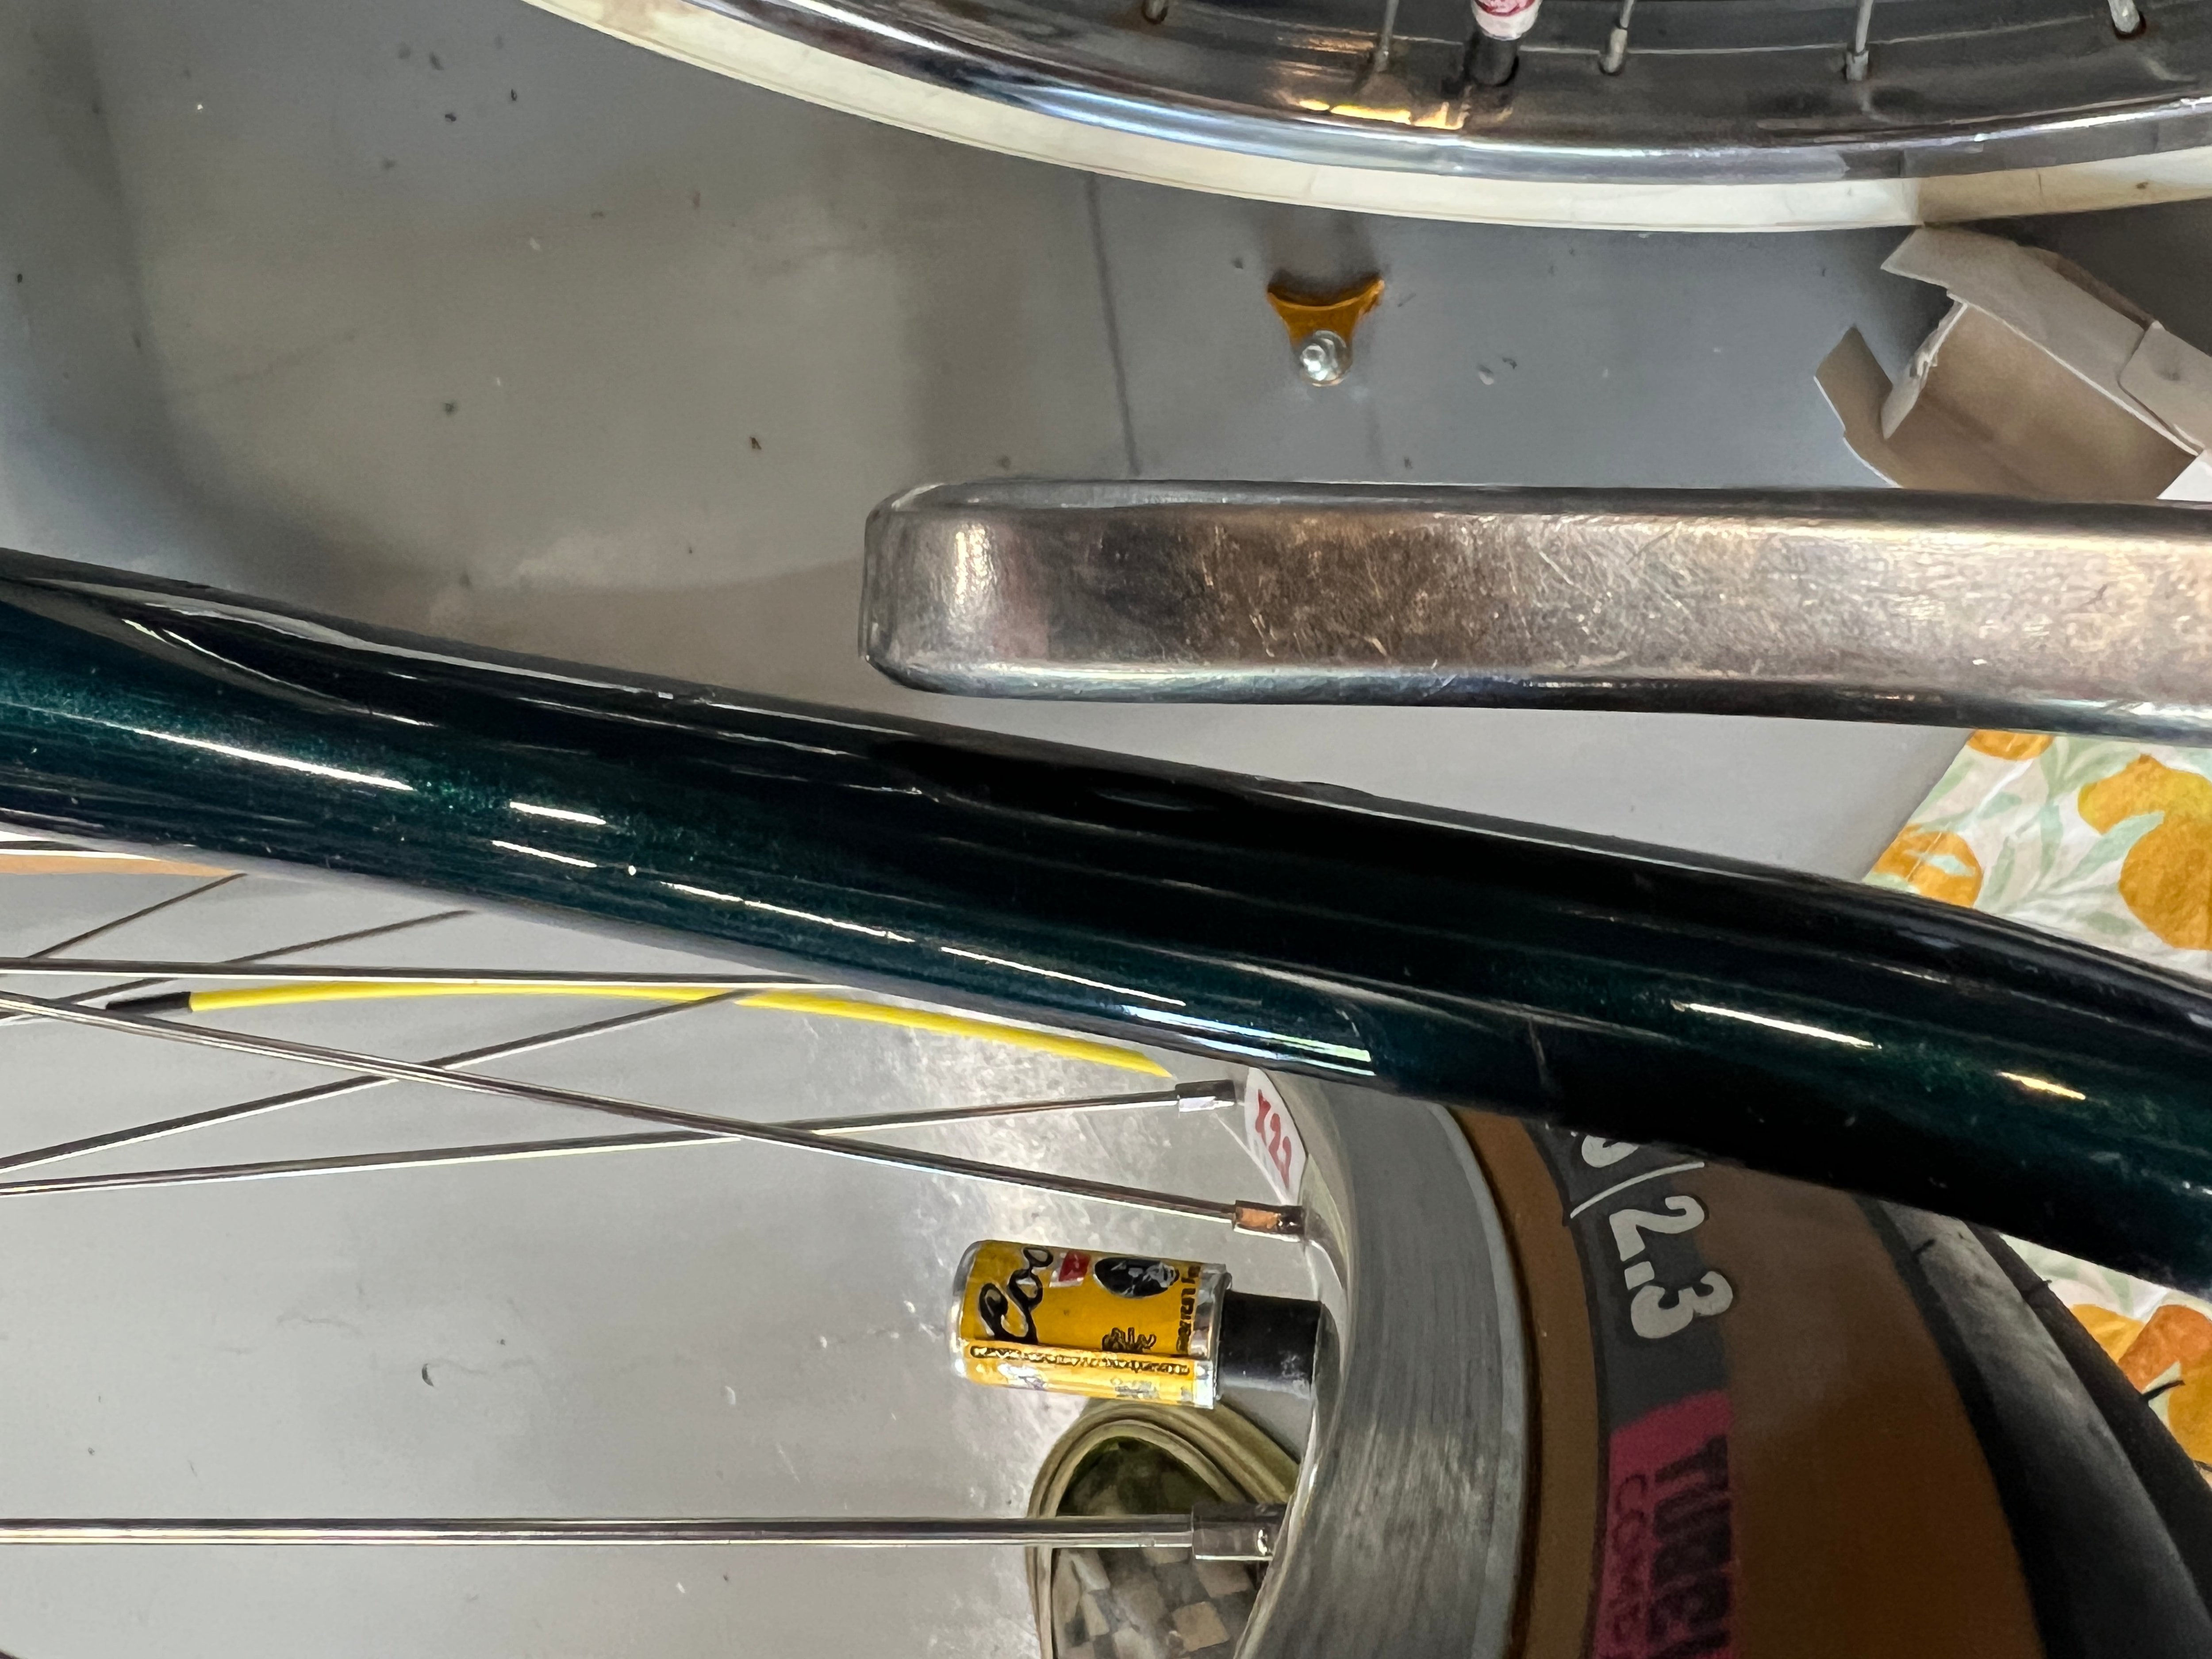
I’ll take that for now I guess.
Not the best angle but it IS further away and a more acceptable clearance.
Oh also the Tange was still a smoother install than this. Come on Shimano!
2 Likes
Could it be that the Tange’s threads are cut looser, and just happen to work better with the (unknown condition) threads in your frame?
1 Like
Last night I unearthed another Sugino crankset from an old Schwinn 12-speed I have up in the rafters in my garage, and out of curiosity I put the NDS crank arm on the StumpJumper. That one was no good either!
Months ago when I was shopping for cranks, I just went out to eBay and bought whatever seemed decent for a good price, so I guess I really lucked out with the ones I got.
If I had remembered I had that other crankset in a box or ended up with ones where the arms were too tight with a 118mm spindle, I would probably be down a different but similar rabbit hole because a wider spindle would have made the chainline fairly sucky with the single ring on the outside.
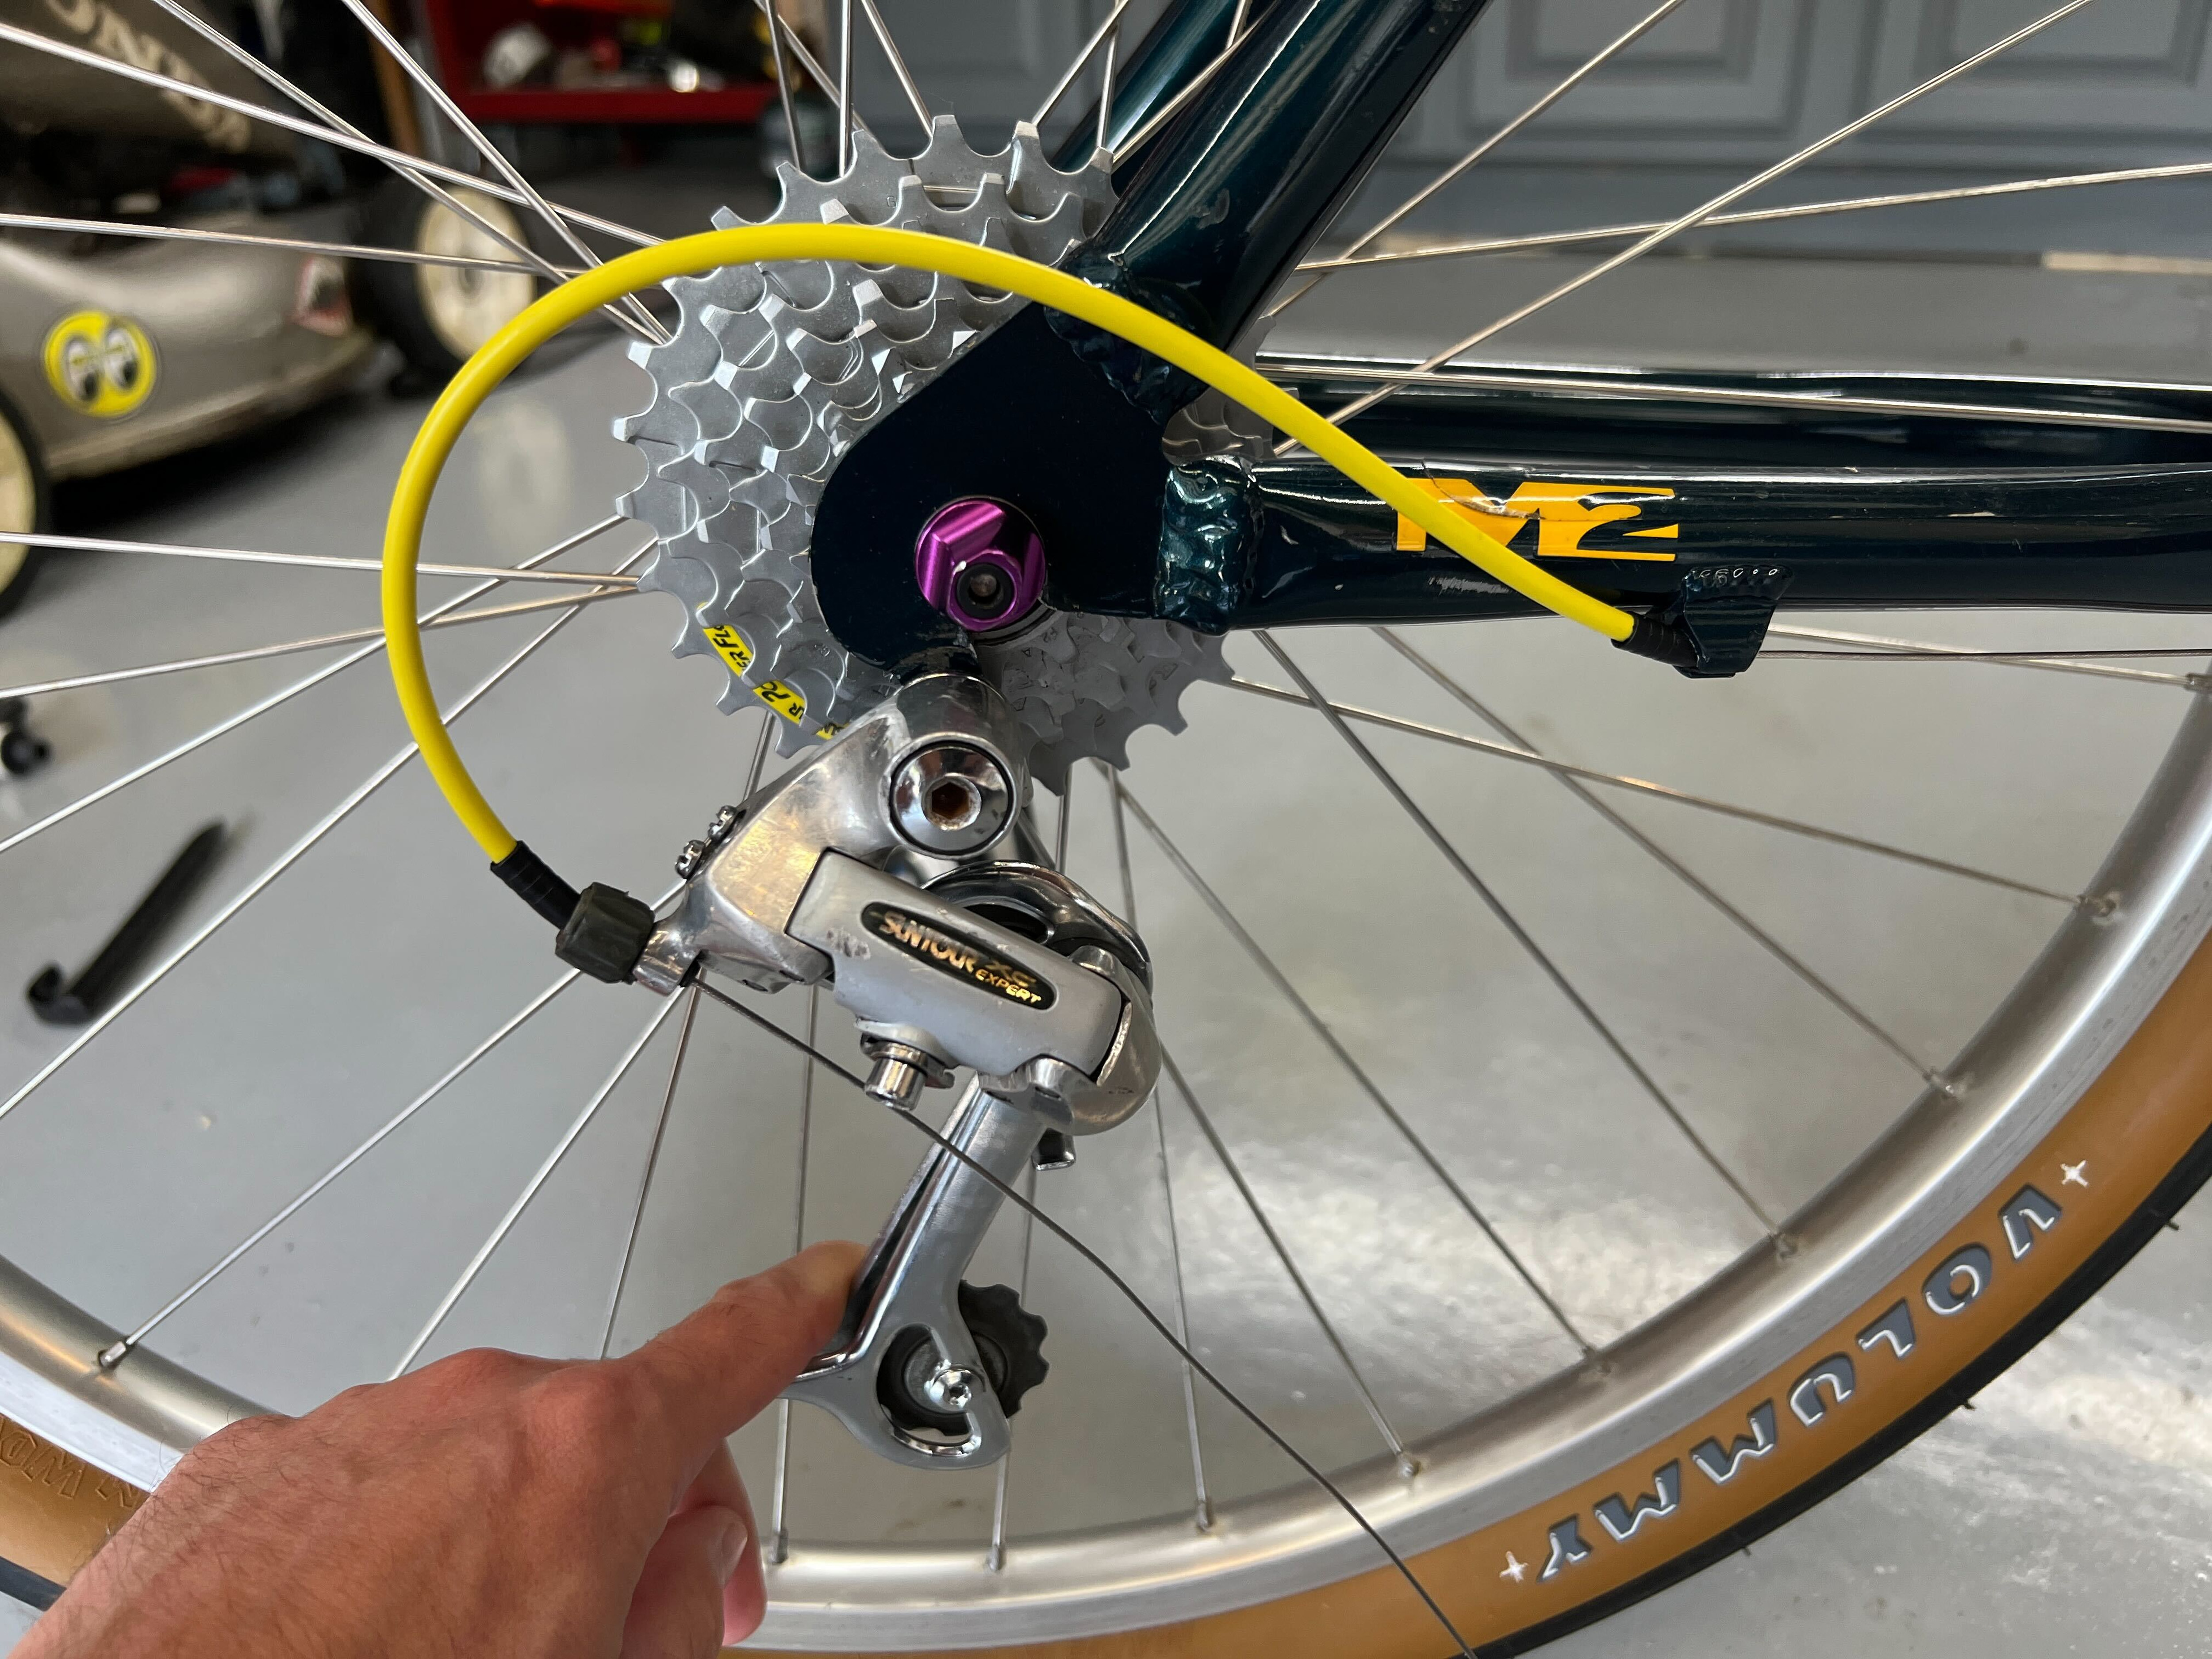
Speaking of chainlines, I made a tiny bit of progress and got the shifter cable somewhat routed.
Didn’t have the bottom bracket guide thingy so I got a cheapo one off the 'zon.
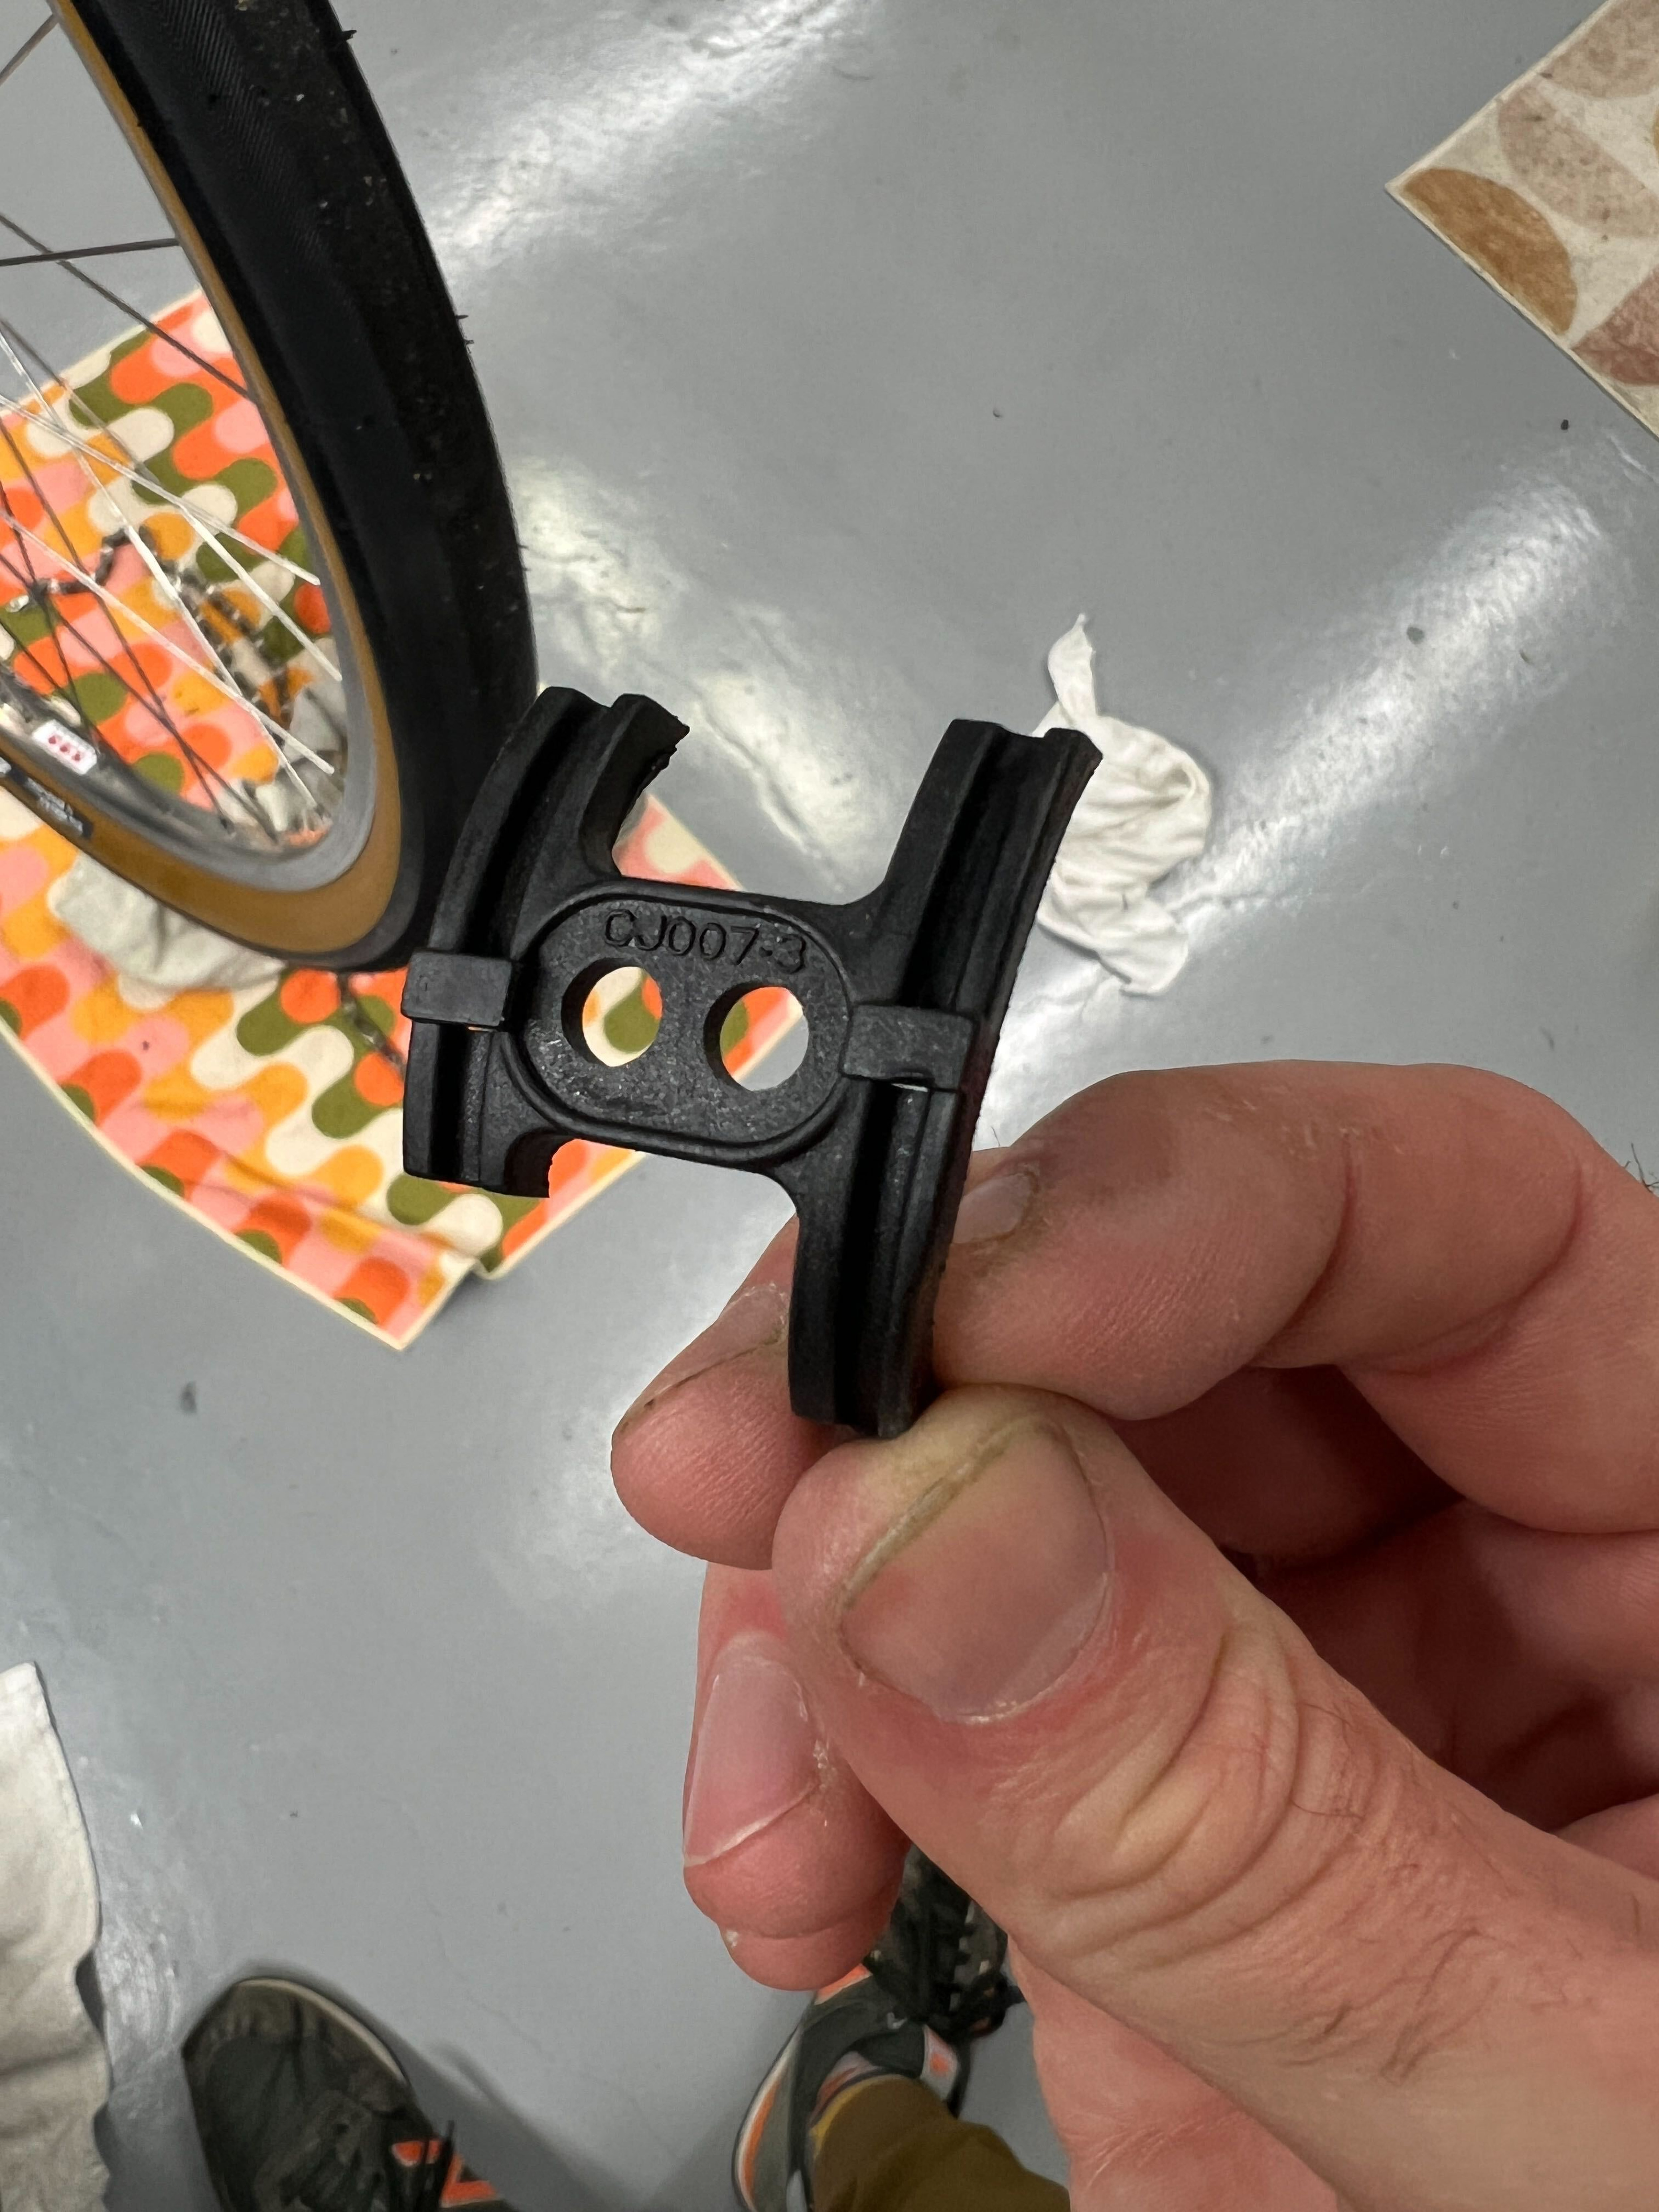
Did a little custom fab work on it since I only needed the one side.
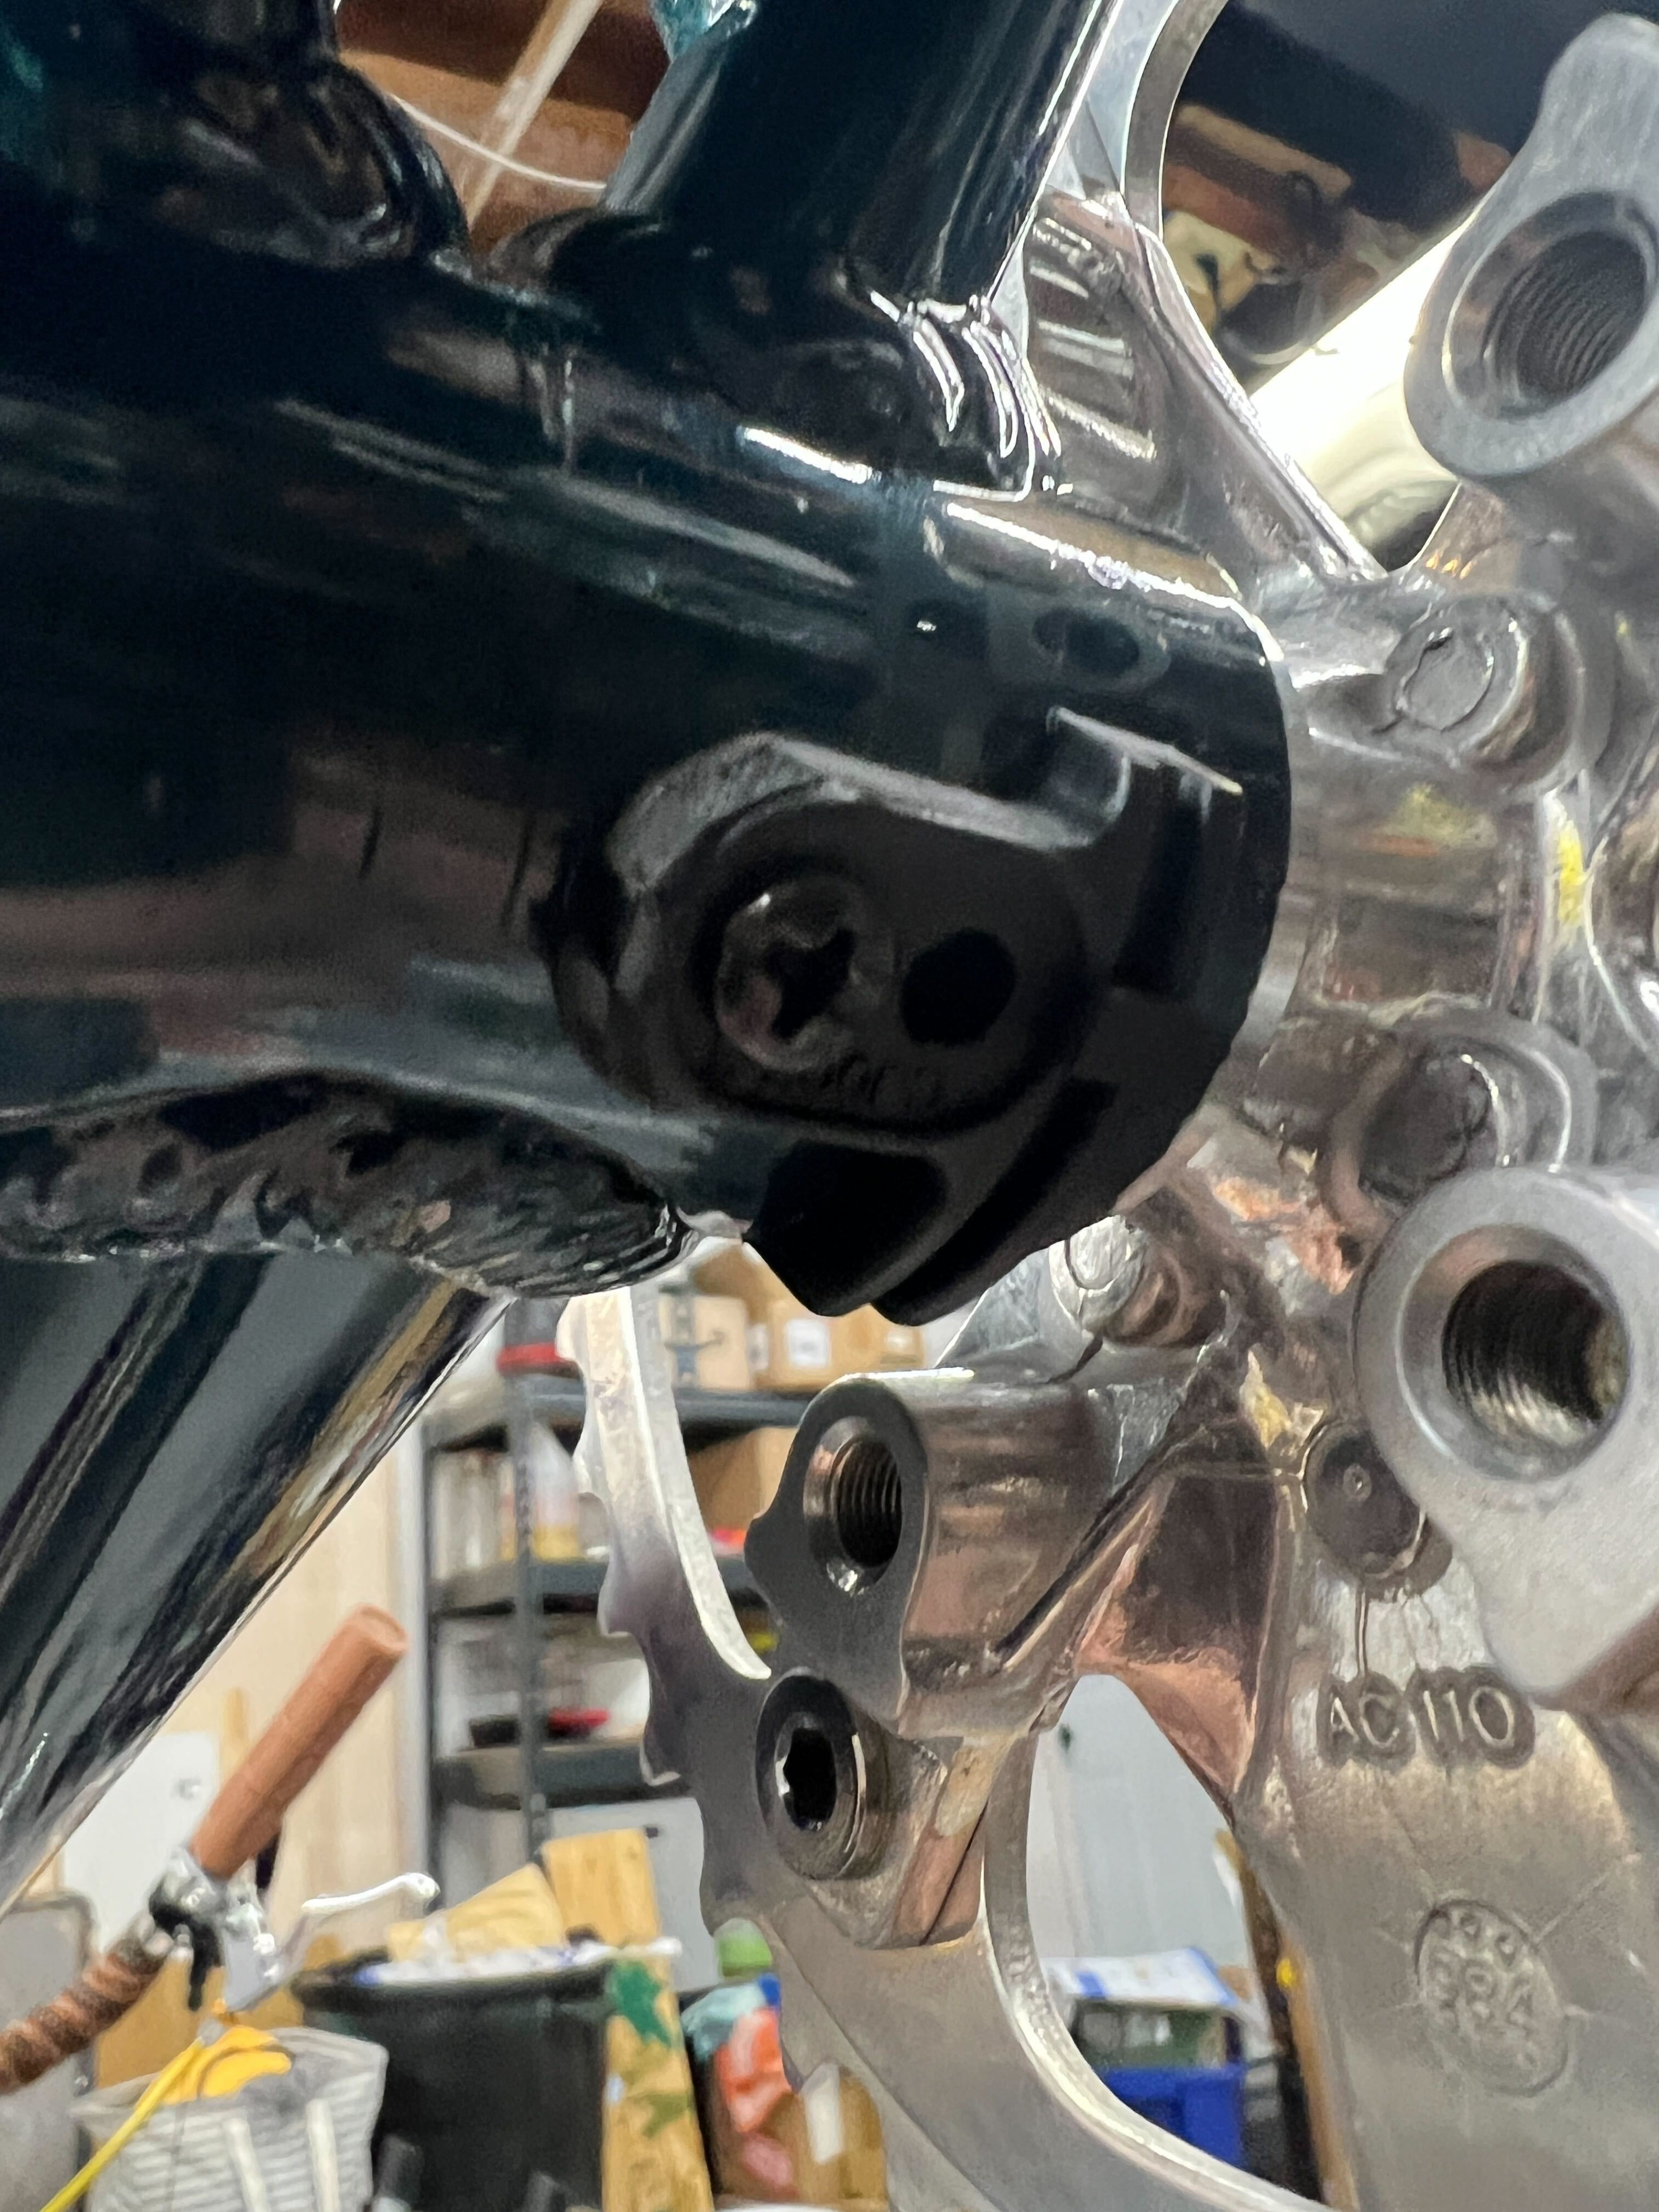
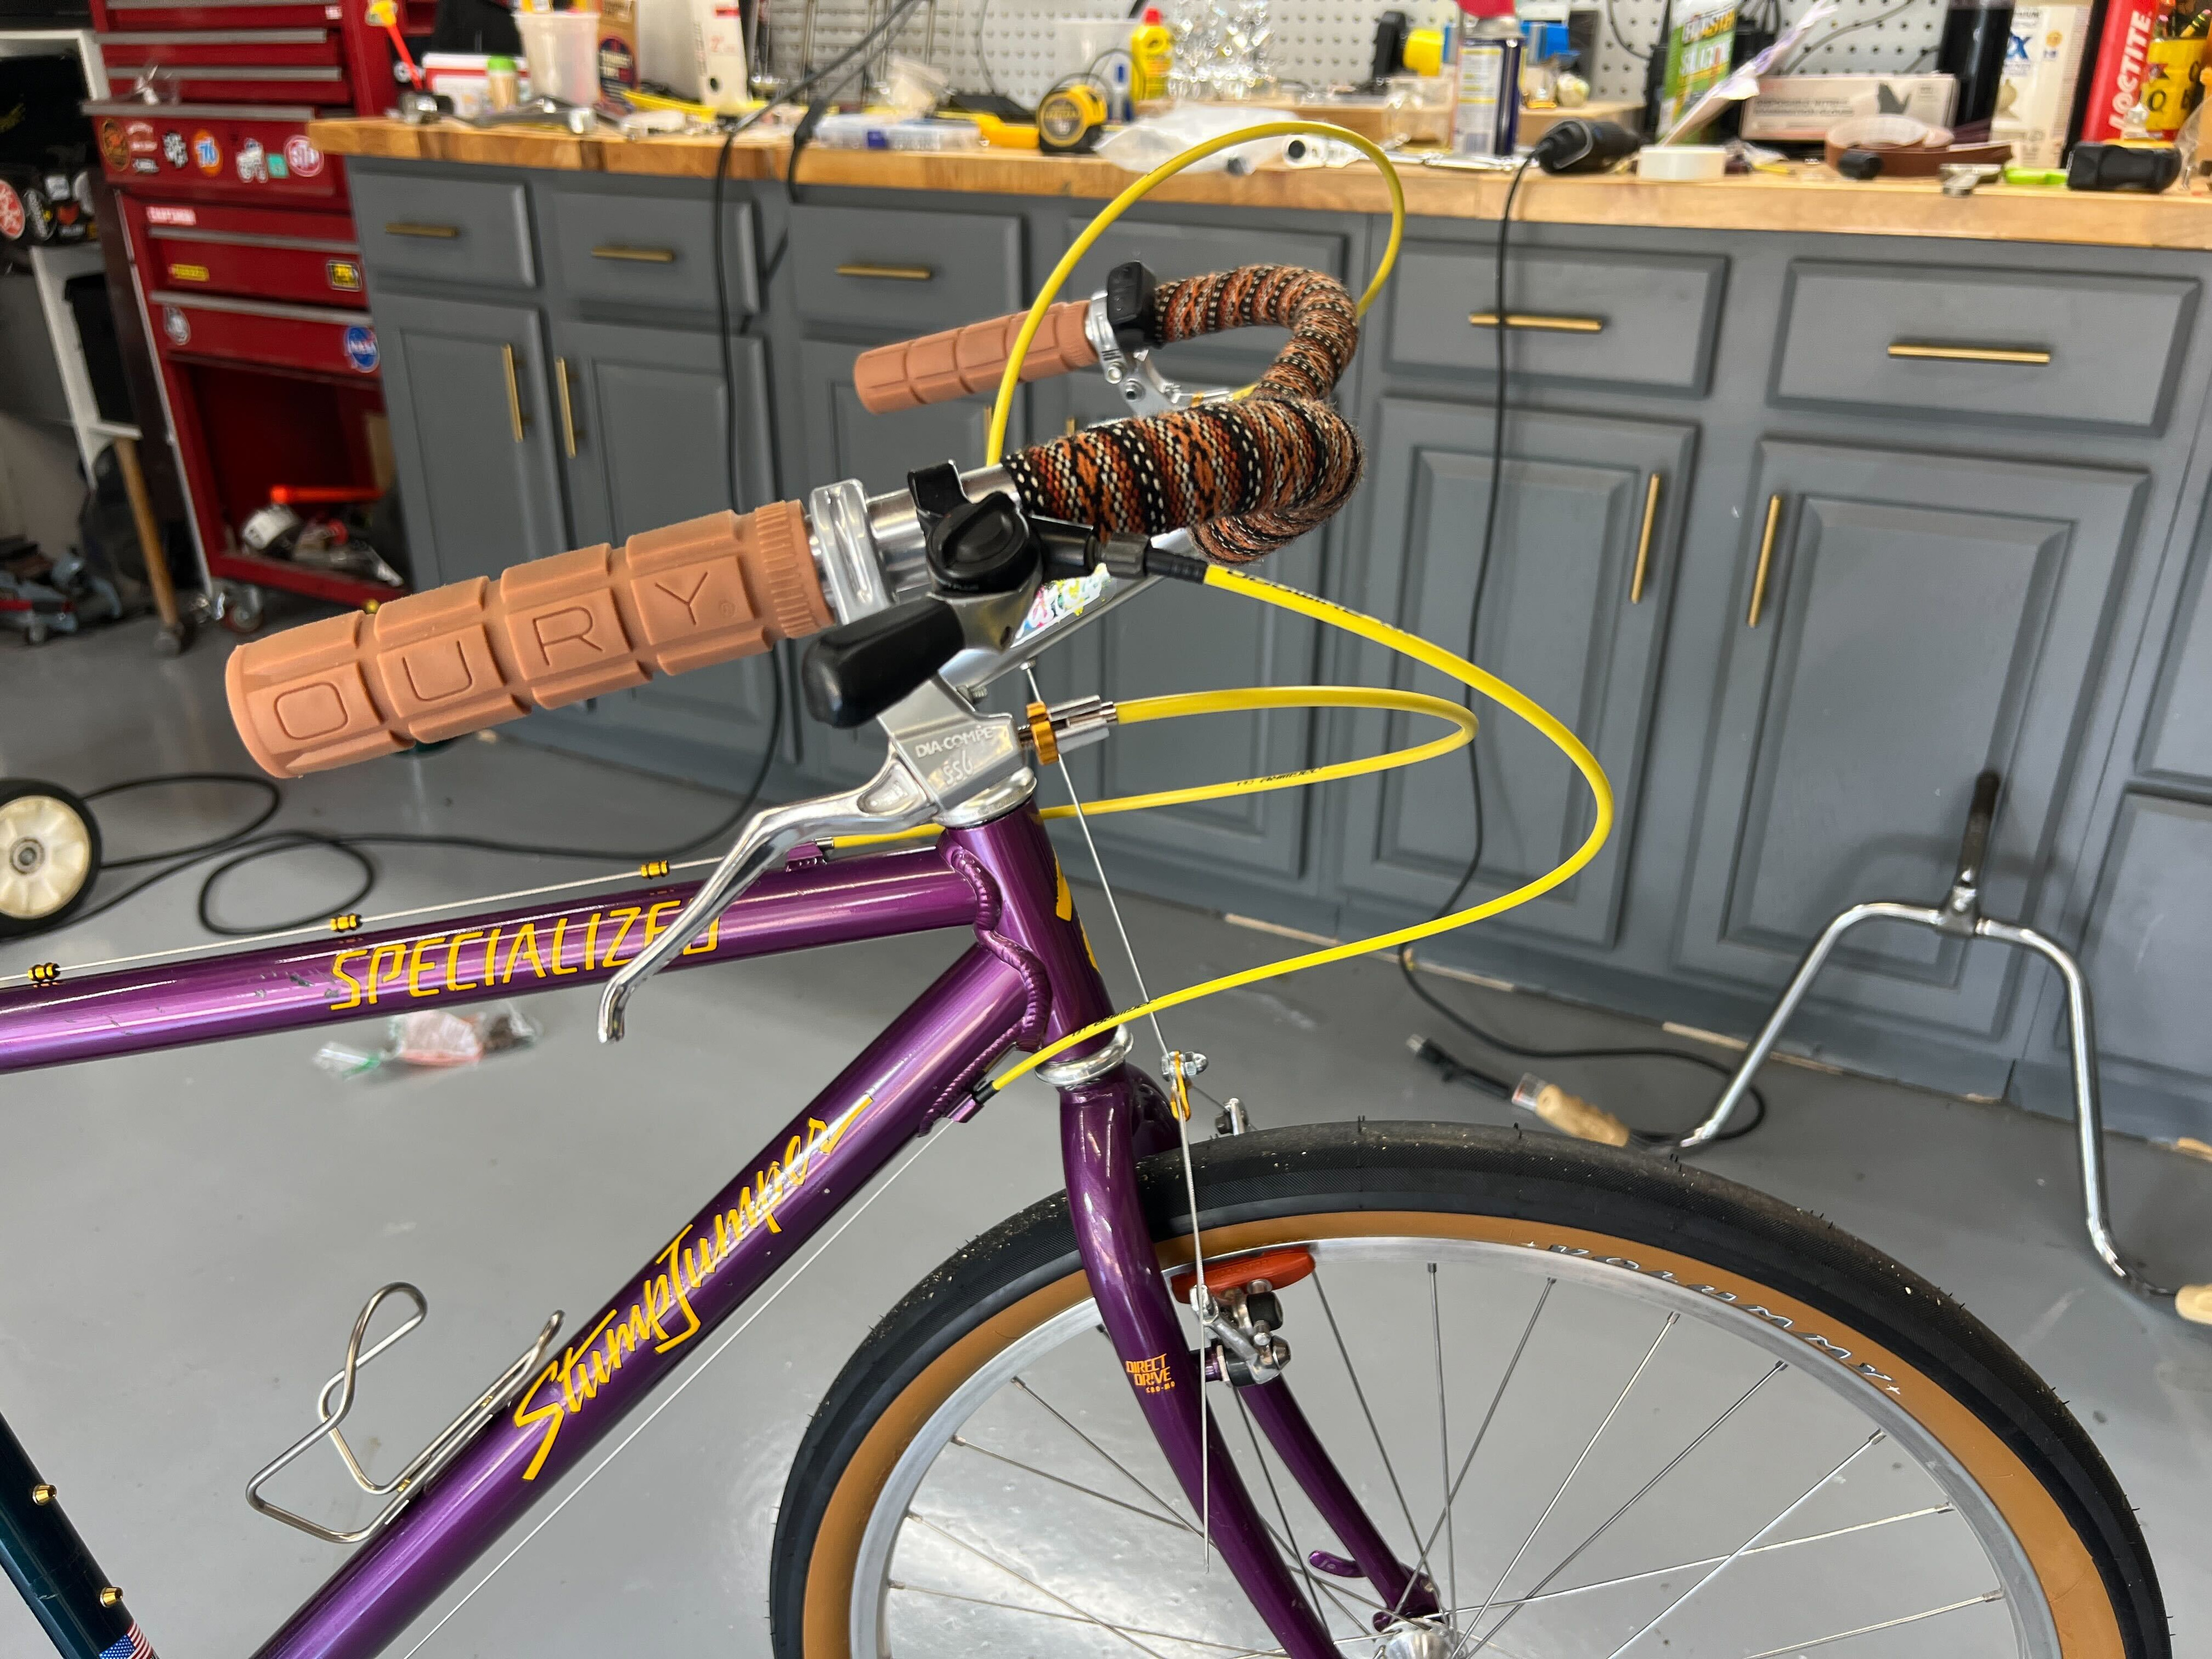
Going to trim that housing a bit more. (Oh yeah, I also settled on the cloth bar wrap as you can see.)
Here as well
I also got this silly removable carbon kickstand:
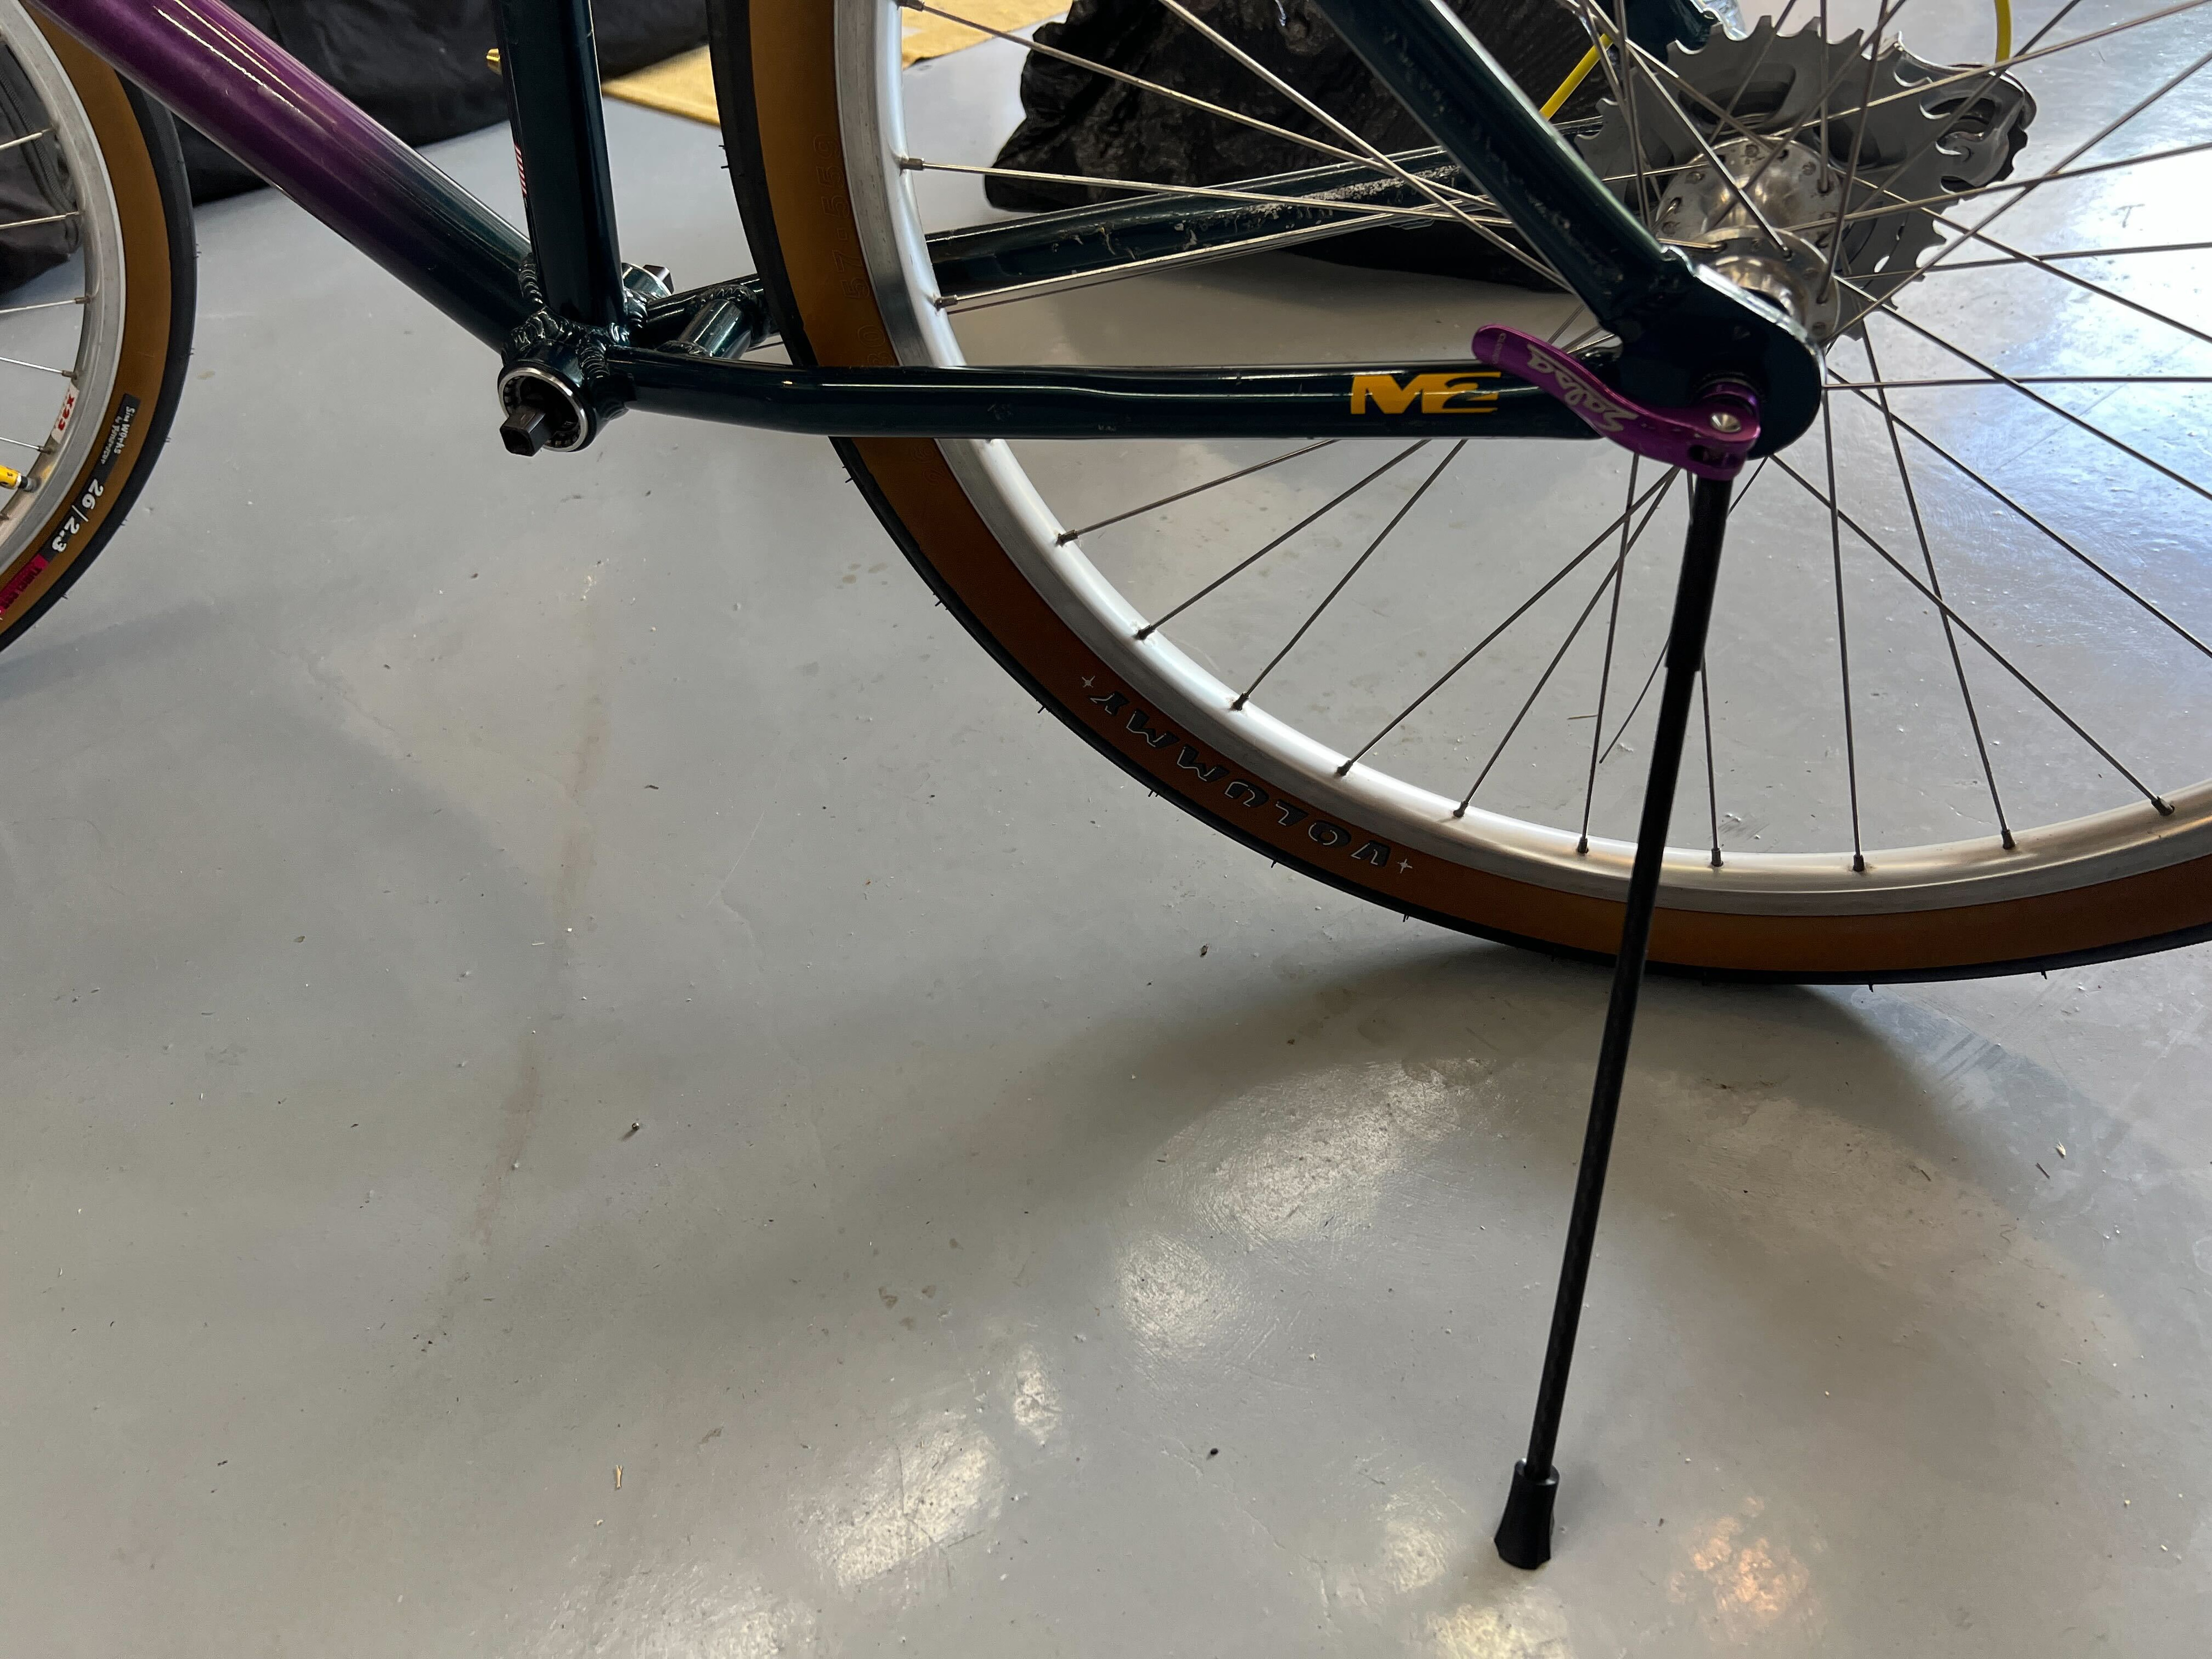
These have been around for ages, I think the first one was called the UpStand.
So far, I can’t say I’d recommend it, but I’m going to try it out for a while.
It holds the bike up, but is very touchy. I also had to stick a lockwasher between it’s little mount and the frame because it just kept moving.

But yeah it is probably the most minimal thing you can get as far as a kickstand goes.

It comes off and folds in half, like how a tent pole works.
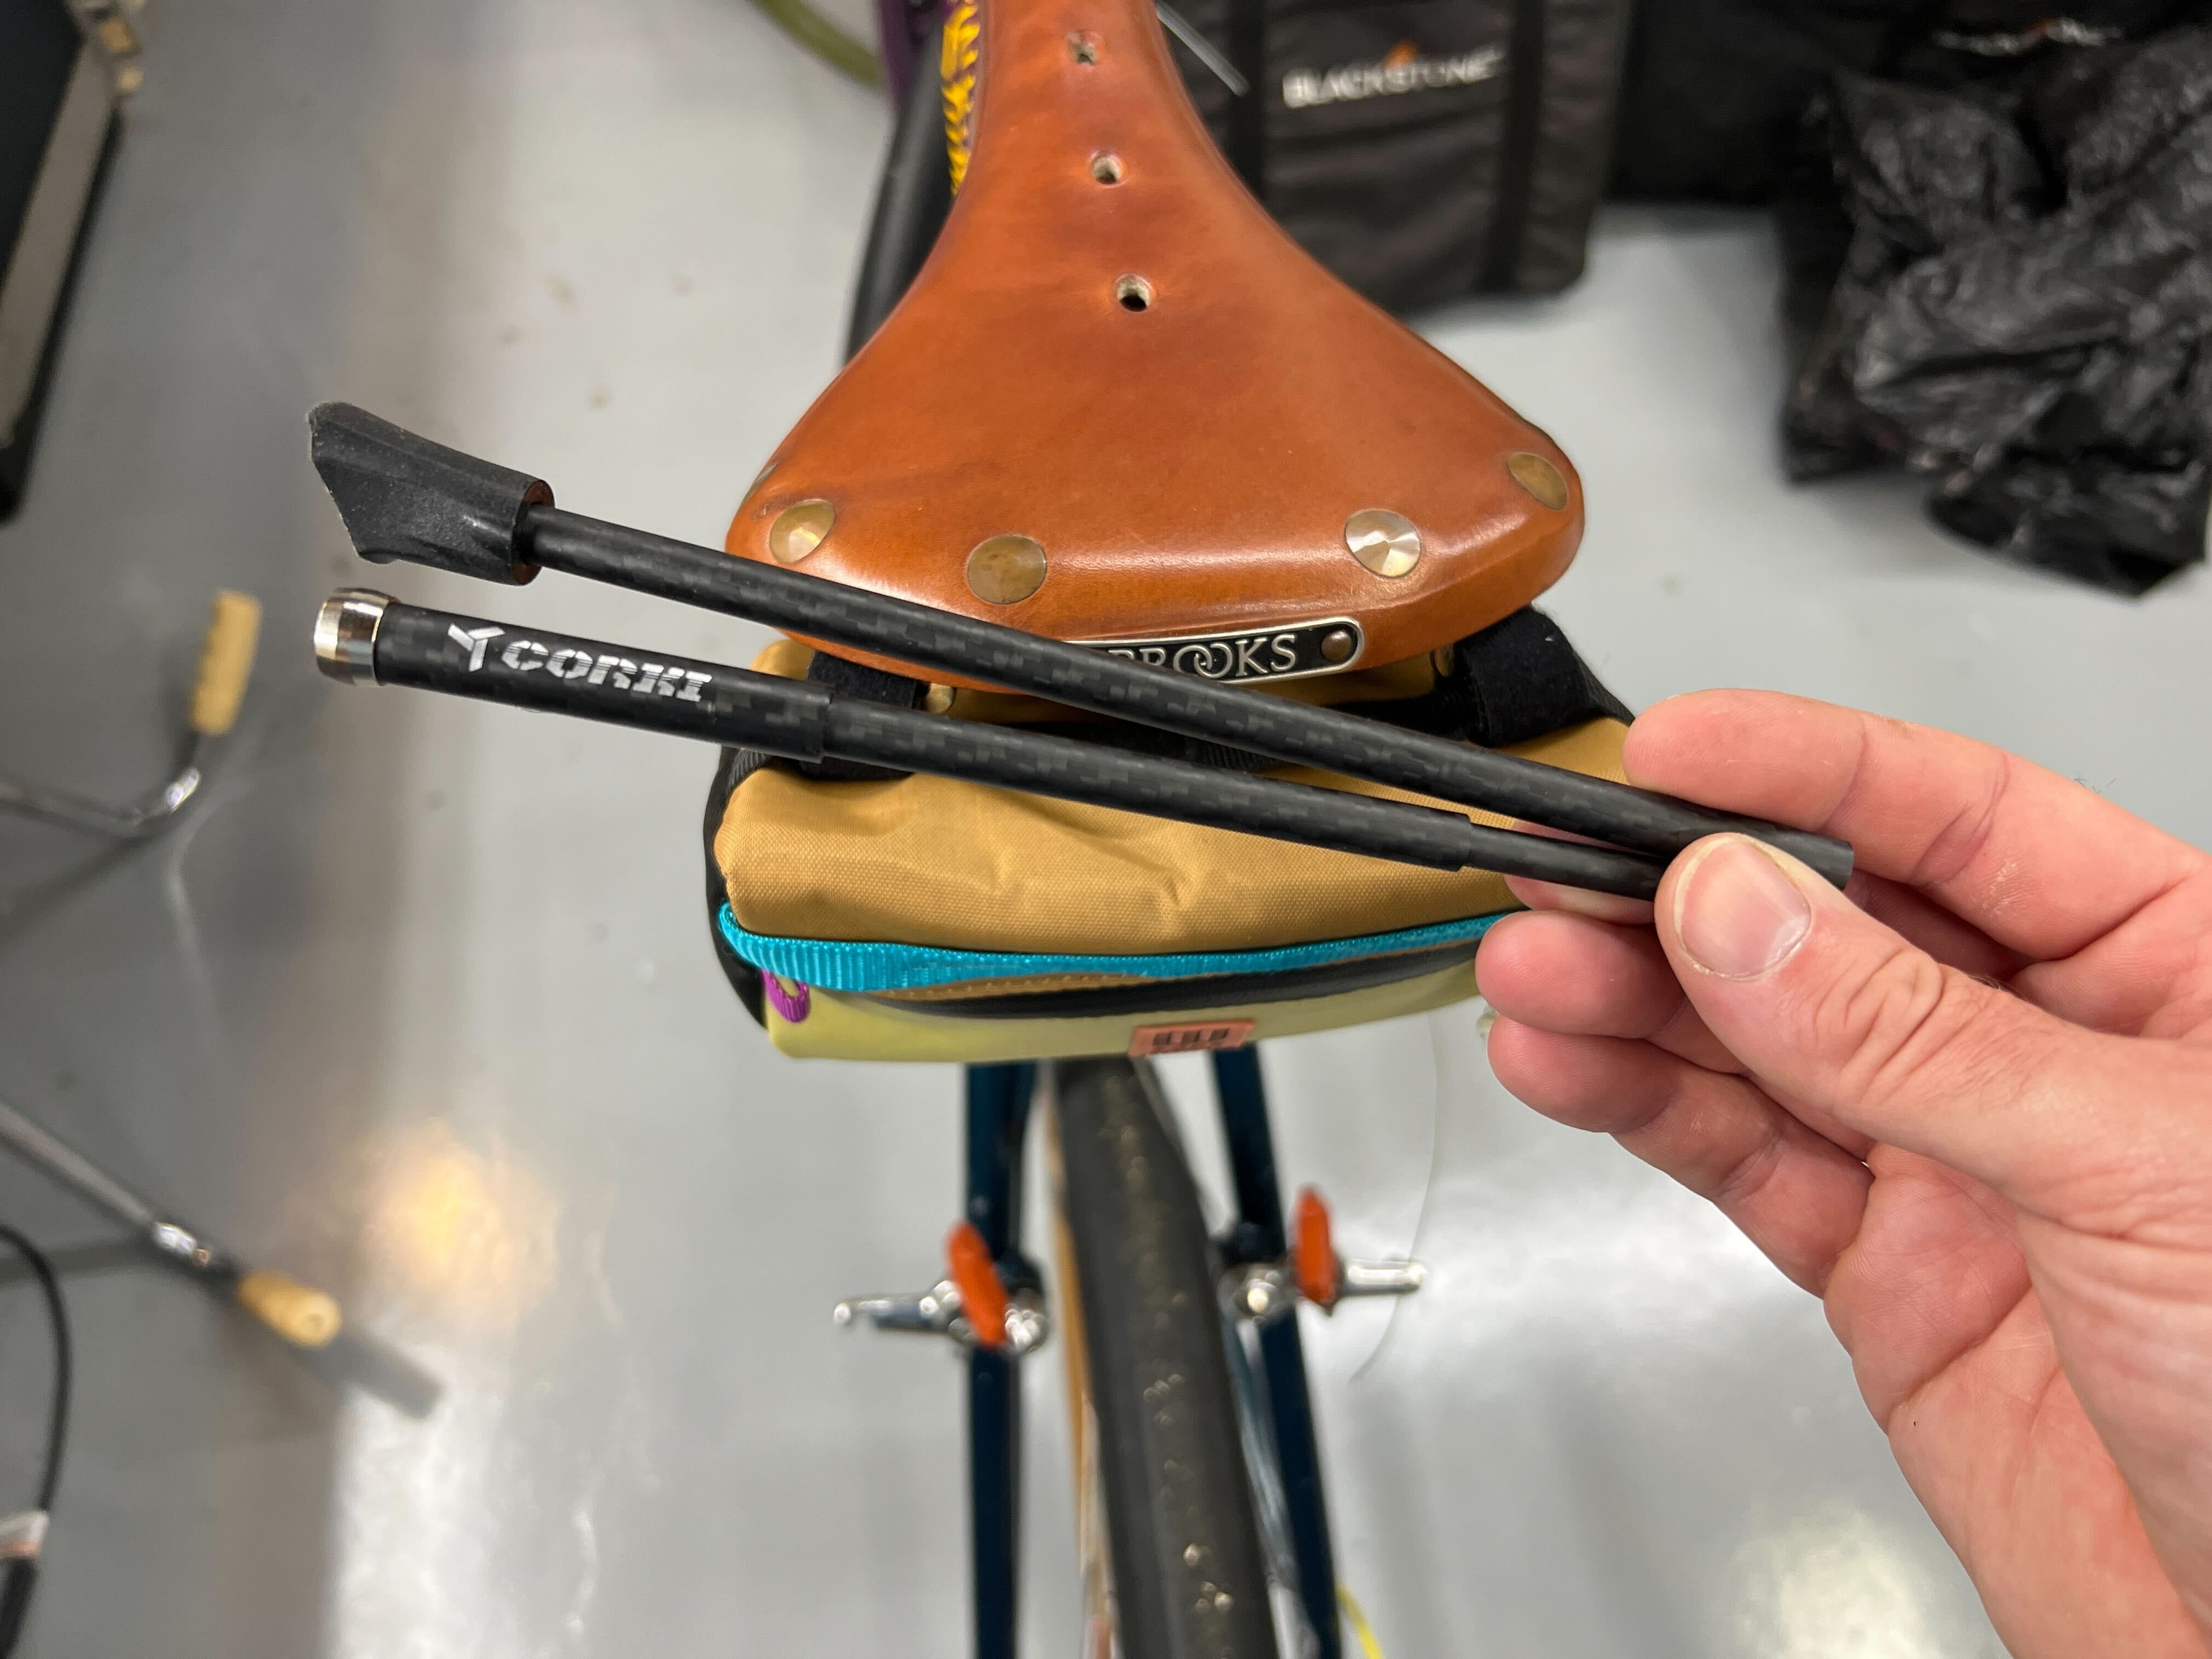
It’s doing OK for the time being so I don’t have to lean it up against stuff in my garage that I constantly need access to.
4 Likes
When will you get the hamburger bell?
2 Likes
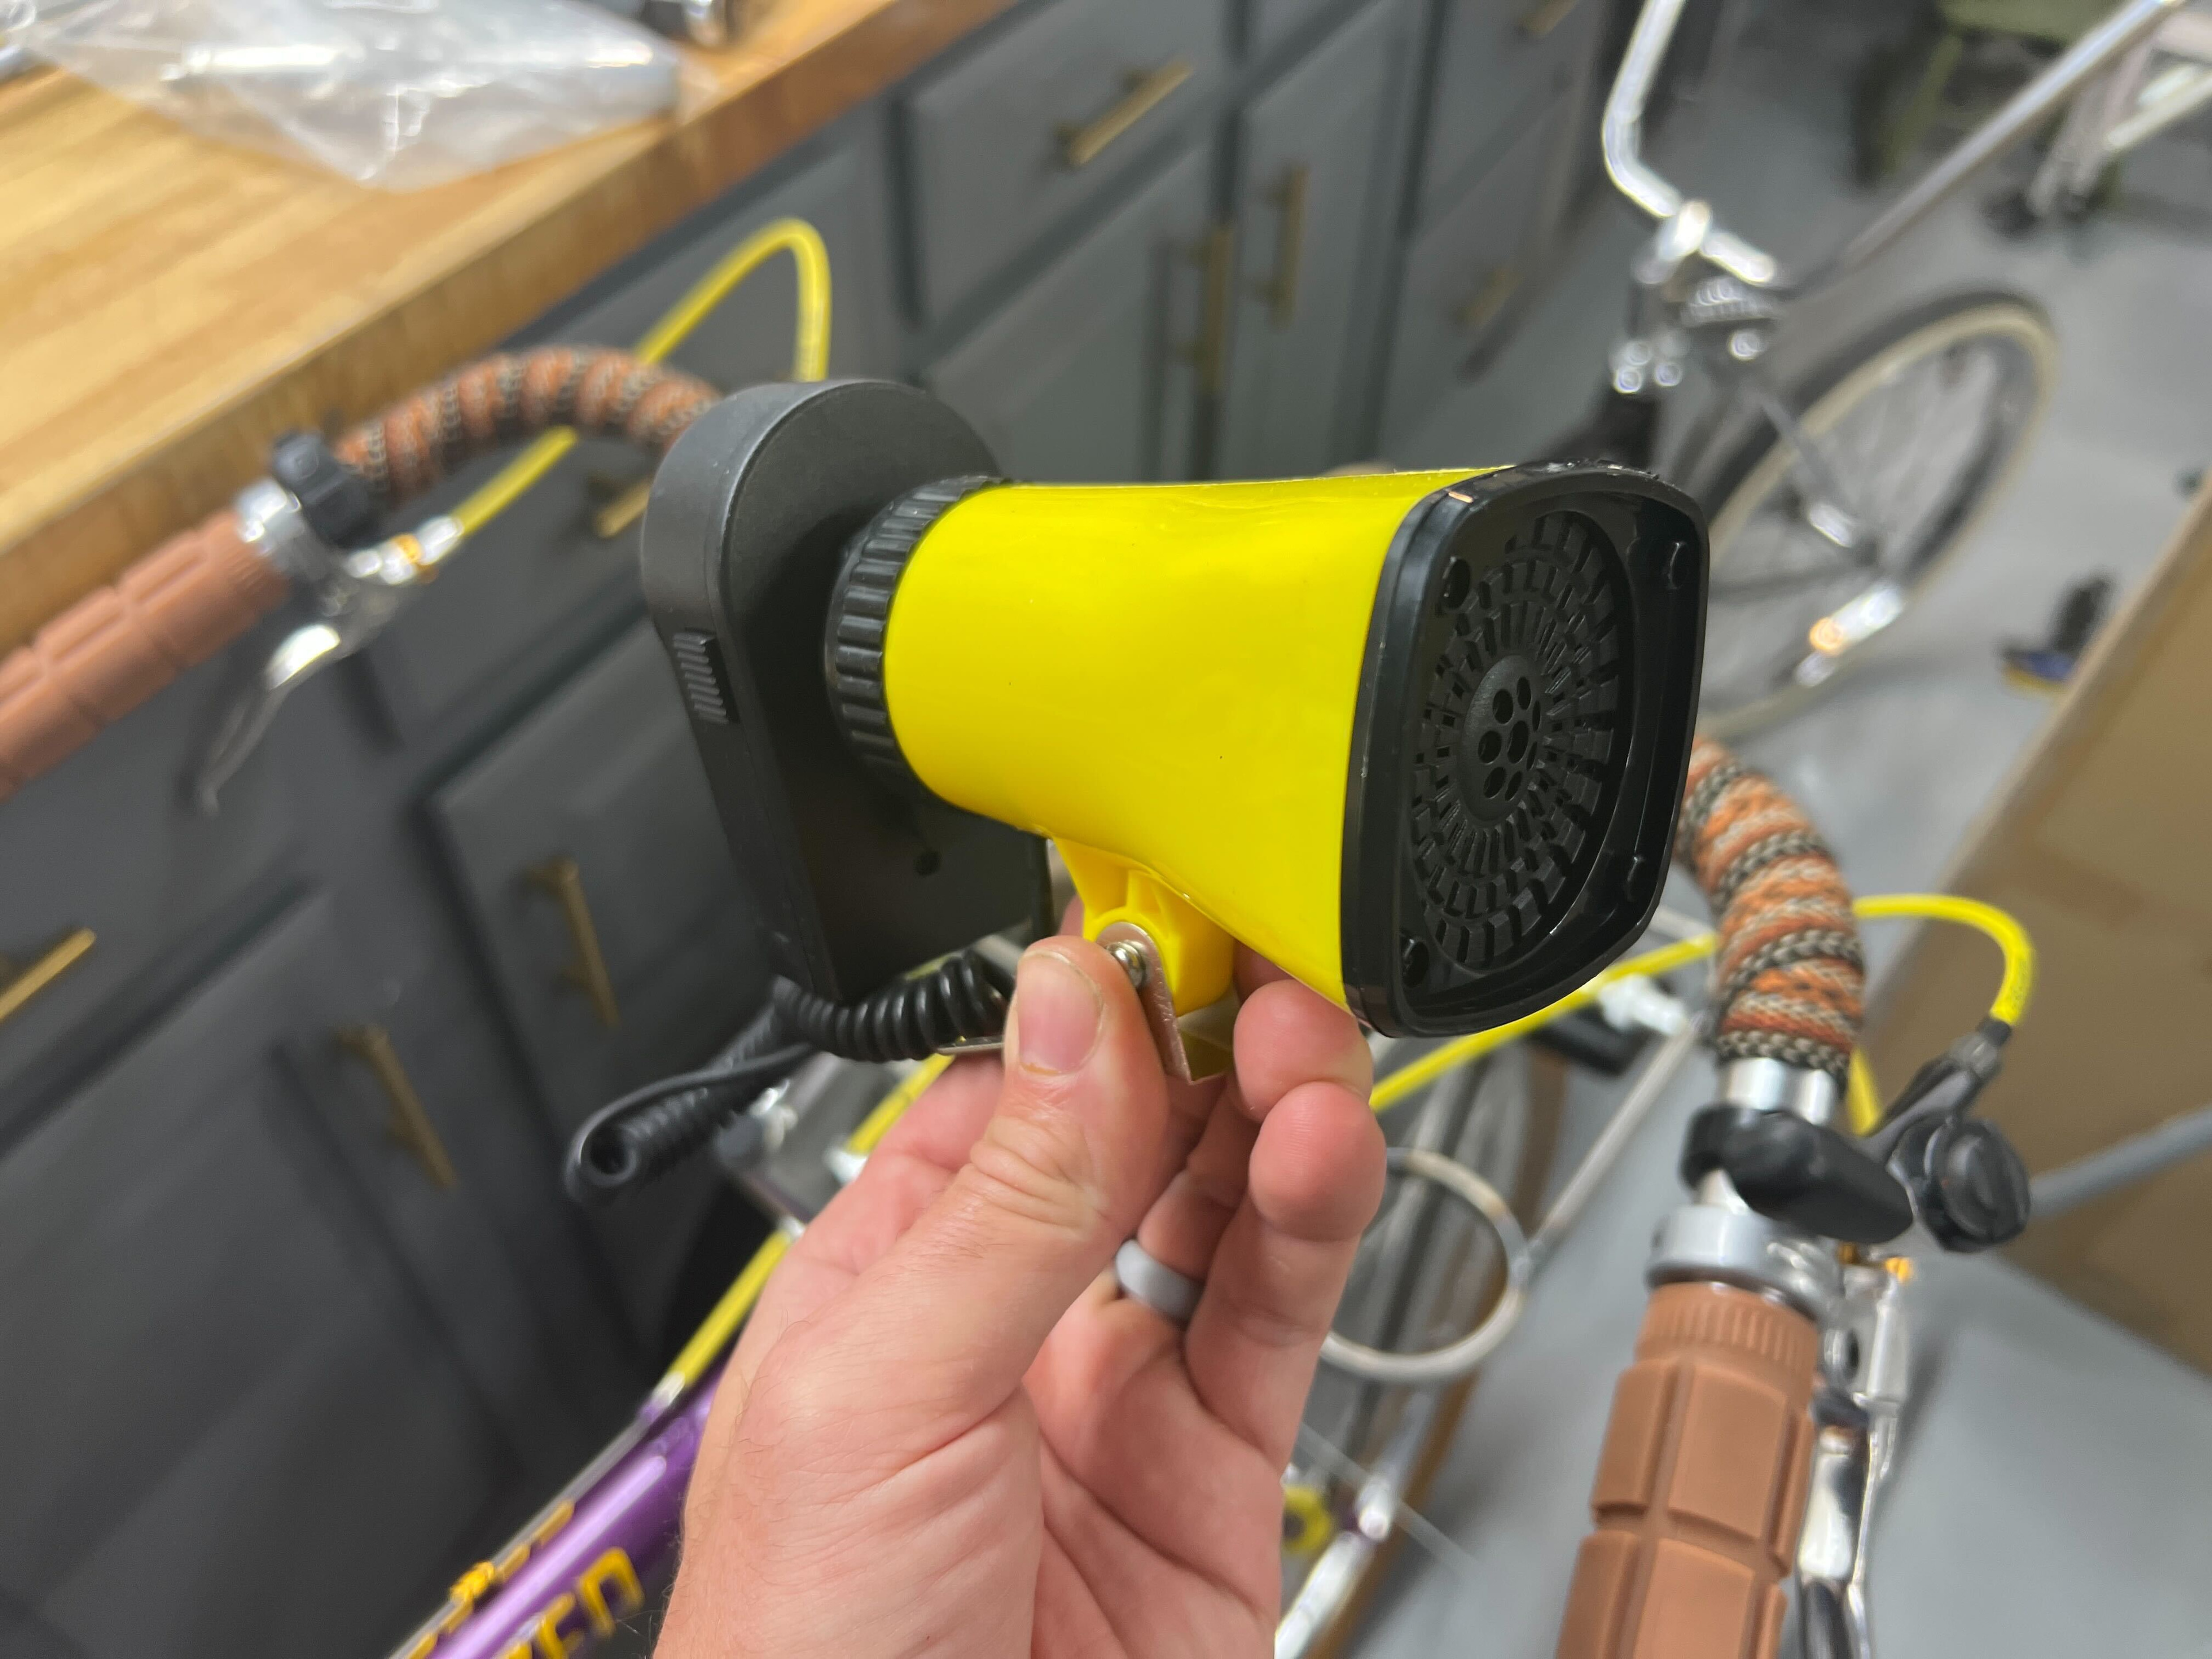
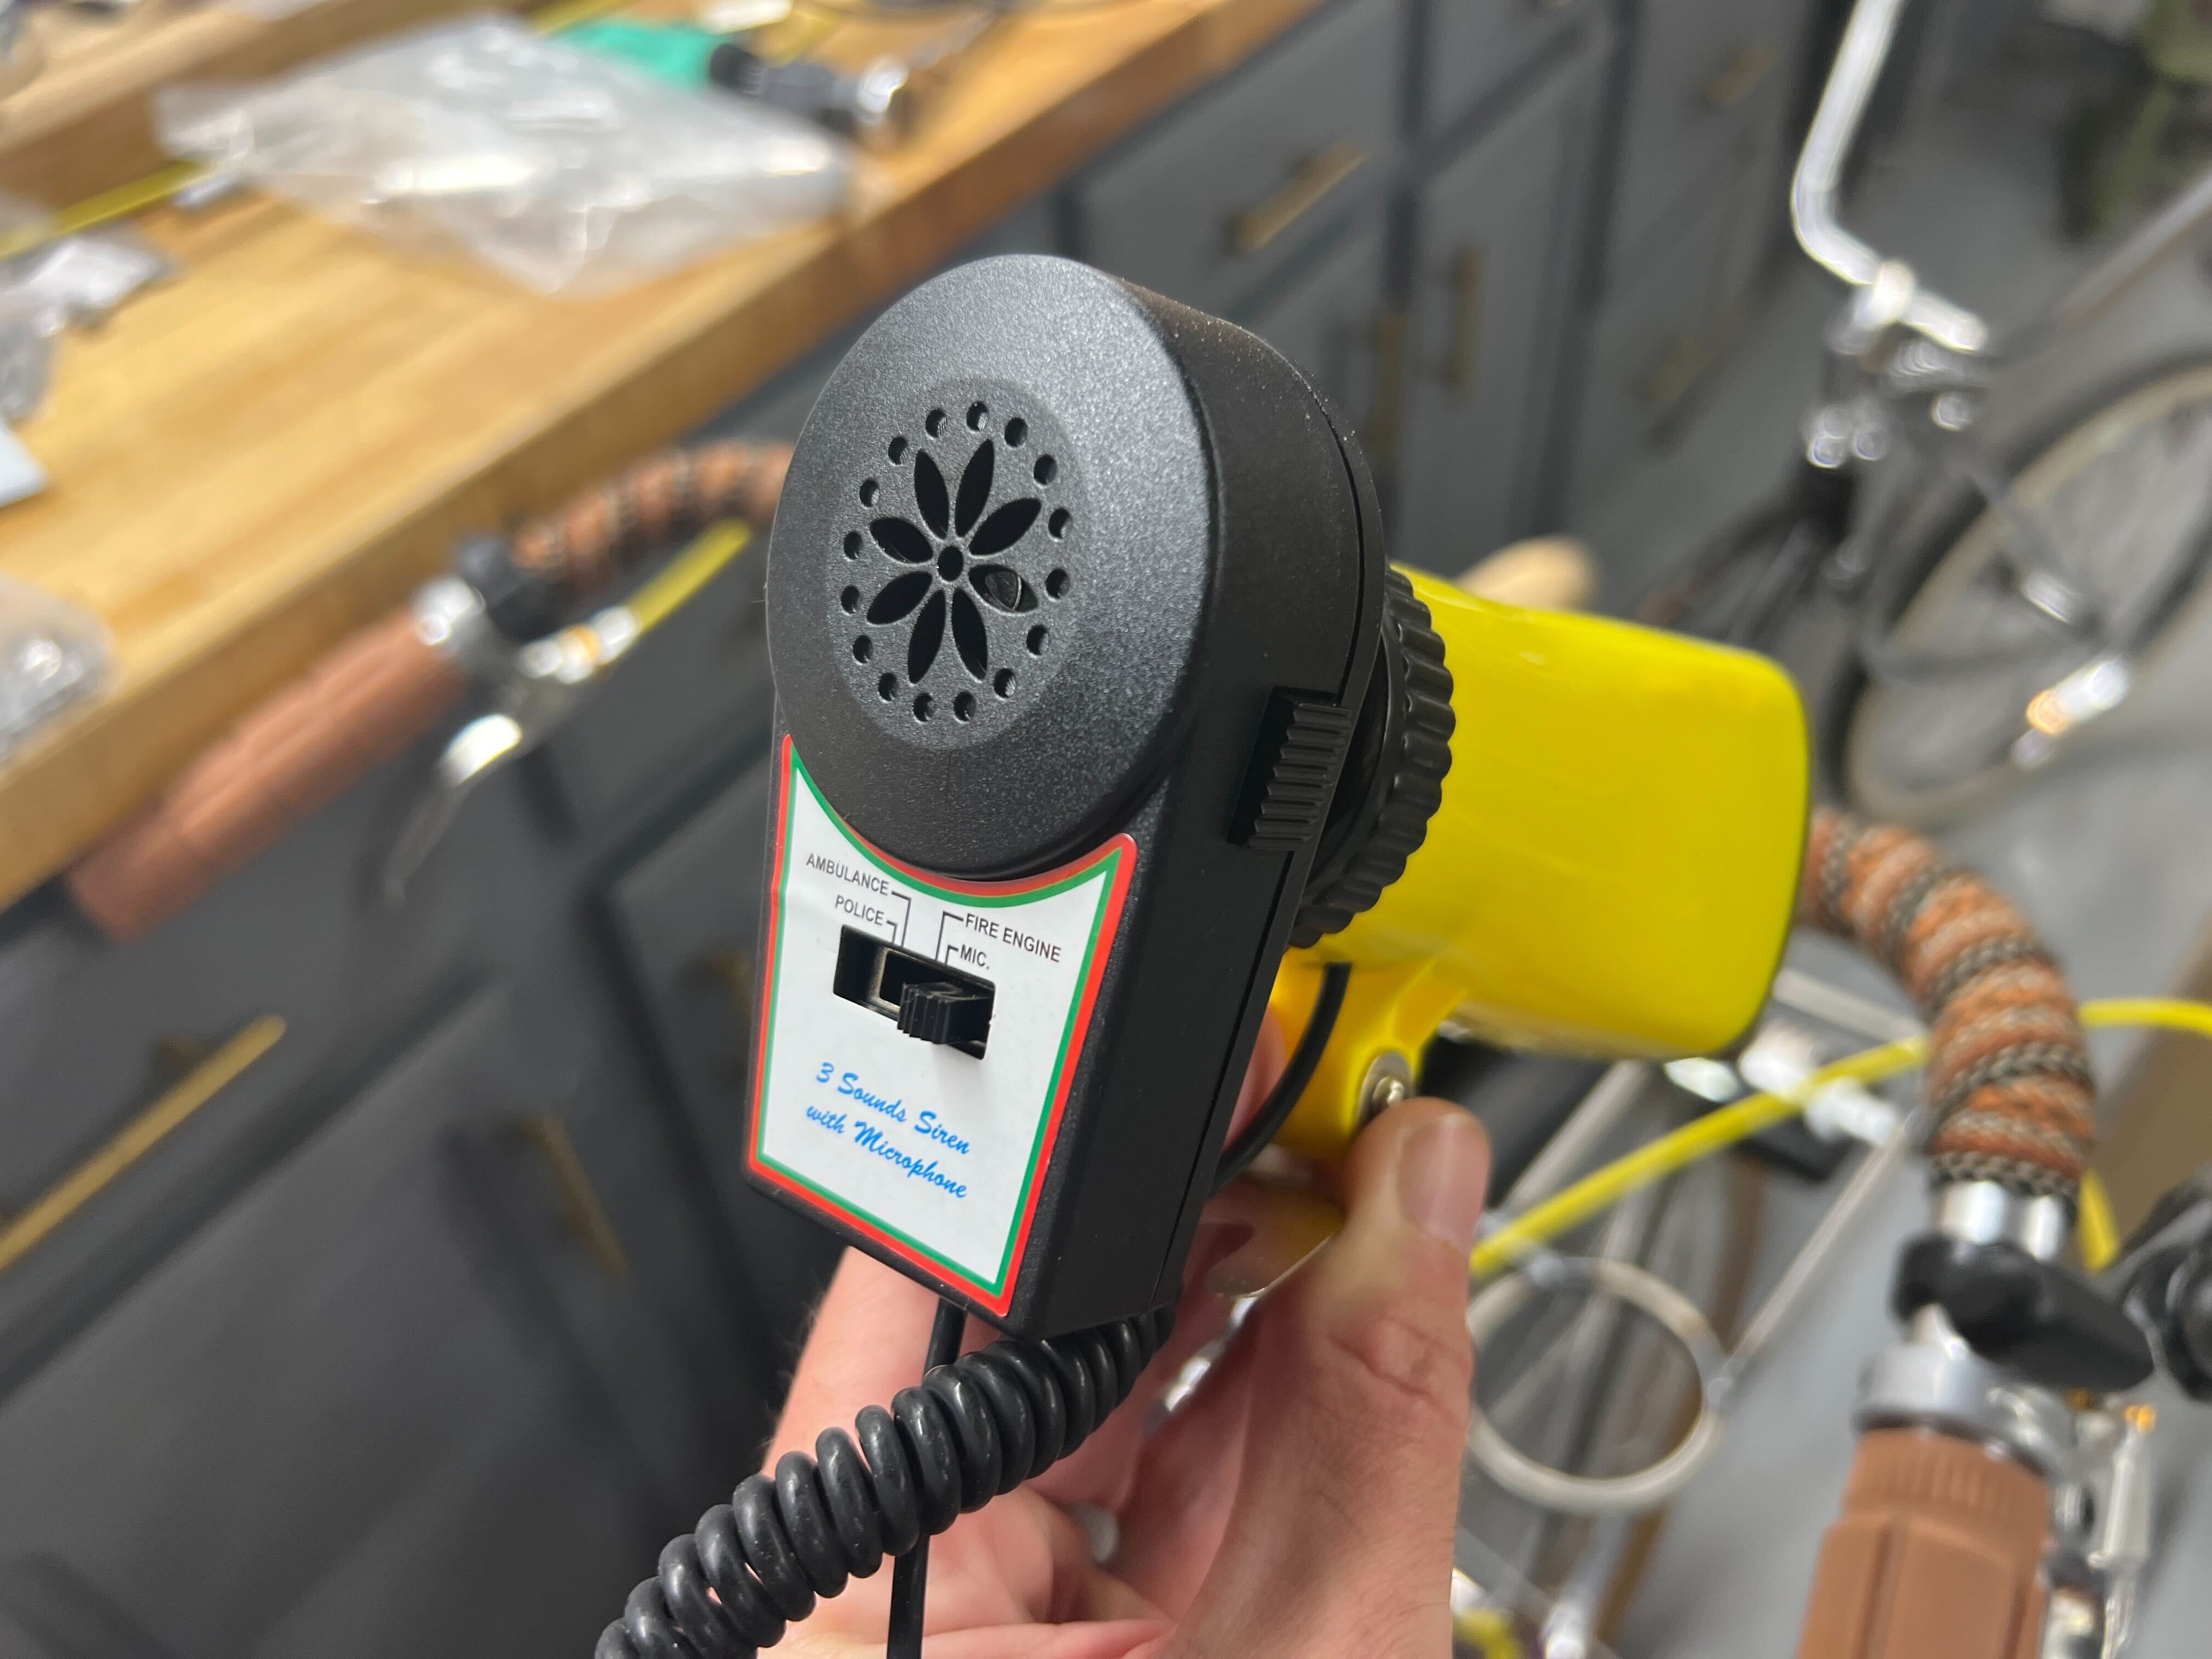
Very much putting the cart before the horse over the weekend since I don’t even have the chain or cranks on yet, but I got the rack on.
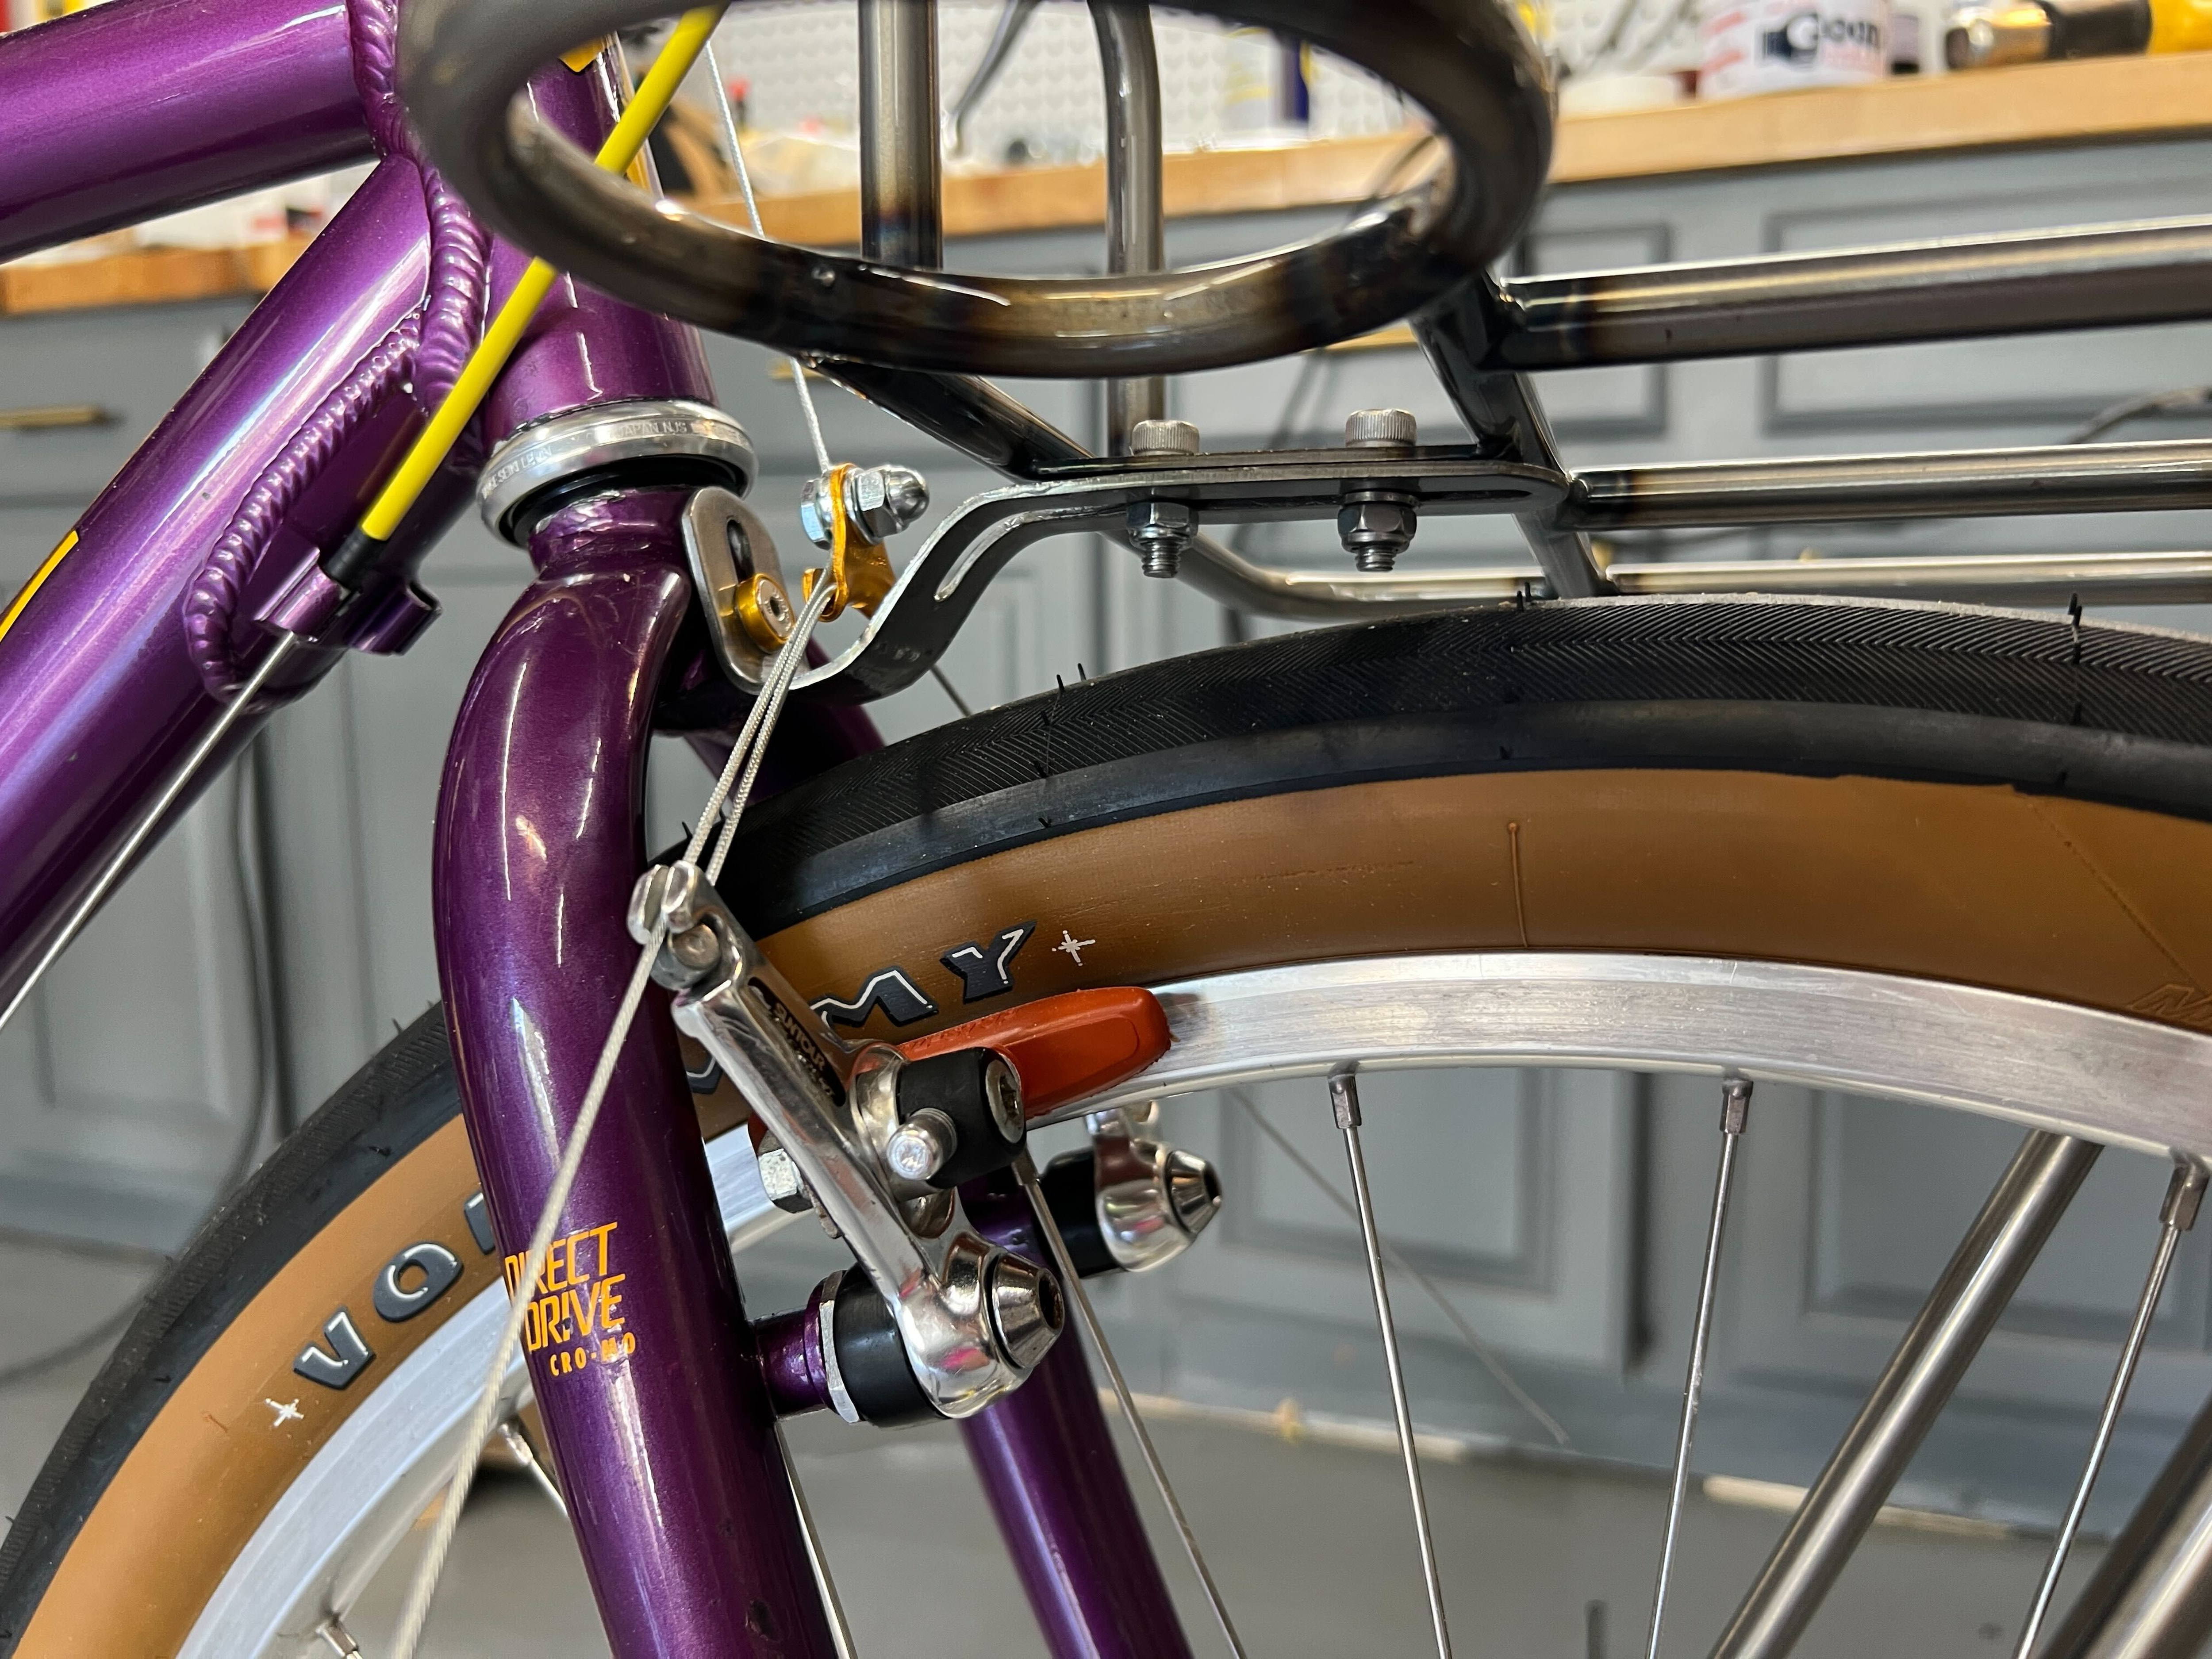
[Edit: If you’re just tuning in, I couldn’t use the rack’s fork crown bracket as-is because it didn’t jive with the brake, so I had to mod it. Hammered it flat and started from scratch with the bends I needed.]
A couple weeks ago I made my bends using garage caveman techniques.
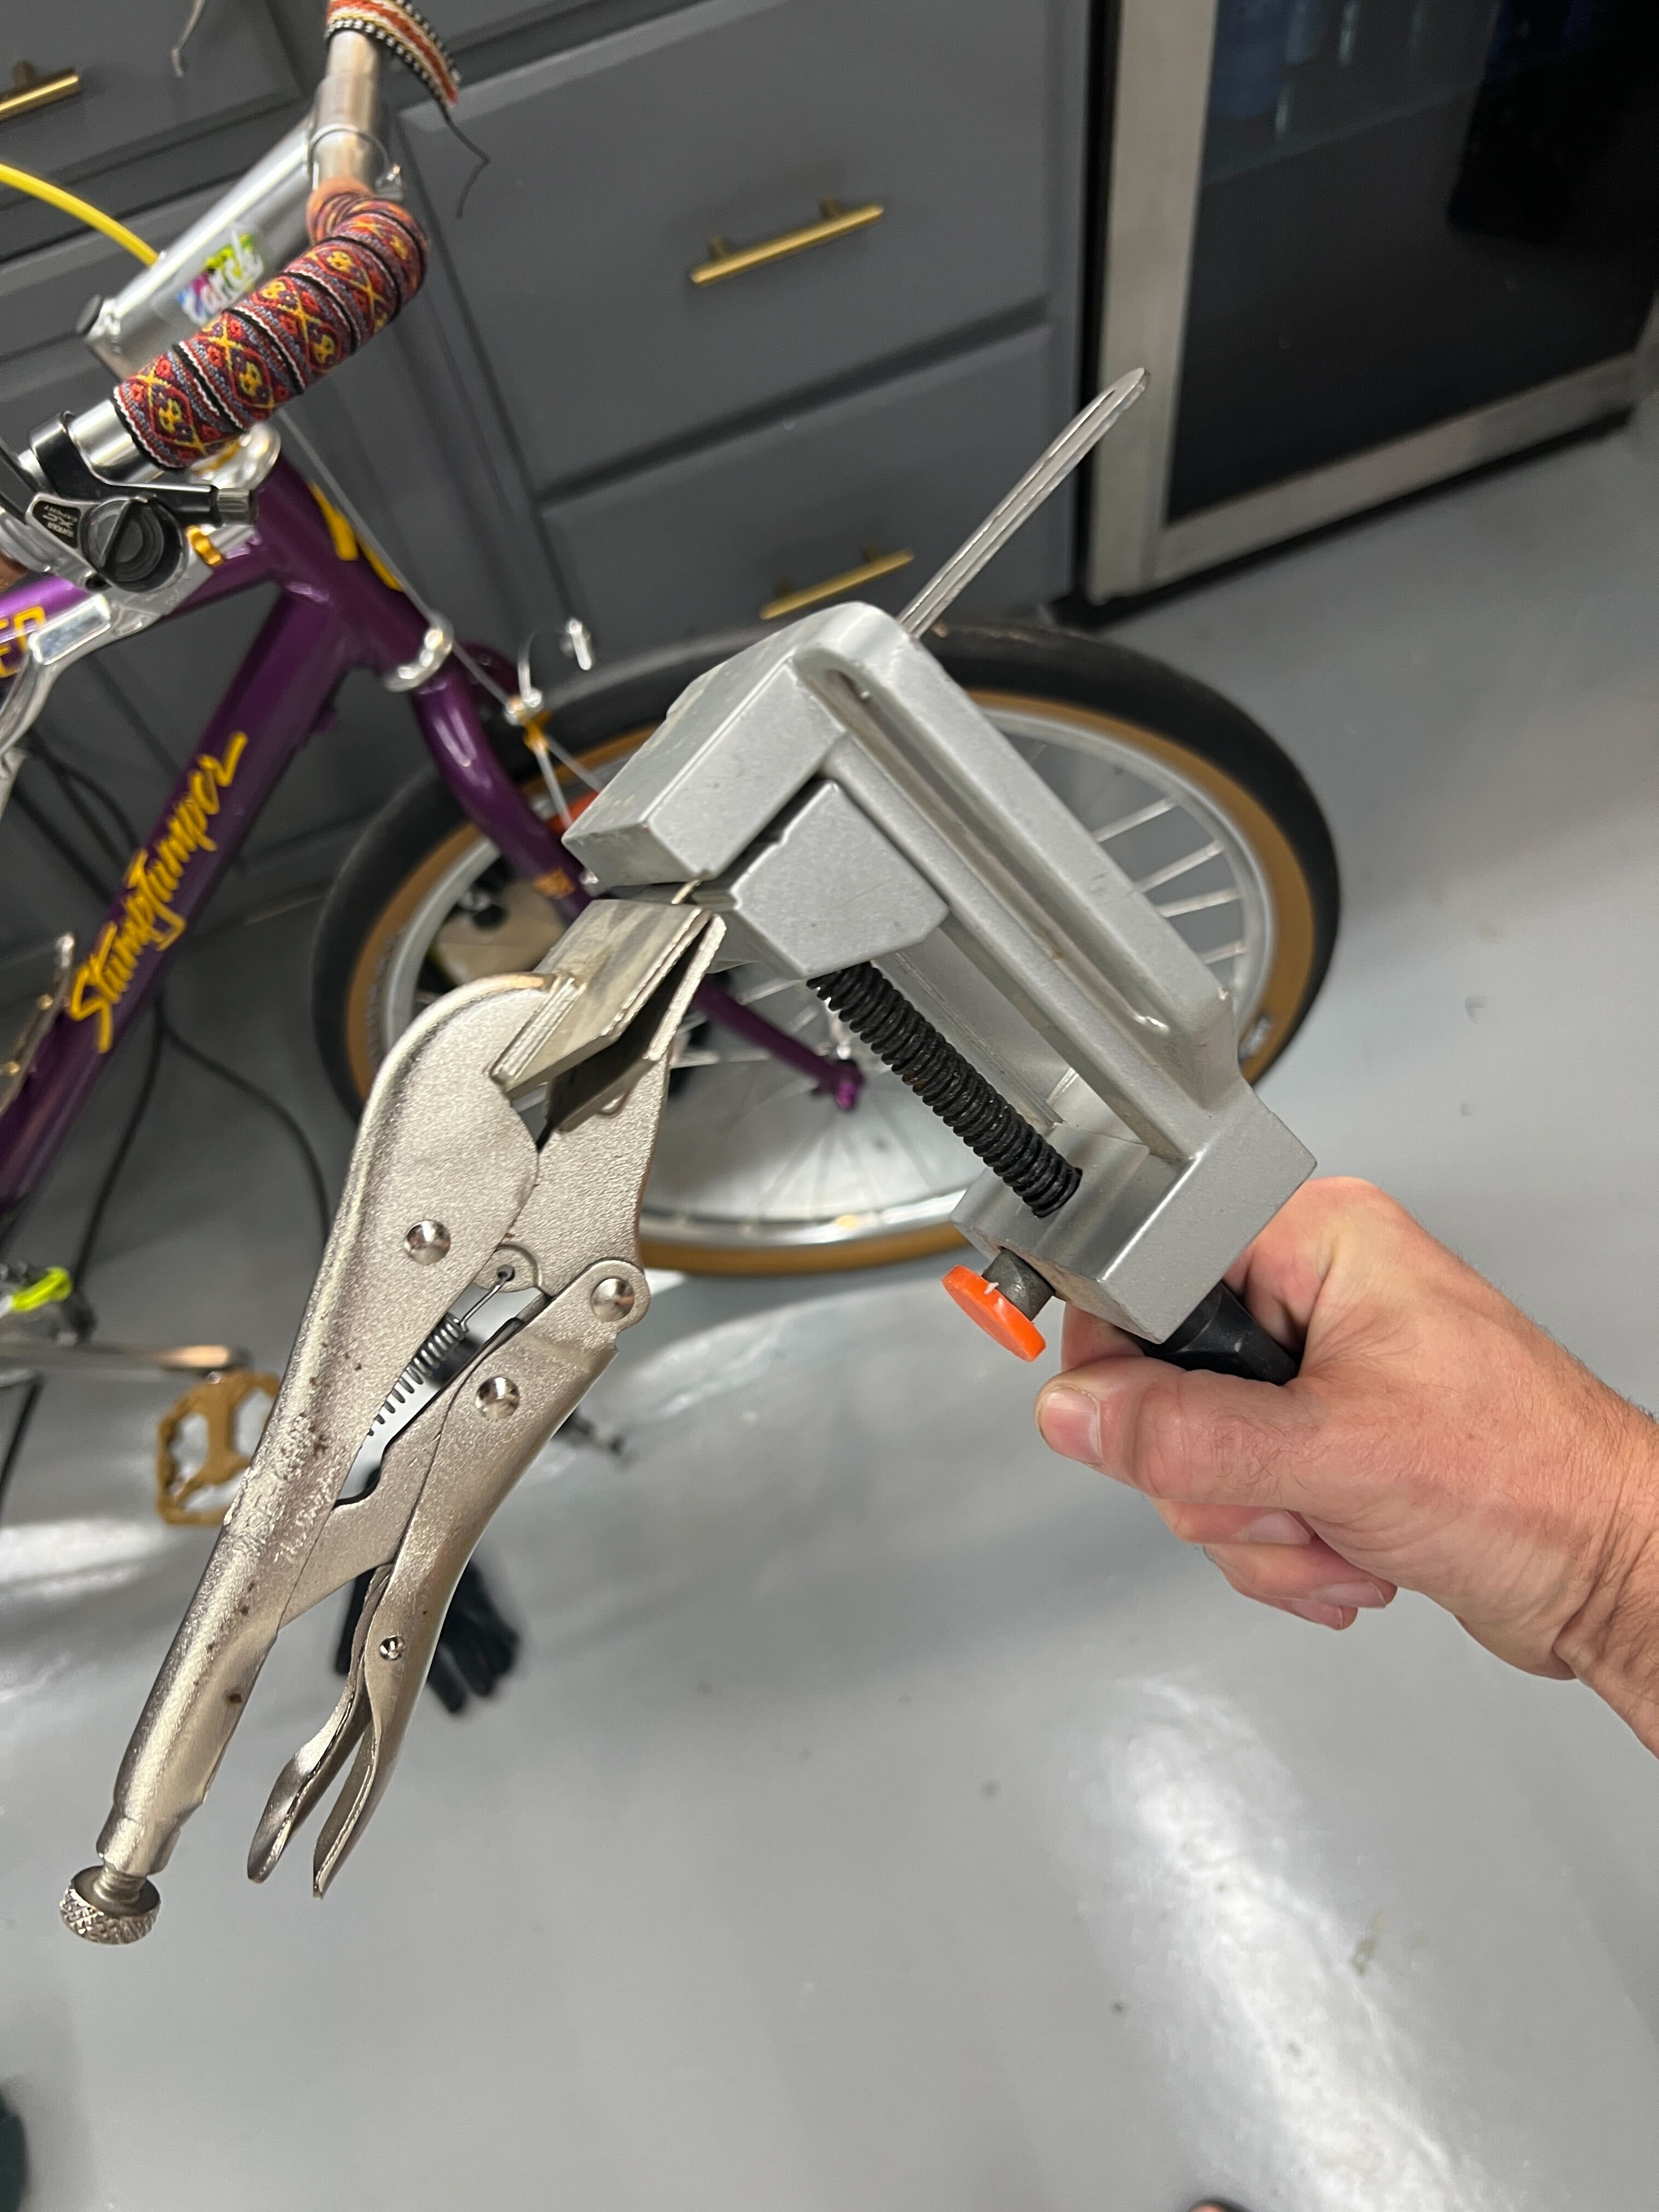
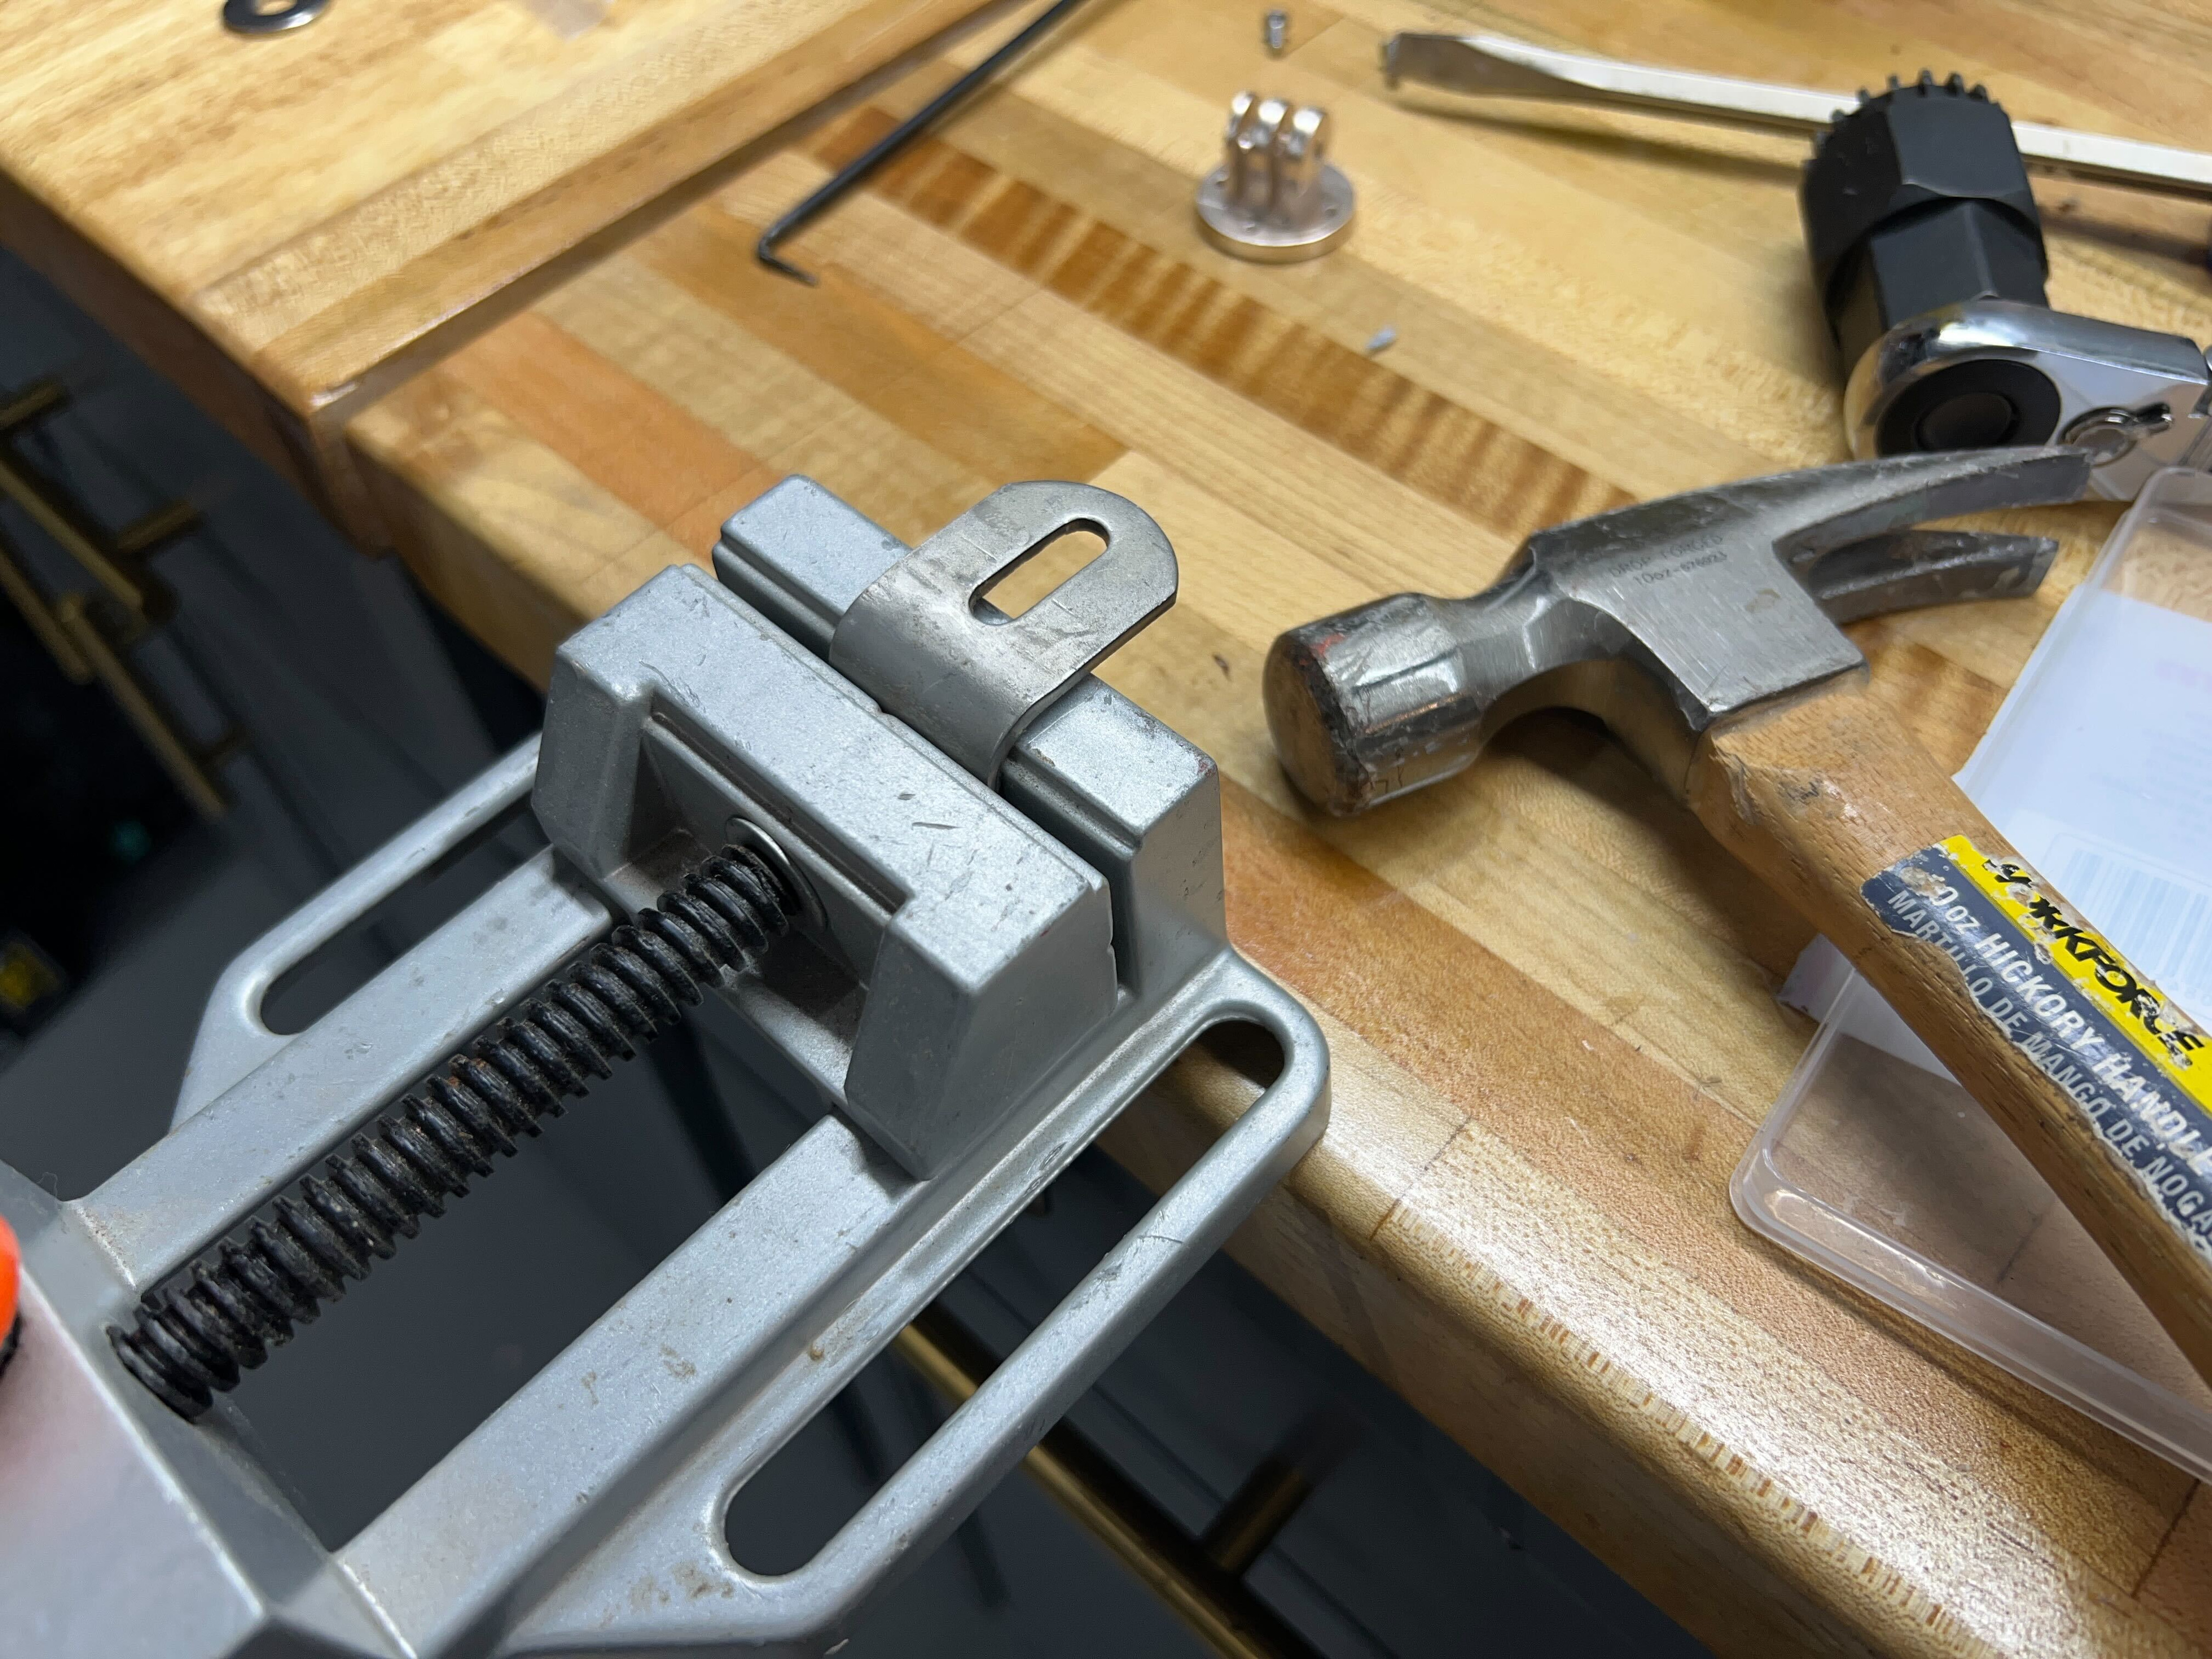
Ended up with this:
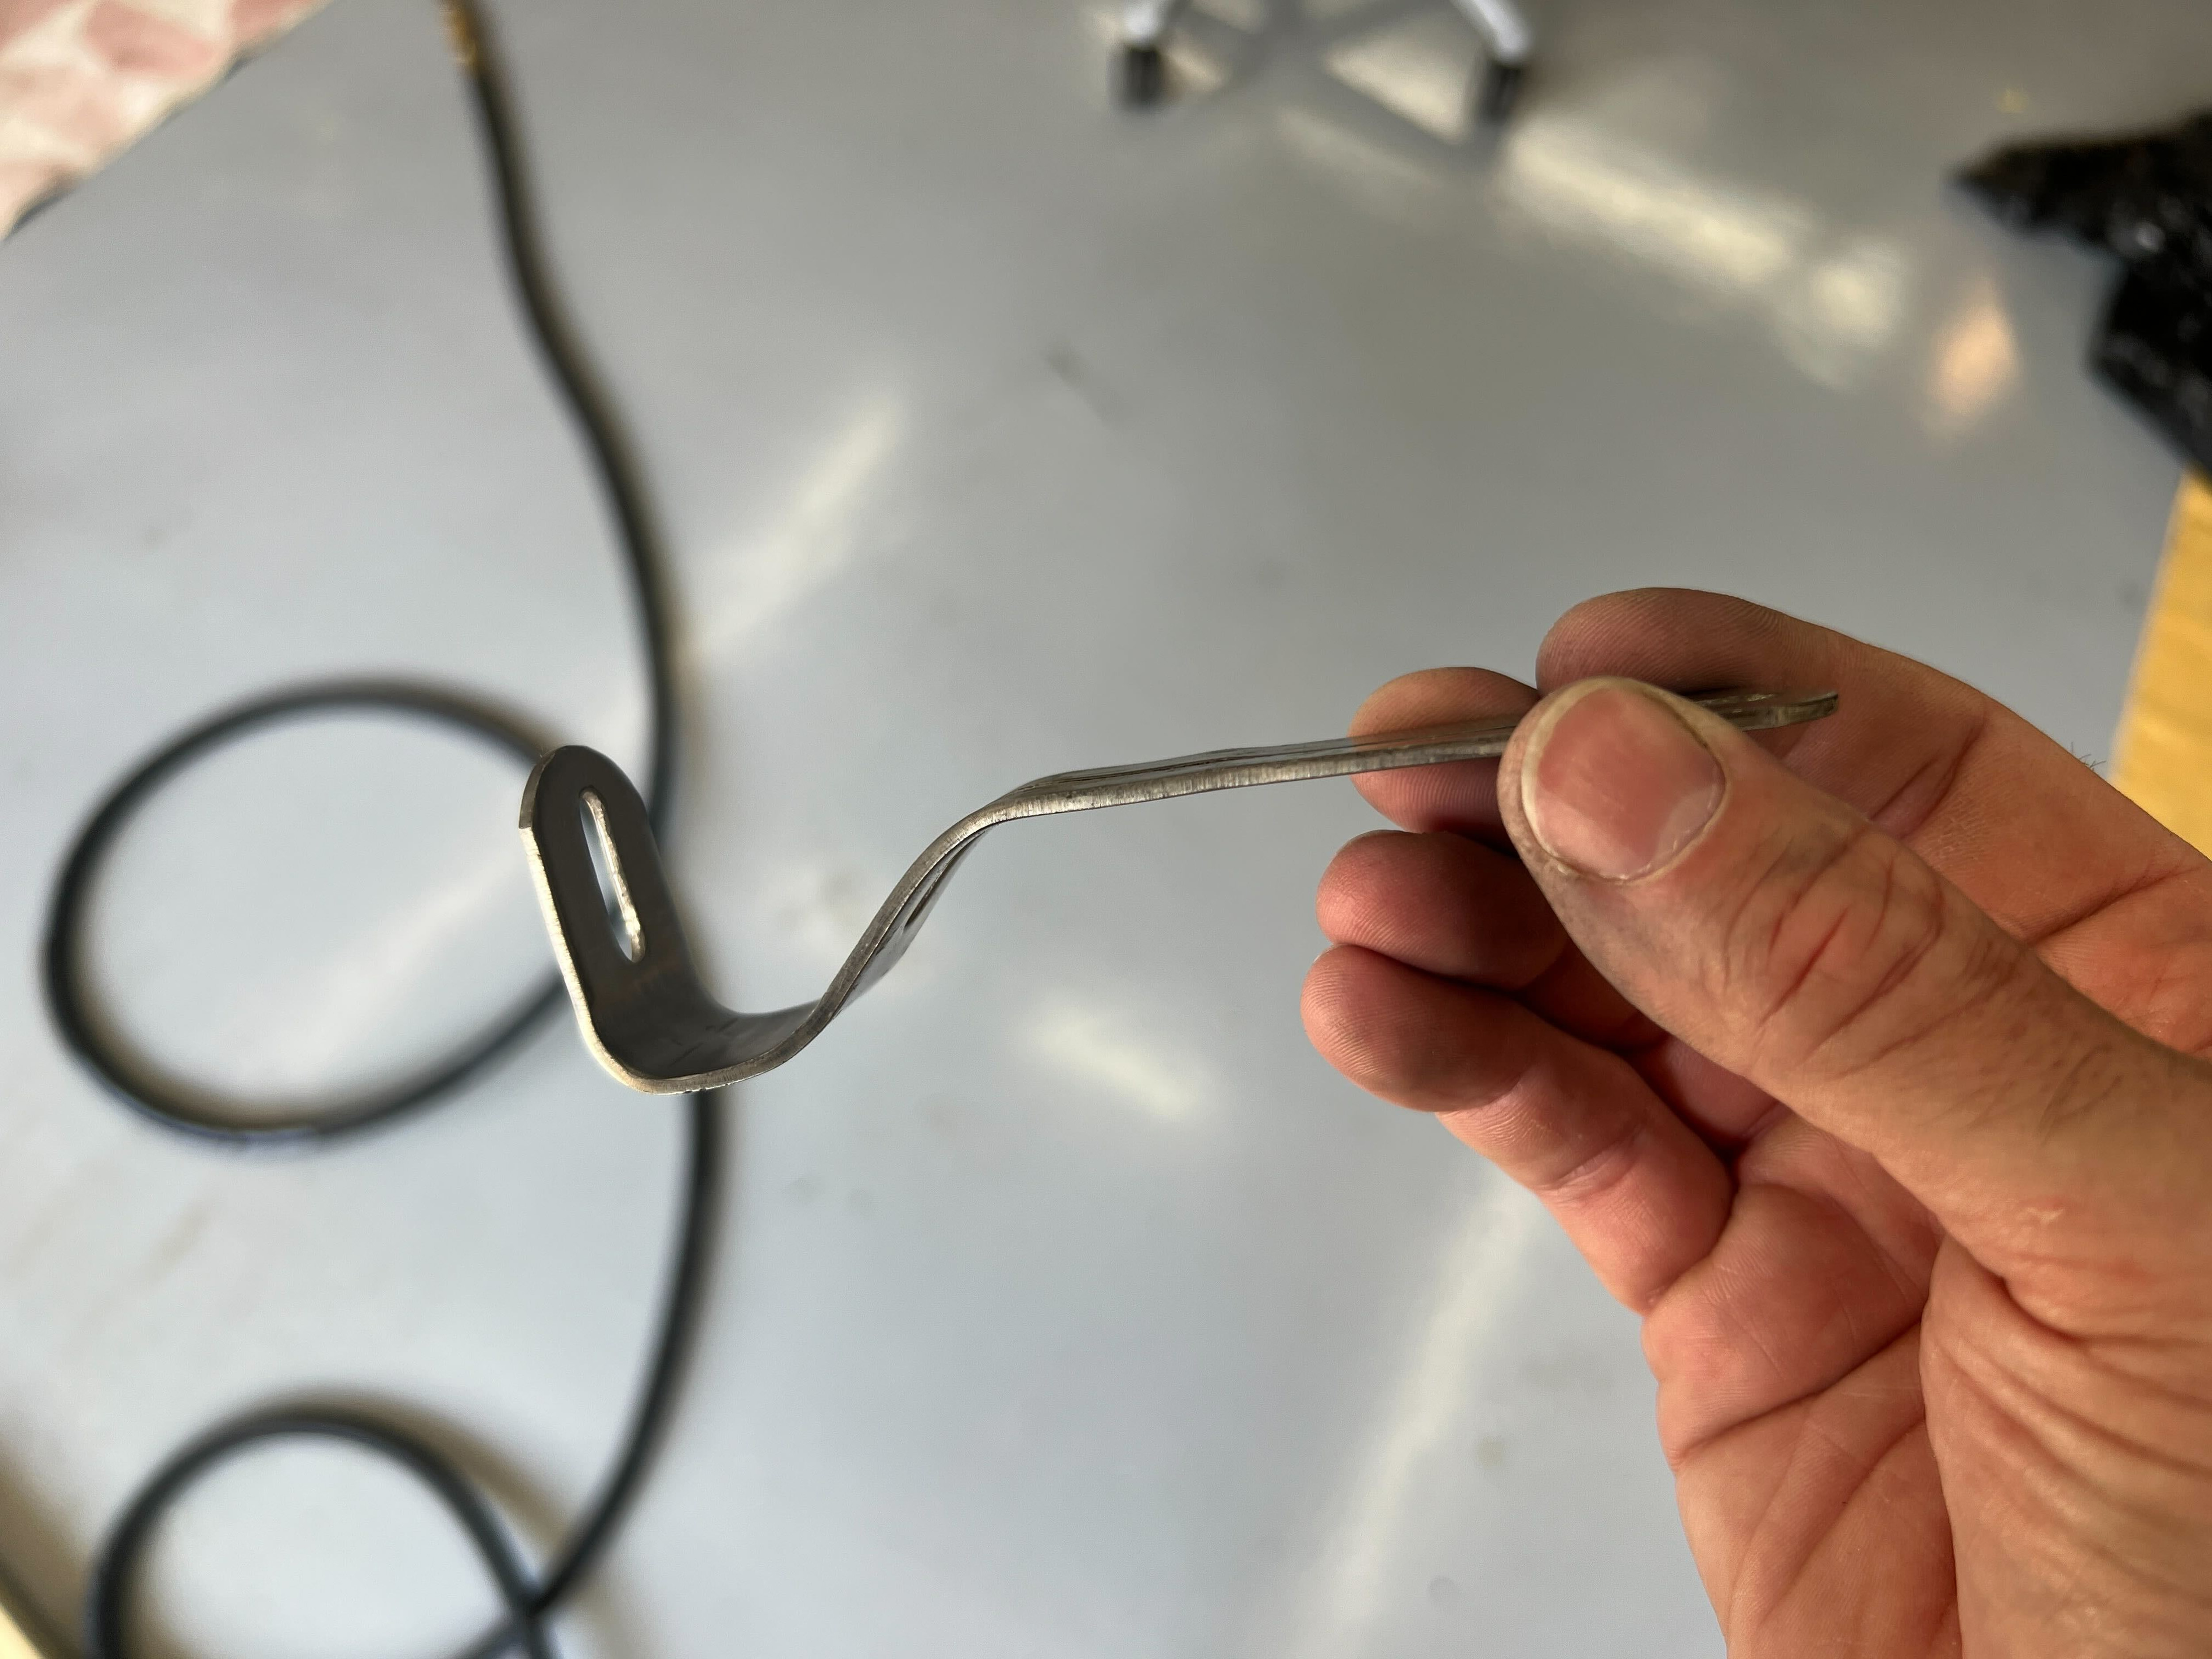
Since the coating was all cracked, I sanded that part:
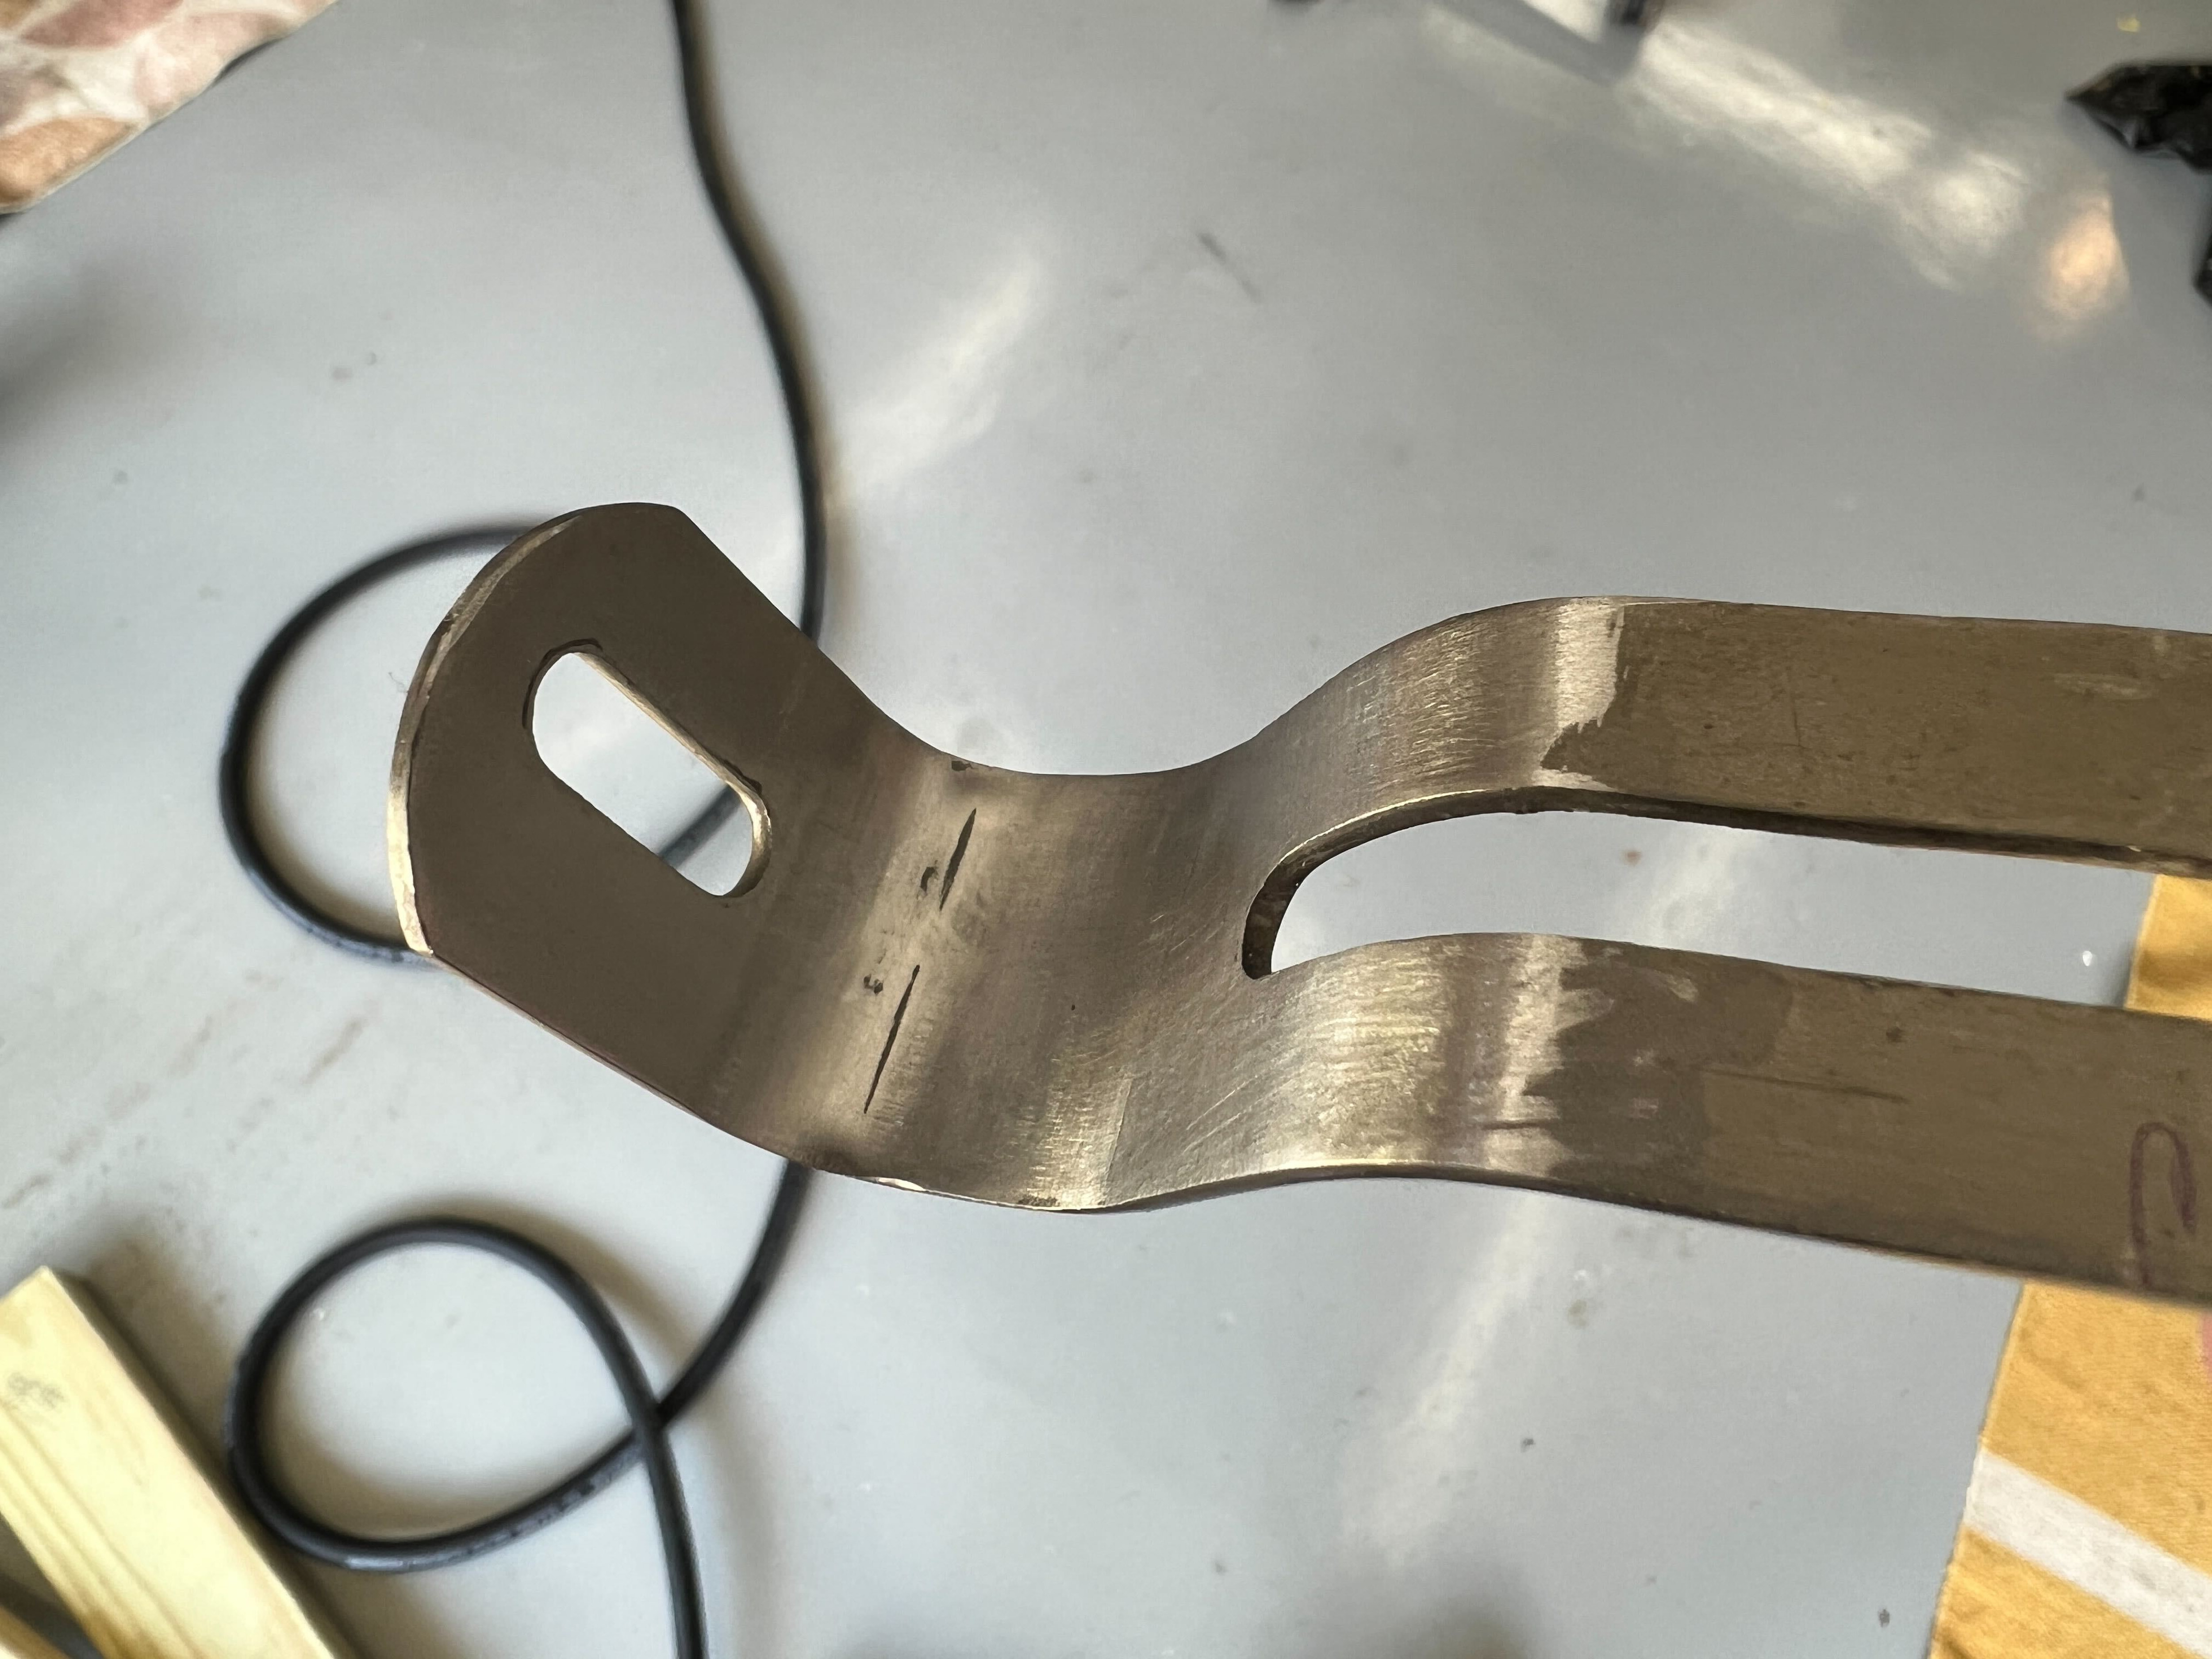
Due to all the other projects we do, I had a good glossy clear coat and a satin clear already in stock. Went with the high gloss on the bracket to match the rest of the rack.
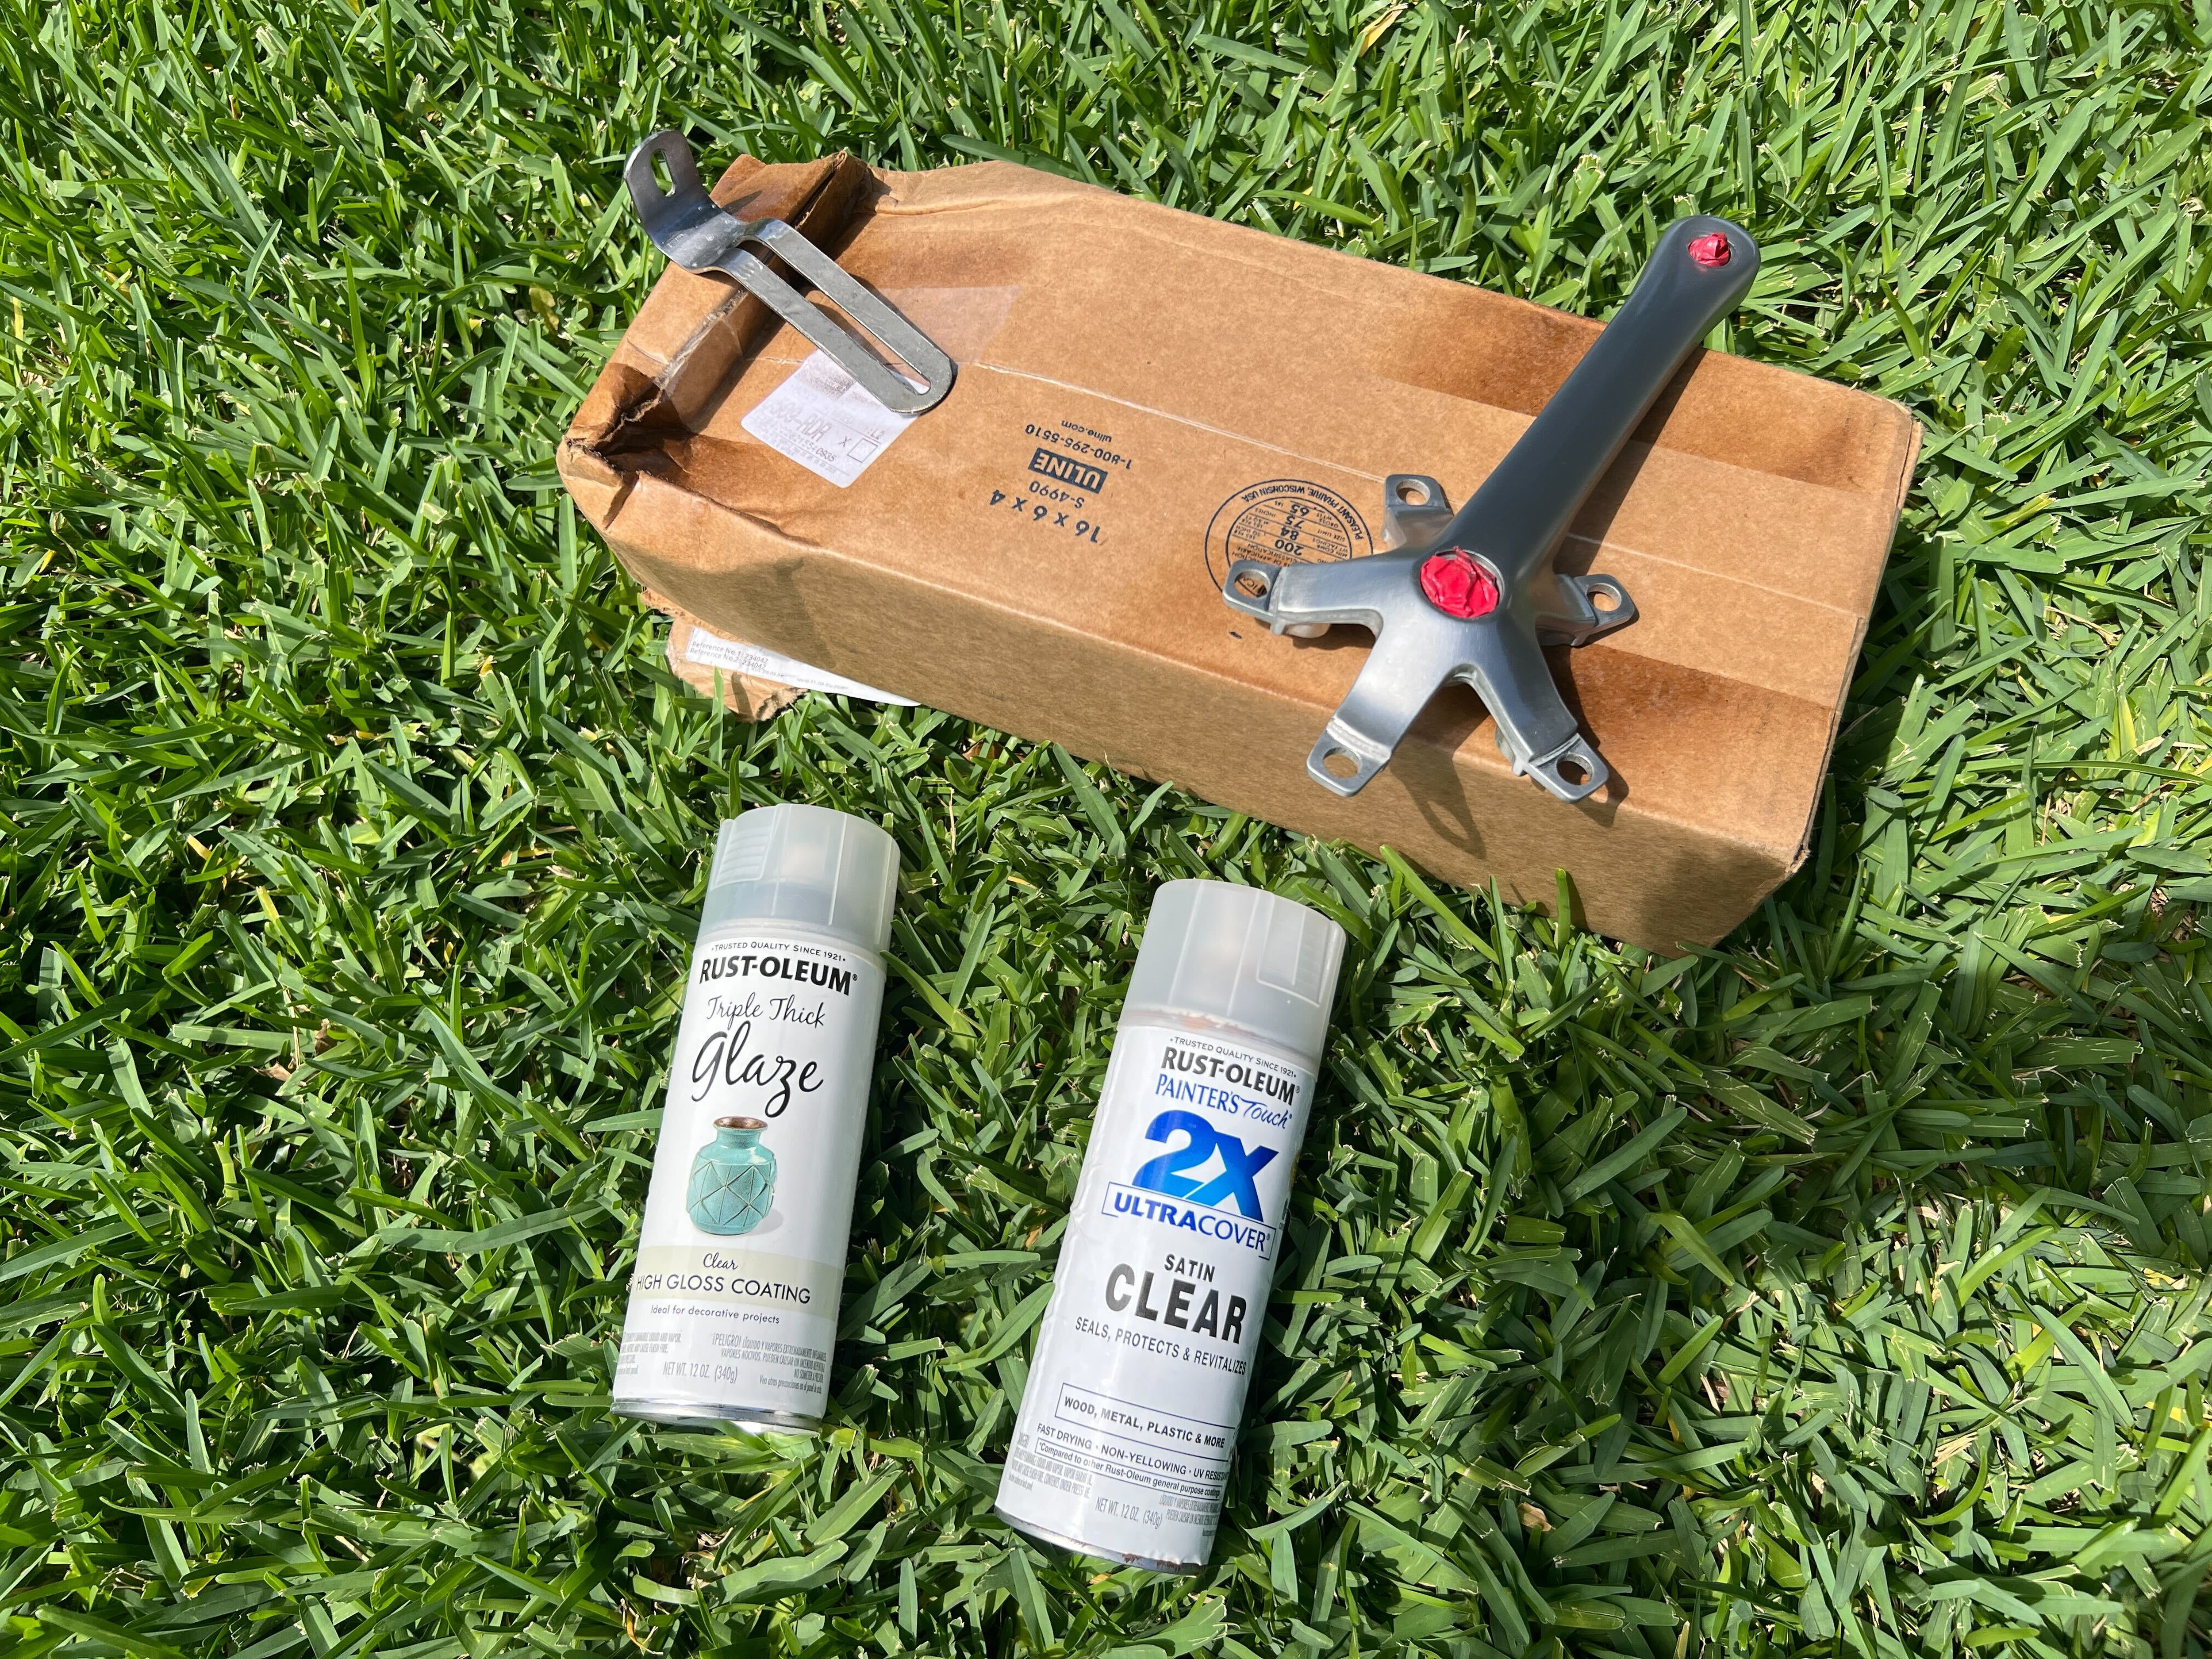
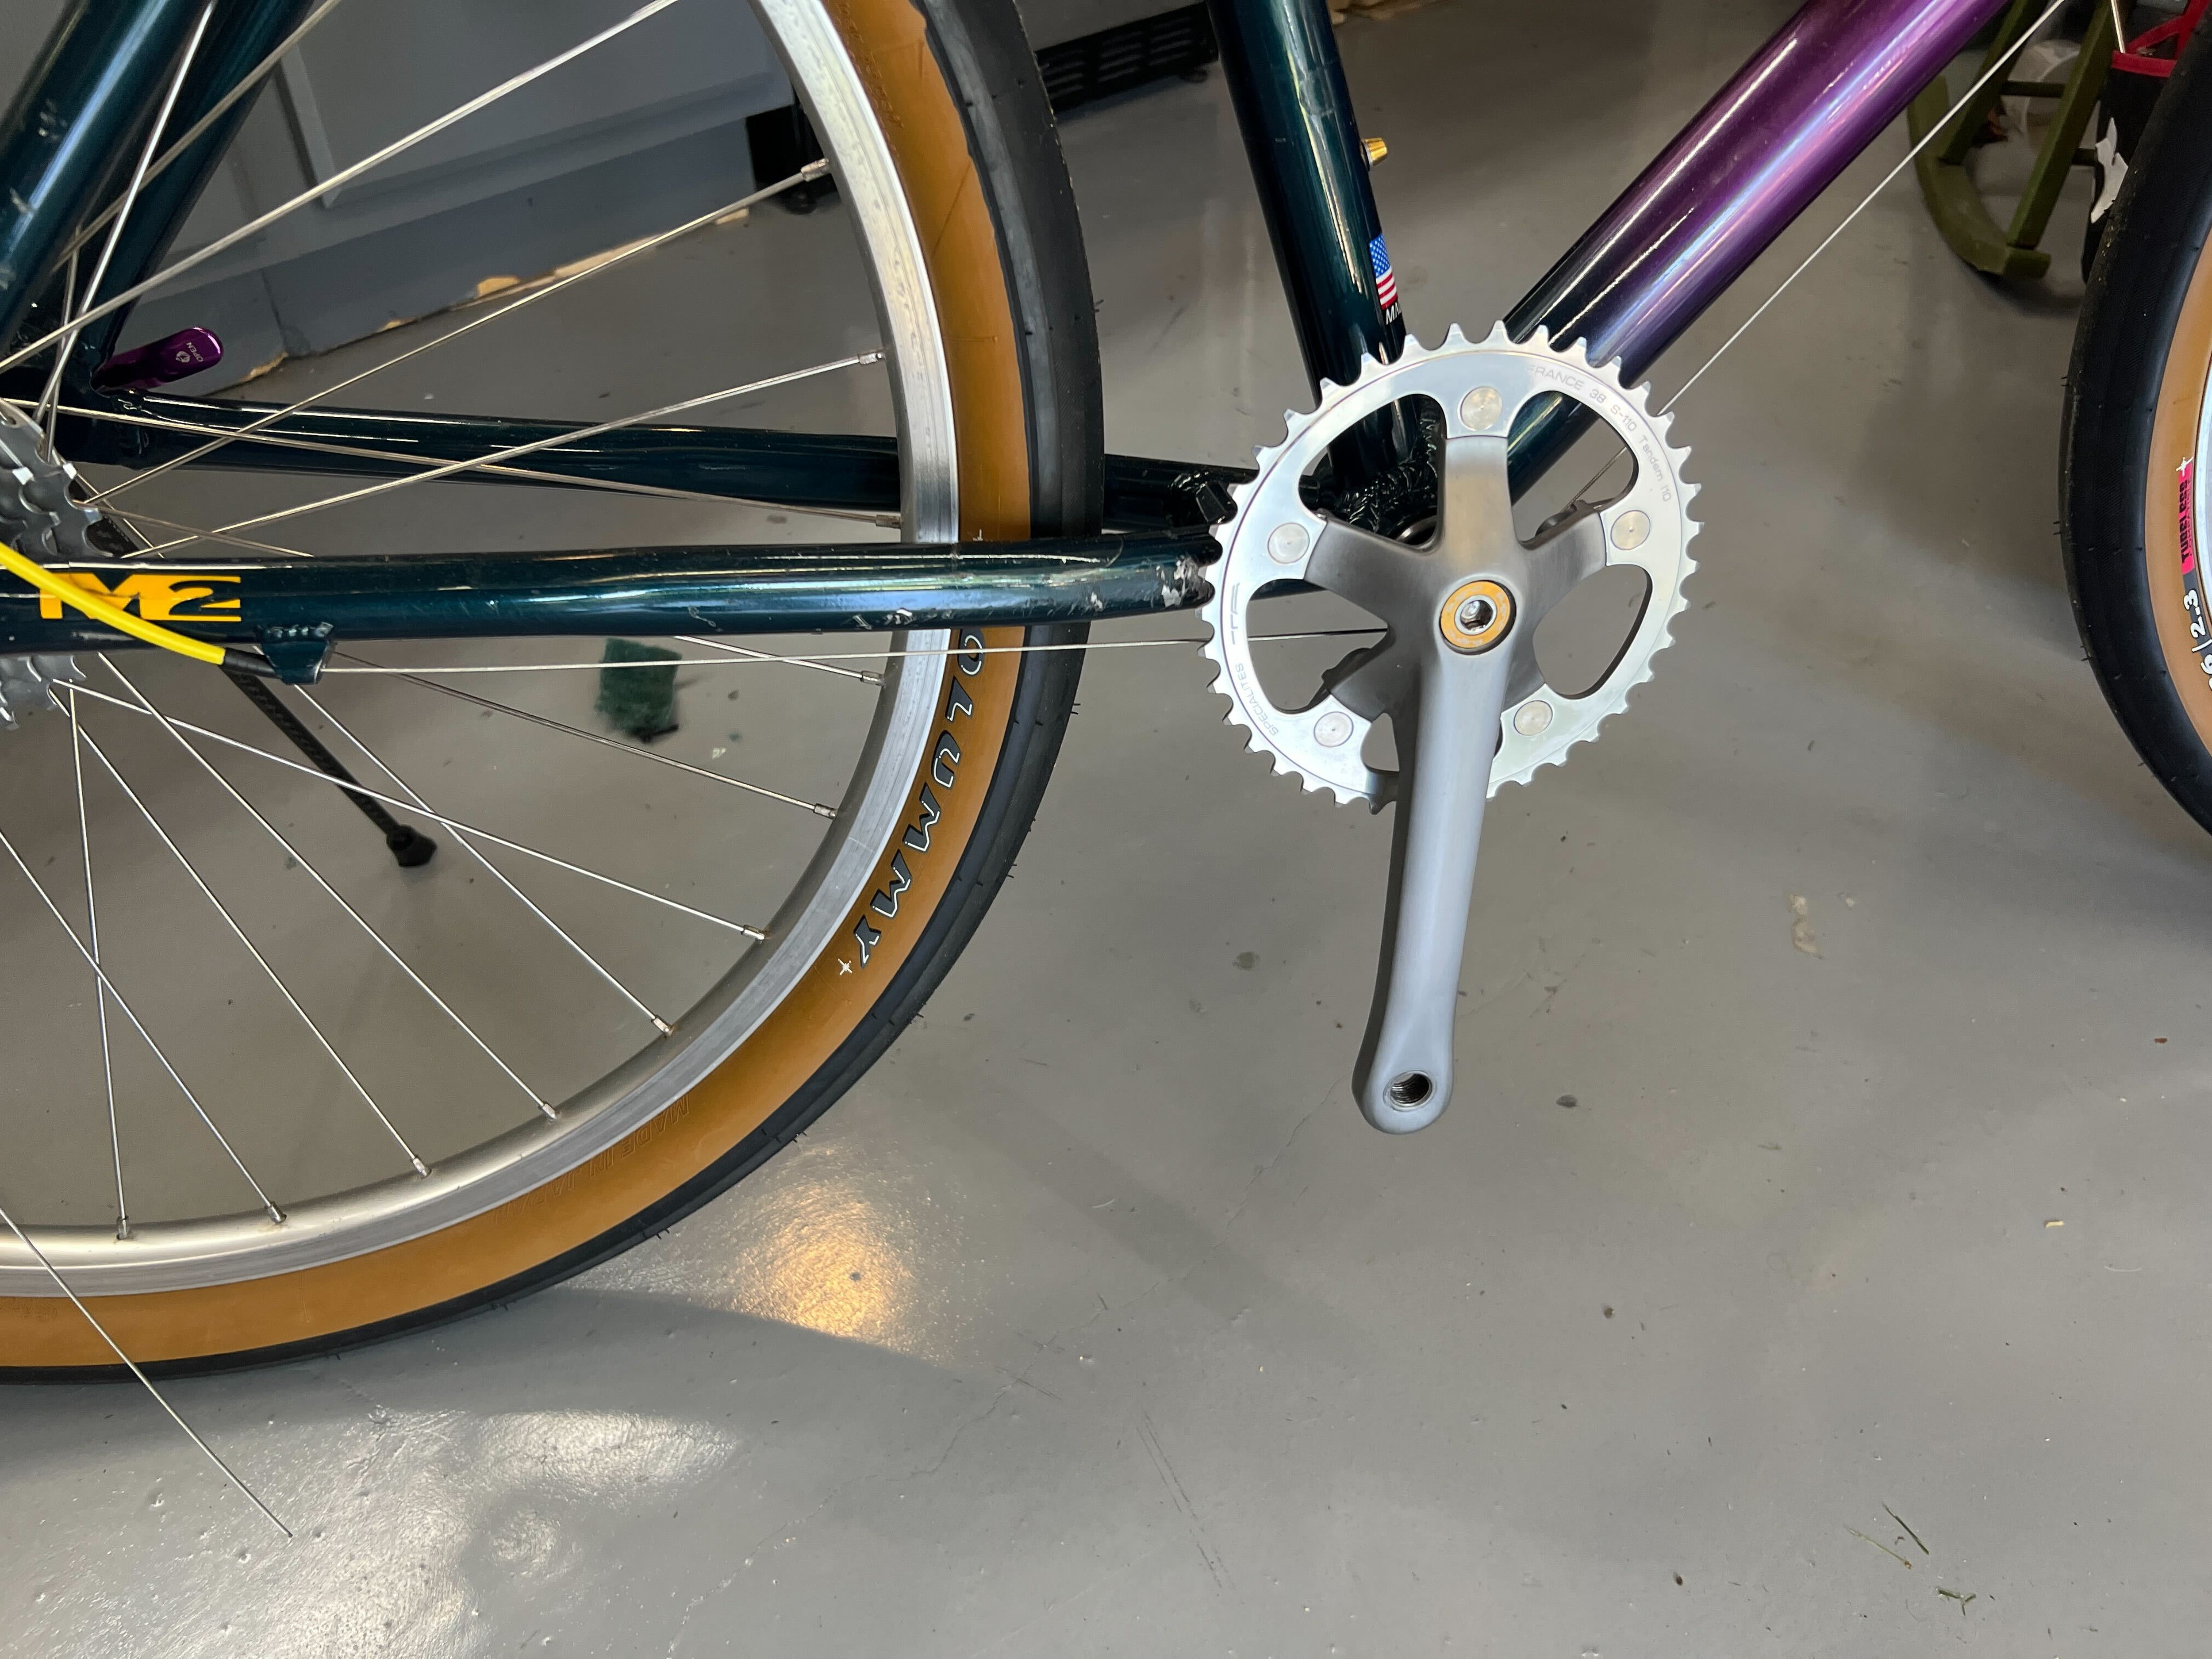
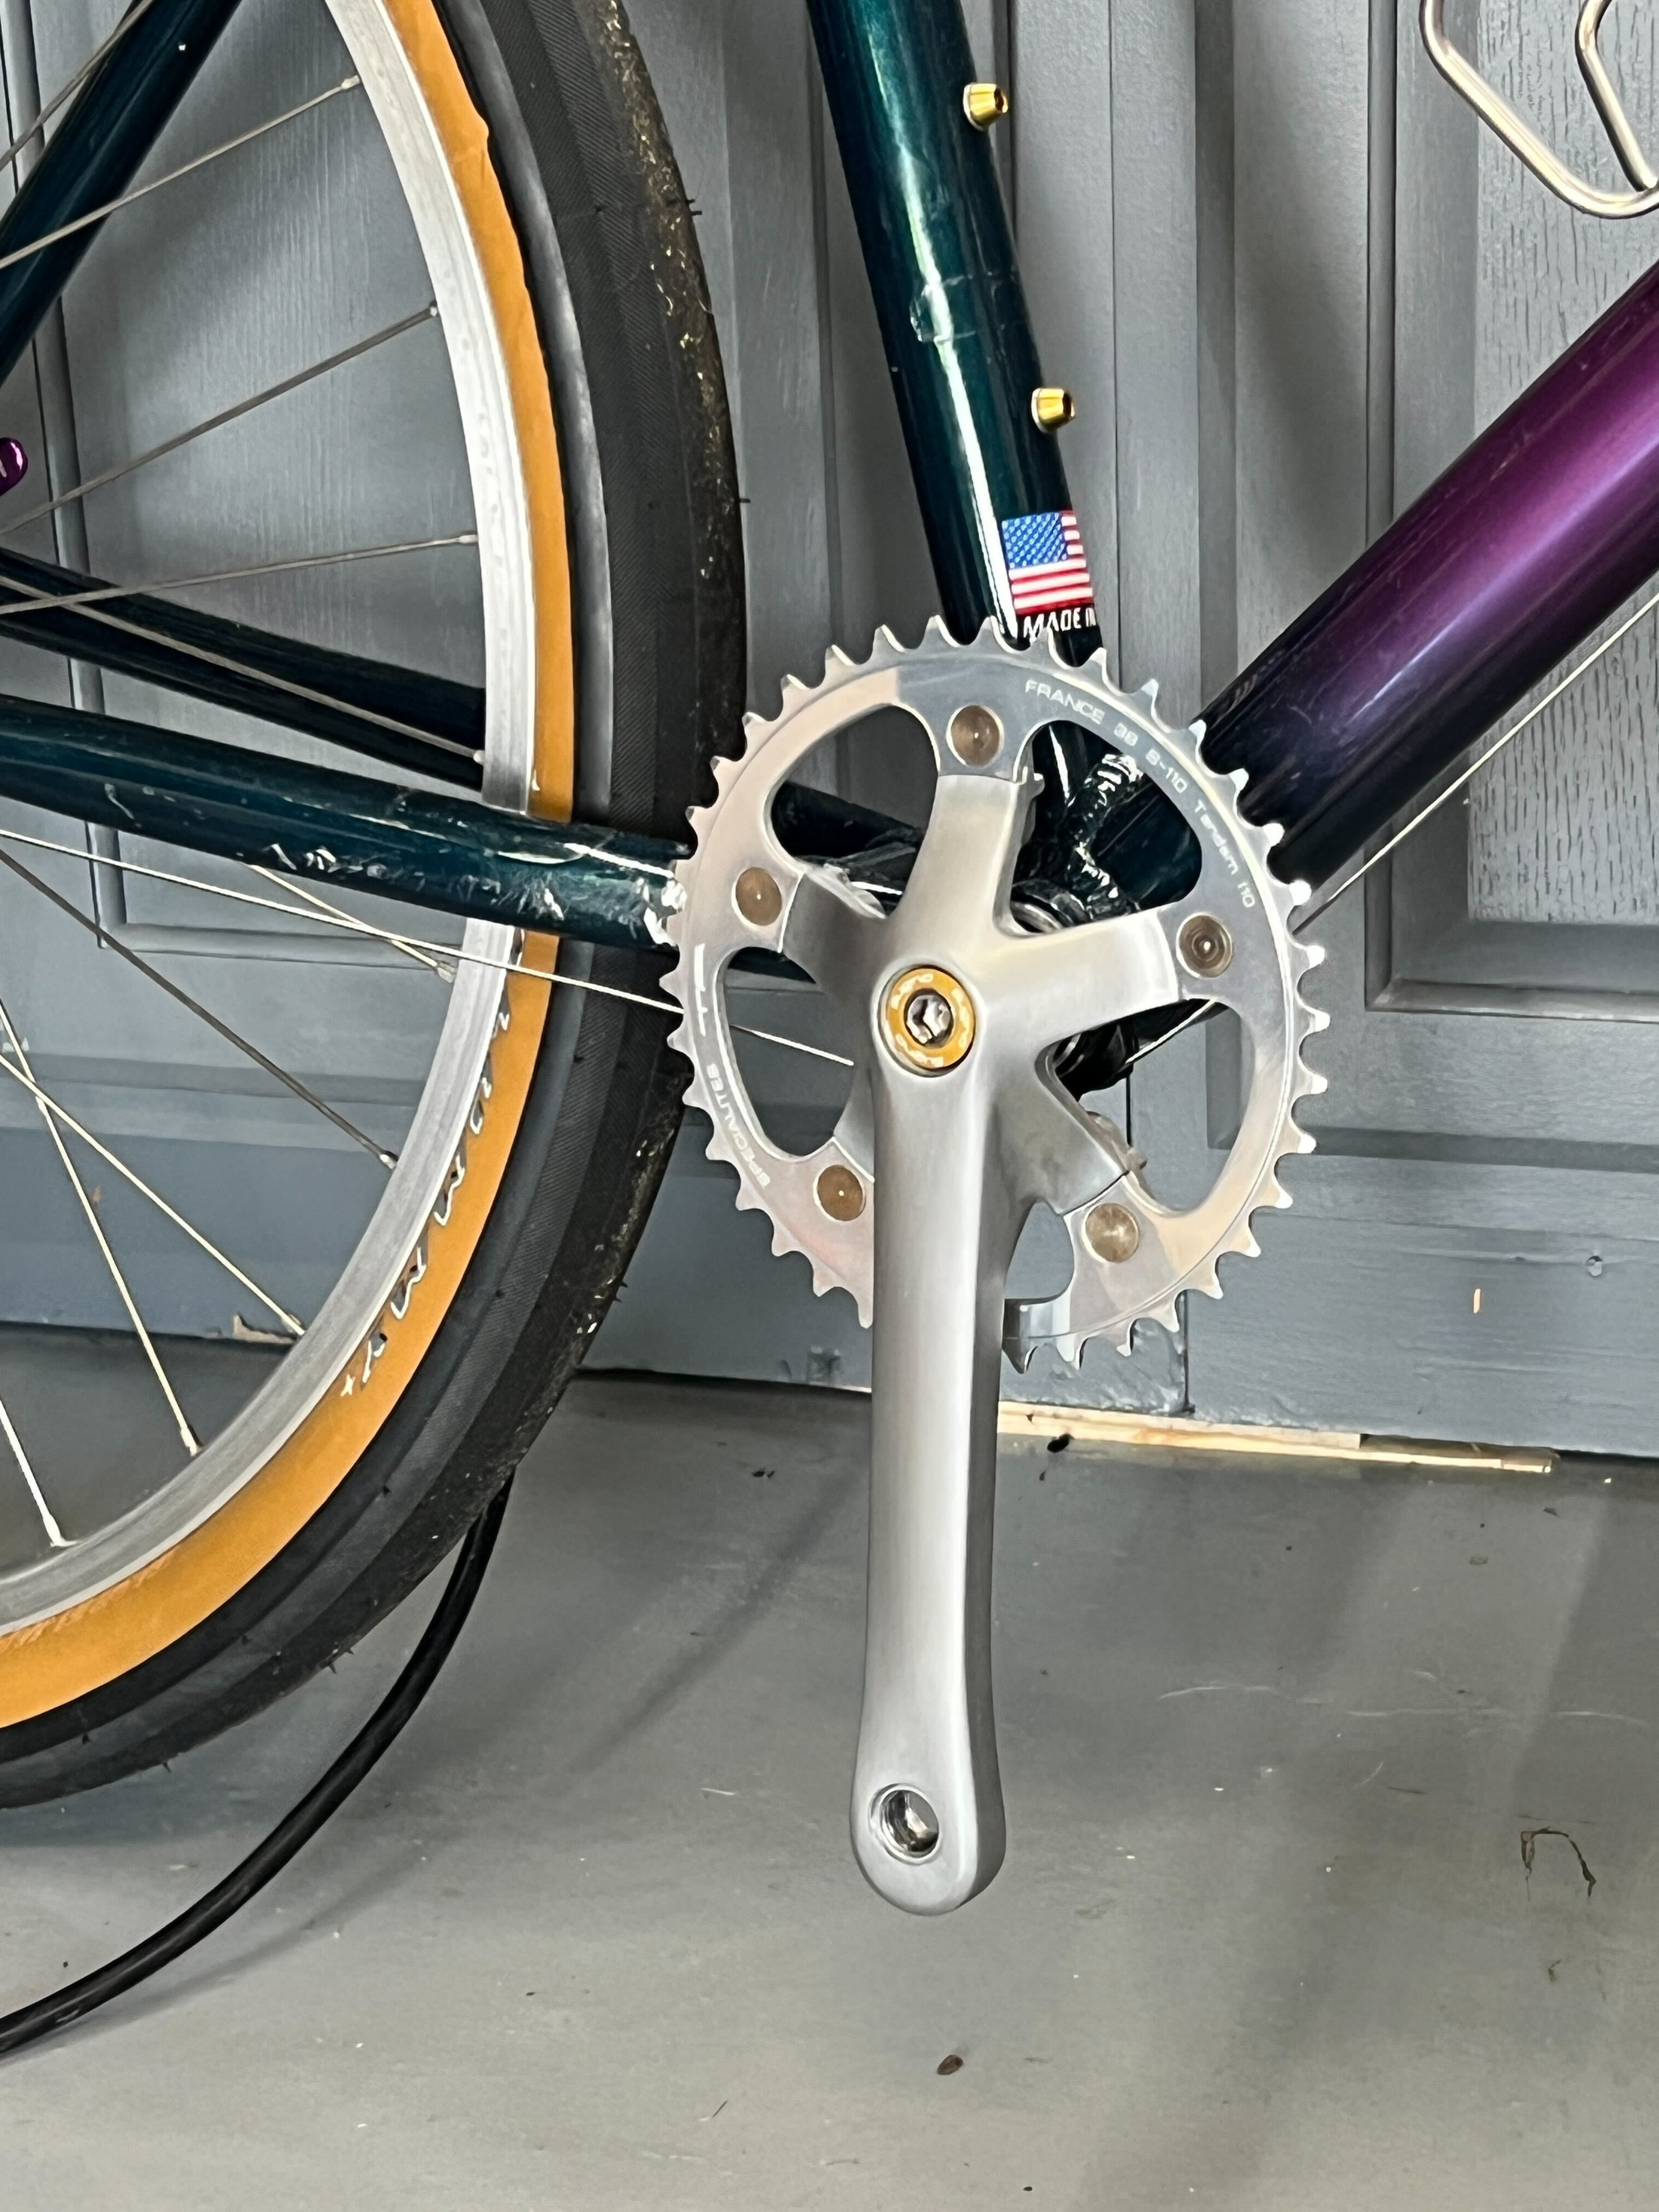
You’ll also obviously notice the drive side crank arm here. At the excellent advice of @LASER_BEIGE, I coated it with the satin clear.
To attach the rack struts to the fork, I was really leaning towards drilling the fork and doing rivnuts, but after some research, I thought better of it.
It’s one of those things where it would probably be fine, but I didn’t want to find out if it ended up not being fine. Just concerned about wiggling, potential tearout, etc., and those forks are not easy to find if I accidentally ruined it, so I settled on P clamps. If I had to use P clamps, it wasn’t going to be the normal ones that came with the rack. I was thinking about taking the standard P clamps and putting purple or yellow heat shrink on them and whatnot, but I didn’t go that way, and honestly I now can’t remember the thought process behind why. Anyway…
Searching high and low using various other names like “loop clamps,” I found some clamps with yellow rubber! (Actually nitrile, which is cool I guess) The aircraft industry has lots of cool colored ones. The yellow was a perfect match with the cable housing.
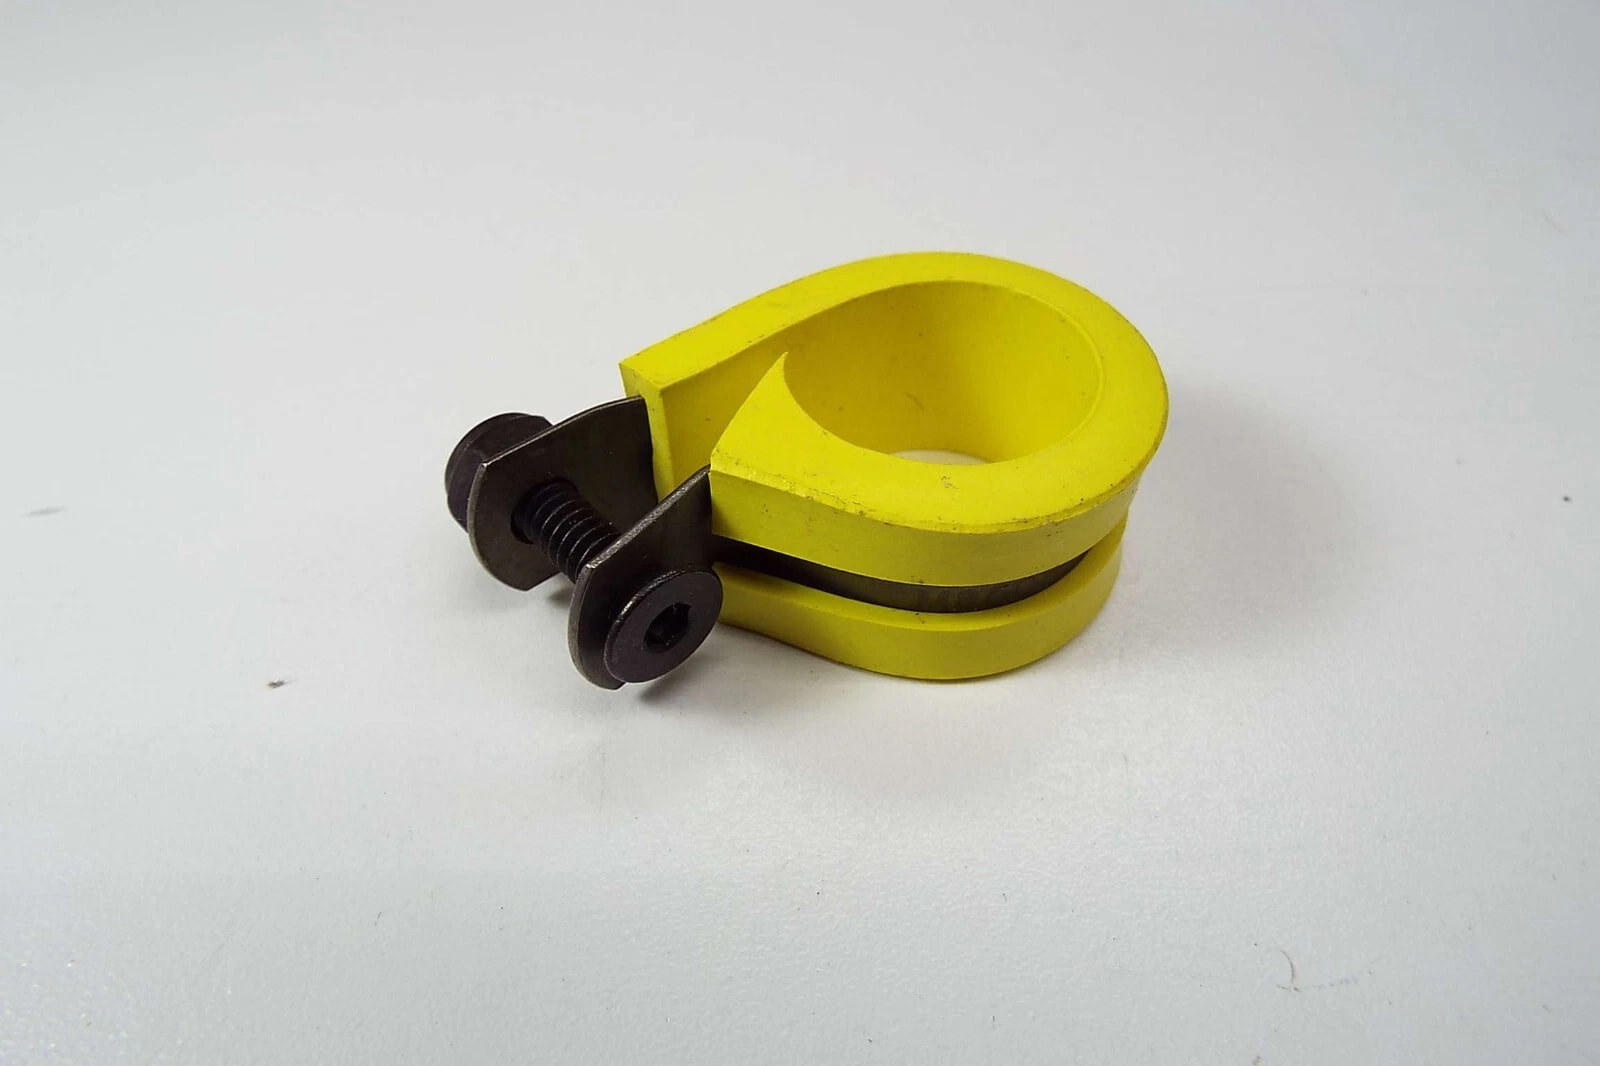
But I can’t just put them on and call it good. I have this glossy purple metallic vinyl wrap for another endeavor, and it’s very very close to the paint on the bike - close enough to wrap the metal clamp inside the rubber.
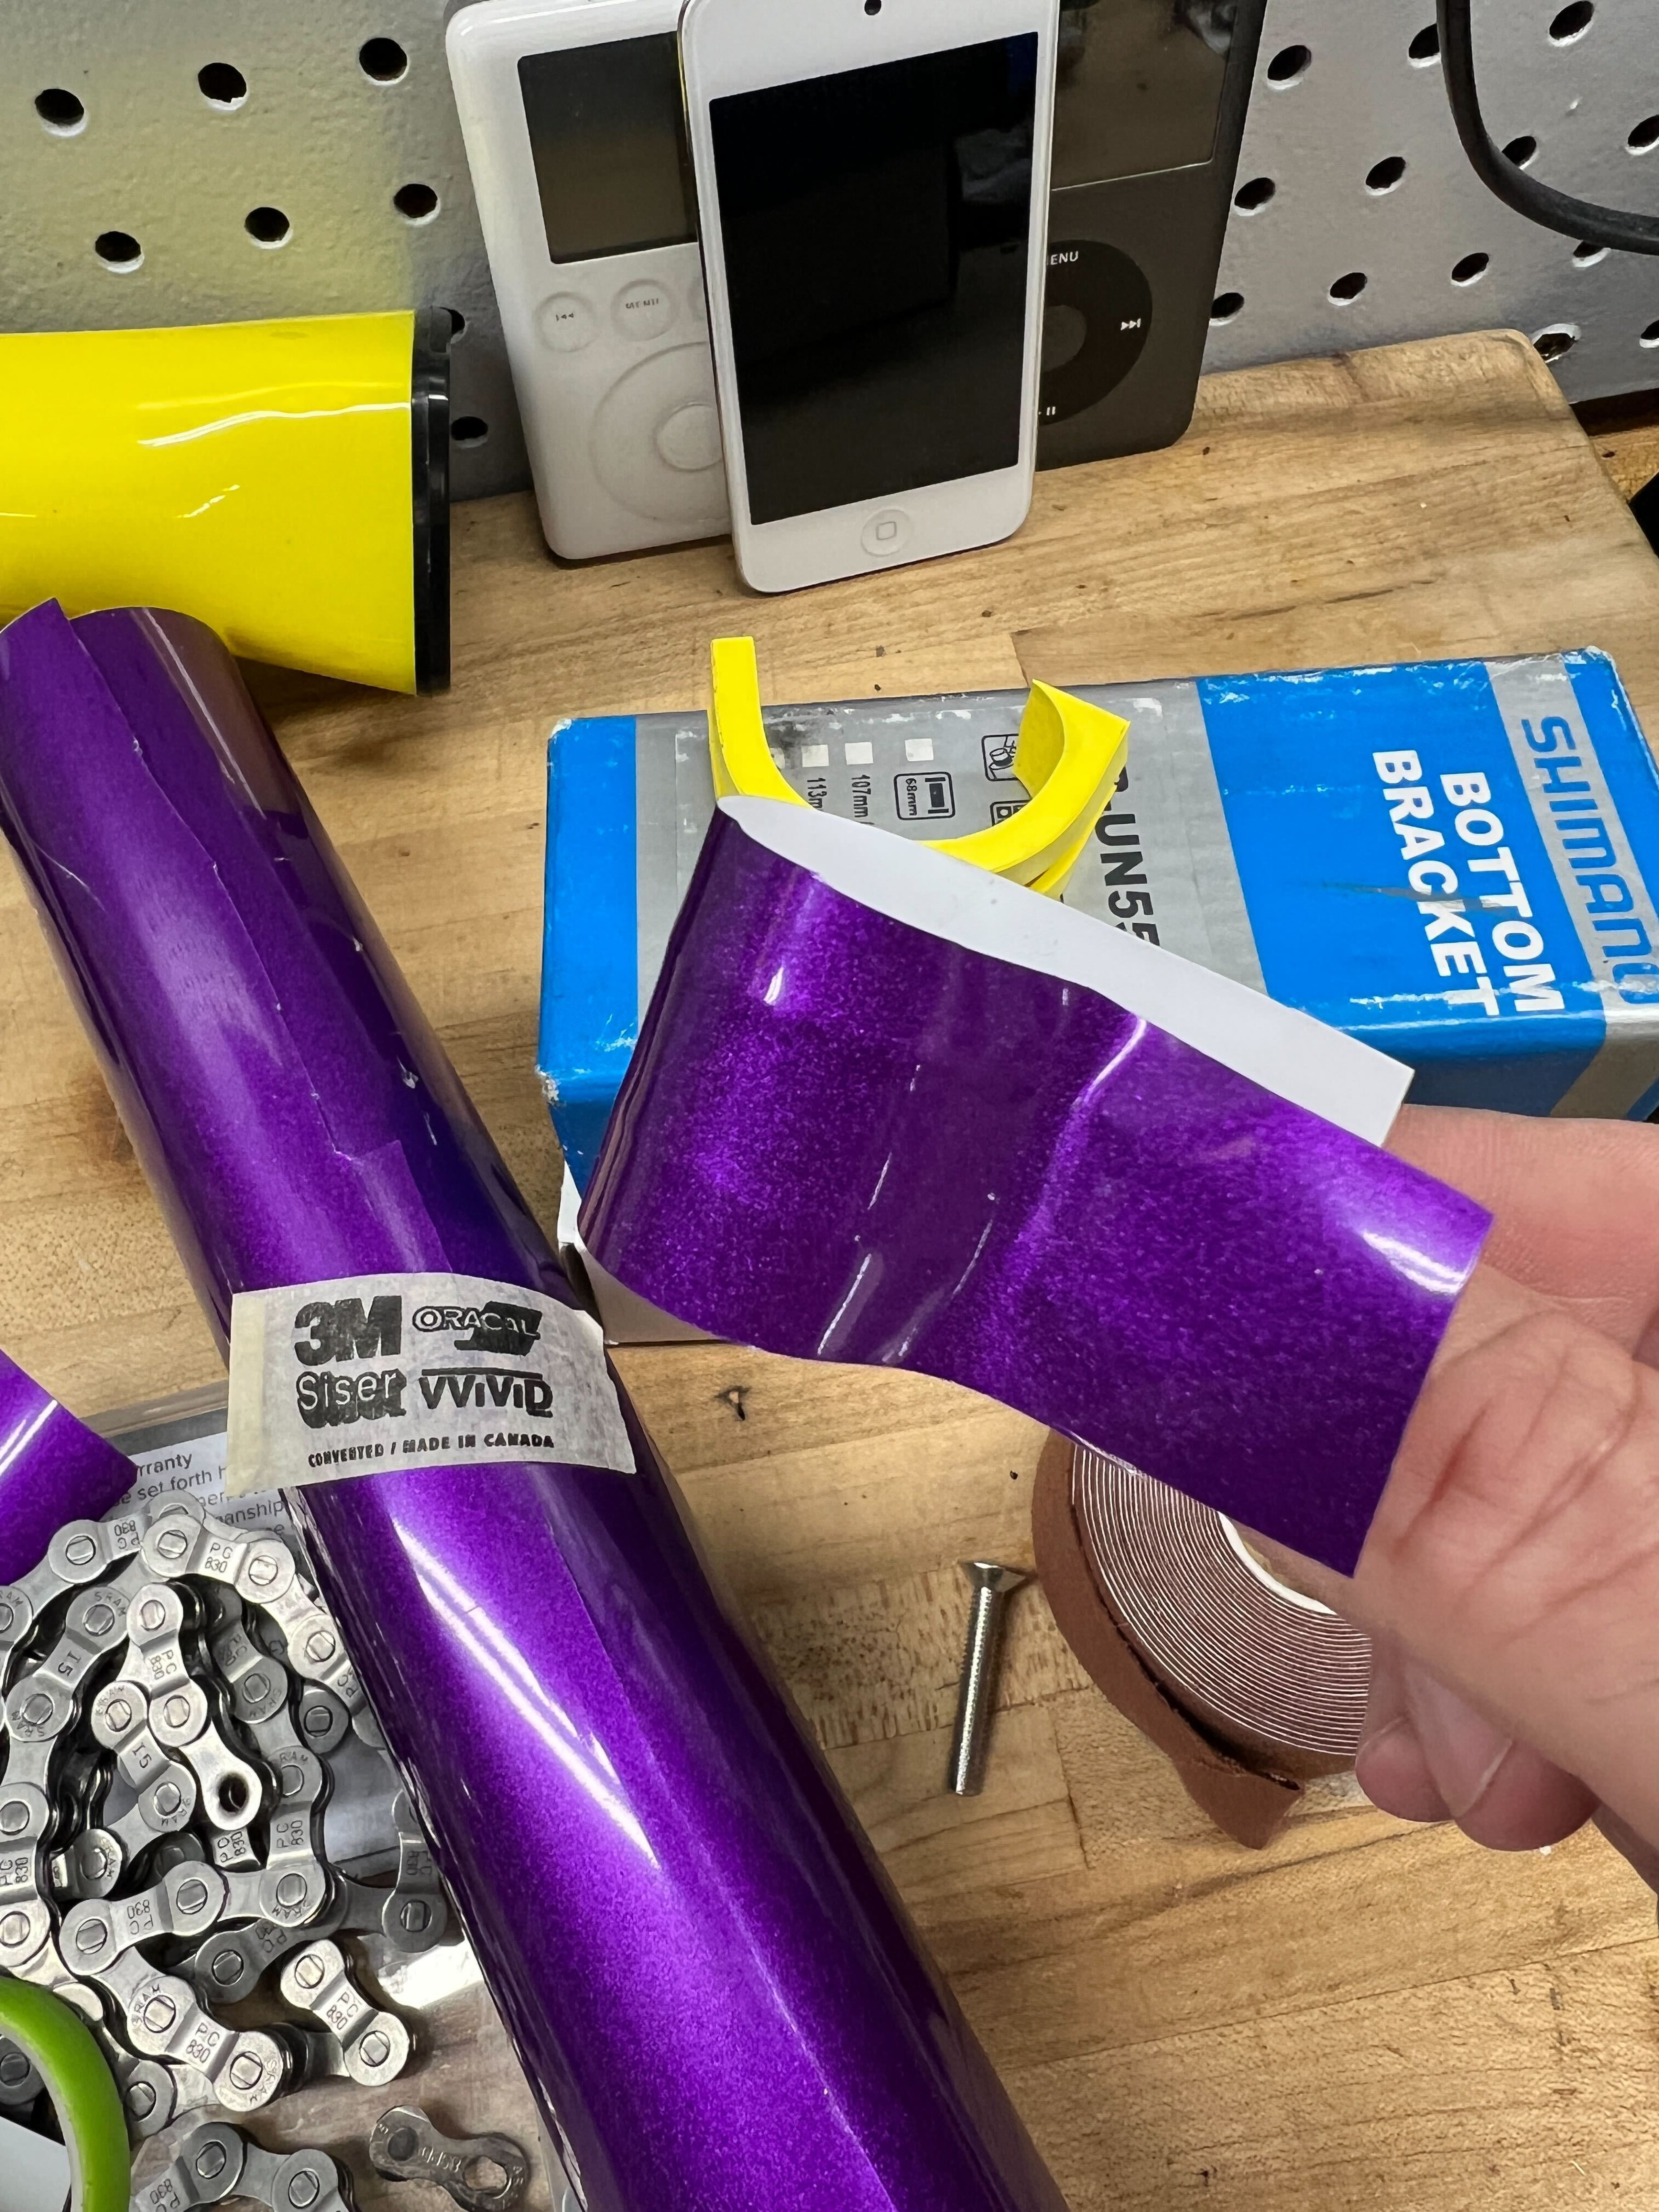
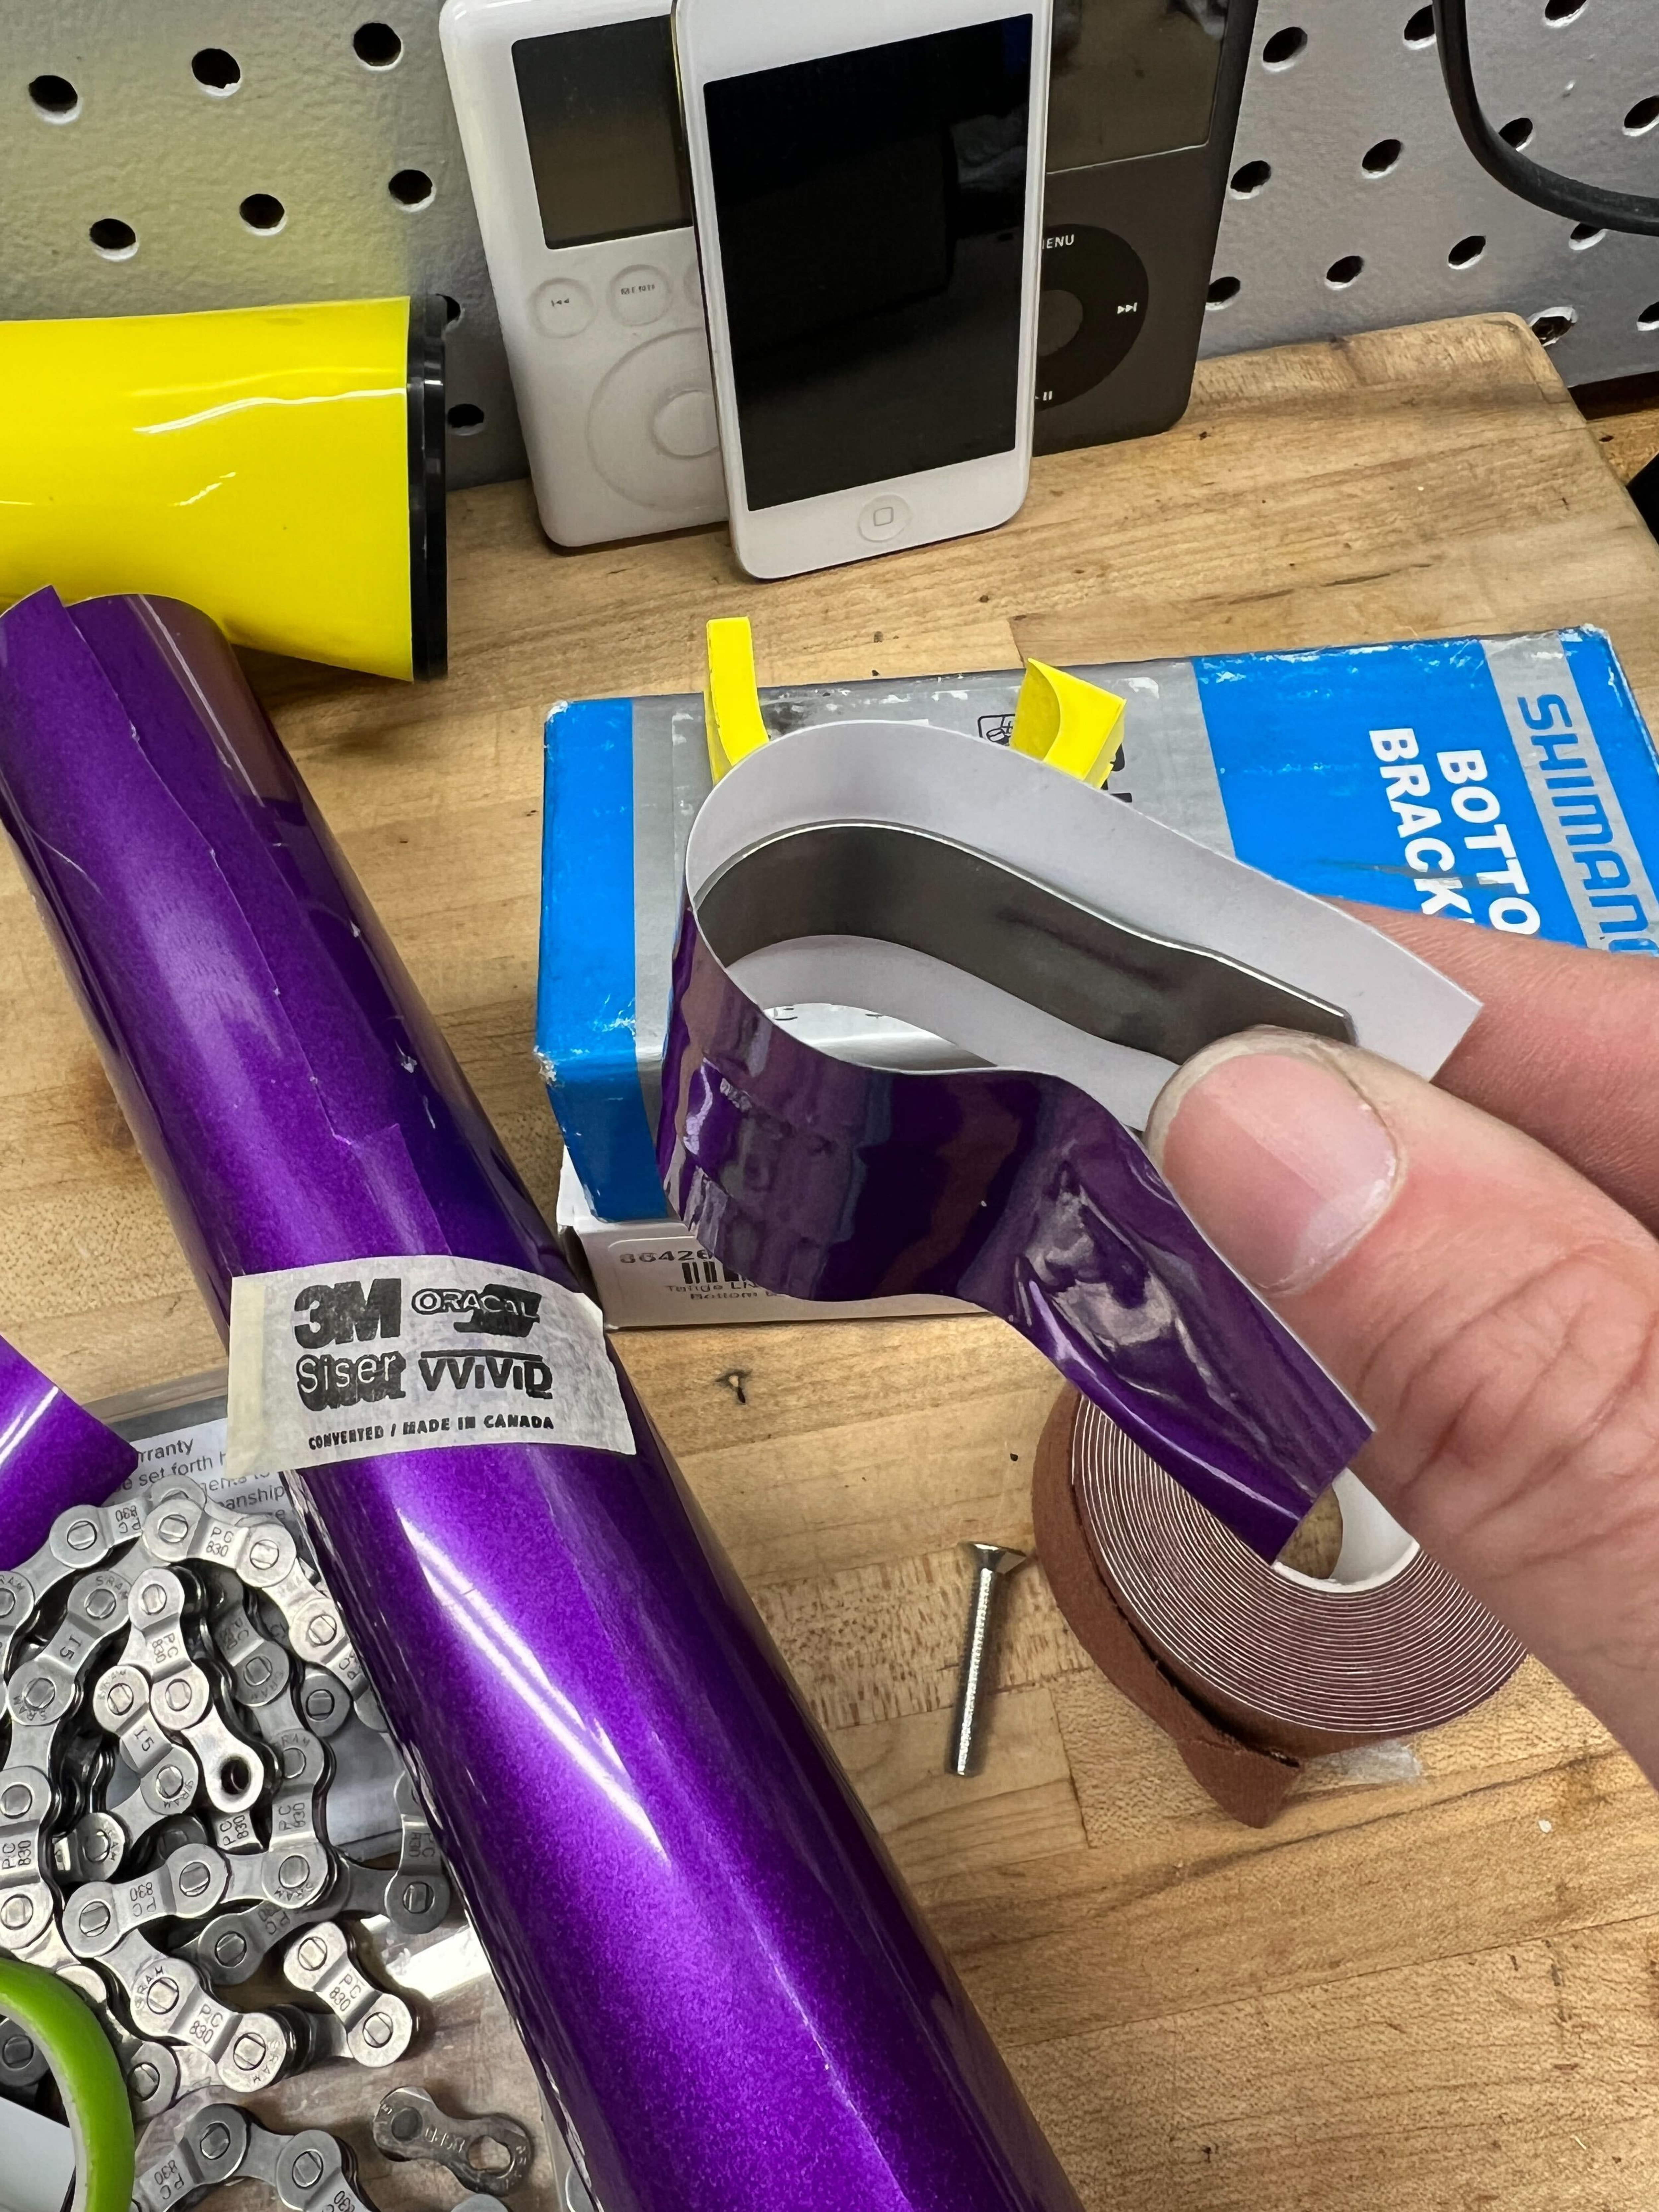
I hit it with the heat gun to make sure it was adhered, and ended up with this:
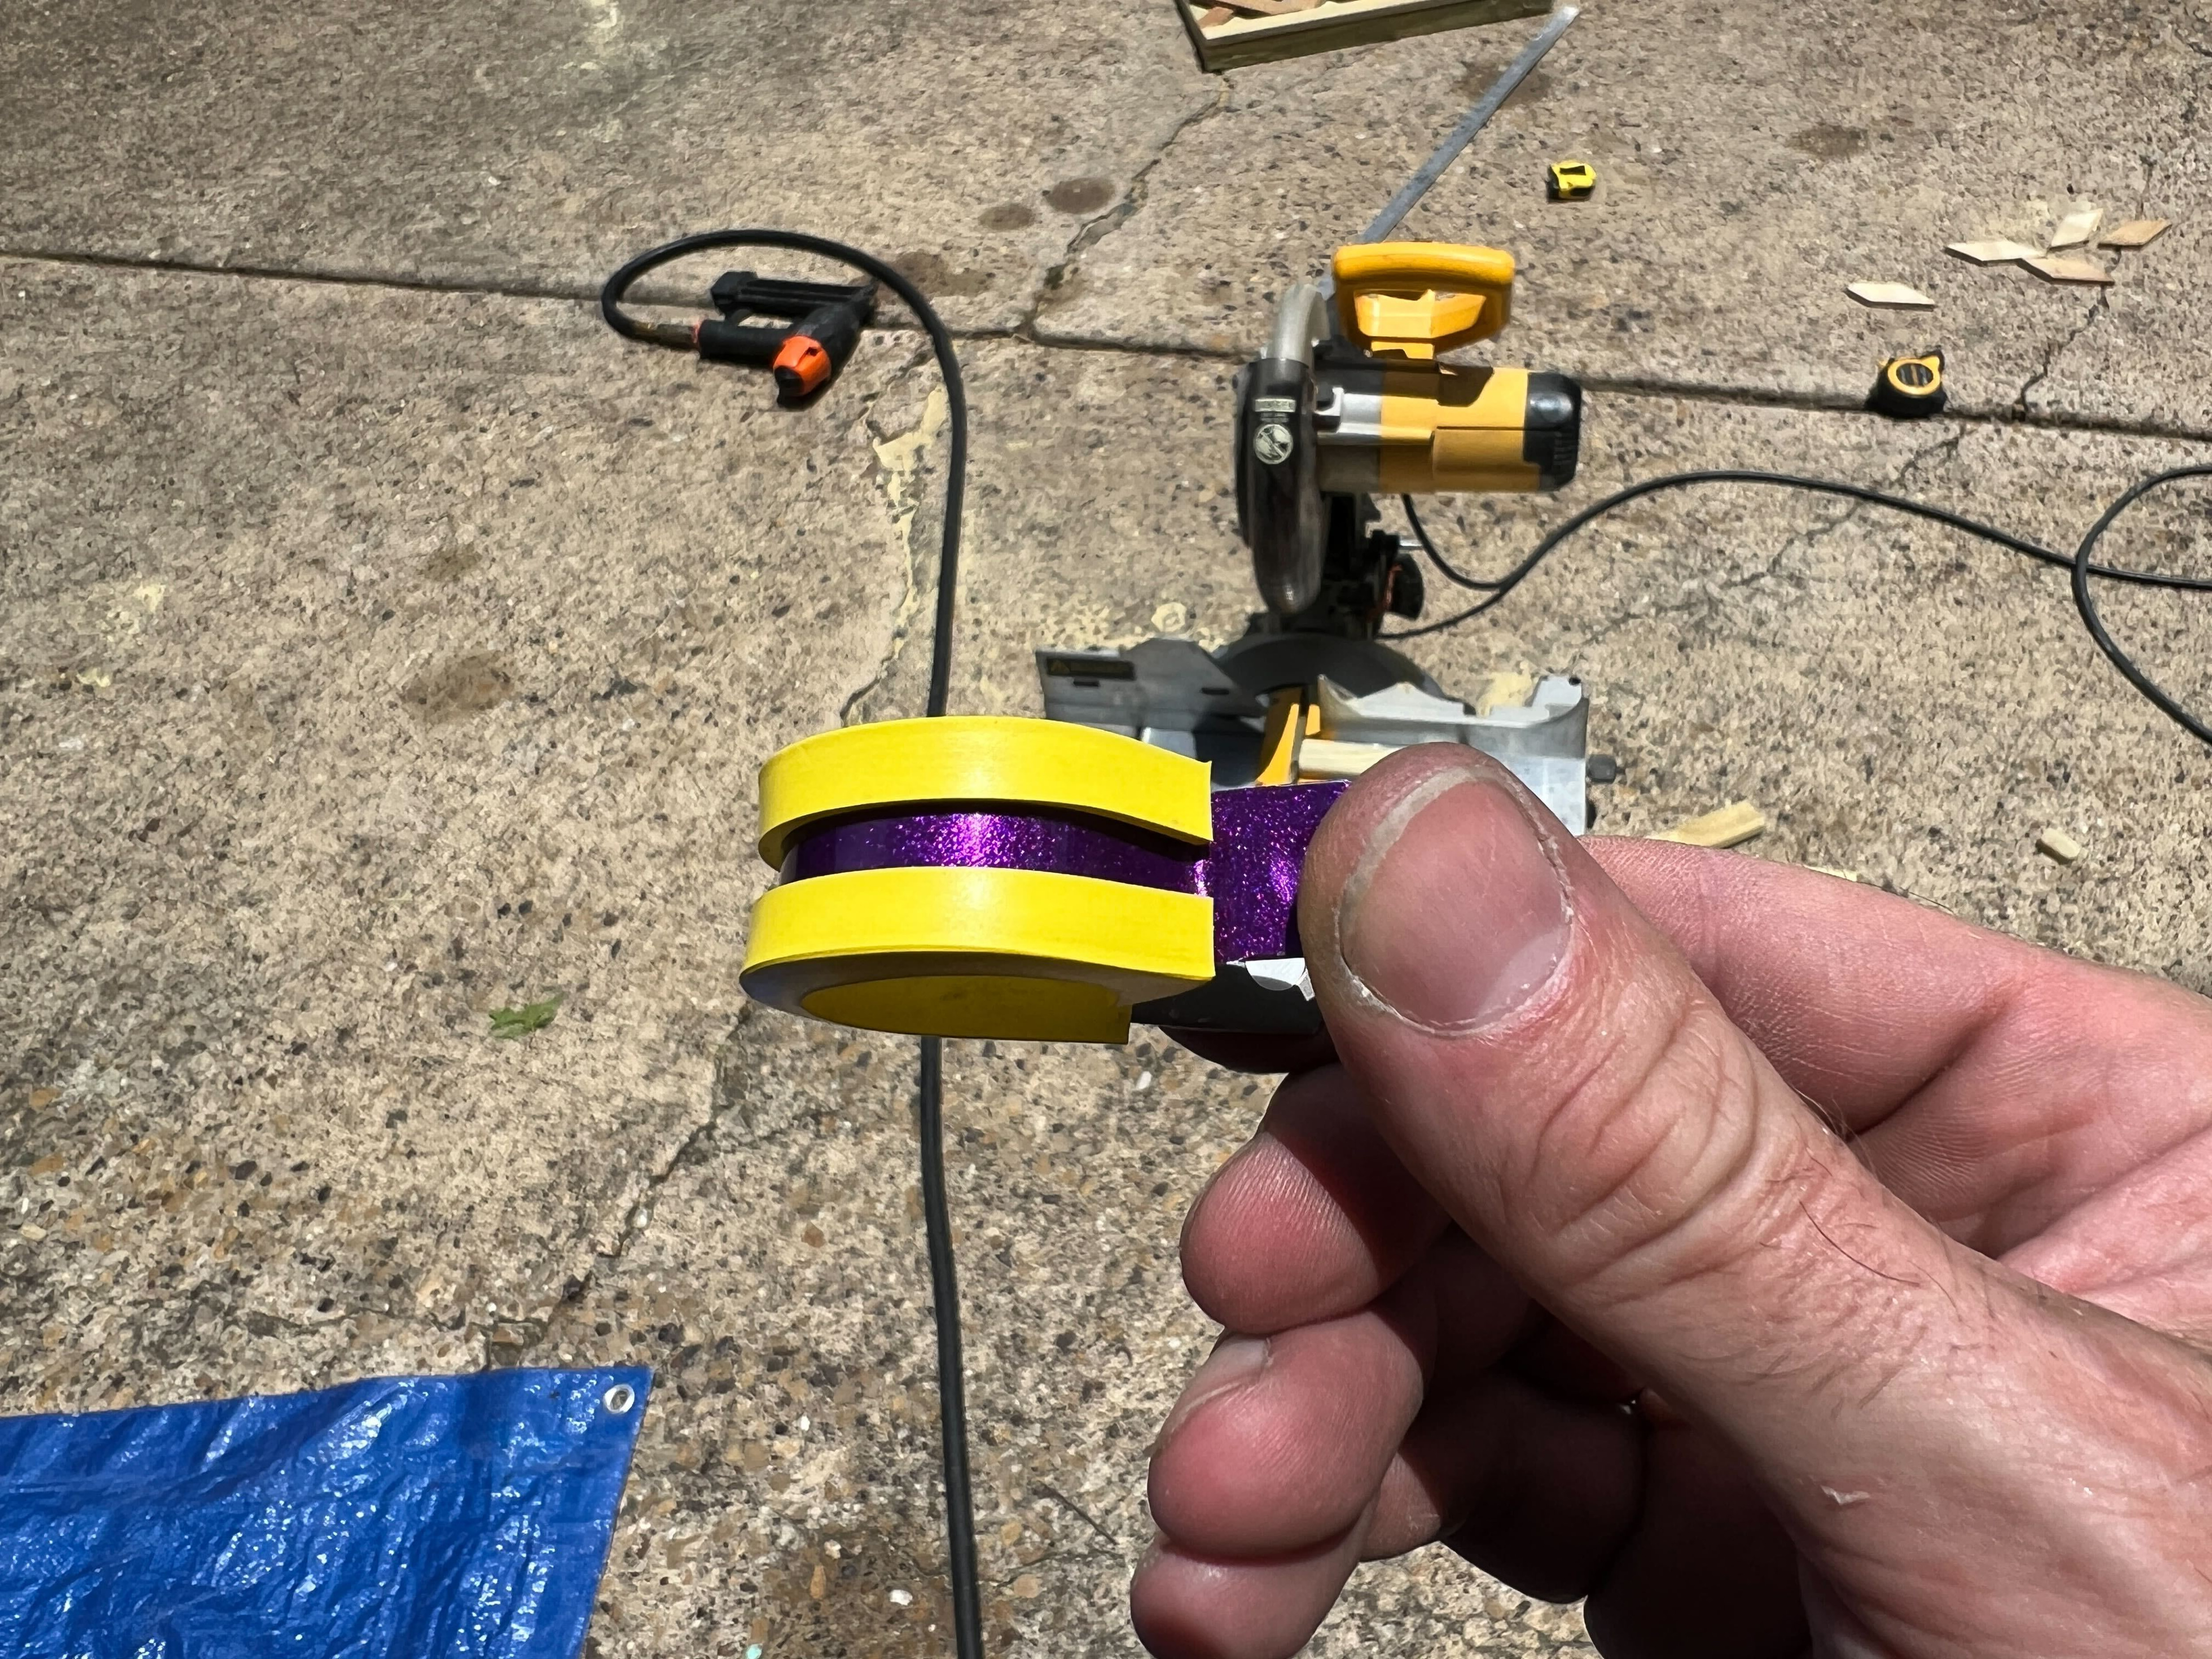
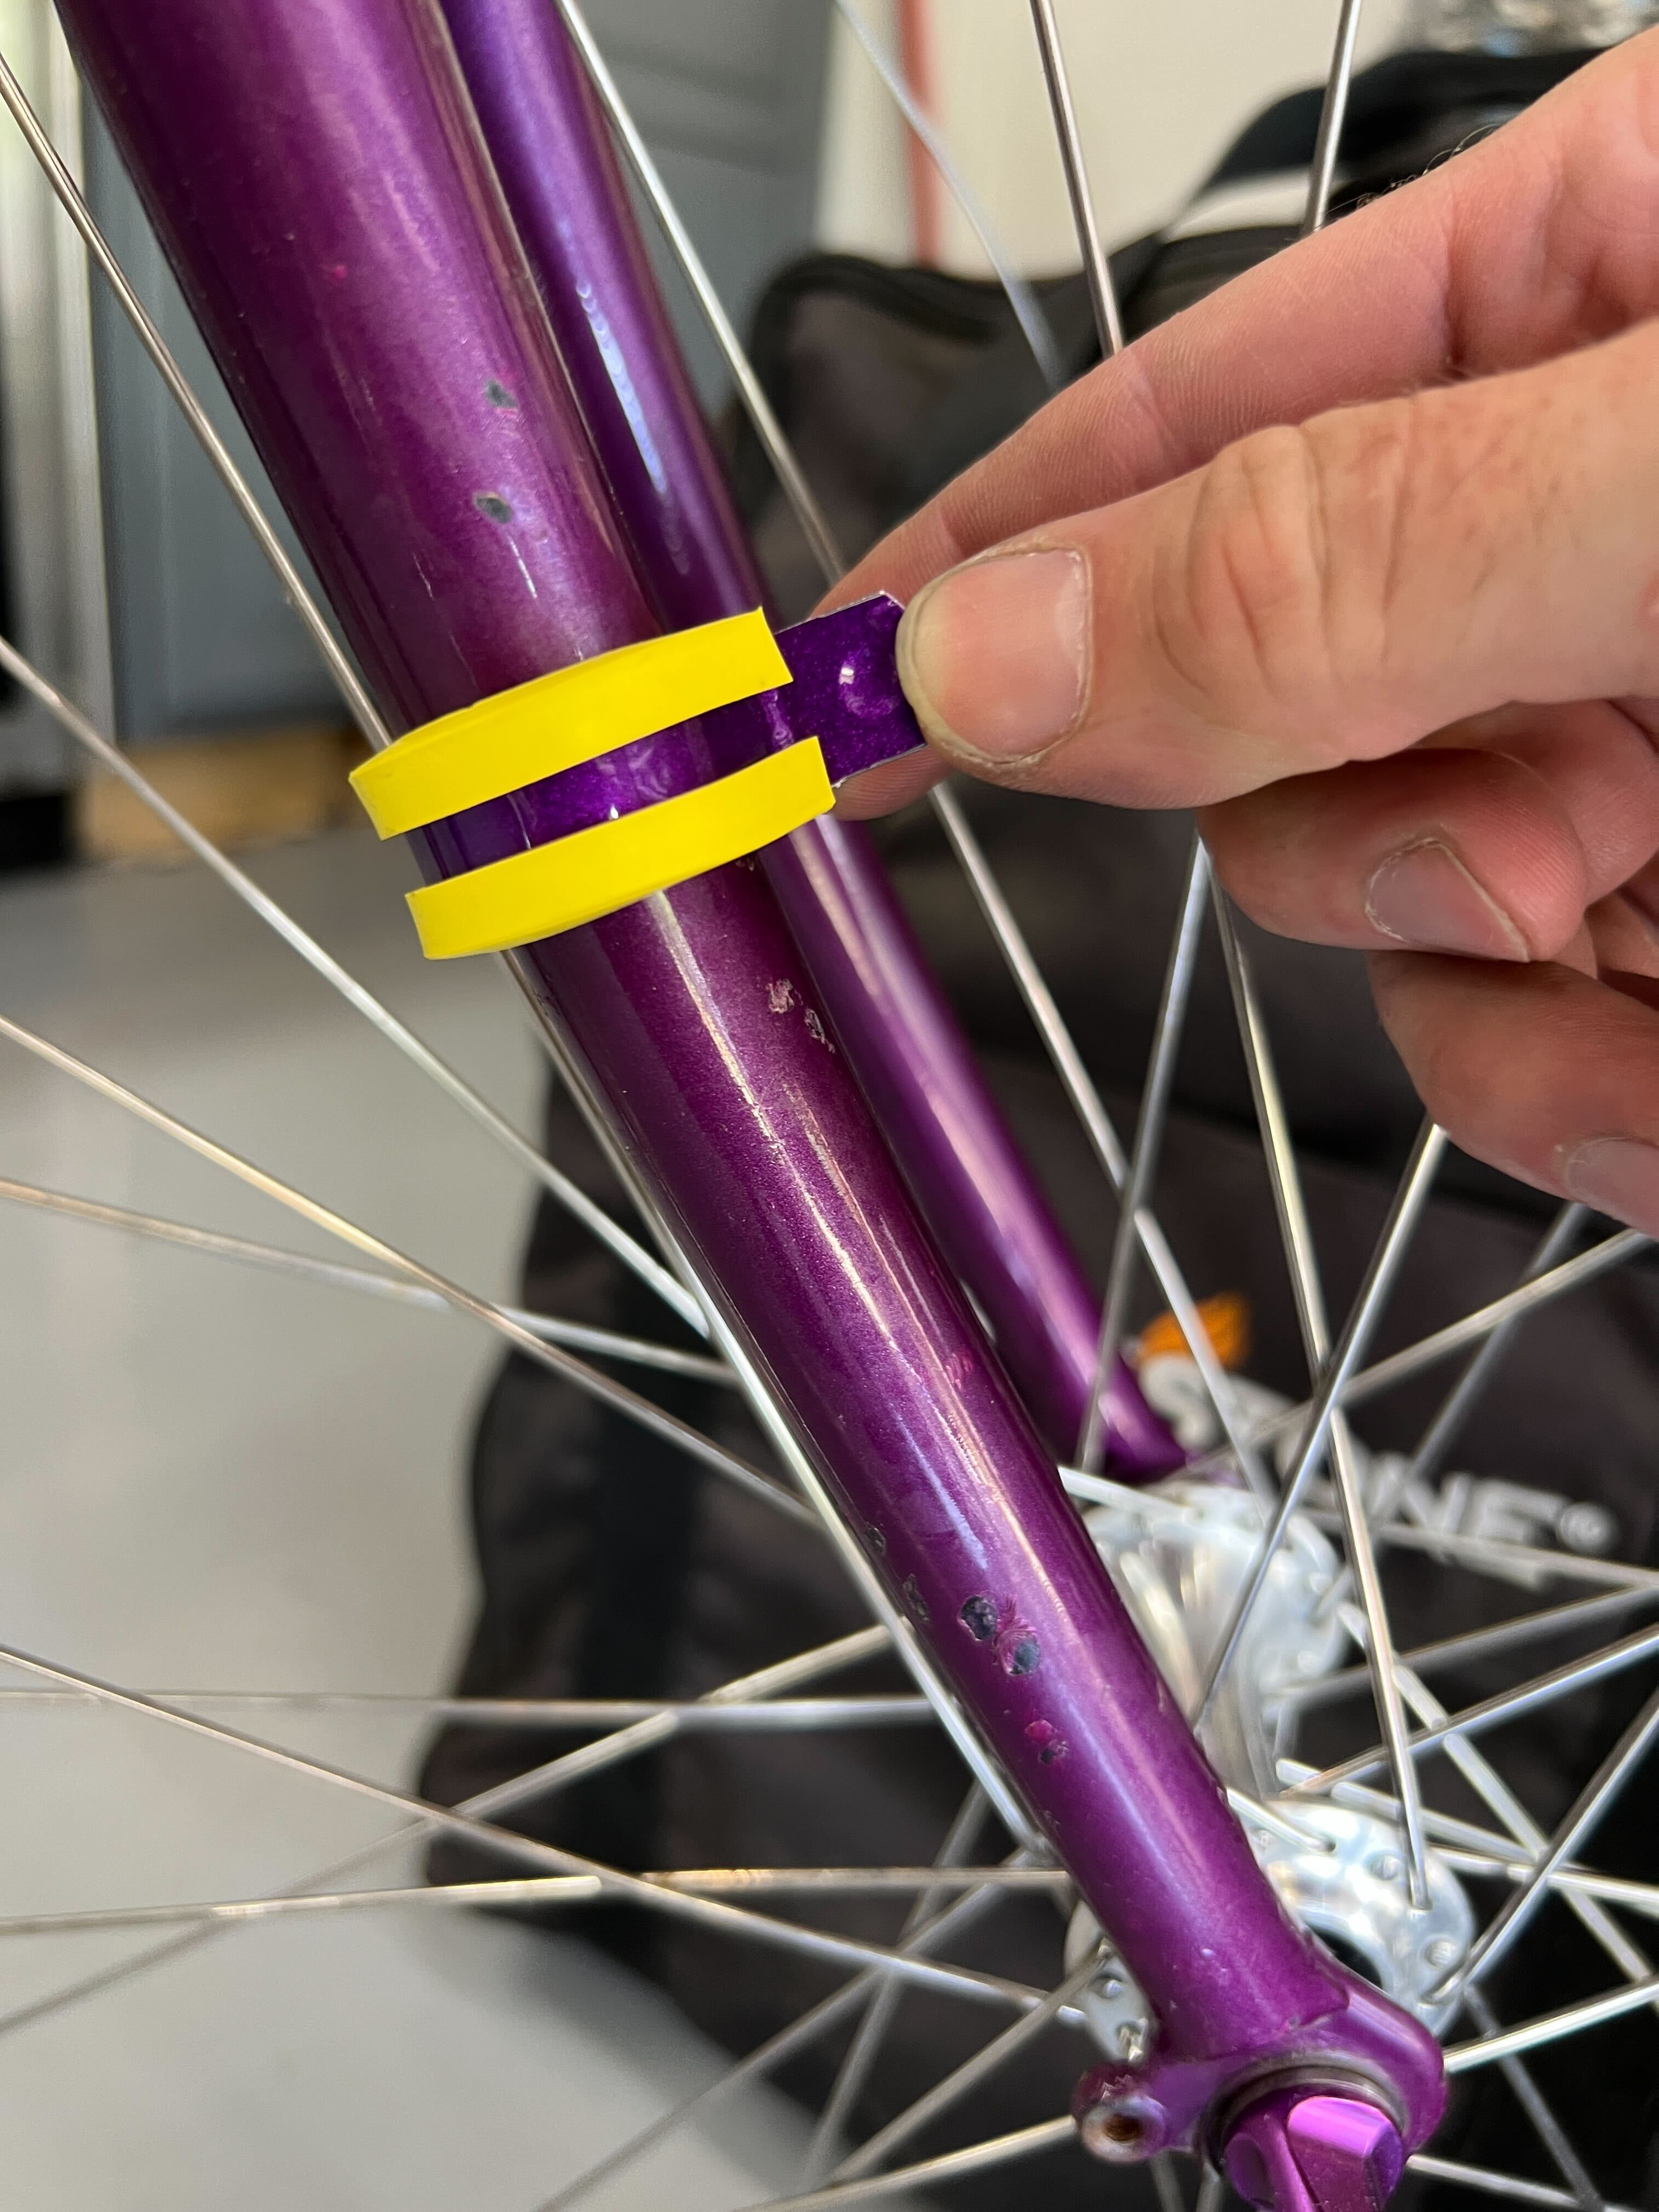
Close enough for government work!
Here’s the bracket in place:
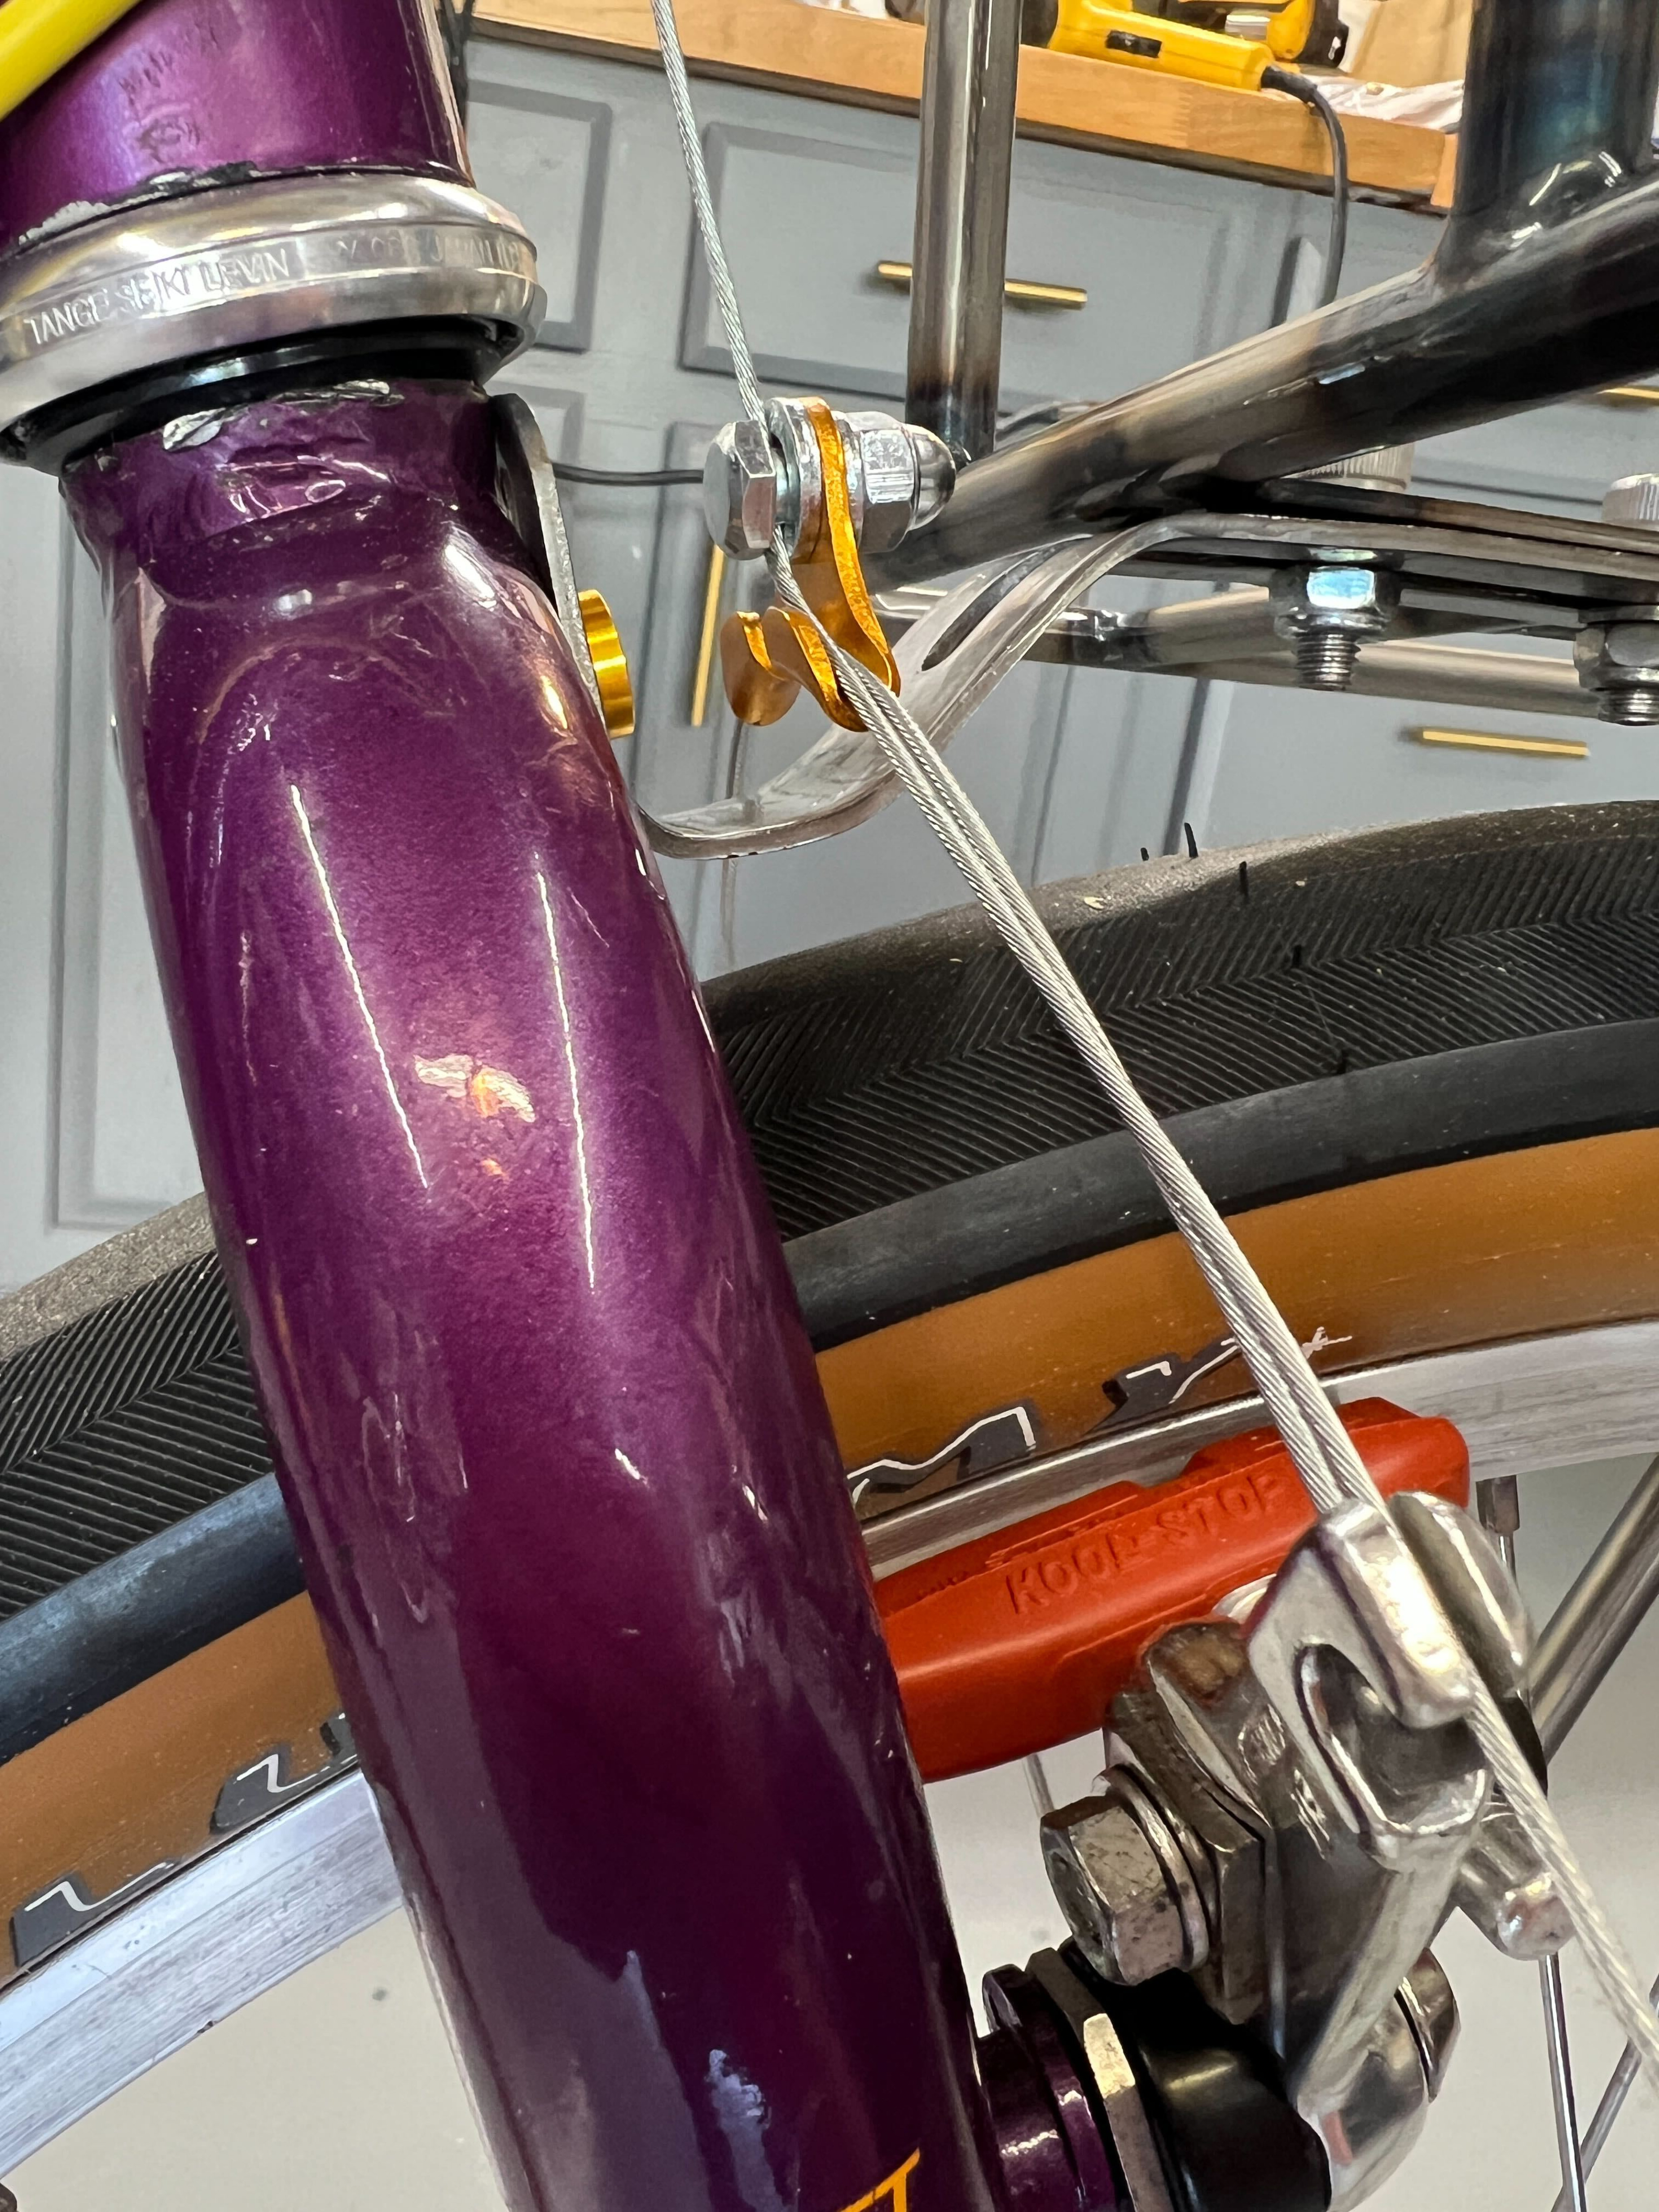
I raised the straddle just a touch since these photos were taken as well. I must not have had things wrenched down all the way and ended up having to basically set up the front brake from scratch again and increase the tension on both sides.
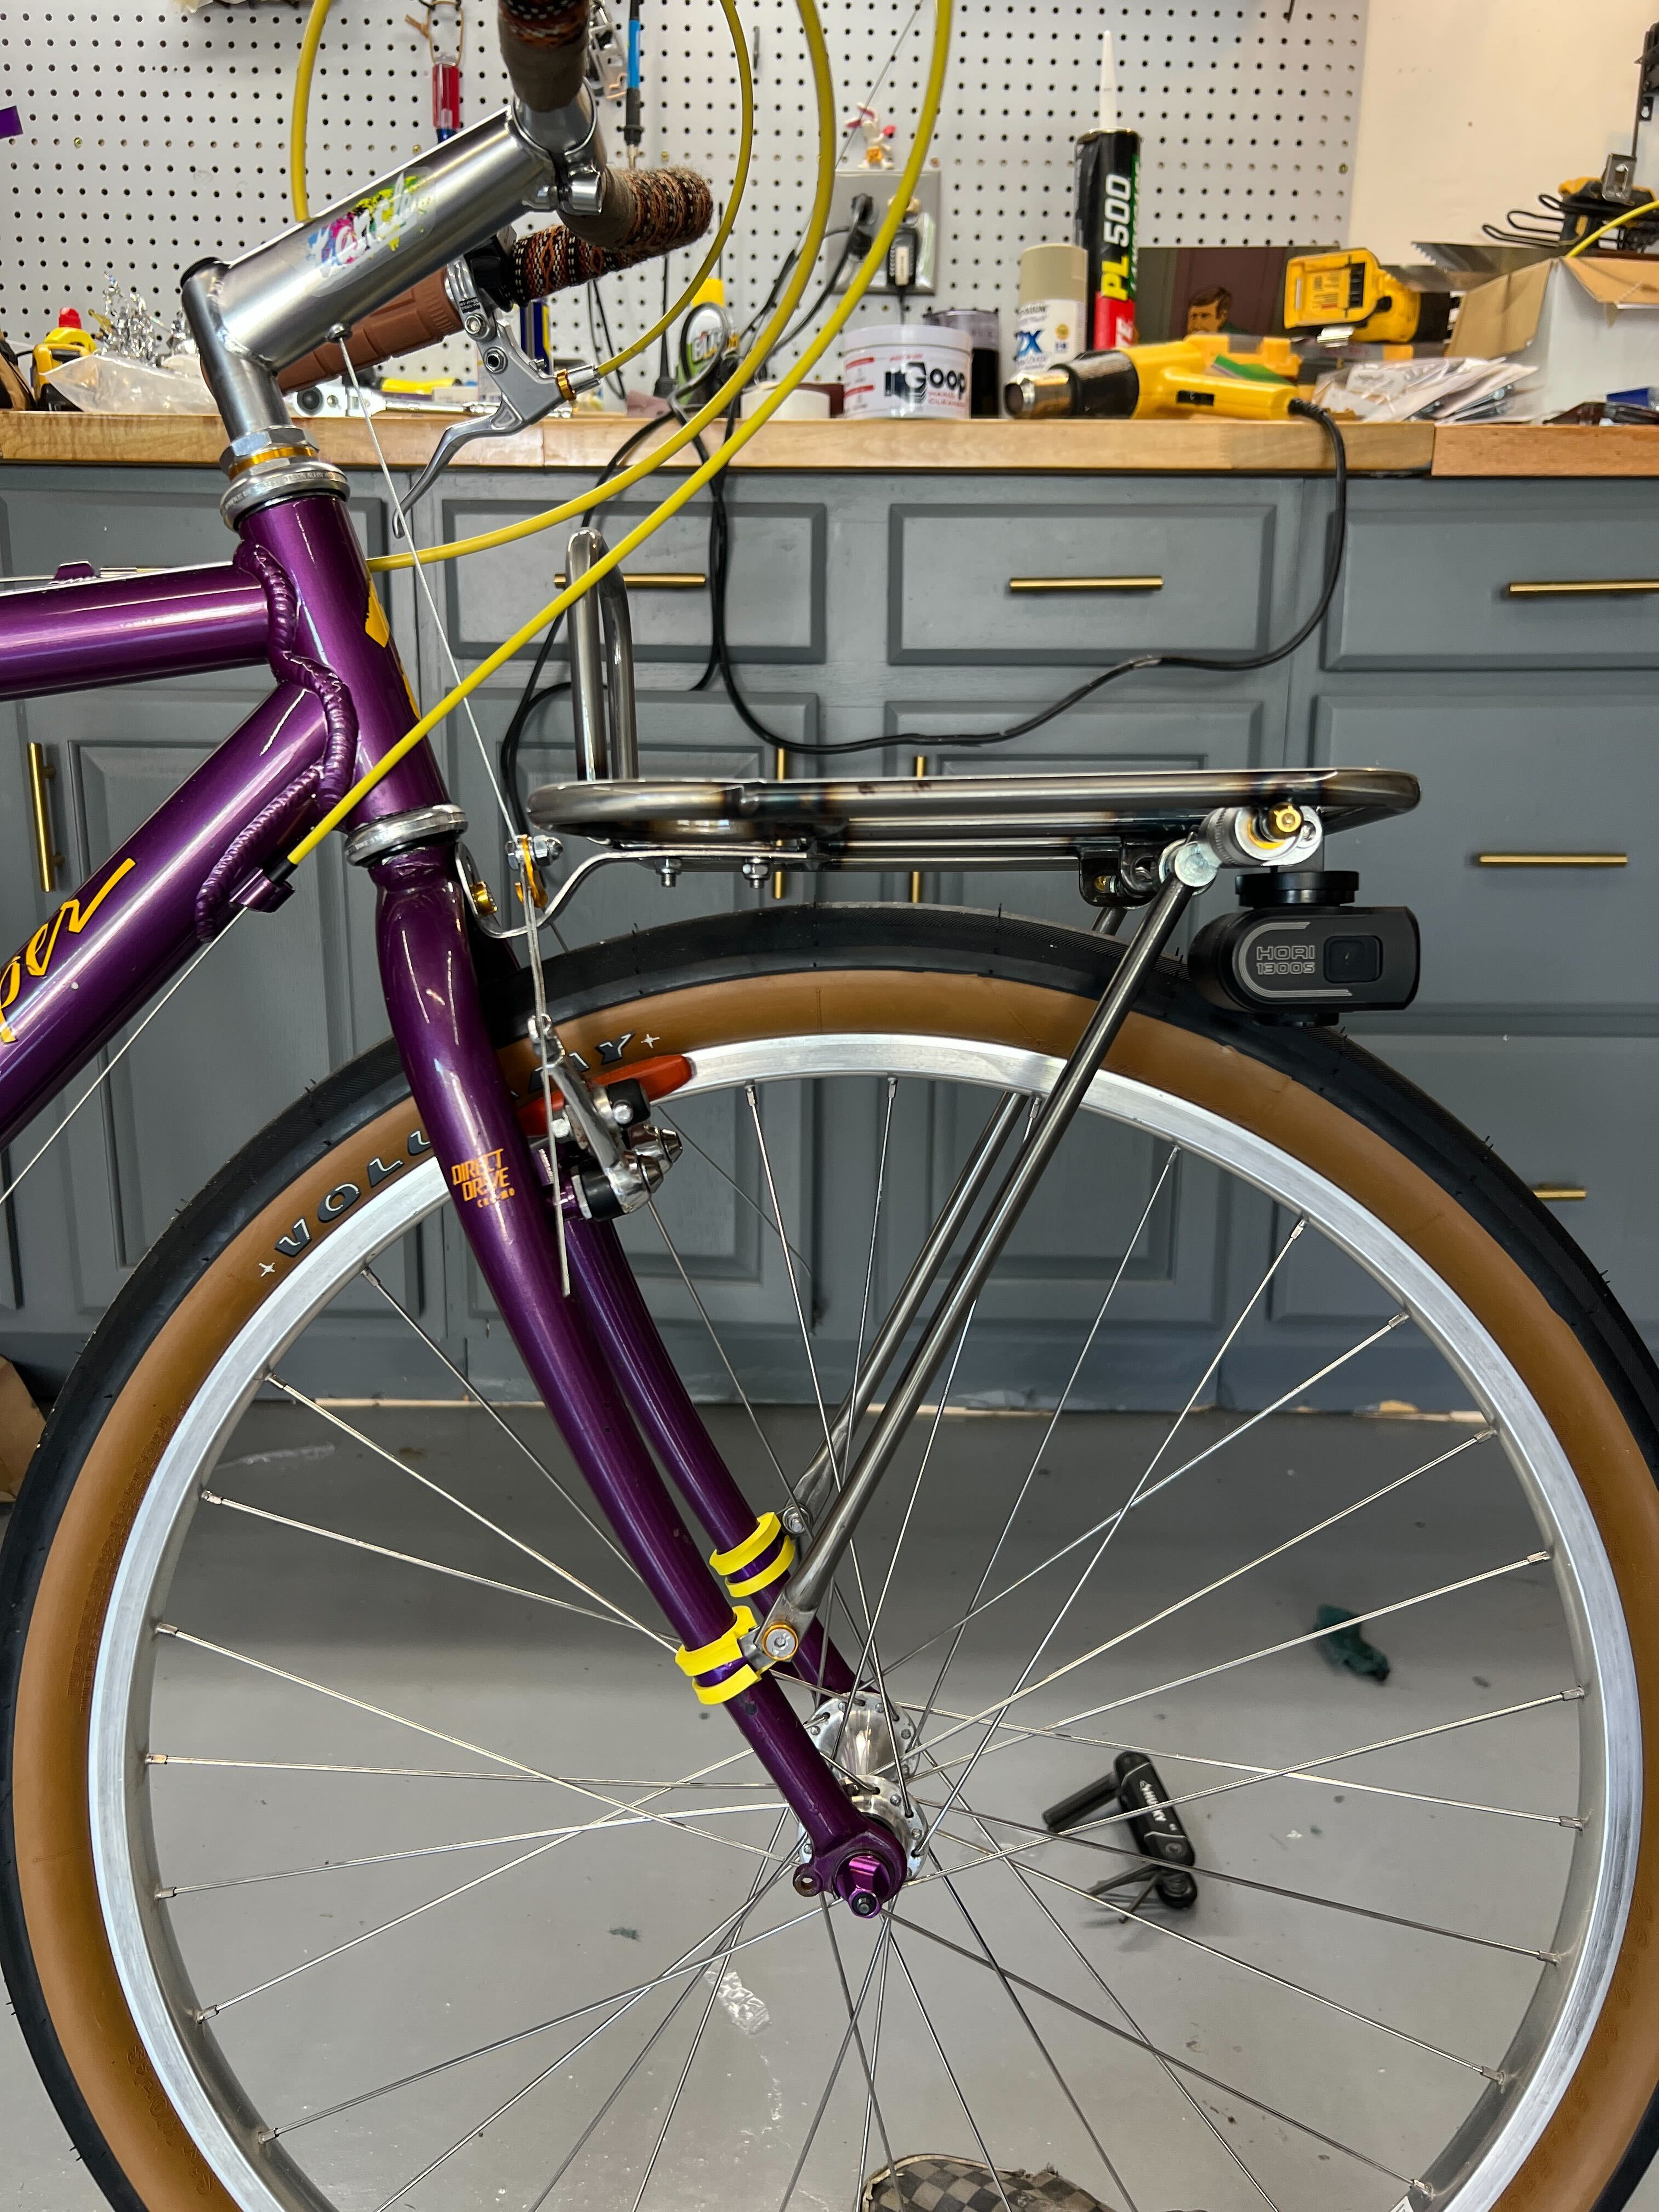
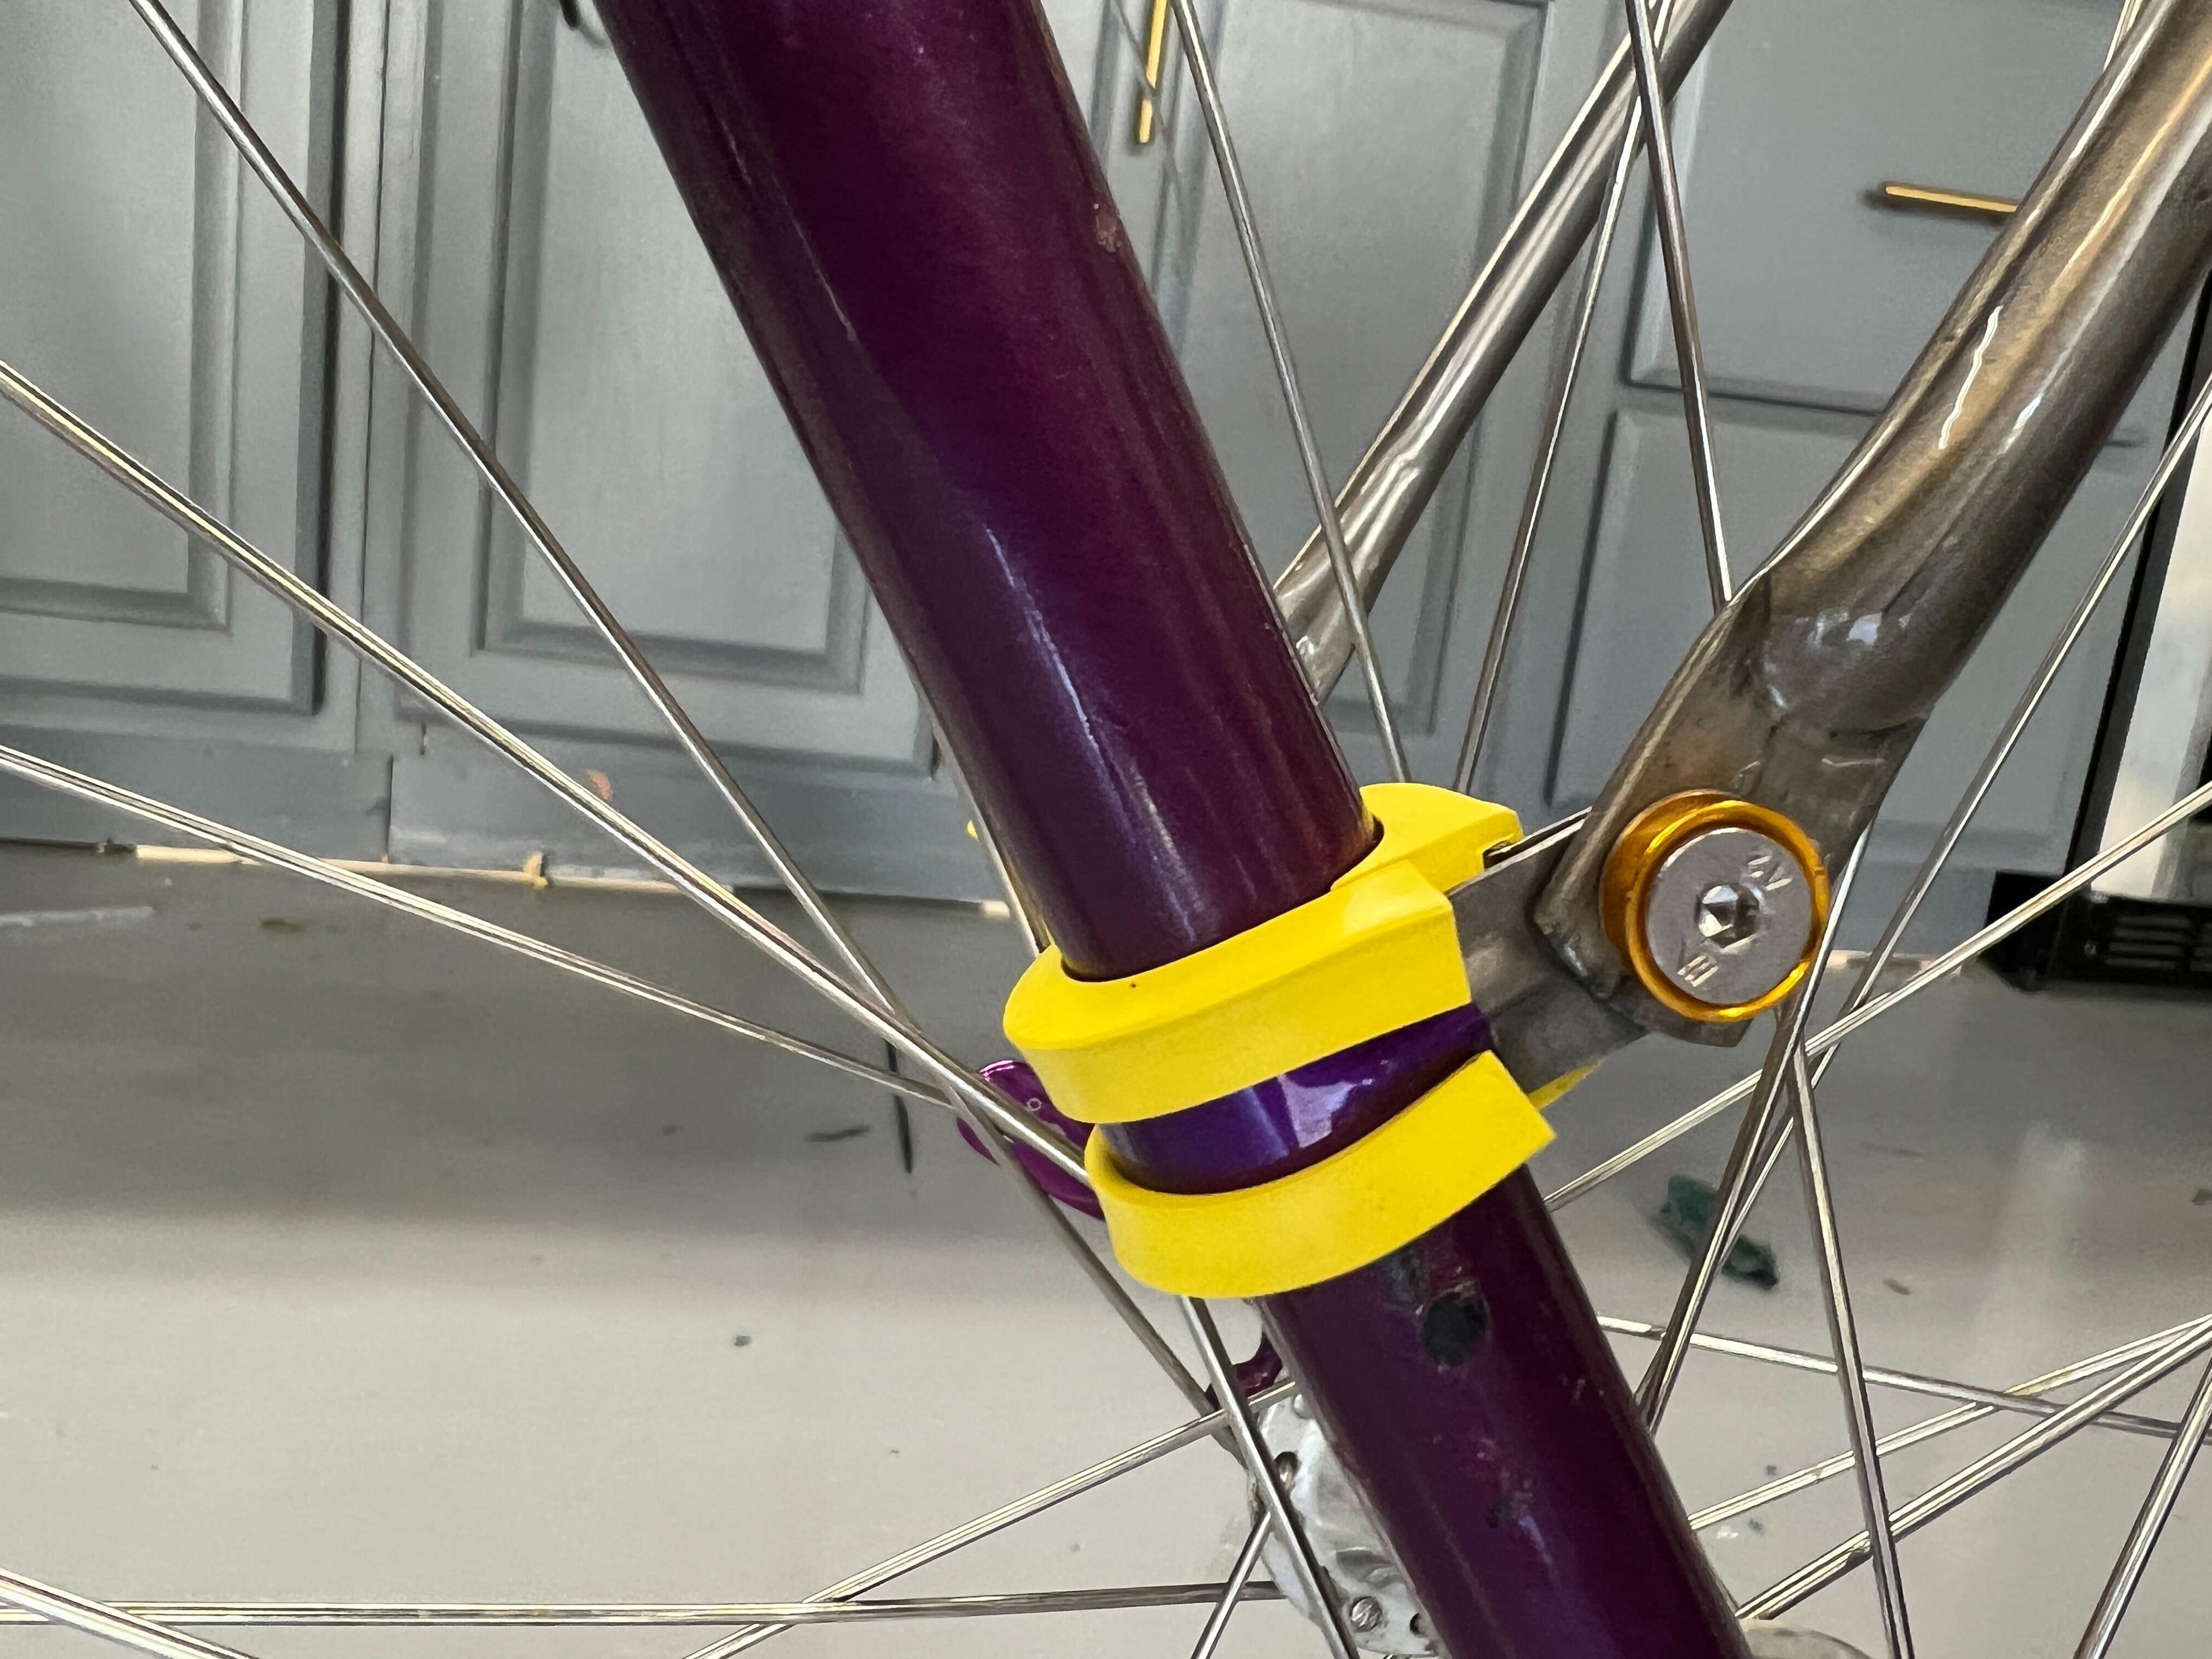
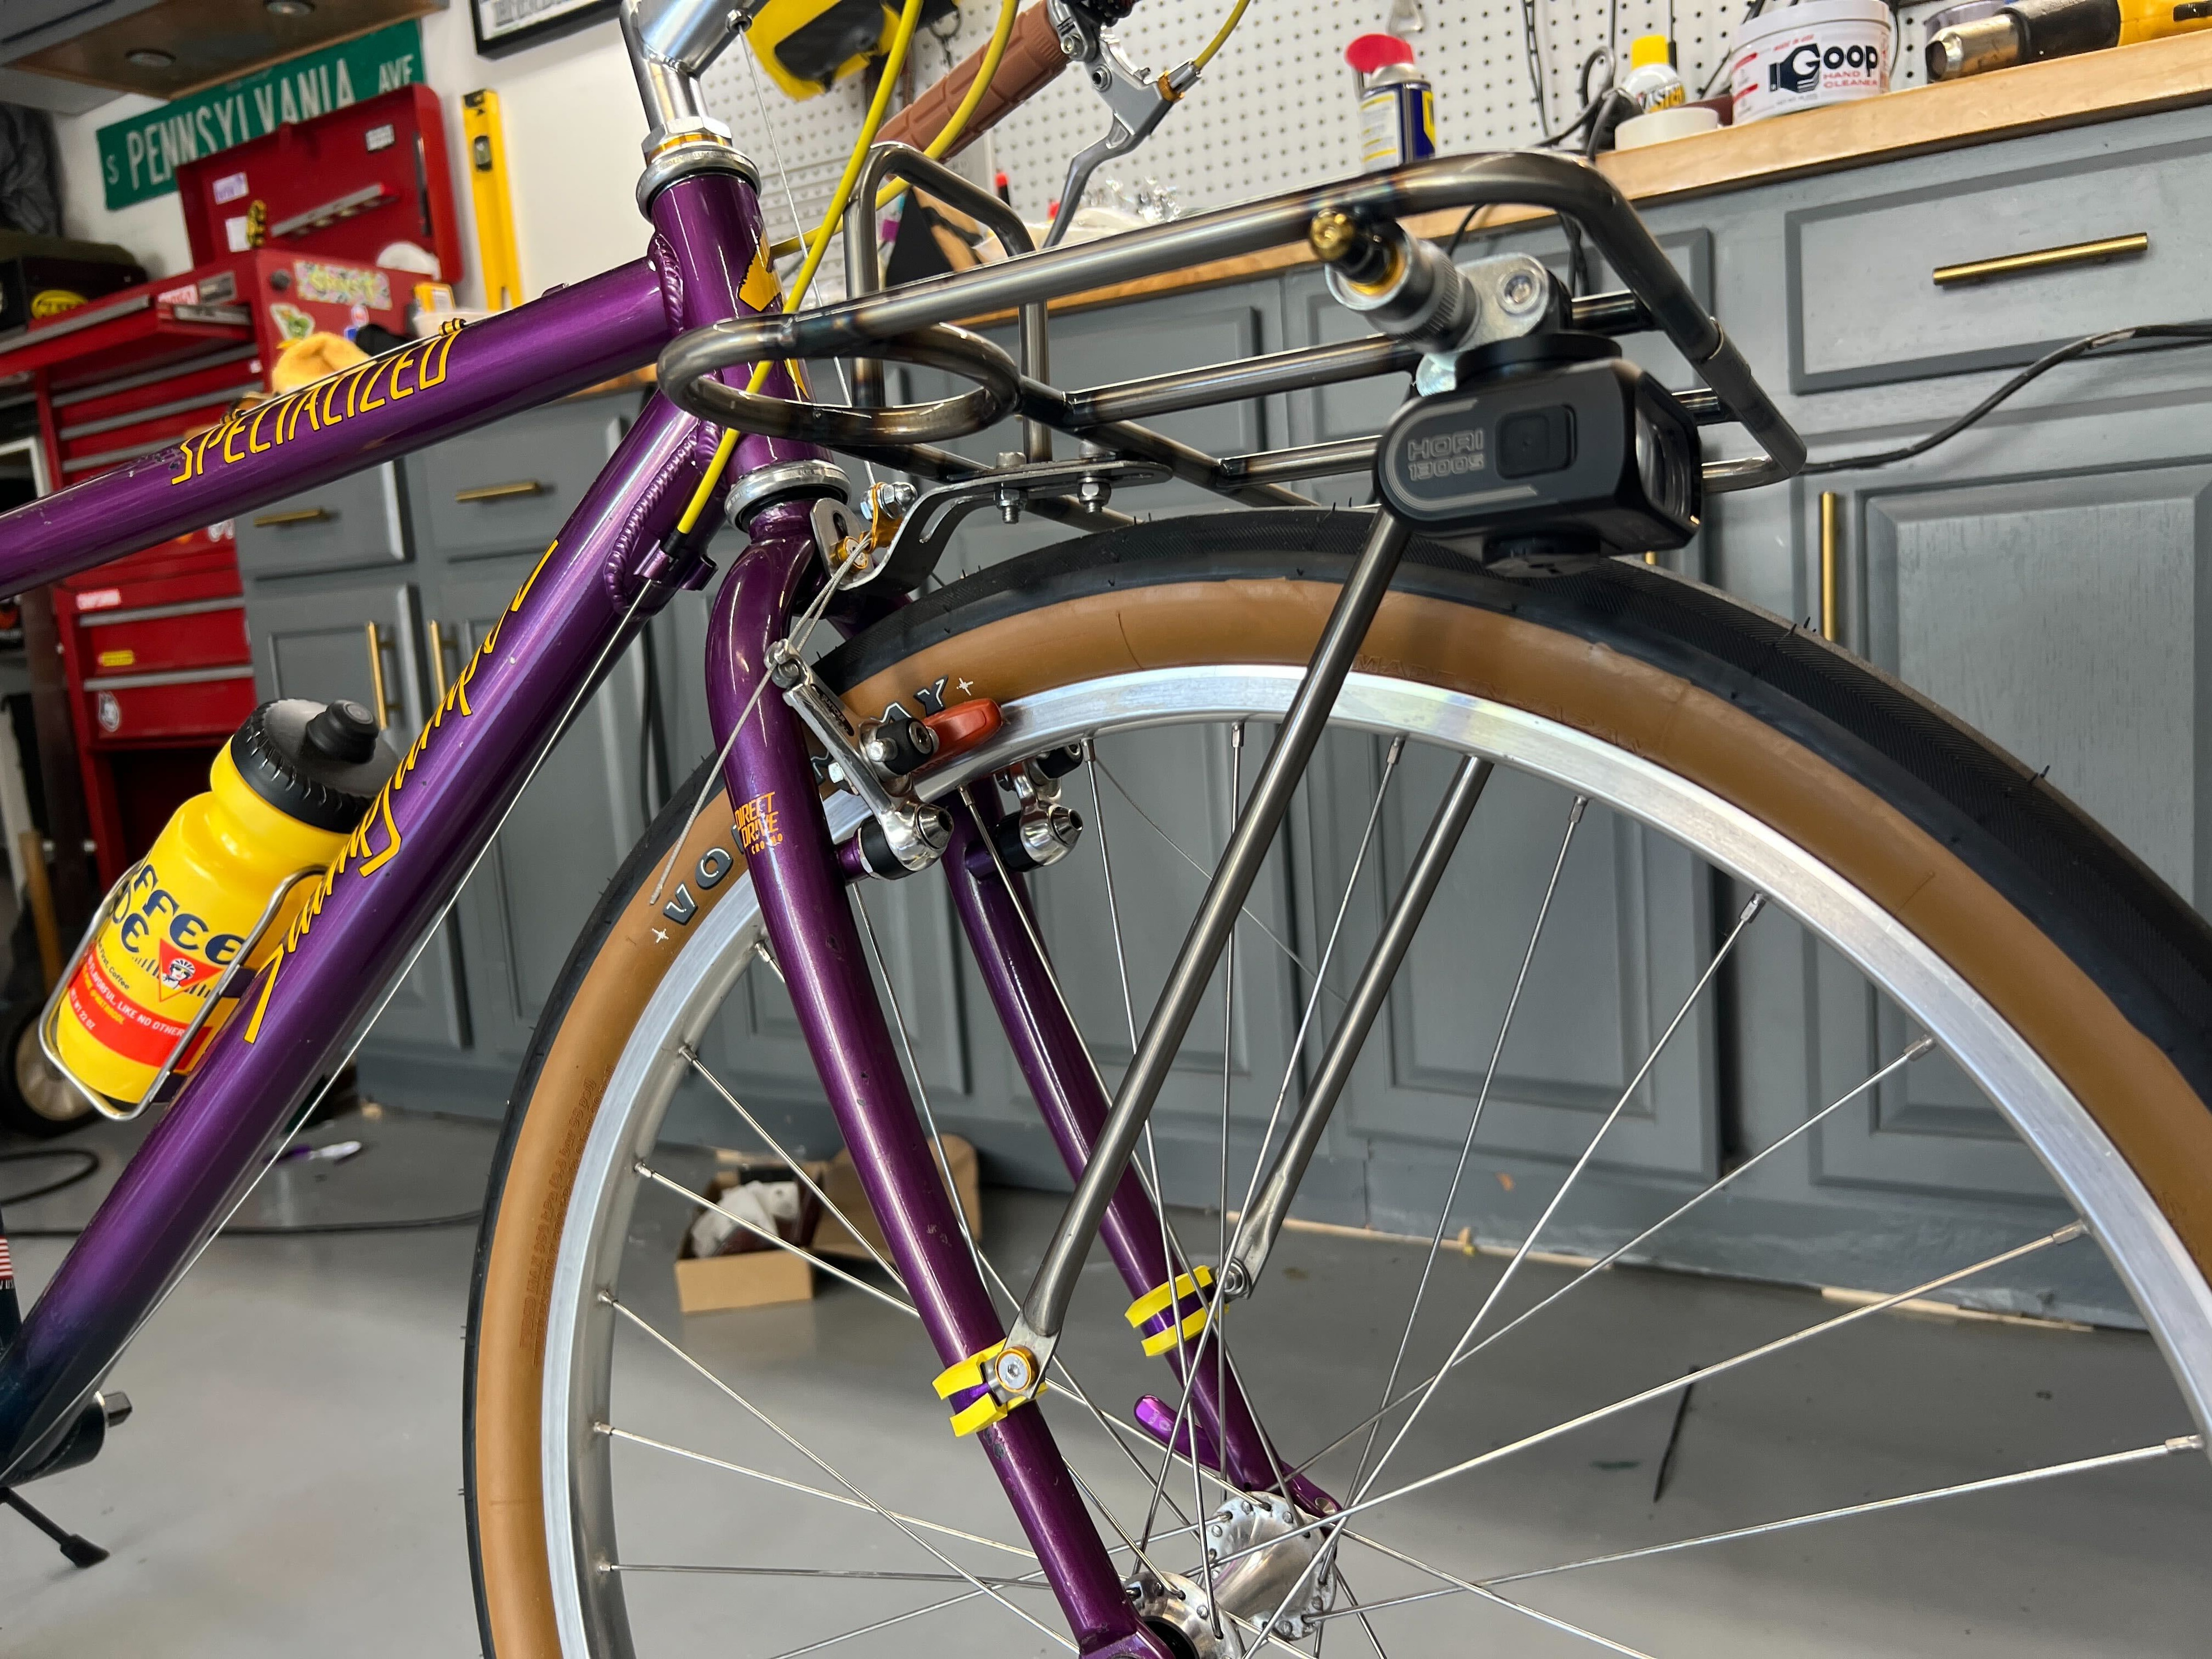
And here is the coated crank:
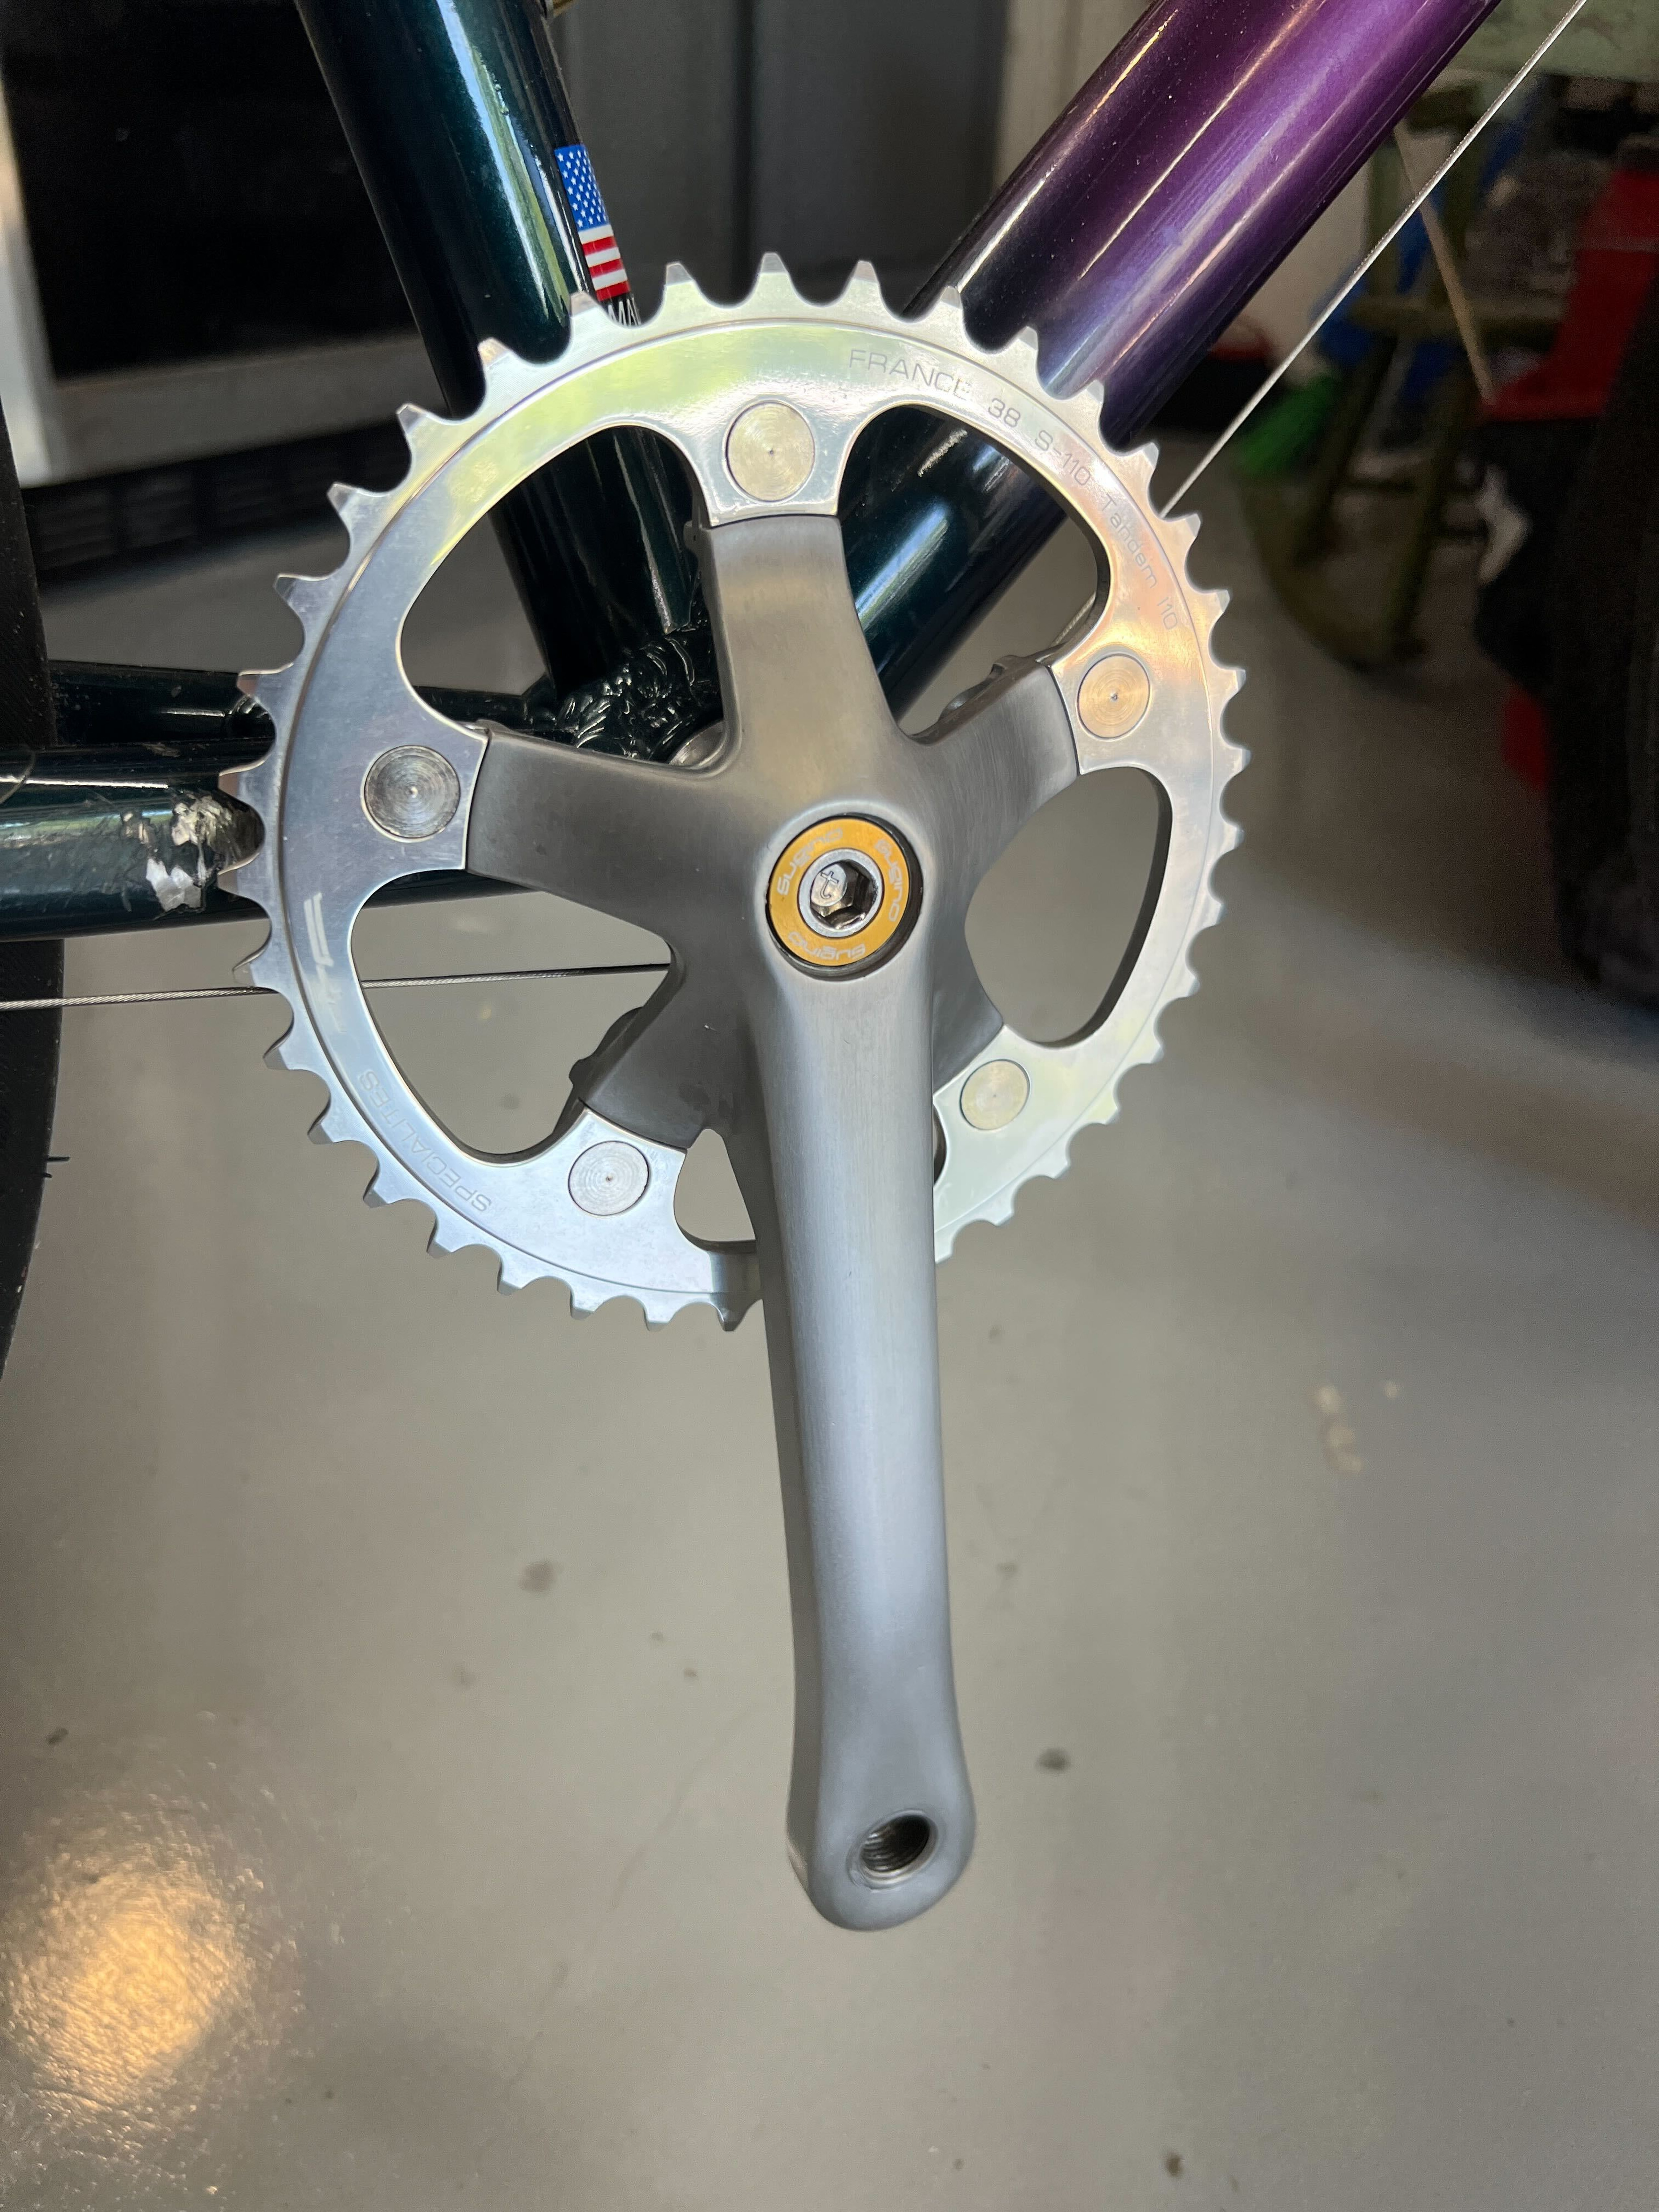
Looks kinda gray in some light, but I’m very happy with it.
14 Likes
a+ dither documentation, extremely satisfying, thank you!
4 Likes
i would like to nominate this thread for a tarcklebee in dithering if it has not yet been nominated
5 Likes
mods please rename thread; this is no longer a dad bike. it is a pop chariot.
17 Likes
I had a friend with one of these as a kid. I wanted one so bad
1 Like