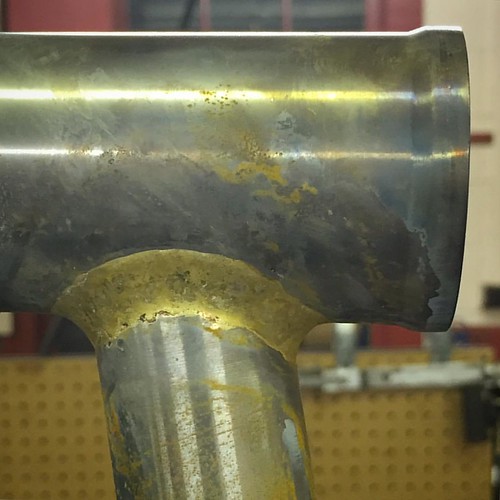
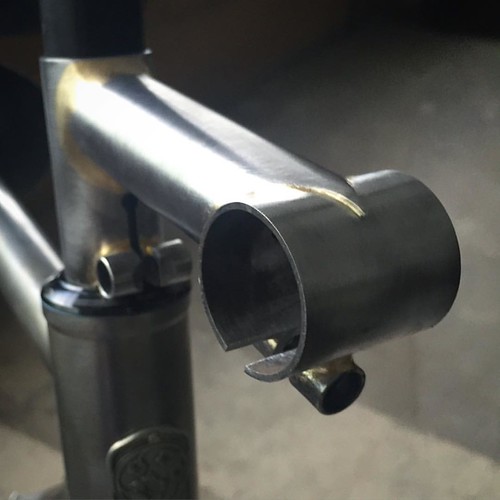
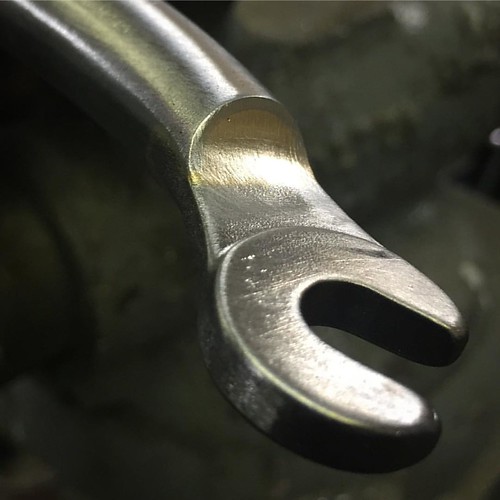
I did two passes with the intent of “tining” the joint first to make sure I got the filler through the gap and an internal fillet formed and went over again to build it up. You don’t think that’s necessary?
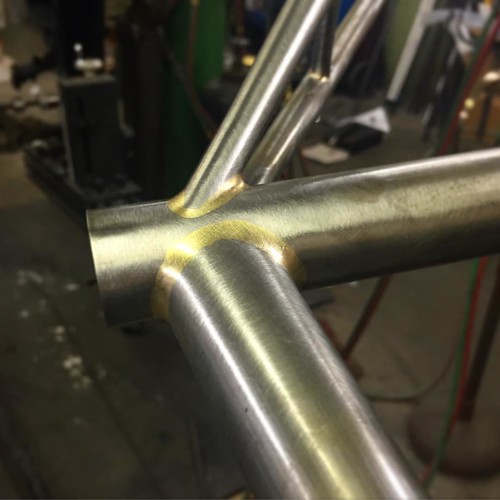
It did seem awfully slow to me though I wasn’t timing it, could have been an illusion of focus. When I do lugs with silver things go pretty fast, a few minutes of pre-heat and then only a minute or two of applying filler and making it go where it’s supposed to.
It’s not strictly necessary, especially if a solid preheat is allowing you to wick filler in during the main pass. Experiment, and you might find you need to do it.
You do look like you were cooking the filler a bit (bubbles). Some of this was probably hand speed. If you have shitty flux good stuff will help quite a bit.
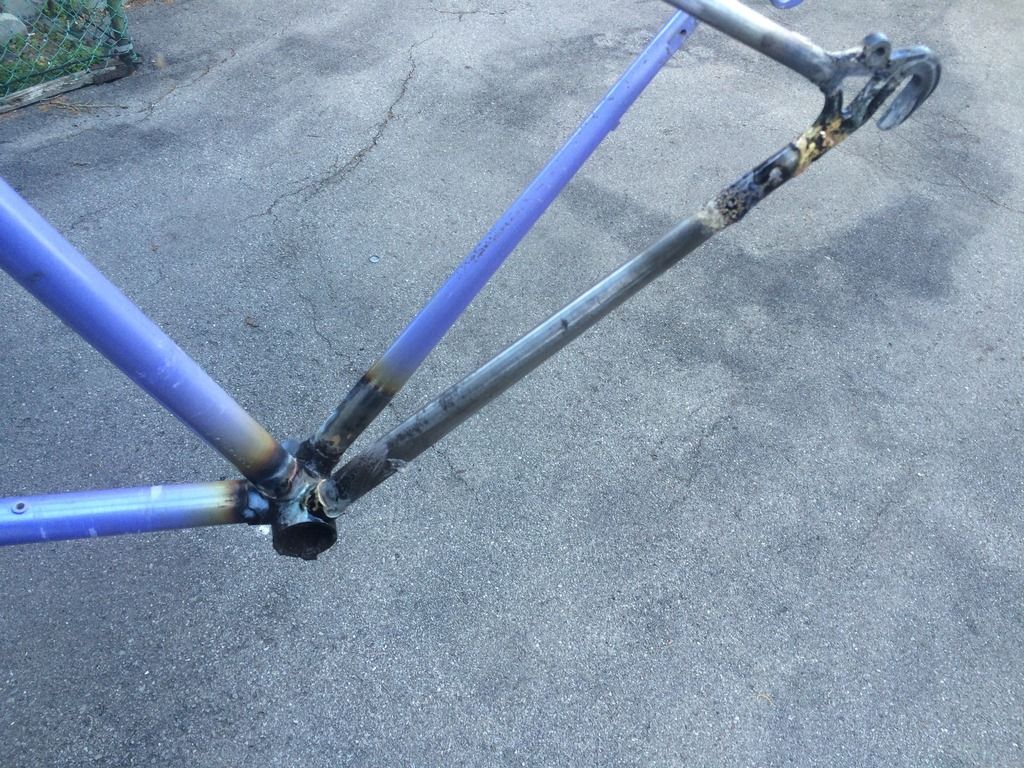
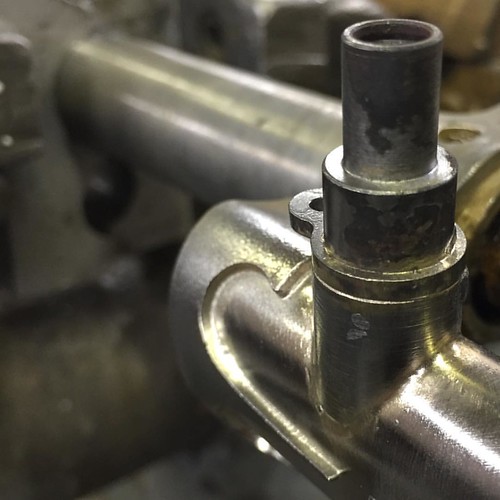
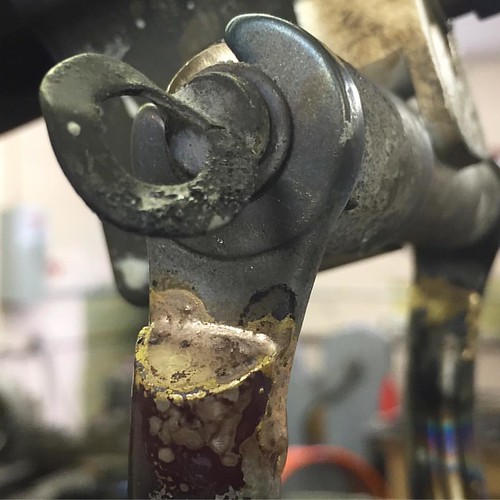
I fucked up when removing the chainstay stub from the BB port. I cut it too short so I could remove the chainstay bridge separately and the when I tried to pull it out everything got too hot and the tube just sorta folded/tore. I ended up having to stick the downtube in the vice with my tube block and painstakingly grind the old chainstay out of socket. All the clamping fucked up all the decals/paint.
Considering either rattlecan black or get my friendly local powdercoater to blast it/coat it which they have done for me before for stupid cheap.
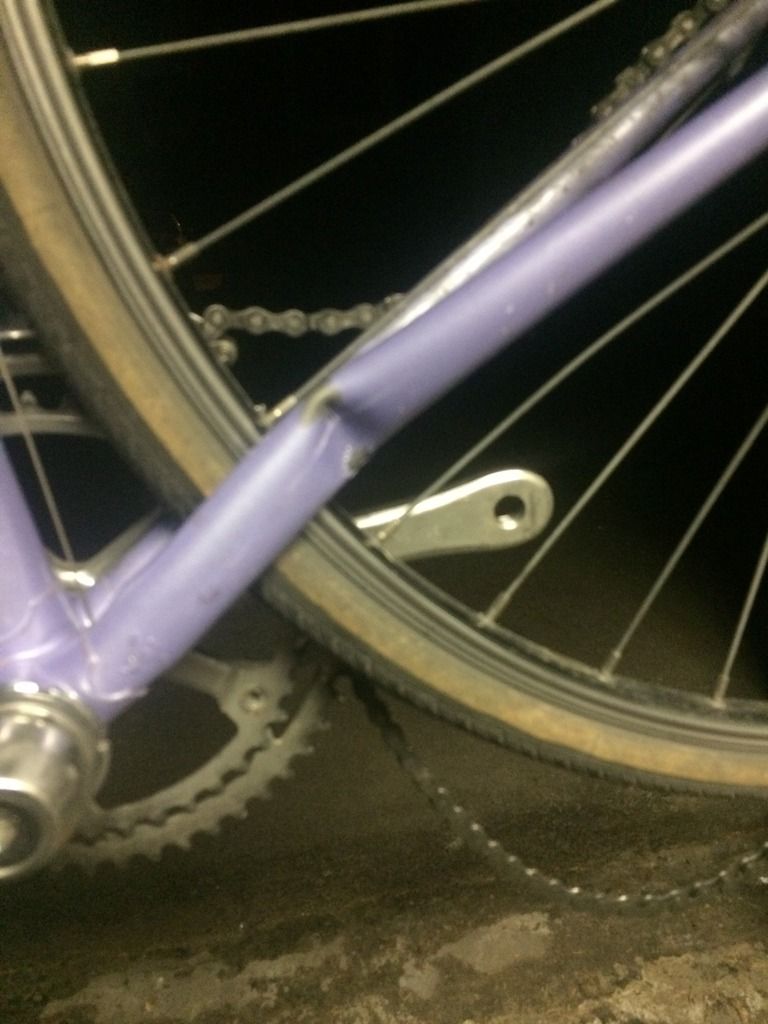
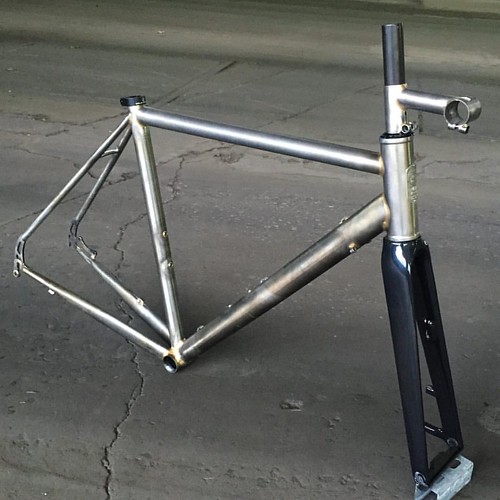
Bike came with full cyclone group, gonna make it a townie with VO postino bars and a 150mm stem.
Riding with endpoint guys this weekend has got me excited to build a 650b NFE type bike. Any recommendations for off the shelf chainstays that will give me maximum clearance with 430mm stays and compact road cranks? If I can get a 2.1" mtb tire in there I’d be happy.
Hoping the welding-knowledgable people here could give me some advice…
I’ve got this offset fatbike frame with sliding dropouts:
It looks like it is cracked right through that sliding dropout. It’s made out of aluminum and the local framebuilding guys don’t want anything to do with it. Once suggested finding any old aluminum welder to fix it. Is this something that may be possible, or should I just start making plans for a new frame?
Yes, you might be able to find somebody to weld it, but the heat from welding will anneal the metal and make it weaker. So ideally then you would have it heat treated, and that’s going to be the hard and expensive part.
Since it’s 7000 you might be able to get away with some reinforcing and then letting it sit to artificially age and regain some (but not all) strength. But that’s only if you can get it welded for a six-pack. Otherwise, it’s a better strategy to start looking for a used Pugs.